
Sewing & Knitting
Autumn Sewing: Another Sirocco of Course
13th December 2019
Read More →

Sewing & Knitting
Sewing for Autumn: Soft as Velvet
19th November 2019
Read More →
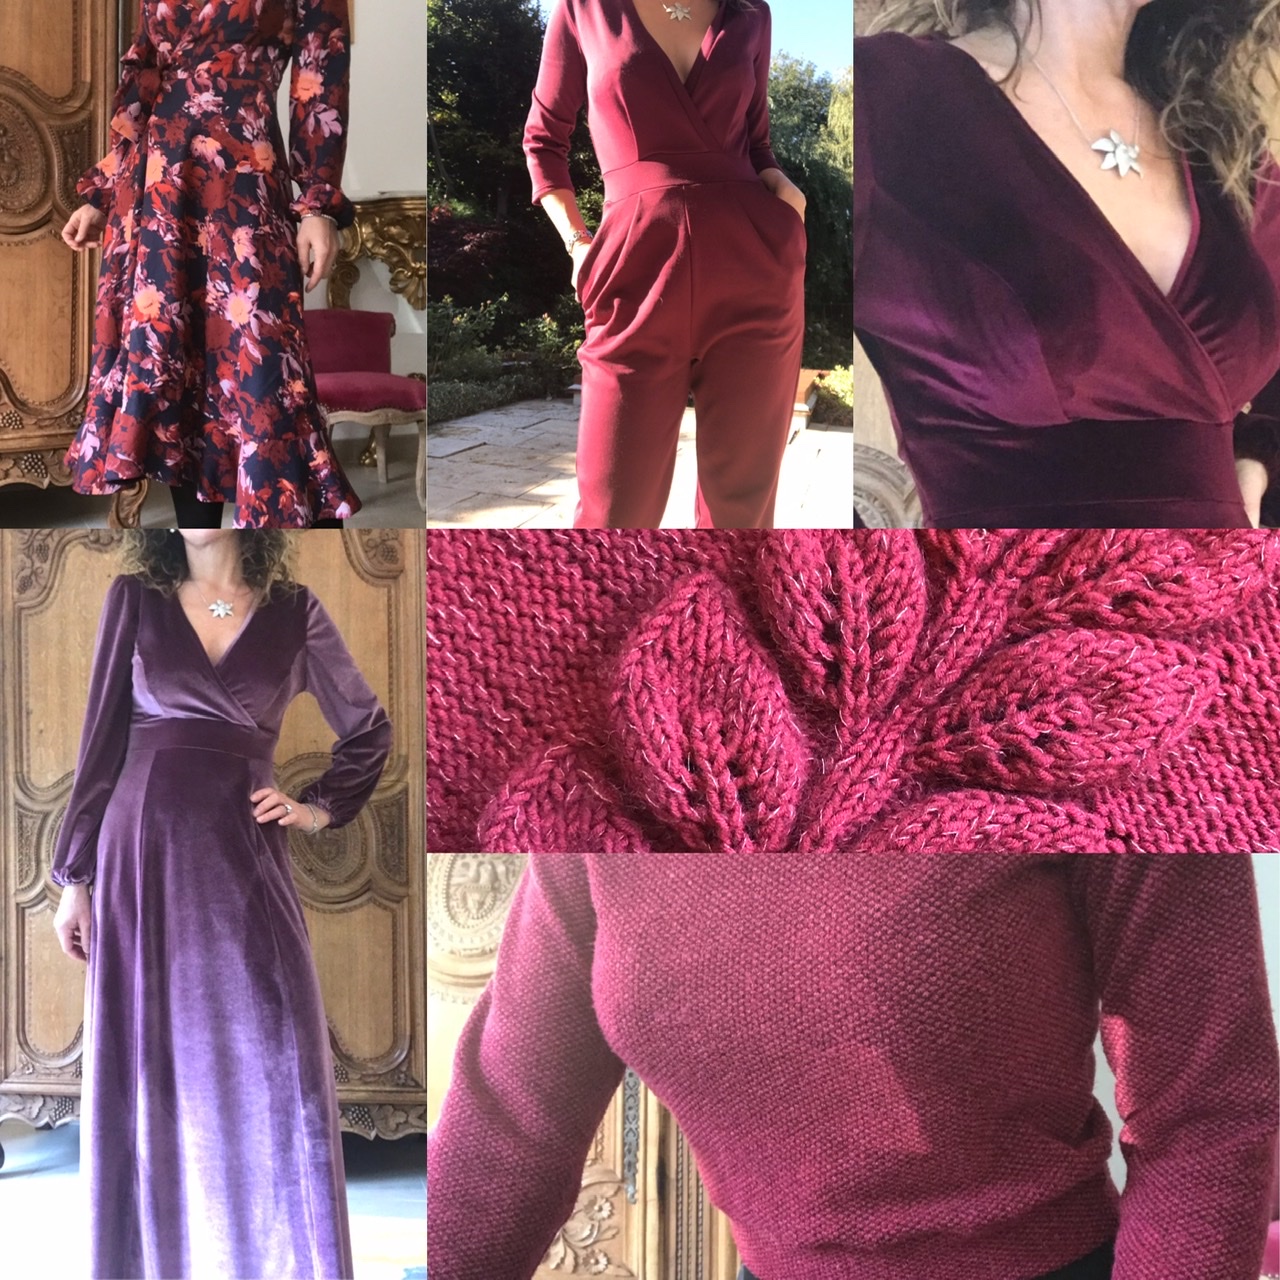
Sewing & Knitting
Sewing for Autumn in Wine Hues
13th November 2019
Read More →
Sewing & Knitting
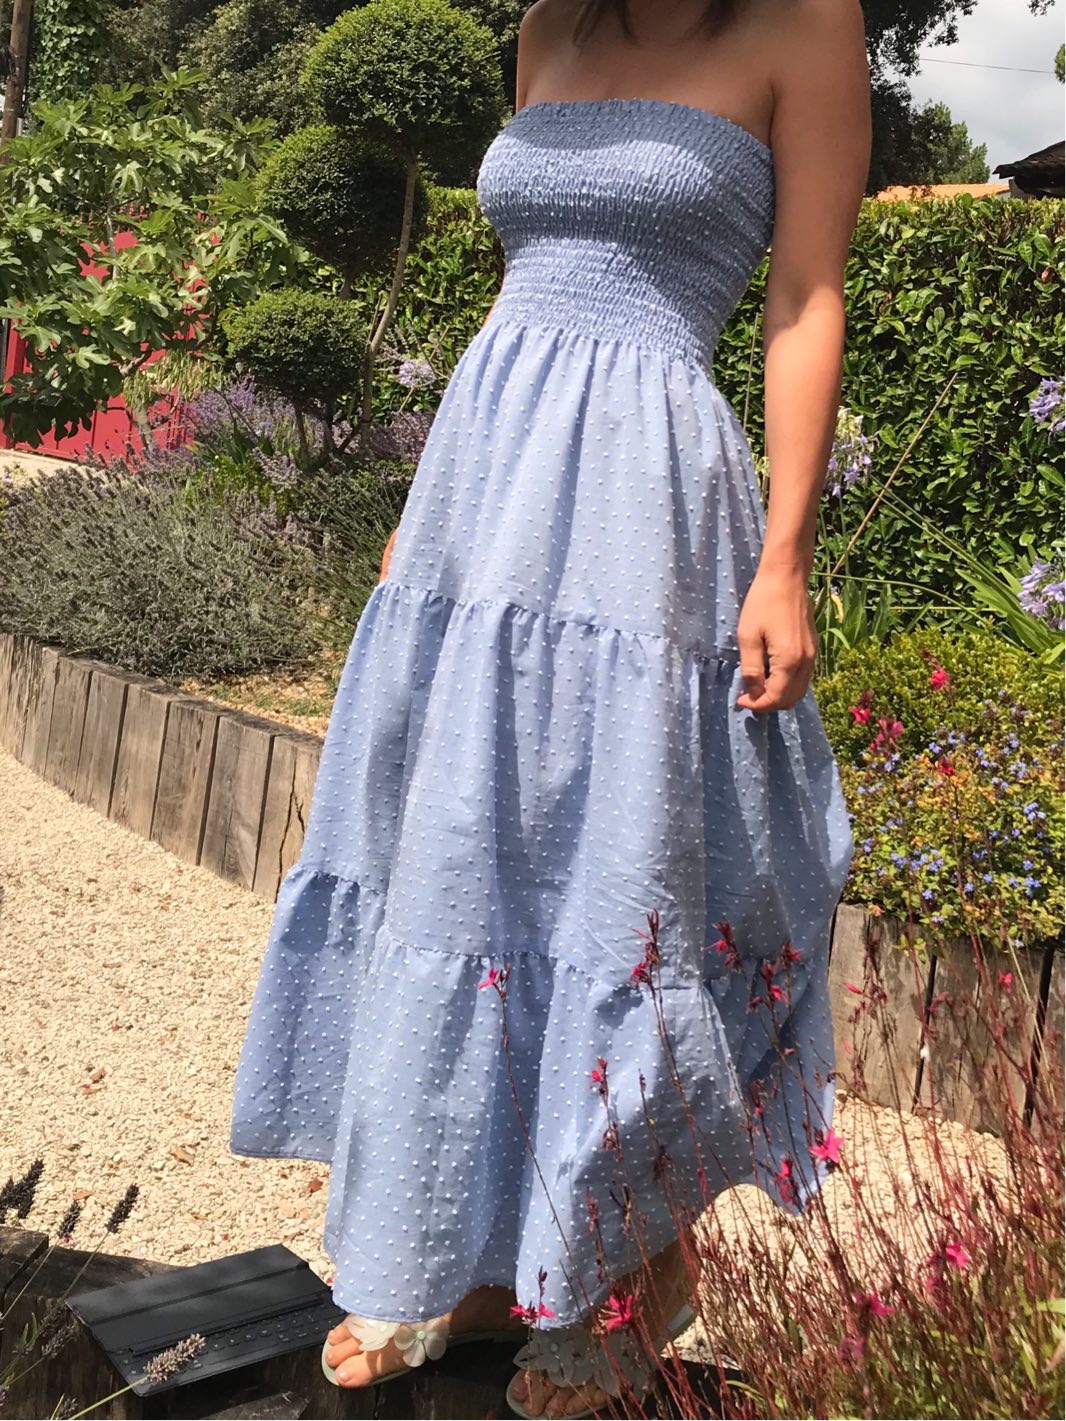
Tutorial: Maxi Dress, Tiered and Shirred
28th July 2019
Read More →
Sewing & Knitting
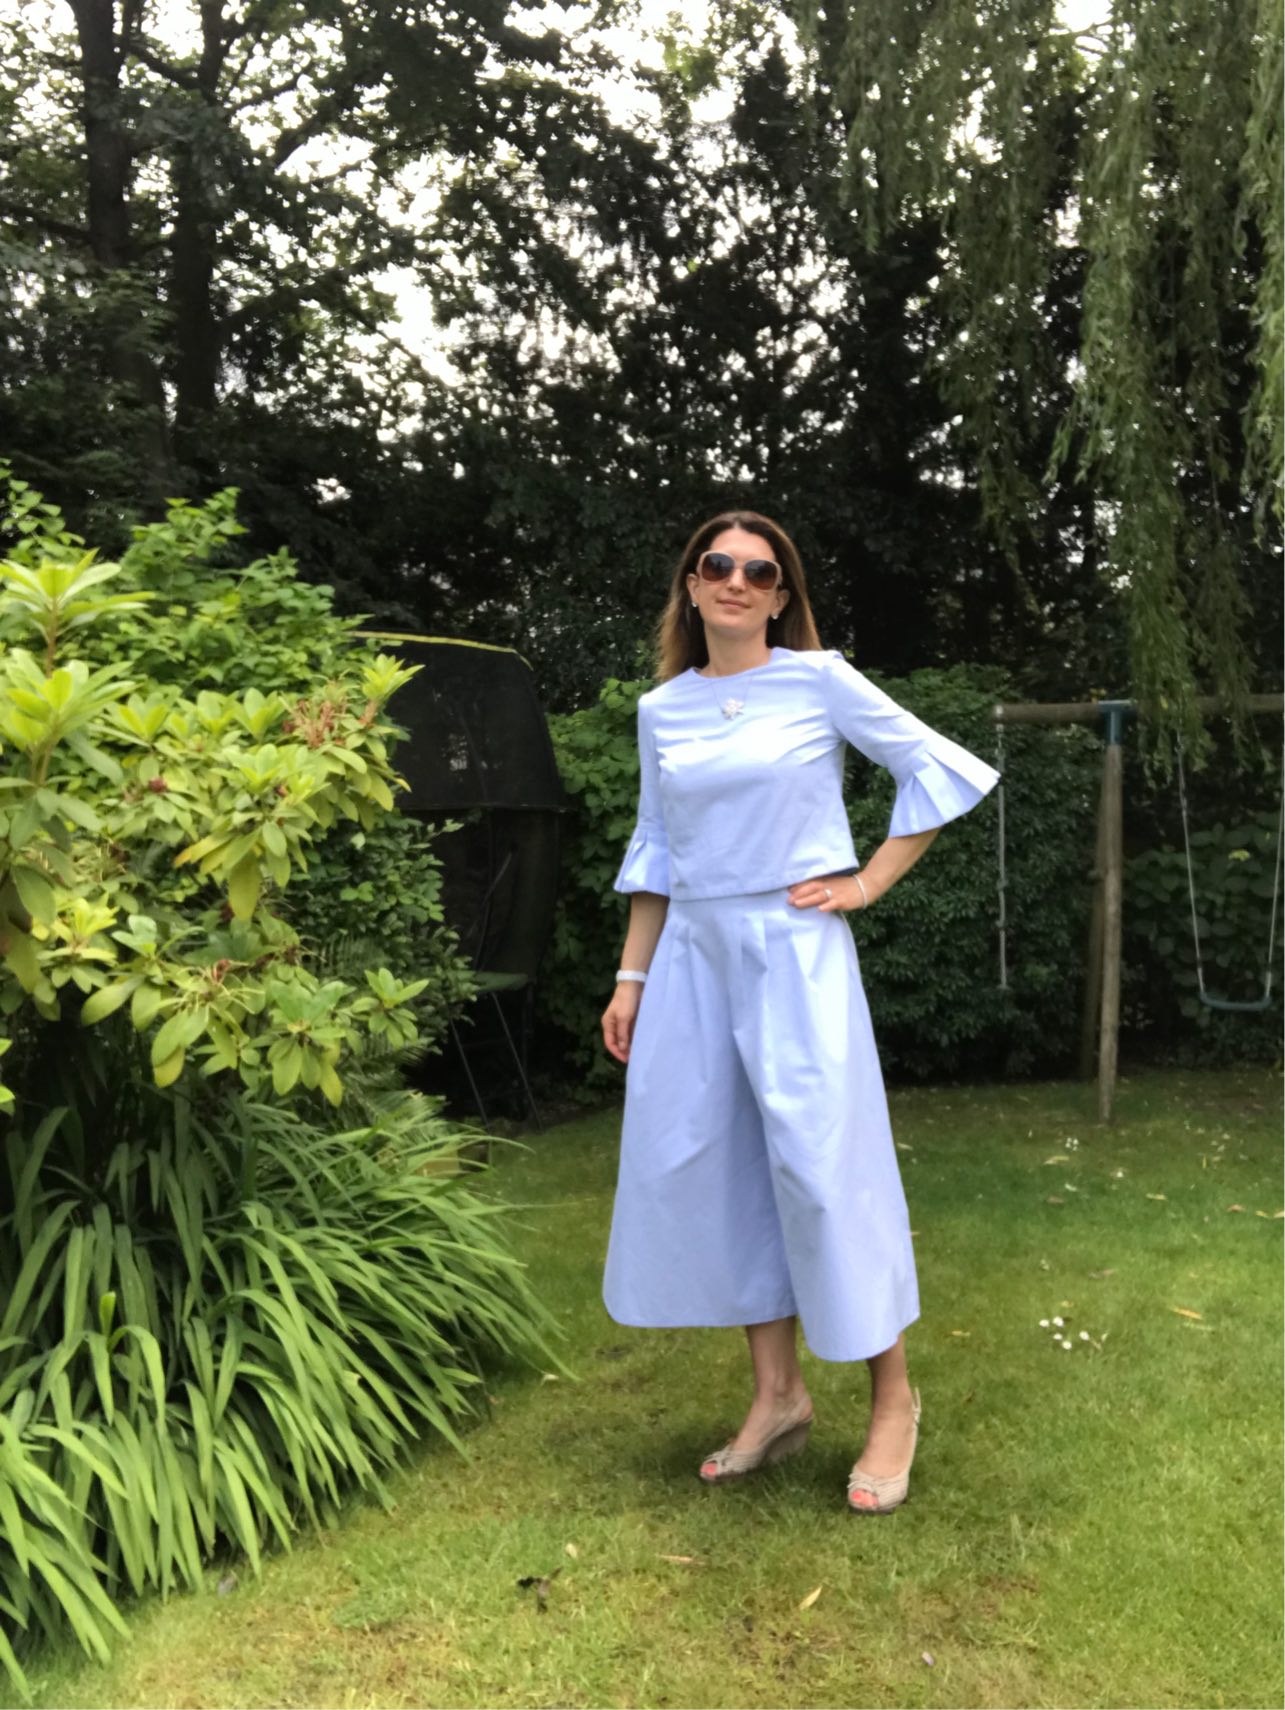
The Jumpsuit That Never Was
15th July 2019
Read More →
Sewing & Knitting
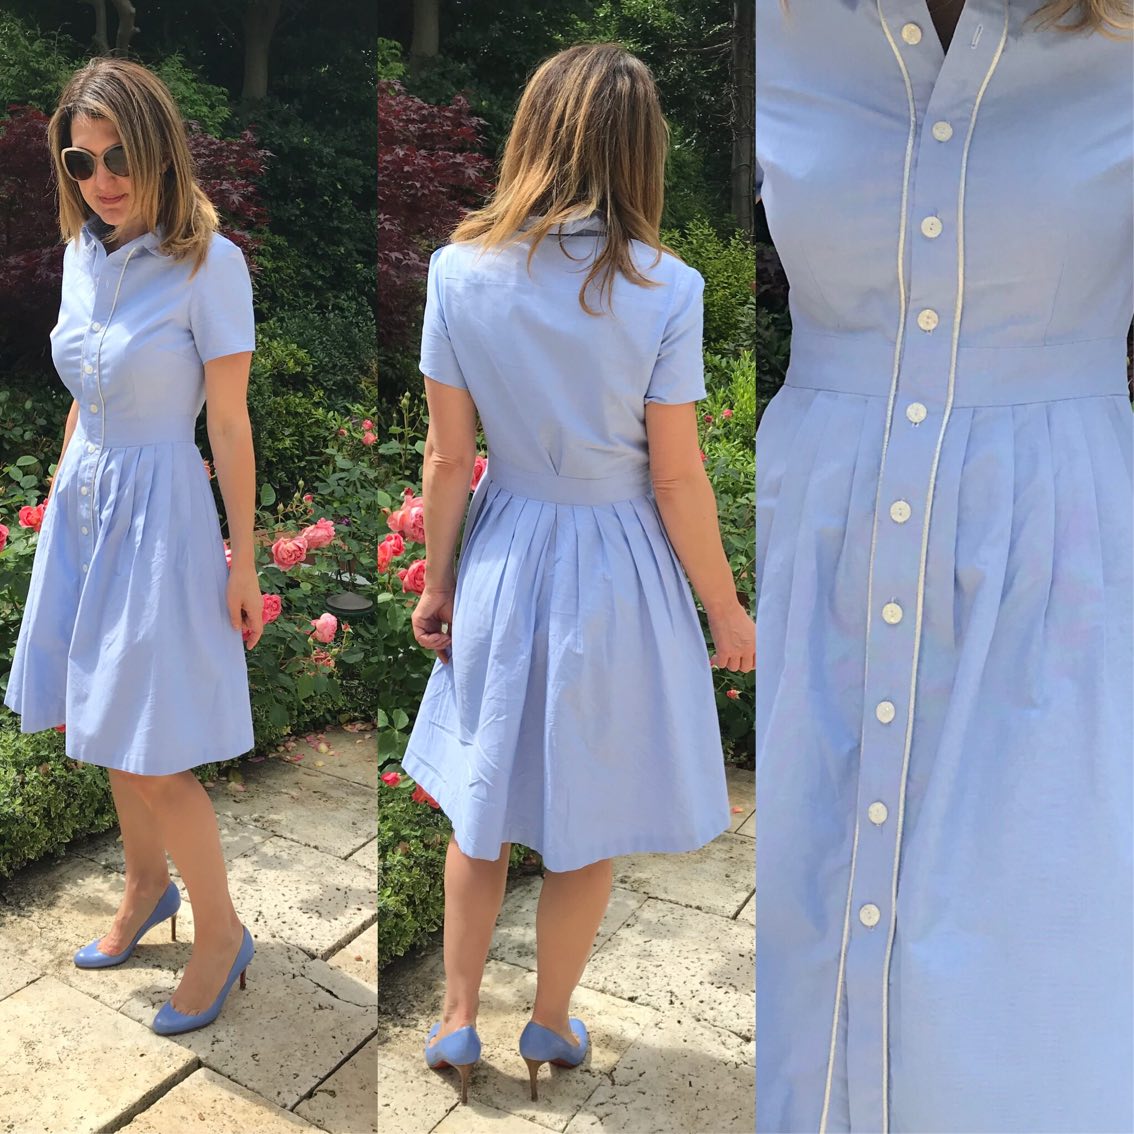
Piping and Buttons – but Sparkly Please!
10th July 2019
Read More →