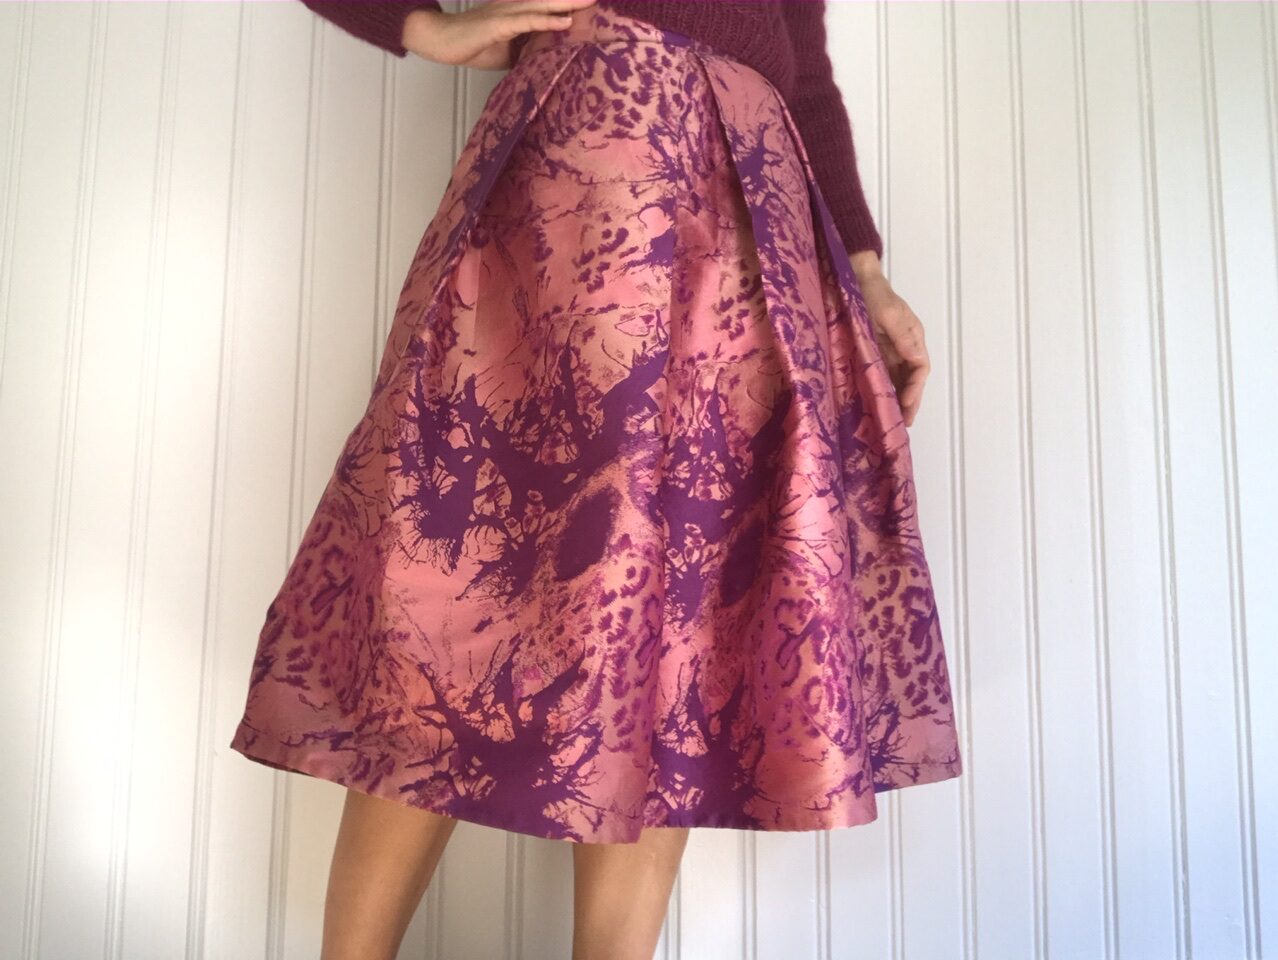
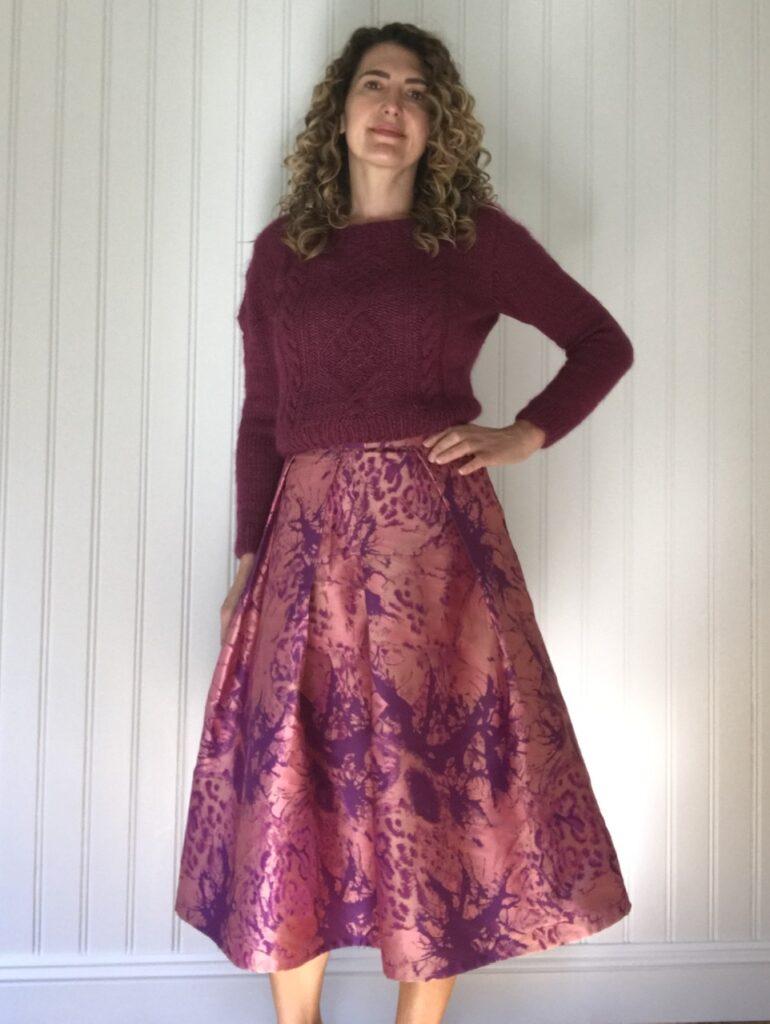
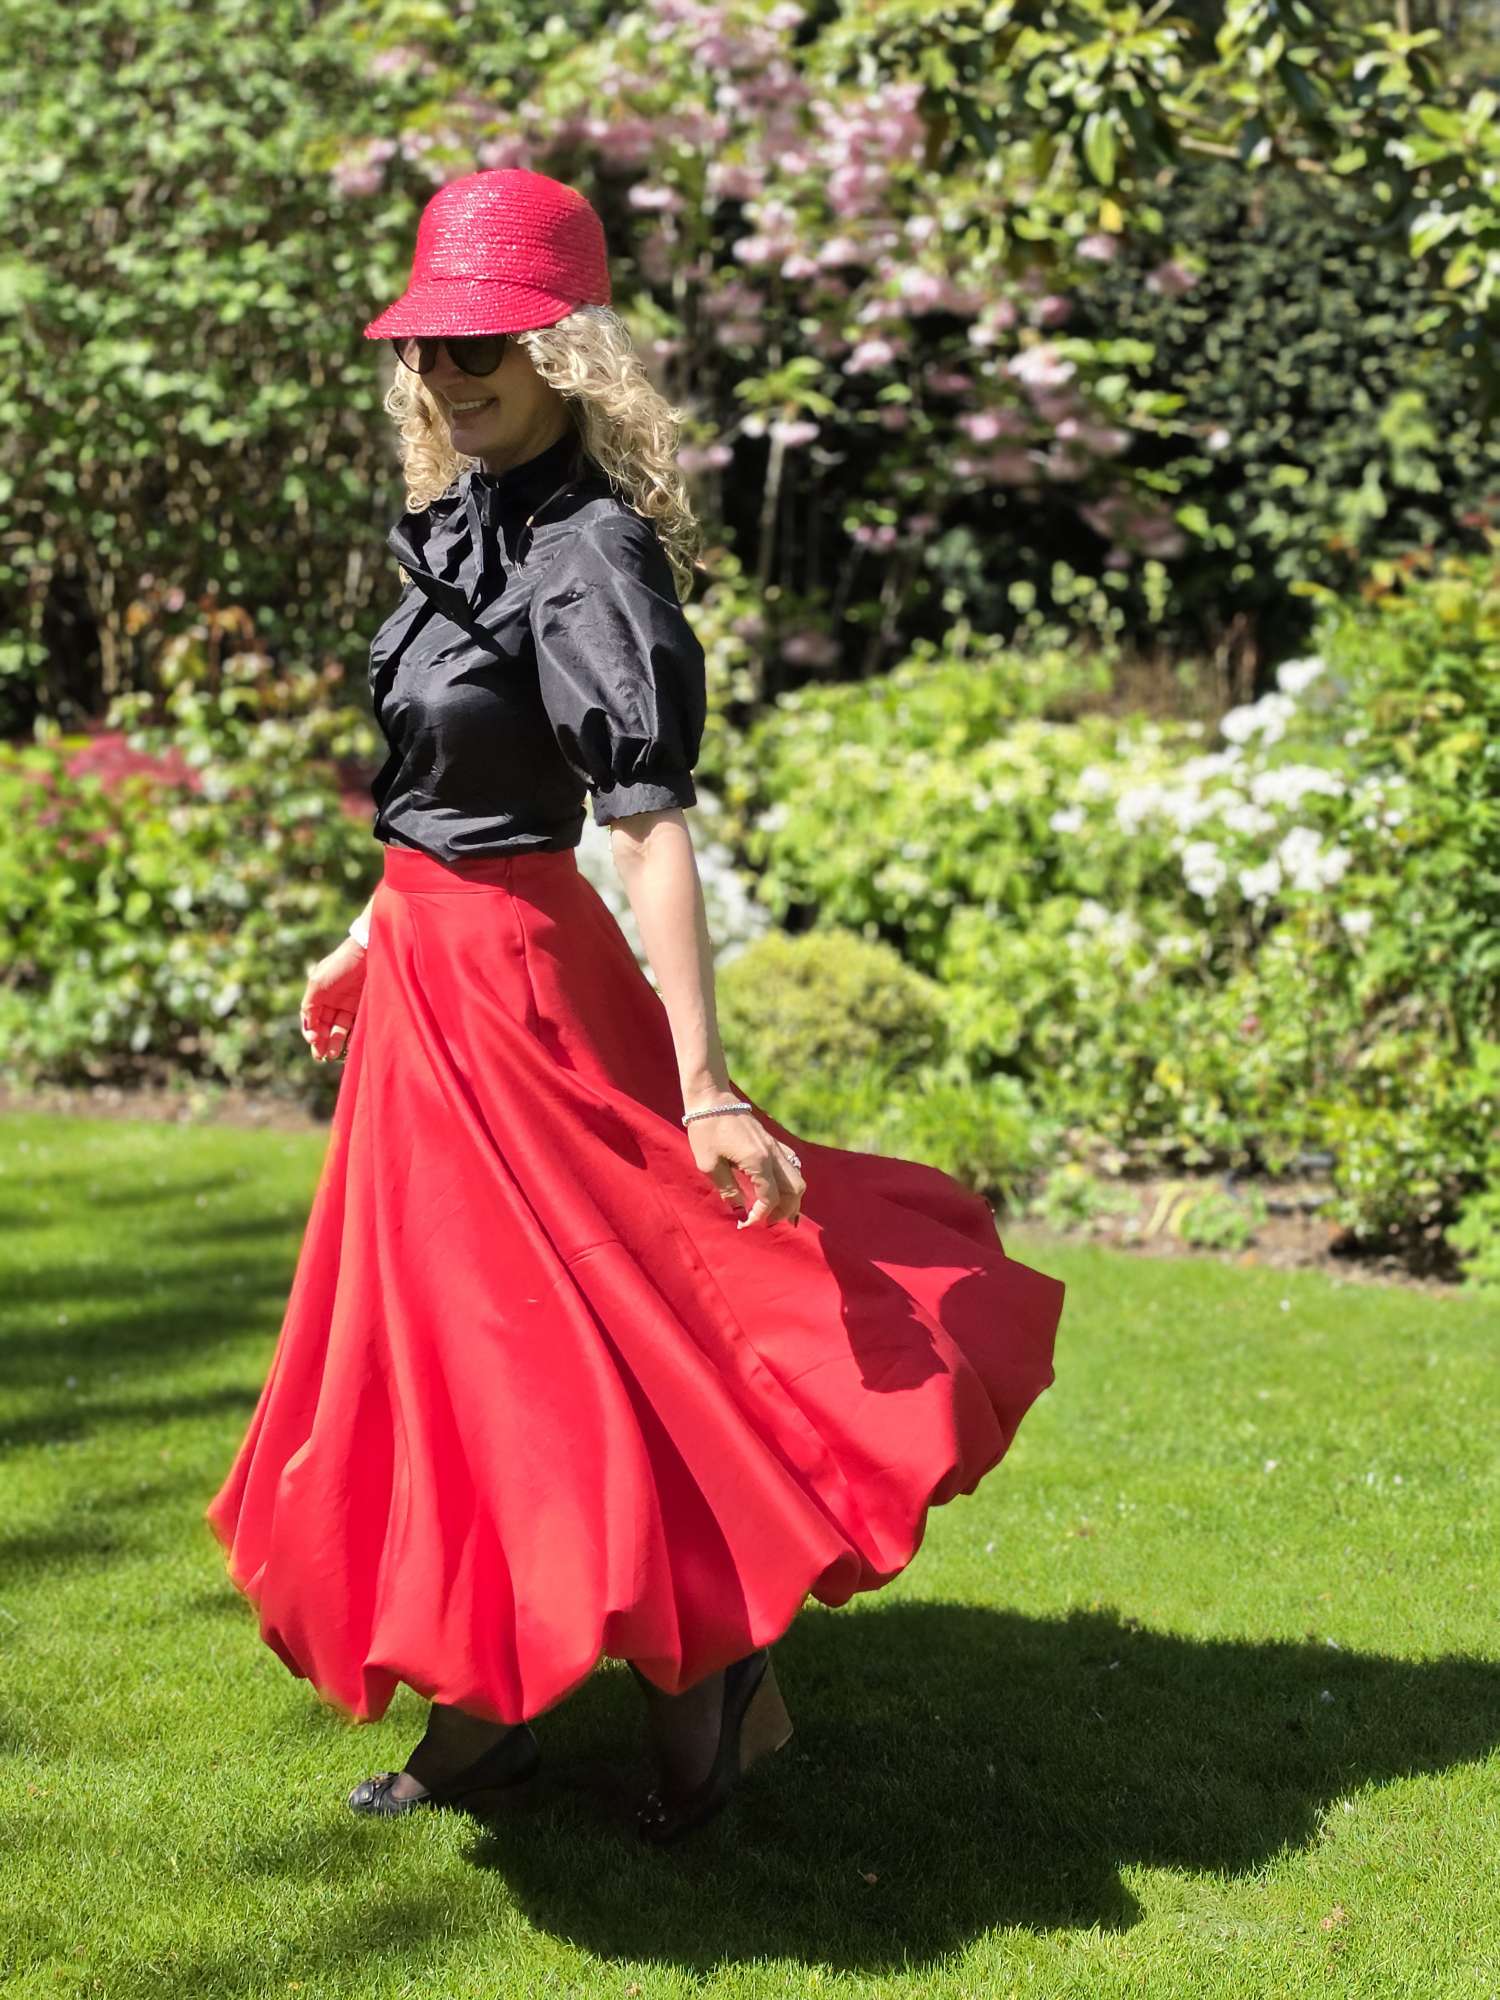
As you know from my skirt of choice for many of my dresses, I am an absolute fan of circle skirts. But every once in a while I feel the need for a voluminous pleated skirt – this was one of those moments.
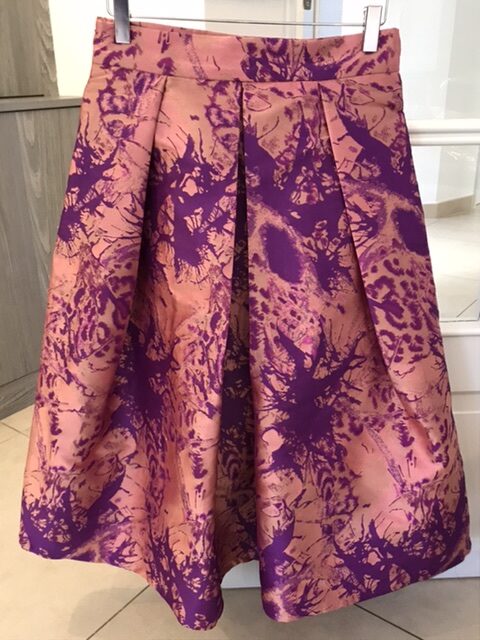
Pleated skirts are particularly appropriate versus circle skirts when you have a border print you don’t want to lose in the circle; when you have a strong directional pattern; or when your fabric is quite rigid and you are worried of a balloon effect – this was what worried me here. As much as I love this gorgeously brocade fabric bought from AmoThread for a bargain price, which I chose specifically to match my hand knitted Chuck jumper, it is definitely more on the rigid side.
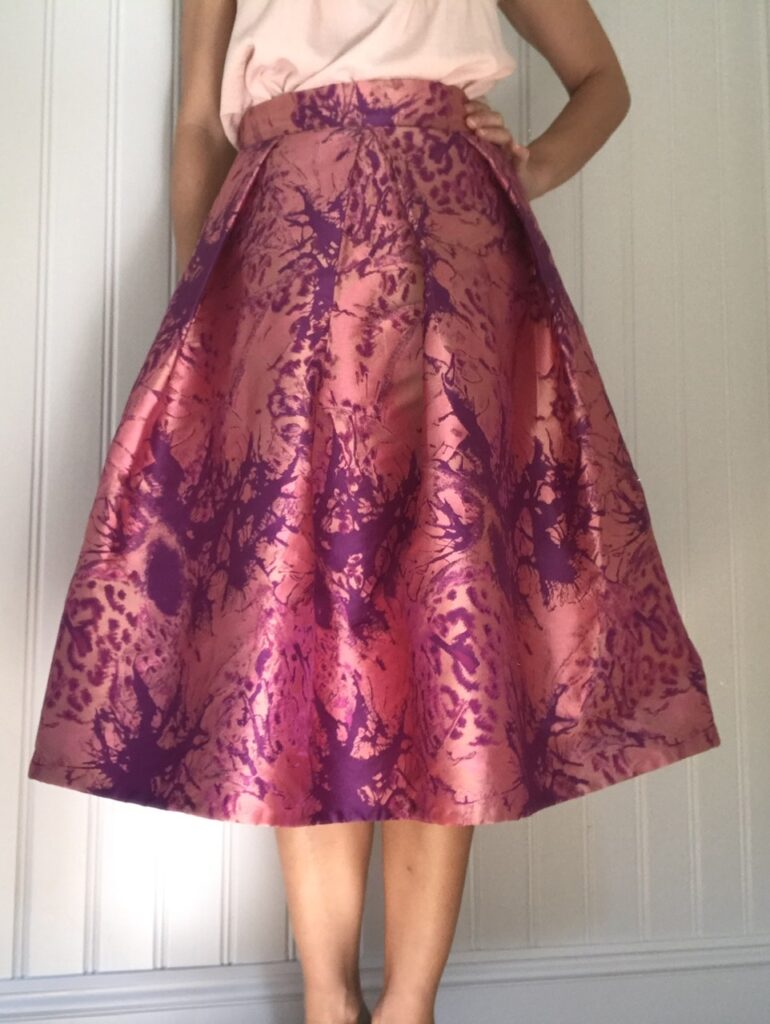
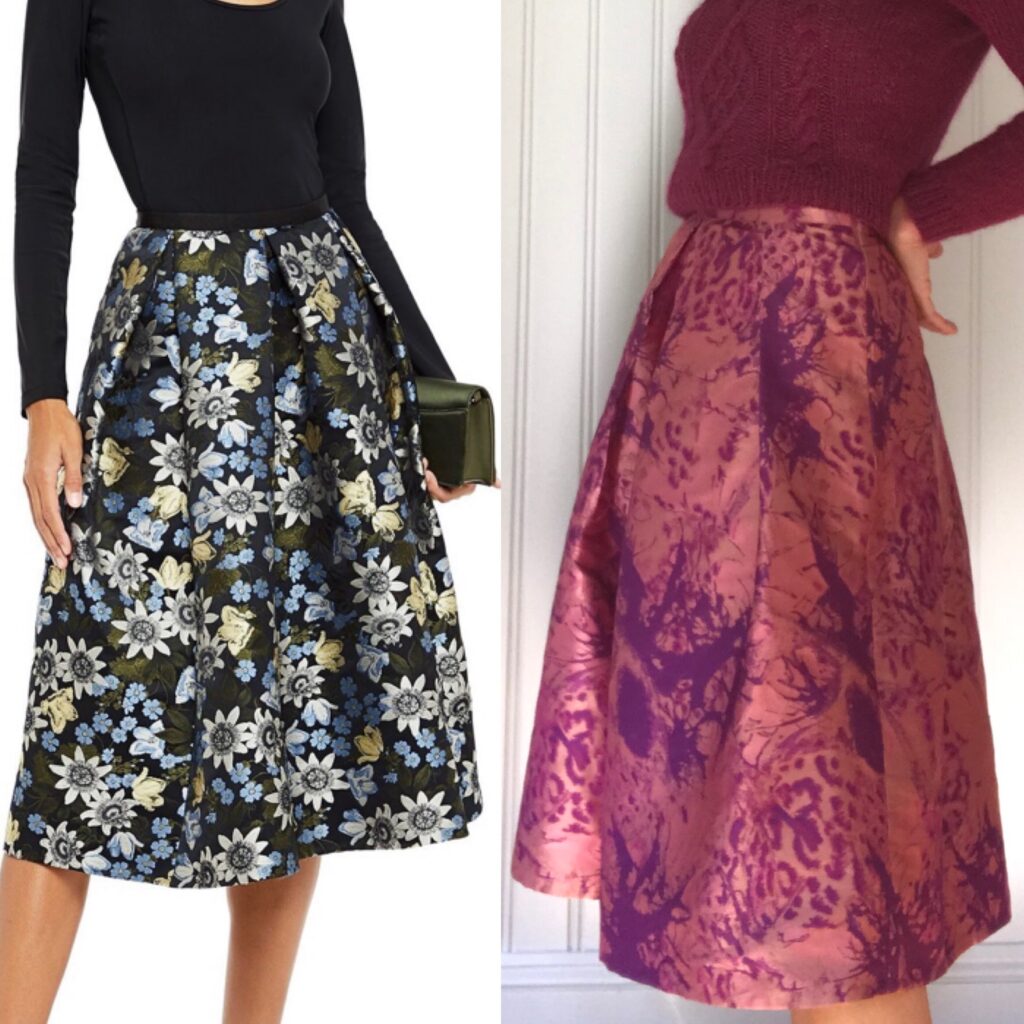
A few weeks after making my skirt (and incidentally taking pictures of all the steps), I stumbled upon an Erdem skirt which was its exact twin as far as shape is concerned (not for price though, my fabric cost was £20 while the Erdem skirt is £400!). So I thought that if even Erdem is into pleated skirts, a tutorial was definitely greatly needed!
MEASUREMENTS
Before you start:
- Measure your waist at its narrowest point – while breathing! And decide on the skirt lenght you want from that point.
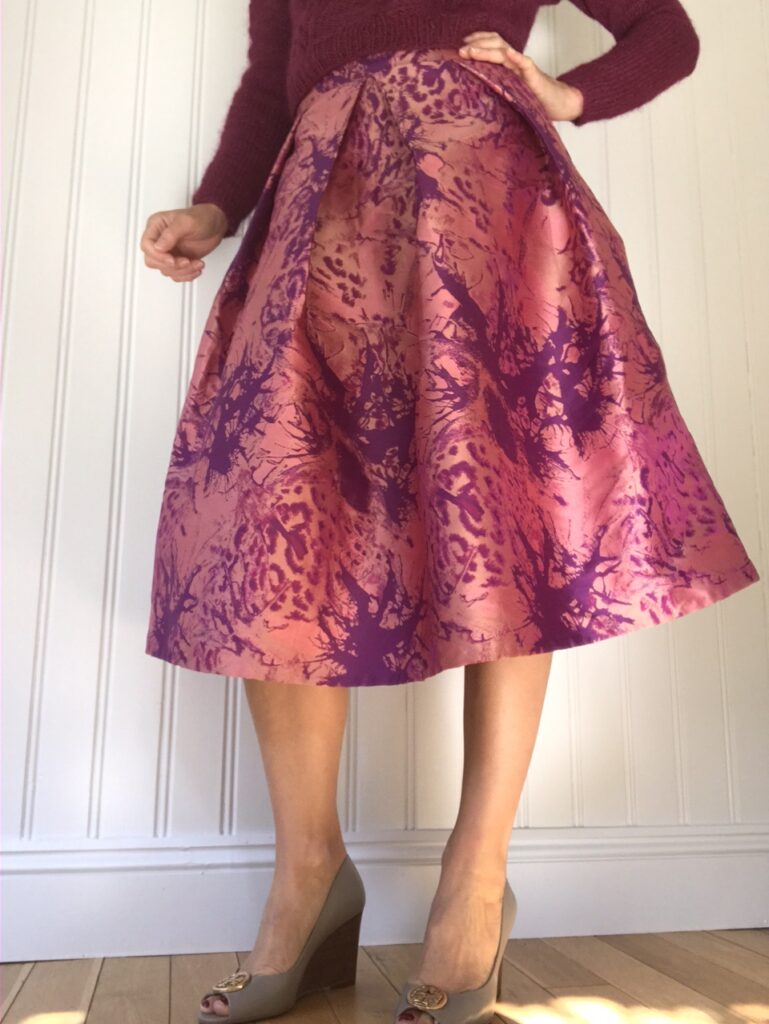
- Decide on your lenght. My skirt is 70cm long – perfect midi for my 168cm height.
SUPPLIES
- 2m of fabric (150cm wide) – washed and ironed
- 68 cm of lining (150cm wide) if you wish to line the skirt – washed and ironed
- A 10cm x1m band of fusible interfacing
- a c20cm invisible zip
CUT YOUR FABRIC
- For the skirt: 2 rectangles of fabric of 73.5cm long (chosen lenght + 3.5cm) x 150cm wide
- For the belt: 1 rectangle of fabric 10cm long x (measured waist + 4 cm ease + 3cm margin) ; and a similar rectangle of fusible interfacing.
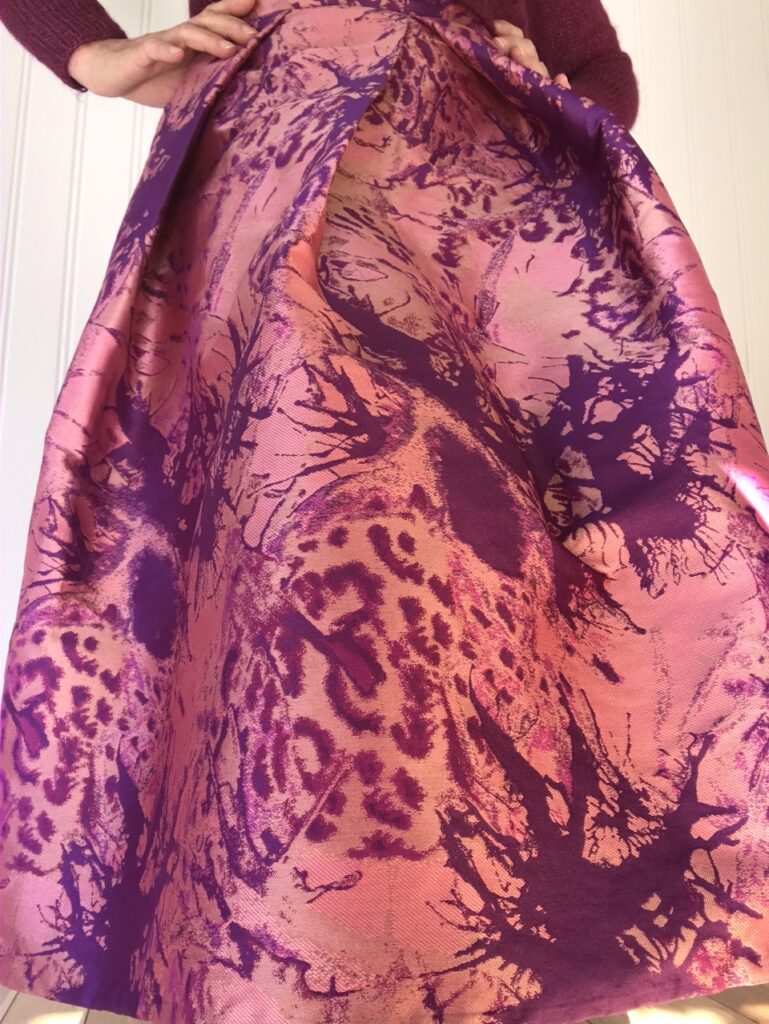
CREATE THE SKIRT PLEATS
First define your pleats width. My skirt has 8 pleats: 4 at the back, 4 at the front. To define their width you therefore need to do the following calculation: pleat width = (waist measurement + ease) / 8. My waist is 68cm and I added 2cm of ease of each side or 2cm in total (in retrospect 1cm on each side would have been enough), so my calculation was : pleat width = (68+4)/8= 9cm. Each of my pleats is therefore 9cm wide.
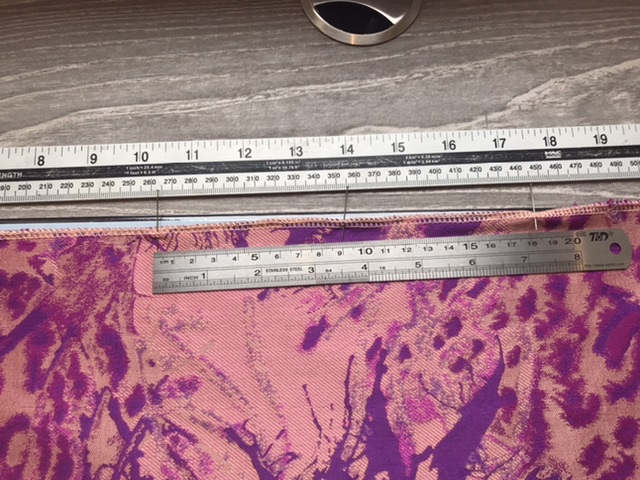
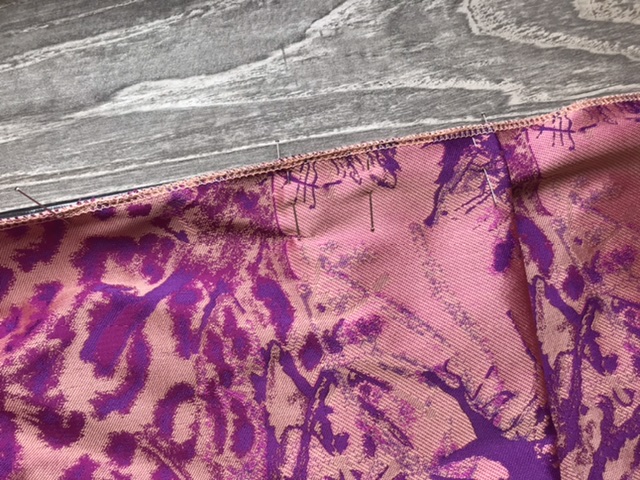
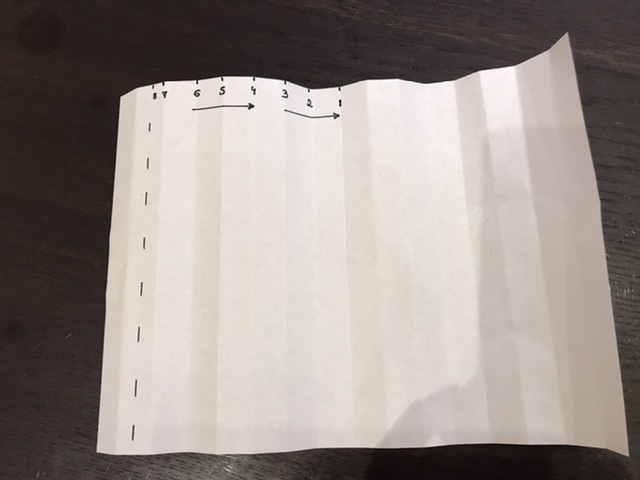
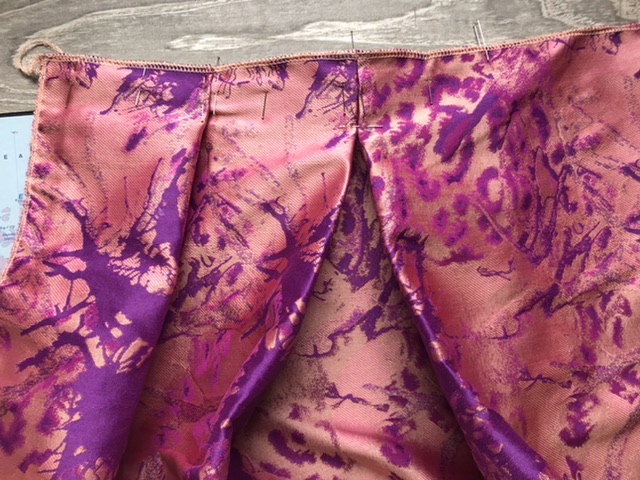
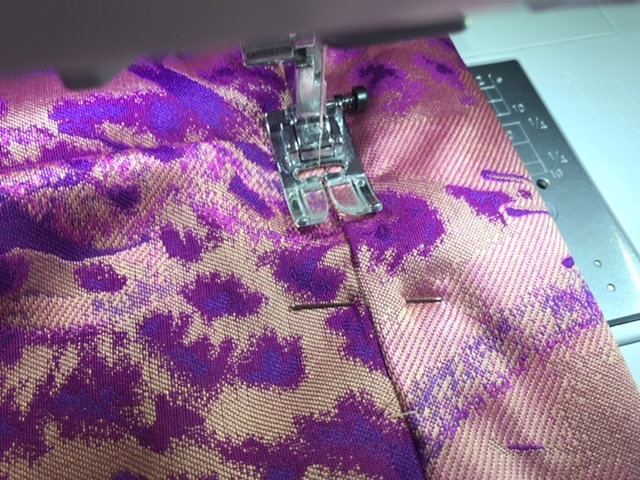
Working with one of the large rectangles, define the top of the skirt and then mark the middle of the waist folding the fabric in two. From the middle and moving to the left, place 7 needles each 9cm appart, then an 8th needle 1.5cm appart from the previous one.

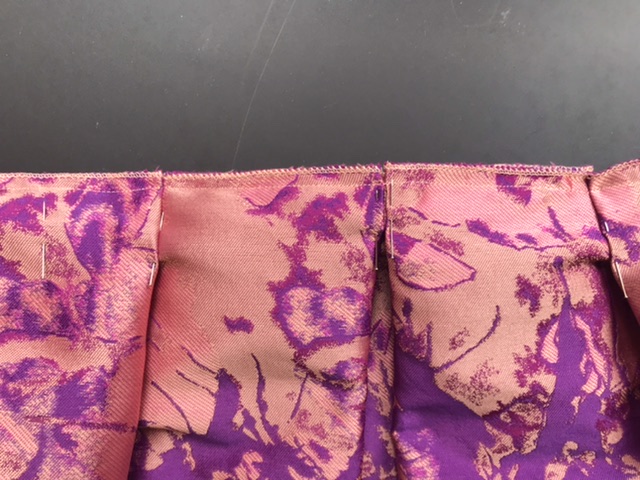
Using your needles for positioning, make overlapping pleats directed towards the skirt center. Starting from your center needle on the right, fold the fabric right side to right side, overlapping needle number 1 (the centre needle) with needle number 3, while needle number 2 marks the pleat on the left.
Then open the first pleat, and add loads of extra needles to keep the pleat in place.
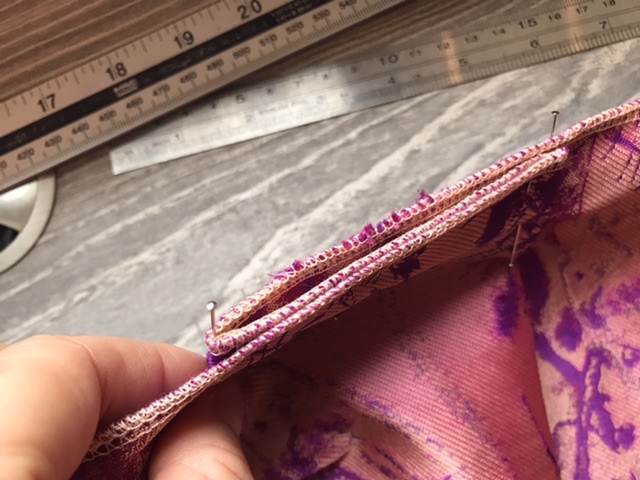
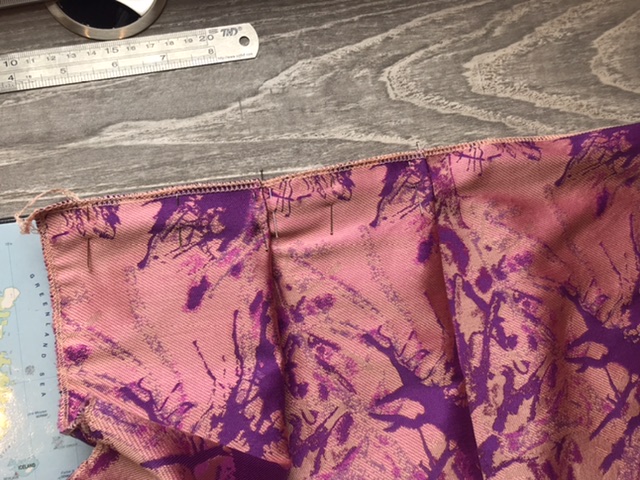
The first pleat will look like this from the top, with three layers of fabric:
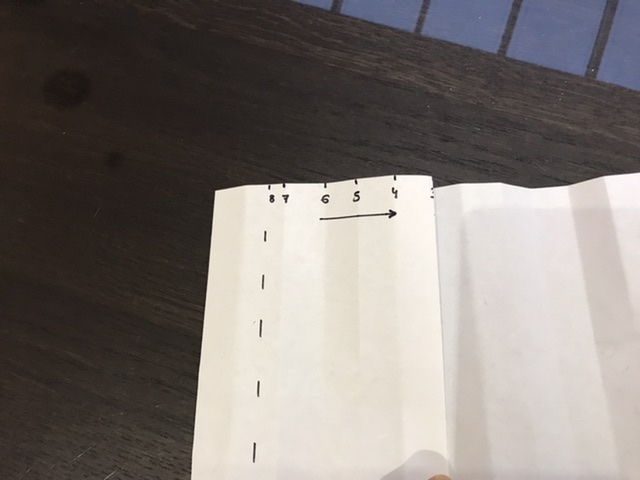
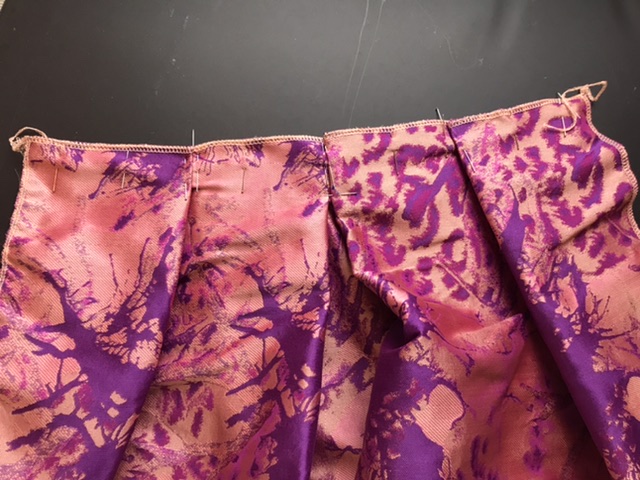
Proceed in a similar way for the second pleat: needle number 6 will overlap needle number 4 and needle number 5 will mark the pleat.
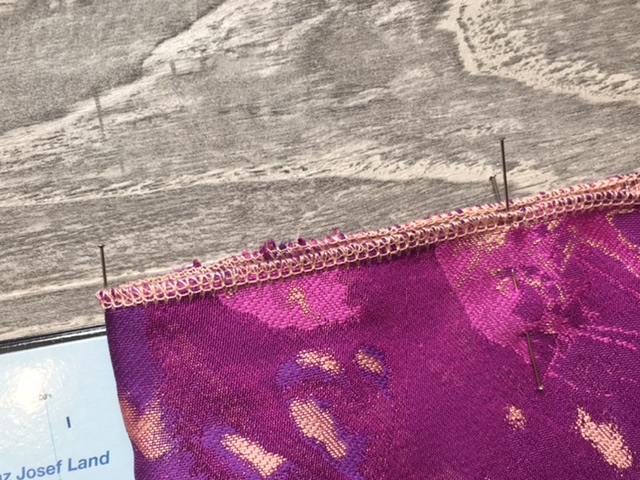
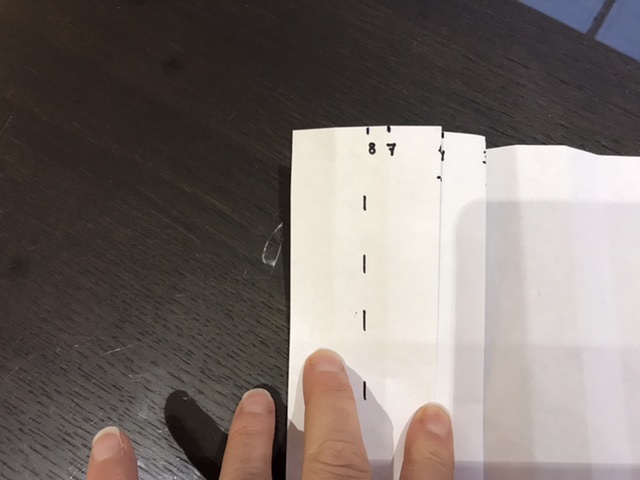
Needle number 7 marks the left end of the 2nd pleat, and needle number 8, located 1.5cm appart, marks the end of your needed fabric – you can cut the excess fabric on the left and overlock the side. (I only cut here in case I get my initial pleat calculations wrong!).
Here is a rough schematic of how it works:
Proceed similarly for the right side of this skirt panel.

And then do the same to the other skirt panel.
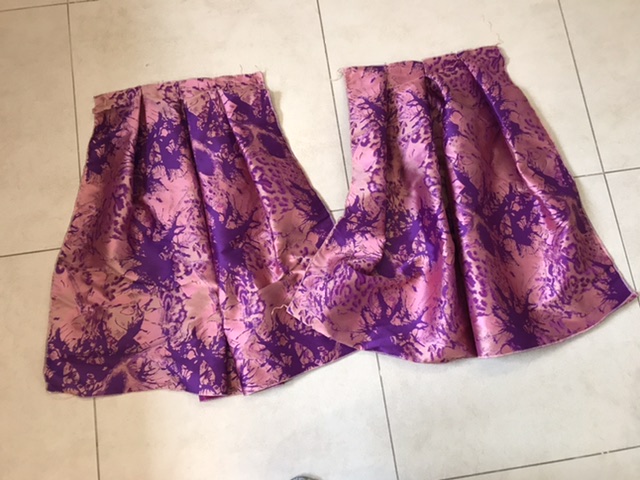
JOIN FRONT AND BACK SKIRT ON ONE SIDE
Make sure all side hedges are overlocked at this stage (if you don’t have an overlocker, a zigzag stitch is perfect). Sew 1.5cm for the hedge on only one side of the skirt (the zip will be positioned on the other side),
Also overlock the top of the skirt, to keep the pleats in place – but keep pins in place too.
ADD THE LINING
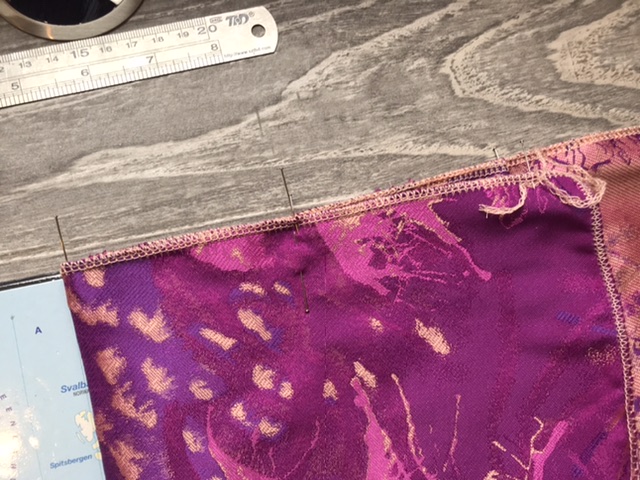
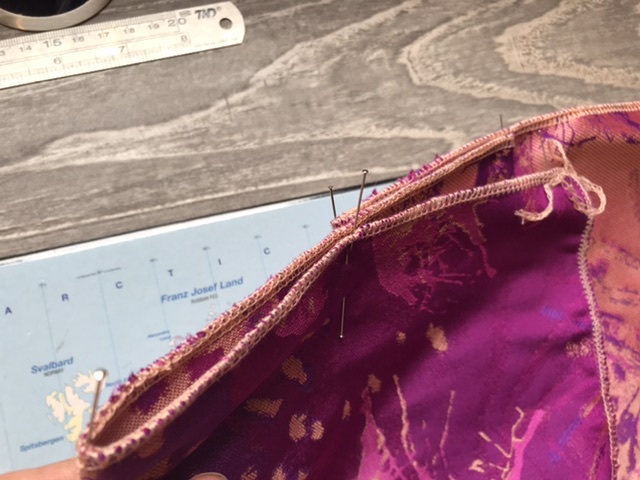
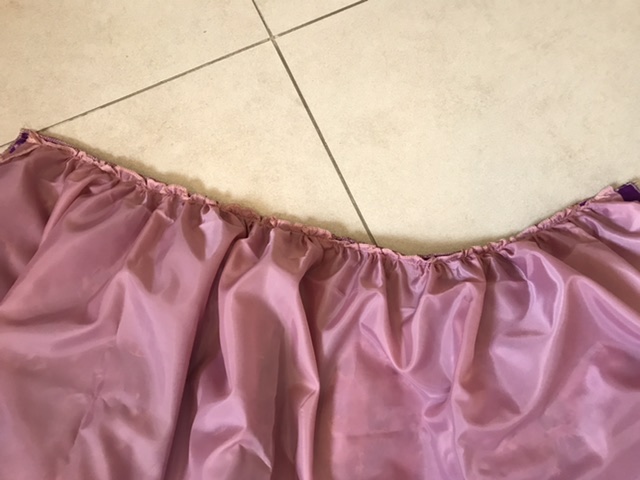
Here you can be totally lazy and not line the skirt at all (but read my article about sewing metallic brocade first if this is your fabric of choice, because you need to know that metallic brocade is very itchy!!!). You can be a complete perfectionist and reproduce the pleating to the lining. Or you can chose a quicker route and just gather a rectangle of fabric, 150cm wide and slightly shorter than you skirt. Once the rectangle is gathered attach it to inside of the skirt.
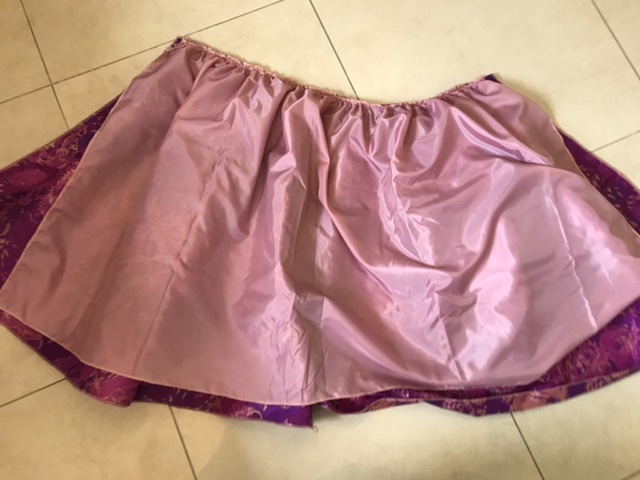
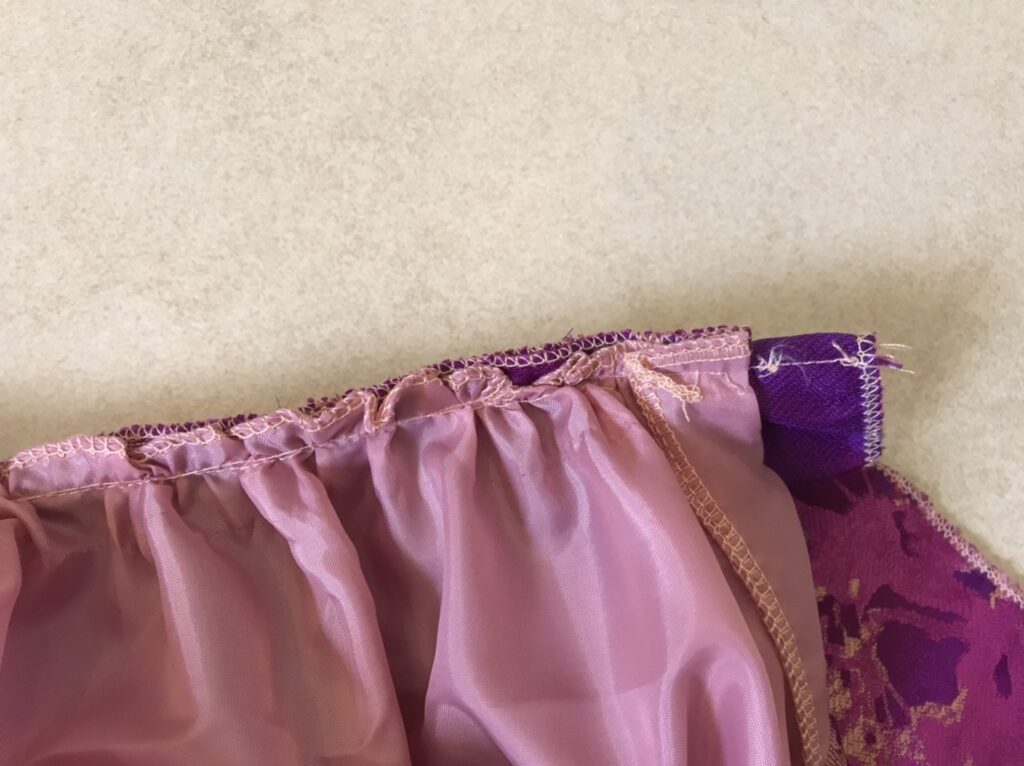
You want the side of the lining to be 1.5cm away from the side of the skirt; and the excess lining fabric to be folded on the inside (not on the outside like the picture!!!), so that you can attach the side to the skirt but not to the lining.
JOIN THE BELT
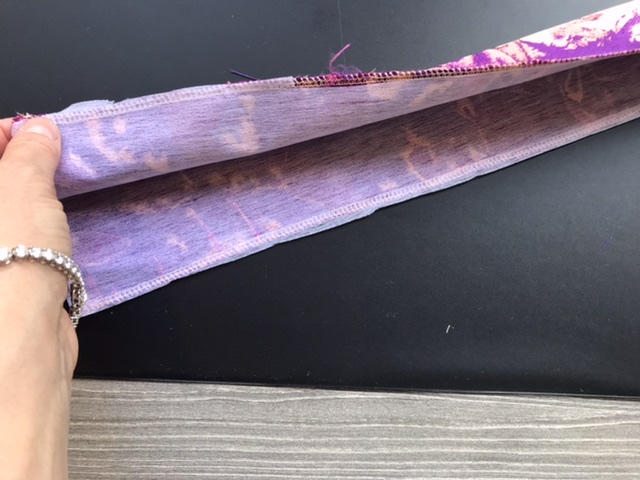
If you haven’t done it before, cut the belt piece to the width required (waist measurement + 2cm ease + 3cm sewing margin) and overlock the short sides. Do the same with the fusible interfacing and iron it on the wrong side of the belt fabric.
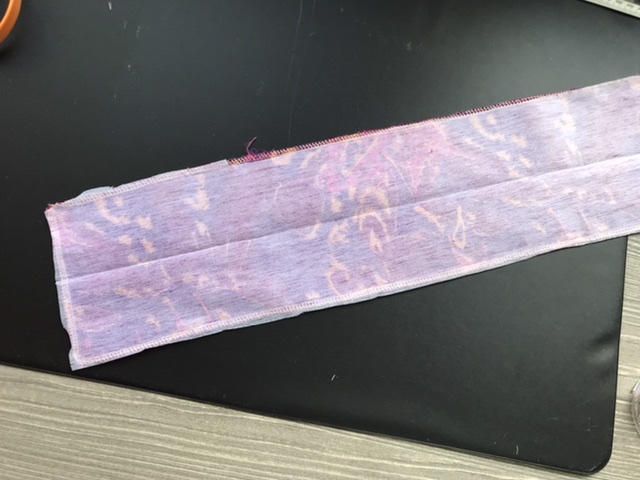
Fold the belt in two, wrong side of fabric to wrong side, to mark the 5cm center width.
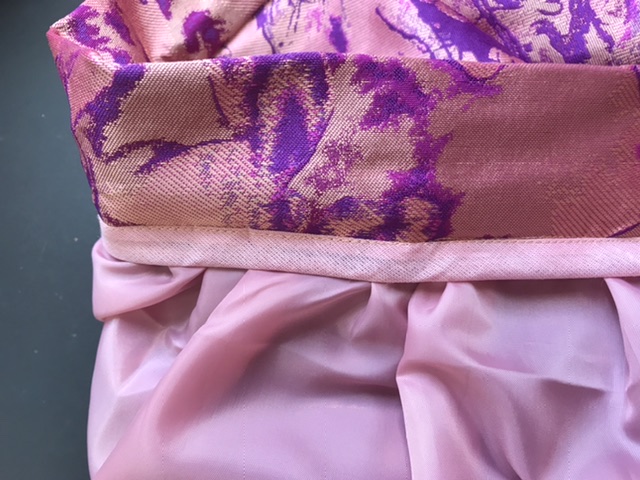
Attach the belt to the skirt, right side to right side, sewing 1.5cm from the edge.
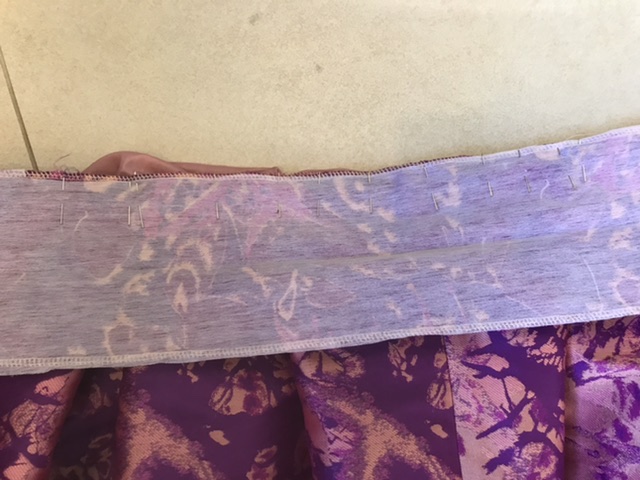
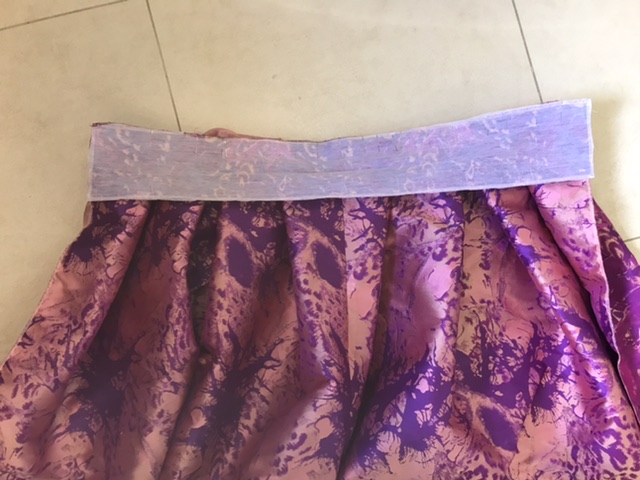
Fold the belt in two and overstitch from the right side of the skirt fabric.
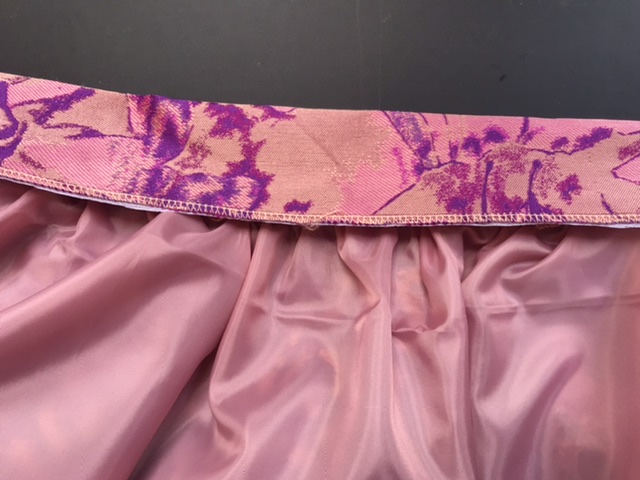
For a neater finish on the inside, you can chose to use bias to cover the belt exposed edge (do this before overstitching).
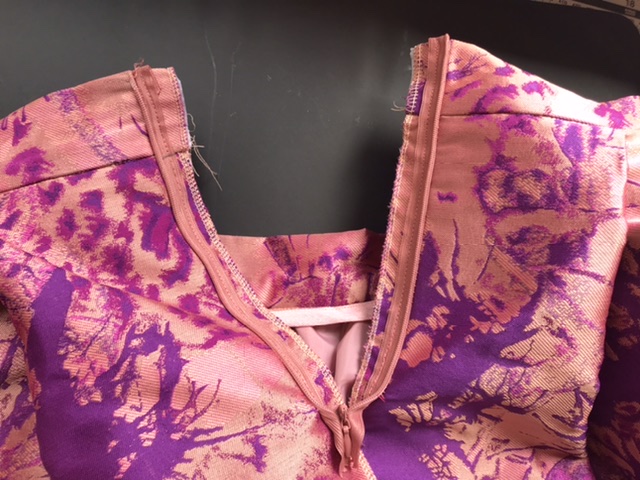
FINISHING LINE
- On the unsewn side of the skirt, add an invisible zipper.
- Sew the sides of both skirt and lining, 1.5cm from the edge.
- Hem both skirt and lining by folding the fabric twice by 1cm – you can hand-sew the hem of the skirt but I would strongly advise machine-sewing the lining!
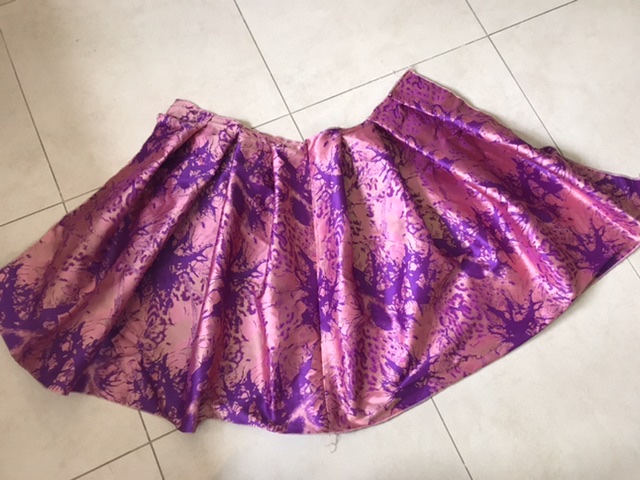
ET VOILA!!!


Hi, I have a beautiful border print I’m planning on using to make a full skirt for a dress. I don’t want to gather the waist as I don’t need to look larger than I am. Your tutorial is perfect. Solves my problem totally. Only thing I’ll need to do is change the metric to imperial measurements or ratios. Thanks so very much.