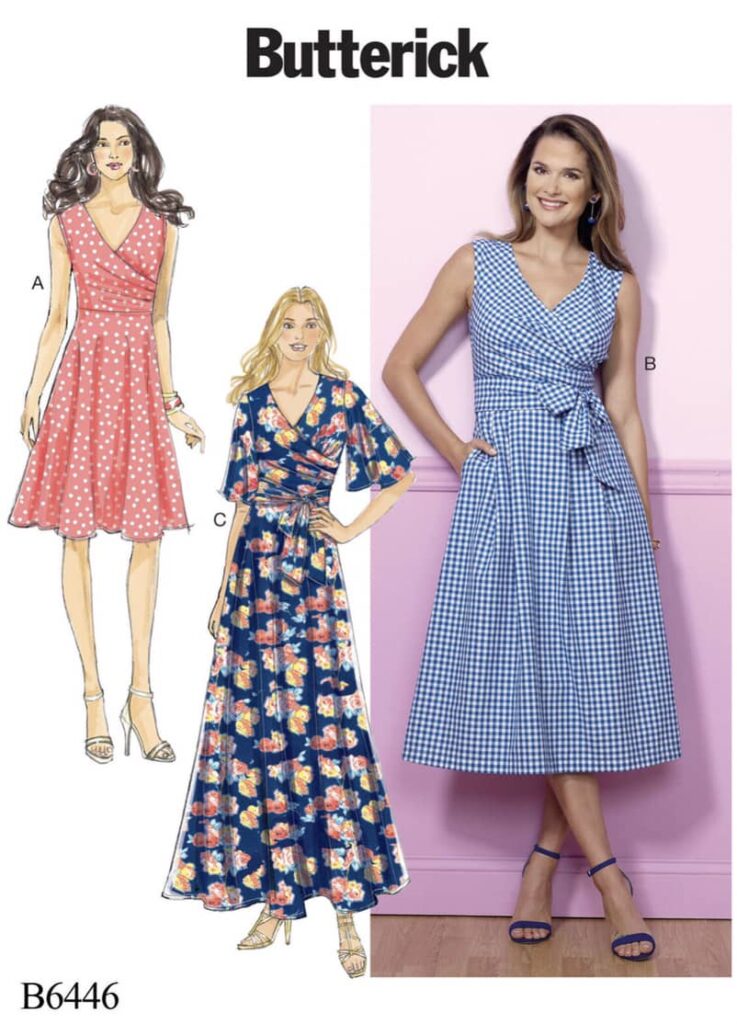
Sewing a B6446 dress in pink and gold brocade
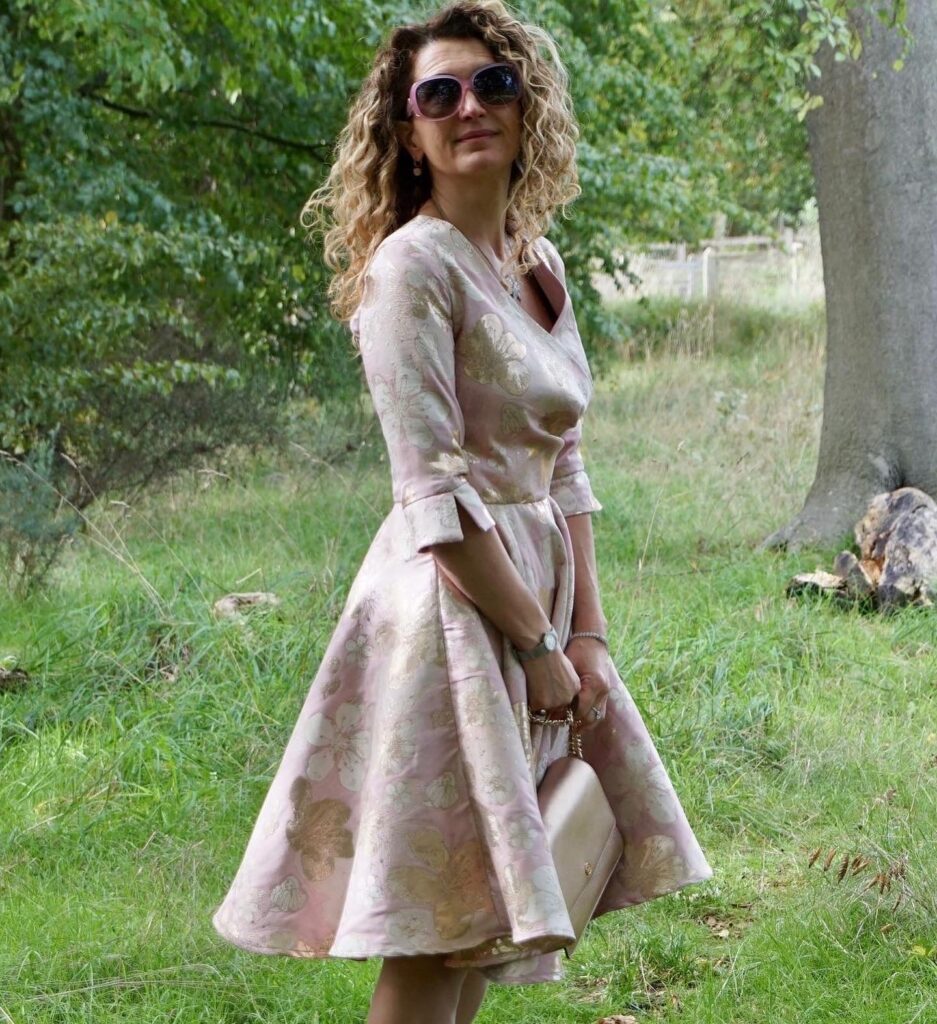
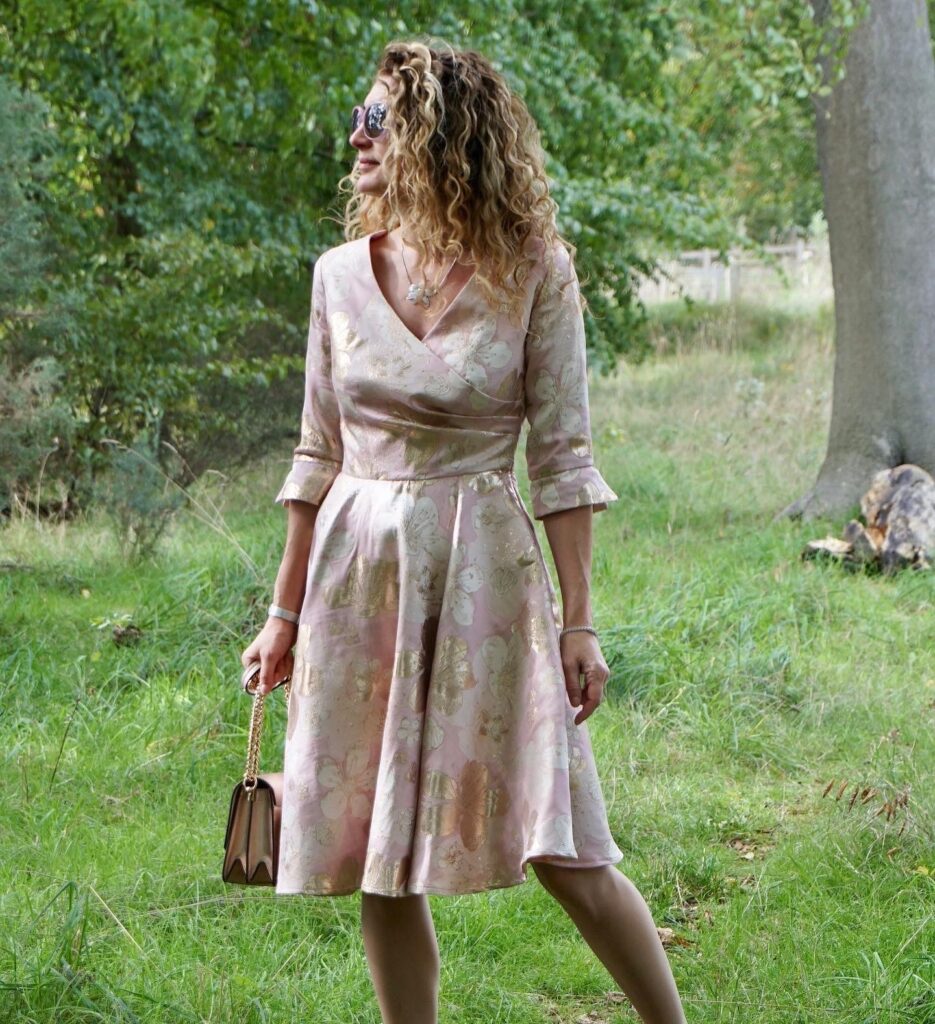
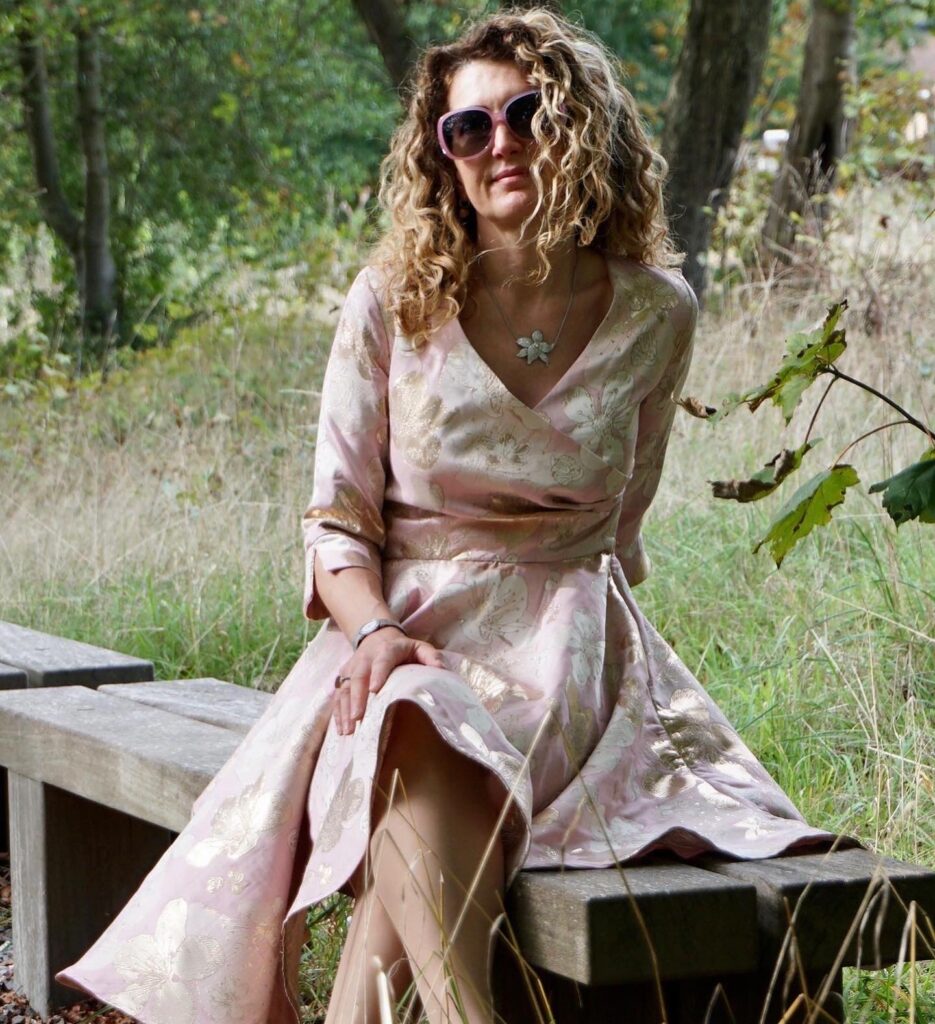
The transition to Autumn sewing has been slow on the blog. Life has been busy, with a very big project finally materialising – we are building a house and the construction is finally happening, hurrah!!! However, I have managed to find time to sew, and here is my latest make: a B6446 dress, in a glorious pink and gold brocade – discreet and understated as ever…
B6446: an all-time favourite pattern
I have now sewn the B6446 dress pattern… well, quite a few time! Enough for it to become well establishes in the “Six Mignons Sewing Hall of Fame”, along with M7081 (8 versions), Magnolia by Deer&Doe (x8), V9253 (x5), M6696 (x4) !
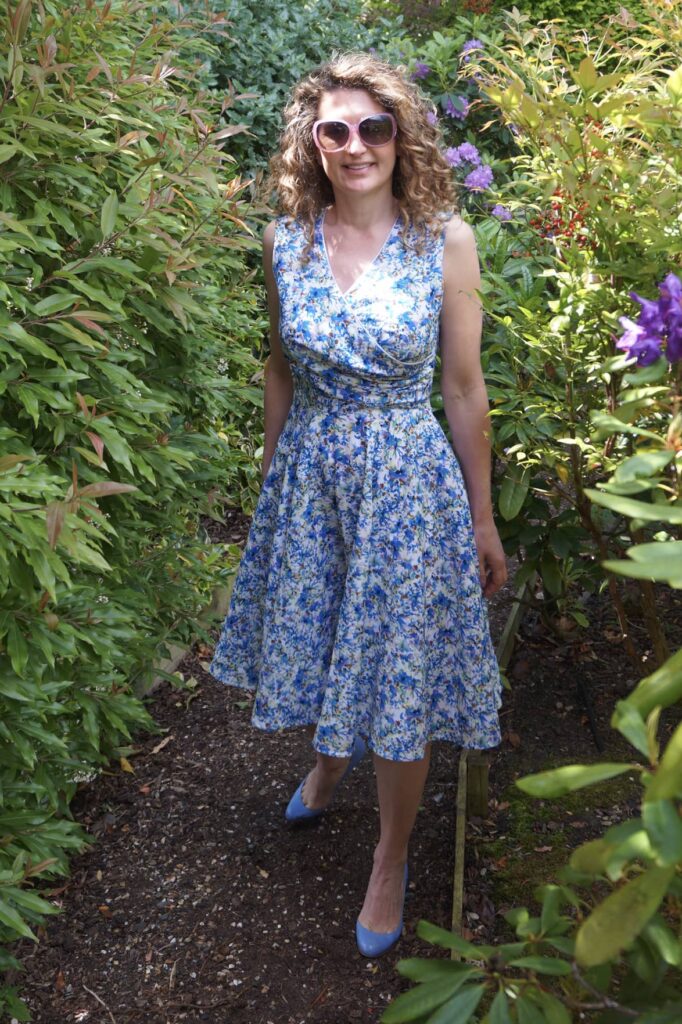
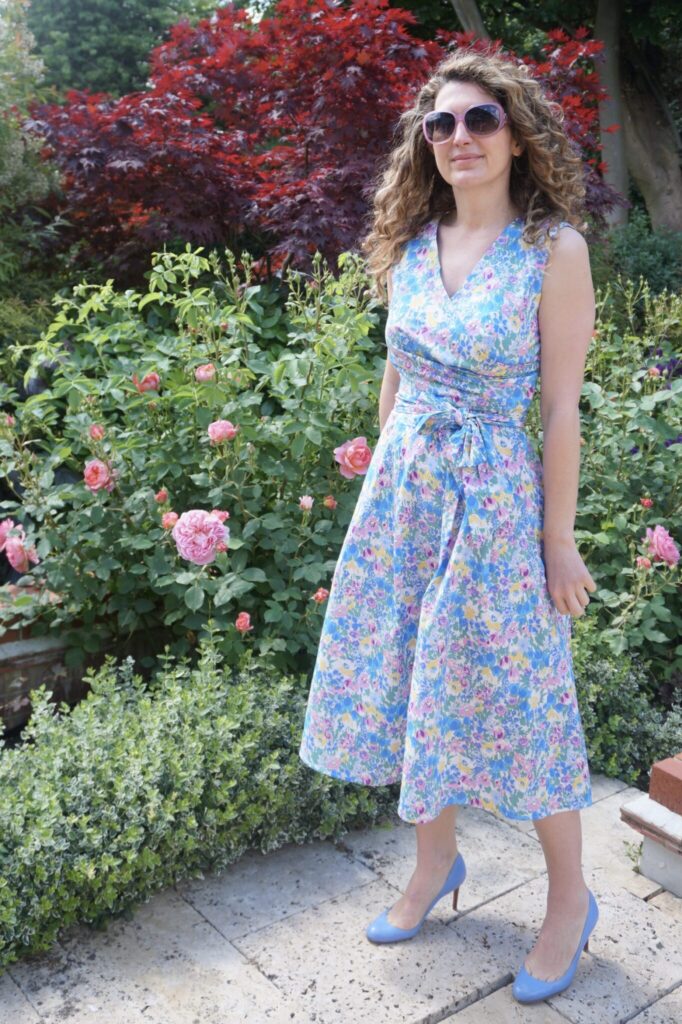
Here are my previous three versions of this pattern (reviewed on the blog here and here).
B6446 pattern review: many positives, only one negative
Let’s repeat what I said before. There are many things I like about the B6446 pattern:
- The dress beauty lies in its mock-wrap bodice: the bust ease of the top piece is created by three side pleats, caught in the side seam. These pleats are not replicated on the hidden part of the bodice wrap, to avoid unnecessary bulk.
- The dress fits to perfection. As usual with Vogue/ Mc Call’s/ Butterick pattern, I cut a size 10 for my UK 8/ FR 36 / US 2. After making a bodice muslin, I did add 0.5cm at the waist to have a tiny bit more ease; but I made absolutely no other changes. In particular, there is plenty of bust room and I did not need an FBA for my E cup – hurrah!
- With a fully lined bodice, the inside finish is absolutely impeccable. I fully line my dress bodices most of the time anyway but it is usually not included in the pattern instructions – here it is.
- The pattern instructions are crystal clear, as they usually are for Butterick, Vogue and McCall’s. If you are not used to lining bodices, they will help you immensely.
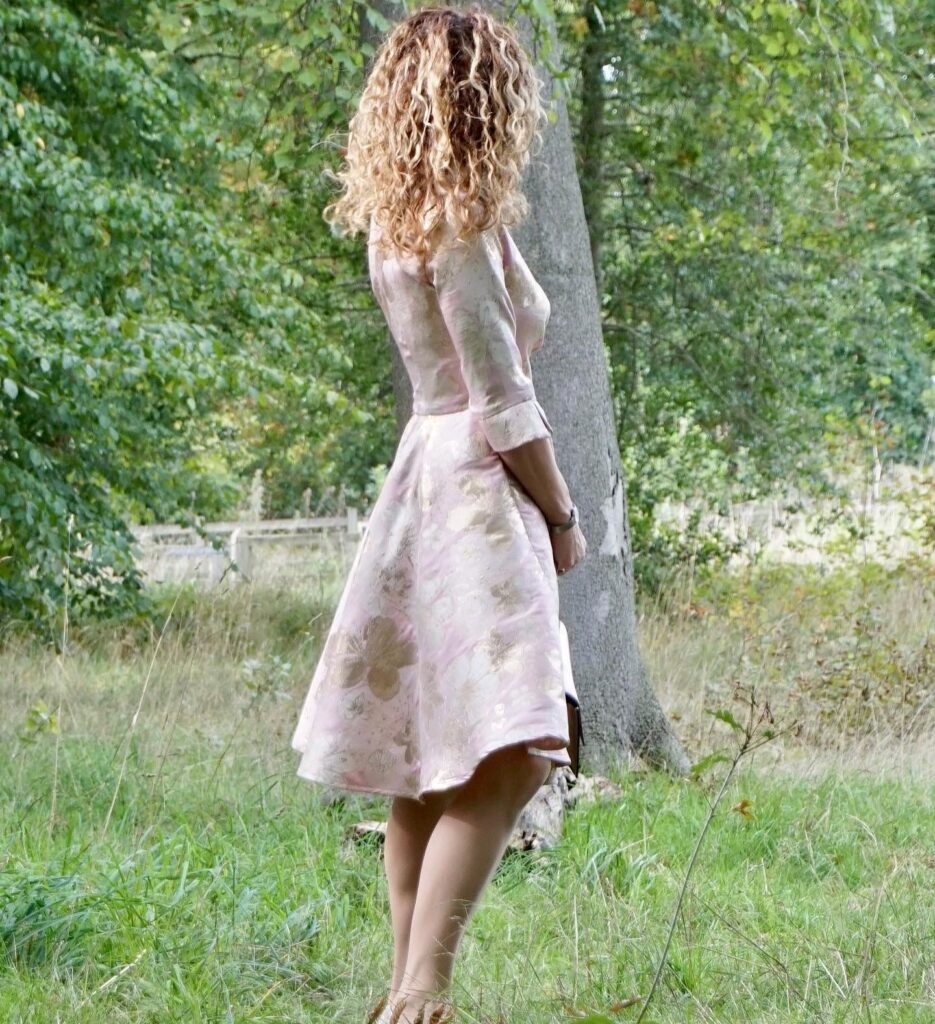
The major negative of this pattern is the bottom. The skirts on offer are frankly uninteresting in comparison to the bodice. I would strongly advise you go for much more volume with a full circle skirt, as I did.
Changes I made to the pattern
I made two main changes to the pattern, using pattern pieces from my beloved M7081:
- As just mentioned, I swapped the skirt for a full circle, so much more appropriate to the style of this dress in my view. Please note that I am note wearing a petticoat under my skirt, all the volume comes from the skirt itself – this is the reason why I like full circle skirts so much!
- As I really dislike the sleeve option offered by the pattern, I used the sleeves from M7081.
Fabric choice: advice for sewing metallic brocade
The fabric is used for this dress is a gorgeous pink and gold brocade from Croftmill (still a tiny stock left here at the time of writing). This is a fabric I enjoy wearing a lot in colder months, in a colour combination I absolutely adore.
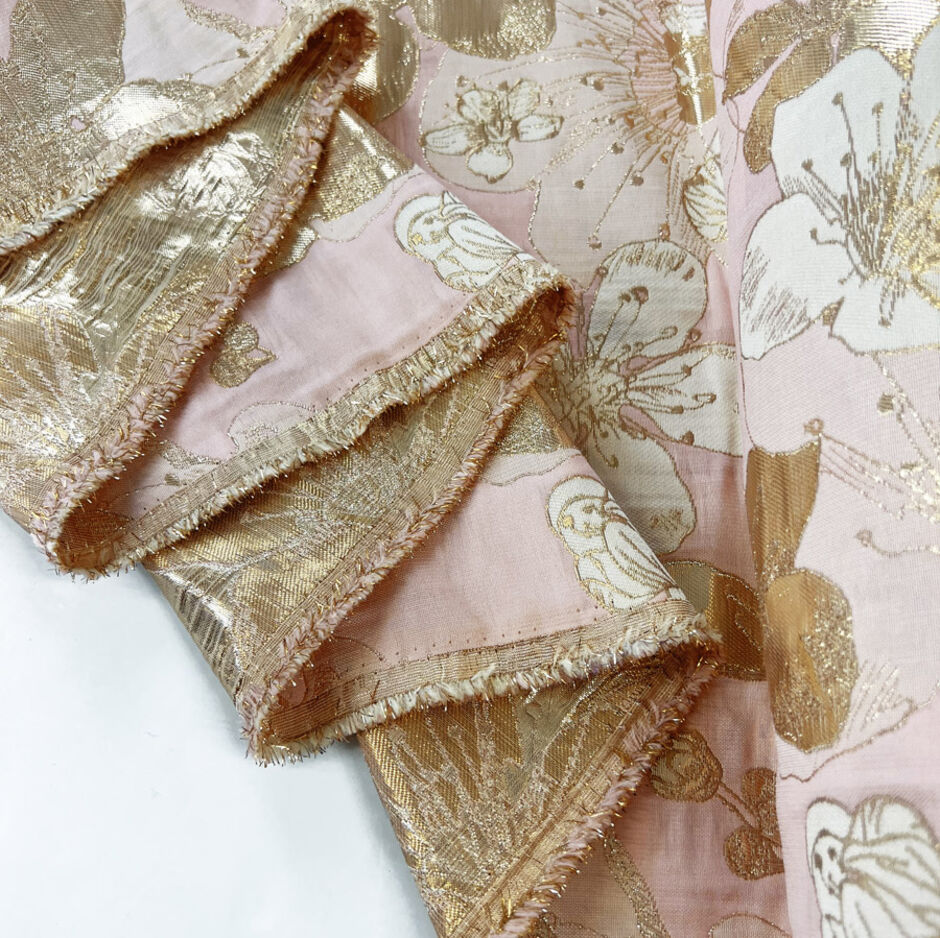
Croftmill had a large arrival of these brocades early September and I really had to refrain myself from purchasing the entire stock… They have two very big advantages: they are very affordable, at £12/metre (brocade usually costs £30 +); and most are soft brocades, which are perfect for dresses – did you not know I sew mostly dresses? Here are two other options I am about to purchase:
The problem with metallic brocade is that it creates several challenges to sew. I wrote a full article about how to sew metallic brocade a few years ago, here is a summary:
- Brocade frays like there is no tomorrow so make sure you overlock absolutely all raw edges, even if they are covered with lining.
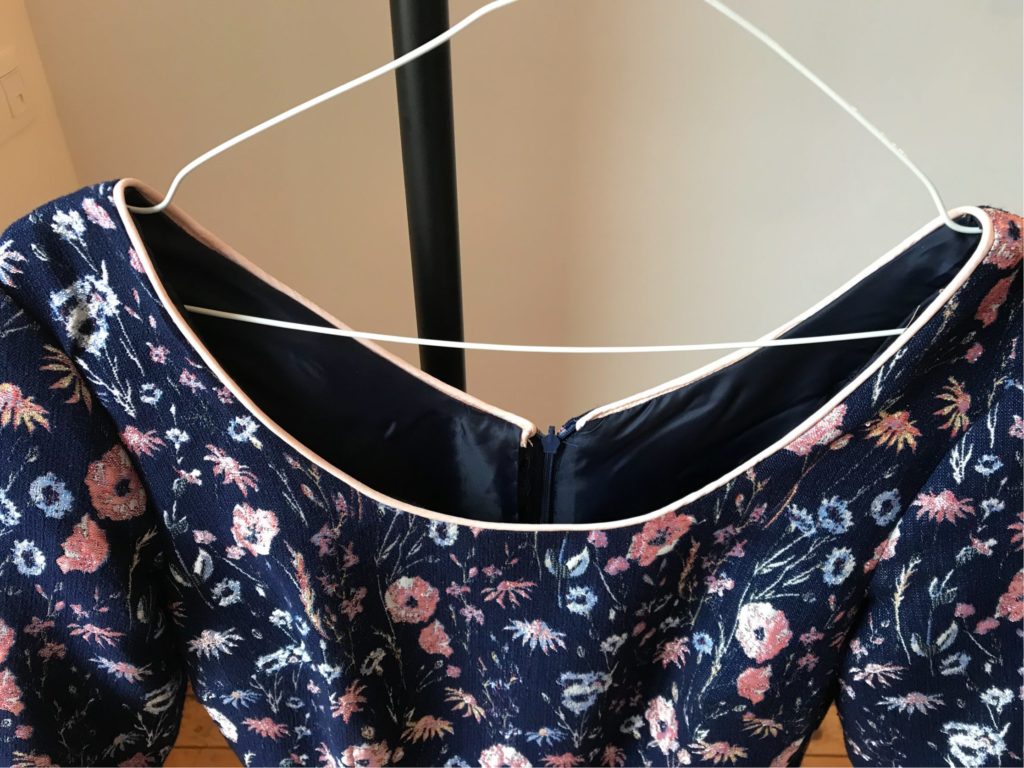
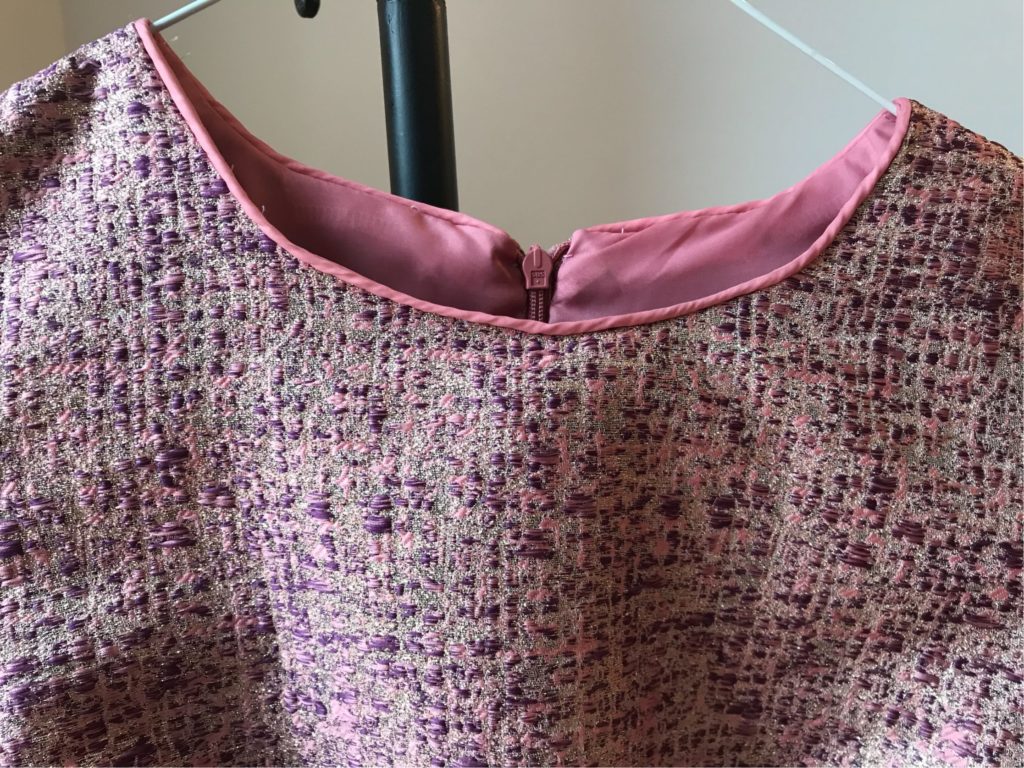
- Metallic brocade is extremely itchy and absolutely intolerable on bare skin, so make sure to entirely line your garment and to finish your neckline so that the brocade fabric in not in contact with your neck (piping is a good option).
- Brocade has very little give, so I would not recommend it on extremely fitted garments; and I would allow a bit more ease than usual.
- Visible stitches are a no-go on brocade, so all hems will need to be invisible!
Once you’re aware of these points, the sewing is quite easy, because brocade is very stable hence easy to sew.
Conclusion
Another dress I am entirely satisfied with! I am now working frantically on a collection of mid-season cropped jackets to match my fit-and-flare dresses, more to follow soon…
How to Sew with Metallic Brocade
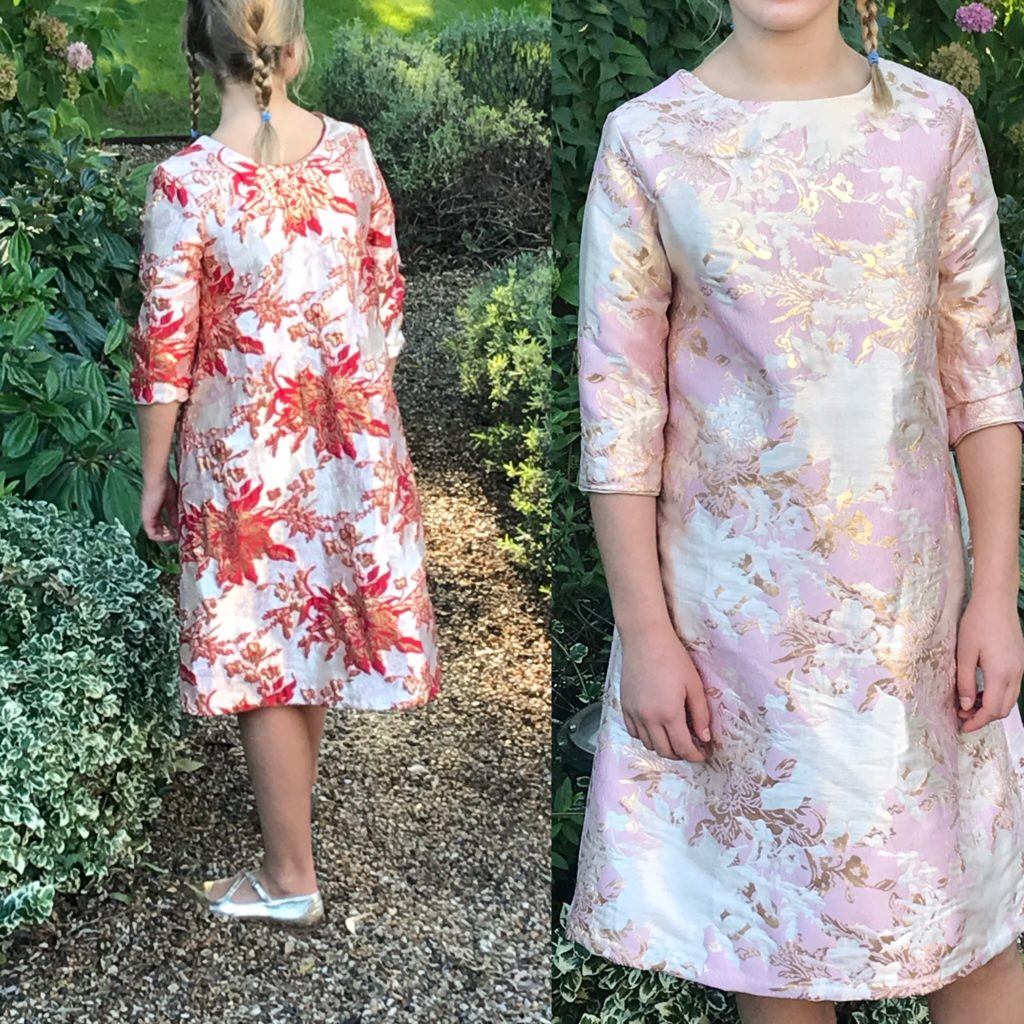
This winter has definitely been for me the season of glittery brocade! I’ve always loved this fabric but feared sewing it. After purchasing an excessive quantity at Bennytex, I had no choice but learn hands-on! The result: two party dresses for my daughter, two everyday dresses for me (not everyday for everyone though!), a top and skirt set, a mini and a midi skirt… And also many lessons on do and don’t of sewing metallic brocade, which I’m very keen to share!
I’ve read many times in sewing blogs and on Instagram that there are no rights or wrongs in sewing, just different ways to do things – which I’m not sure is totally true. Let’s say that when sewing with metallic brocade, there are many things I wish I had been told, and here they are.
I WISH I HAD BEEN TOLD NUMBER 1… BROCADE FRAYS LIKE THERE IS NO TOMORROW!! So as soon as you’ve cut all your piece do overlock them all, fully, even if they are to be fully lined – I suspect that if not overlocked they could fray by use, so personally I would not risk it. Also it will save you a lot of hoovering while sewing!
I WISH I HAD BEEN TOLD NUMBER 2…. METALLIC BROCADE IS EXTREMELY ITCHY and absolutely unbearable on bare skin. This has several implications.
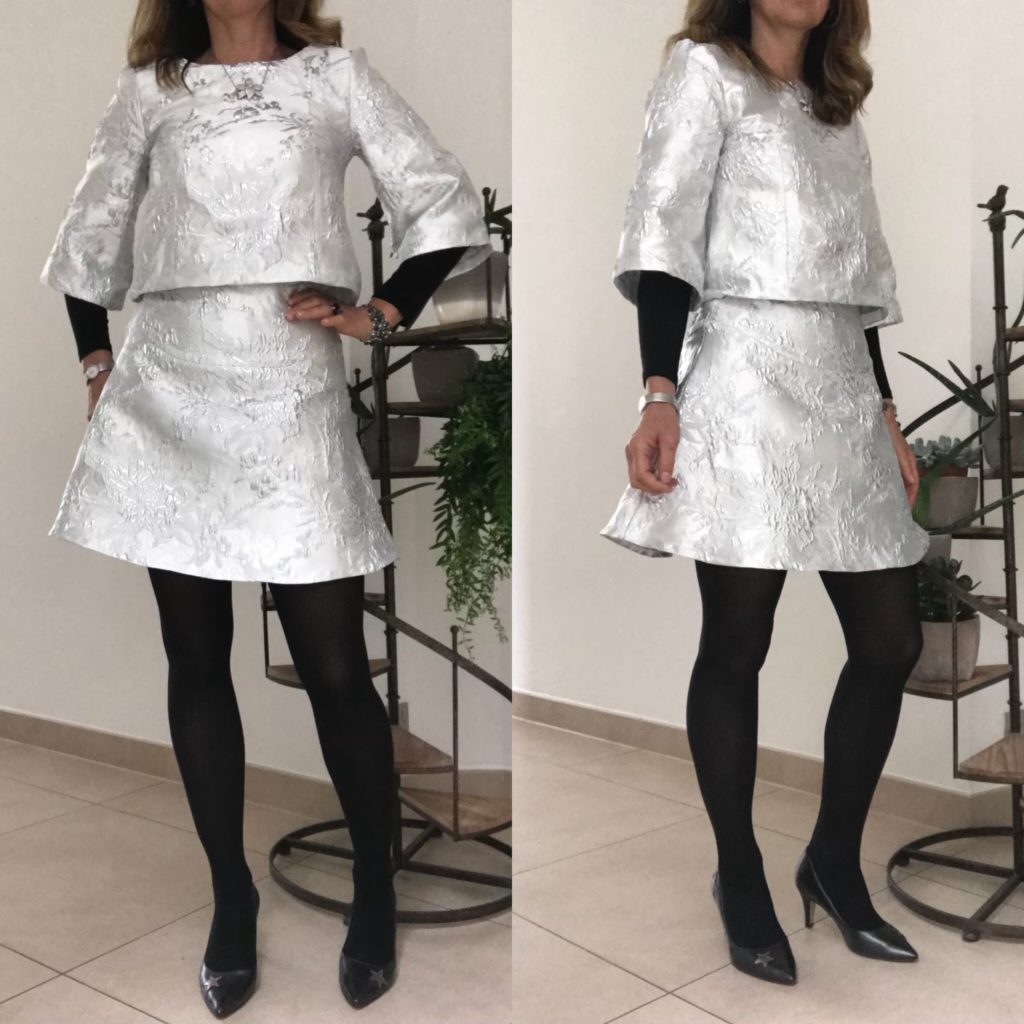
First, all metallic brocade projects need to be fully lined – partial or no lining just won’t do. I did not line the silver top/ skirt set and no matter how beautiful I find it, I just cannot wear it, even with ties and a long-sleeve turtleneck t-shirt underneath. In contrast, both my dresses are fully lined and I put them on bare skin with no problem.
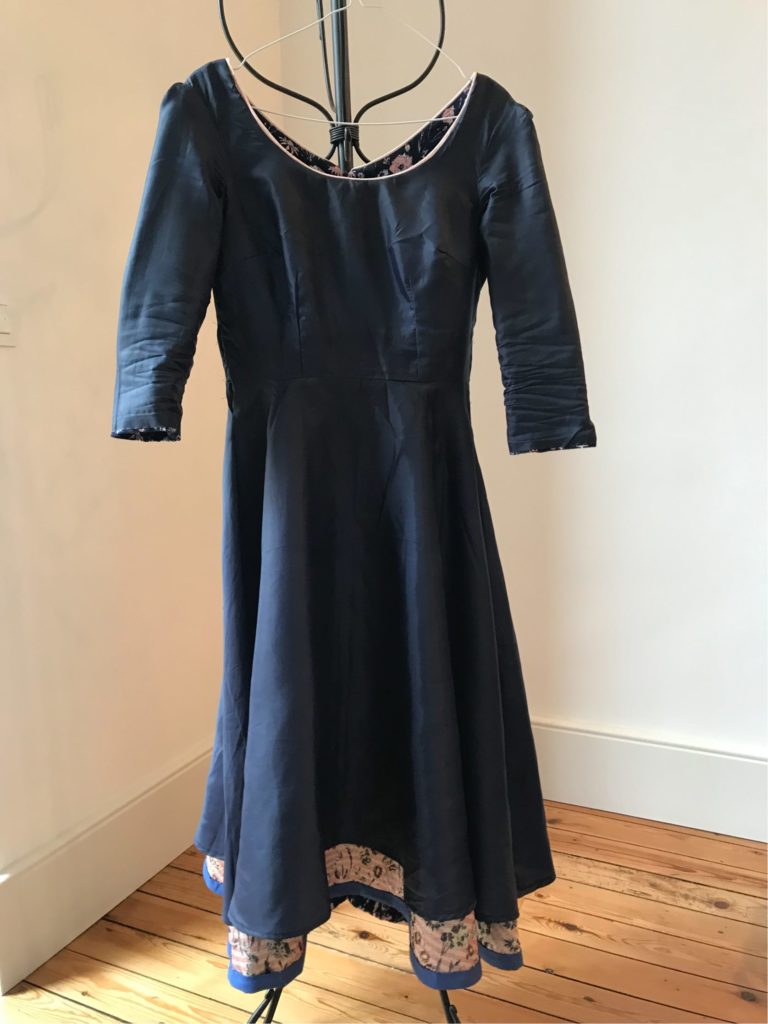
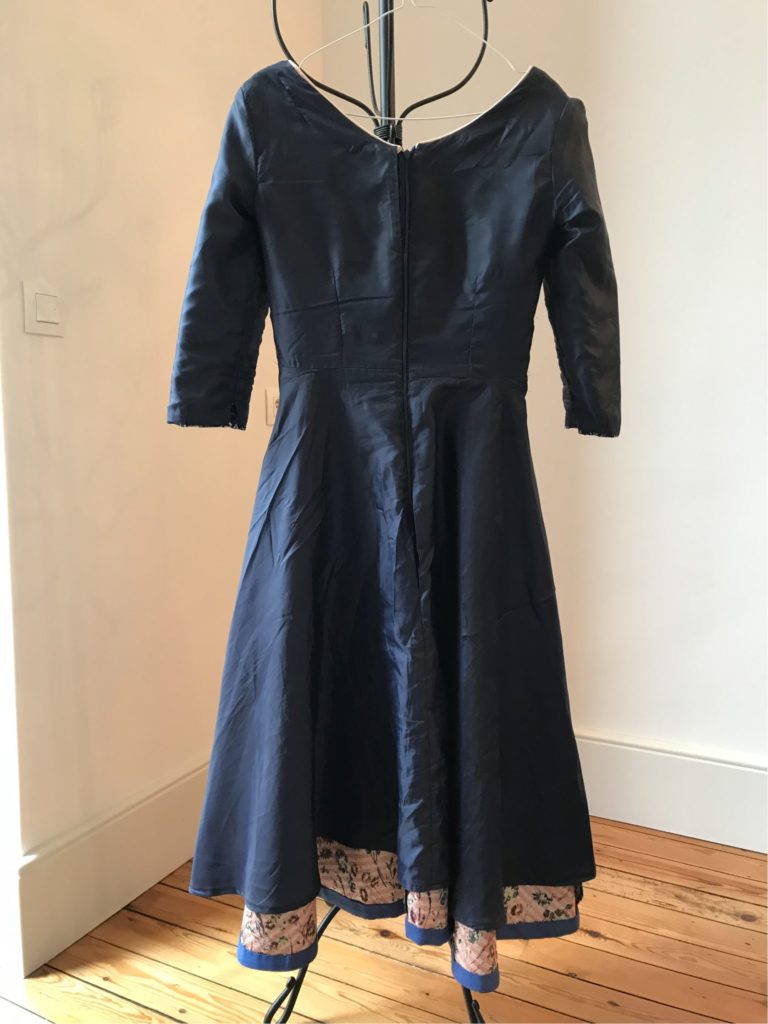
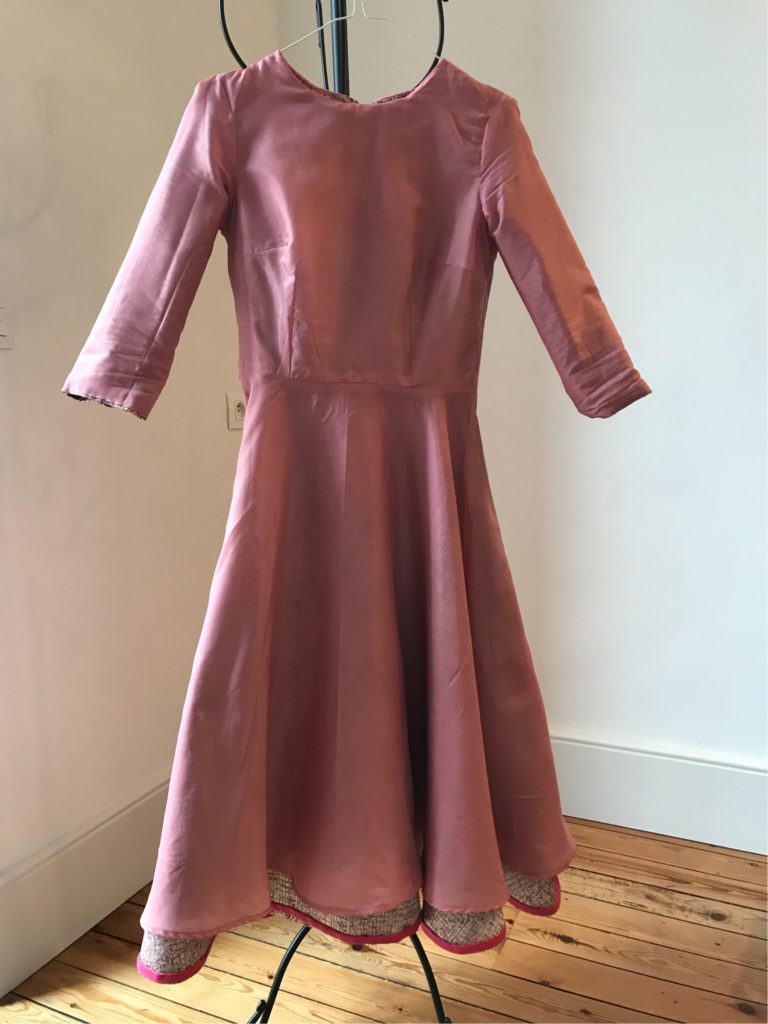
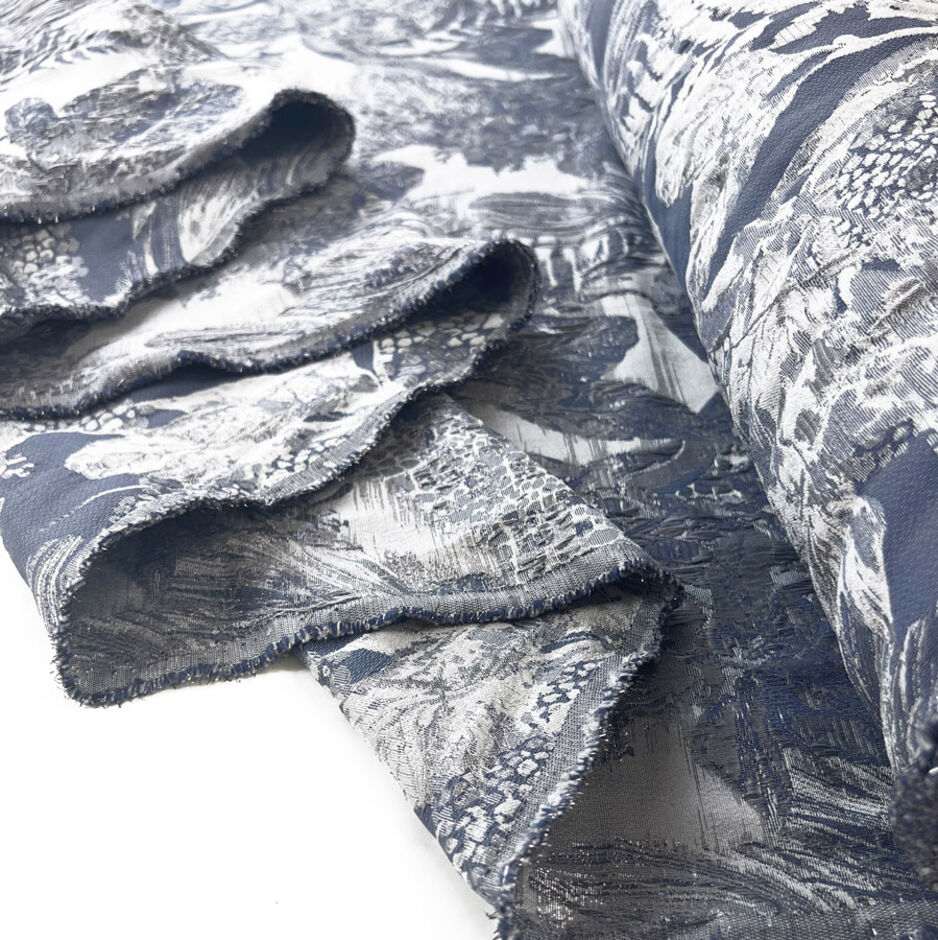
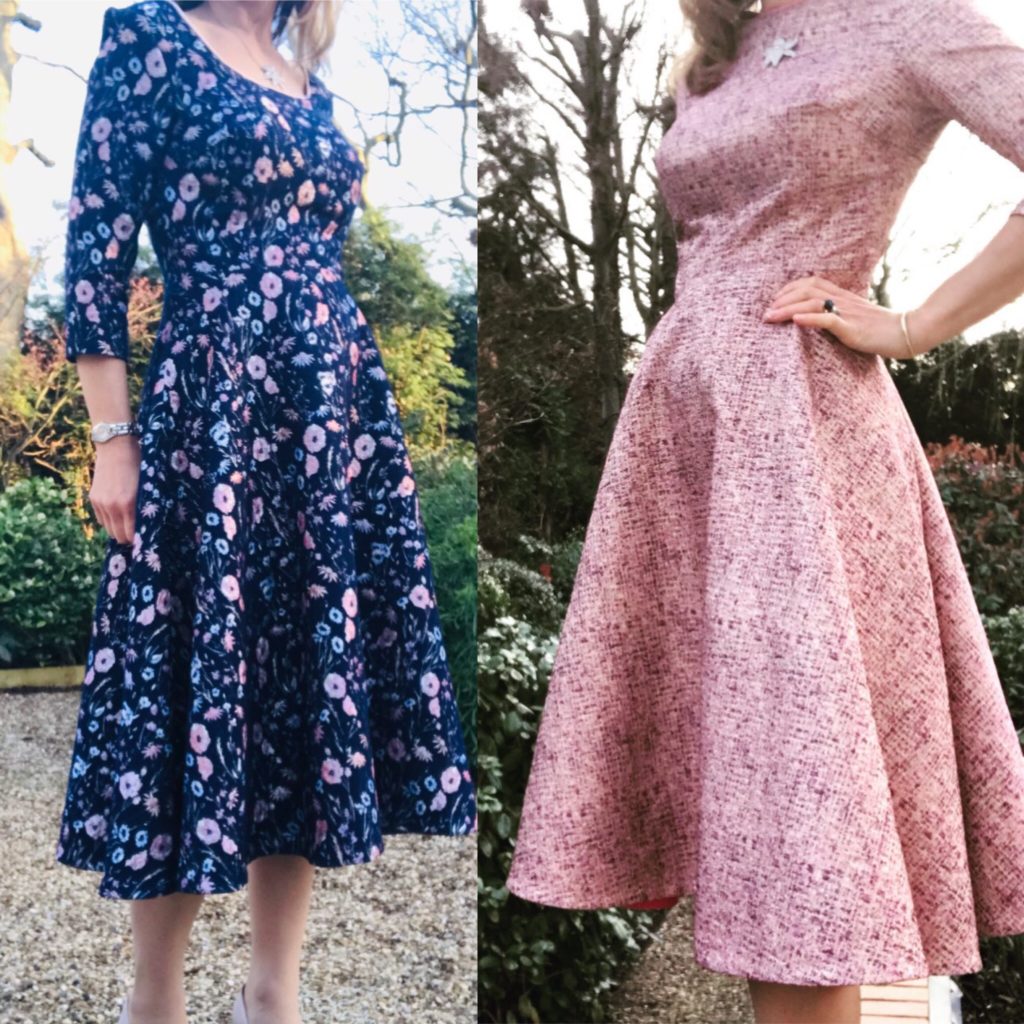
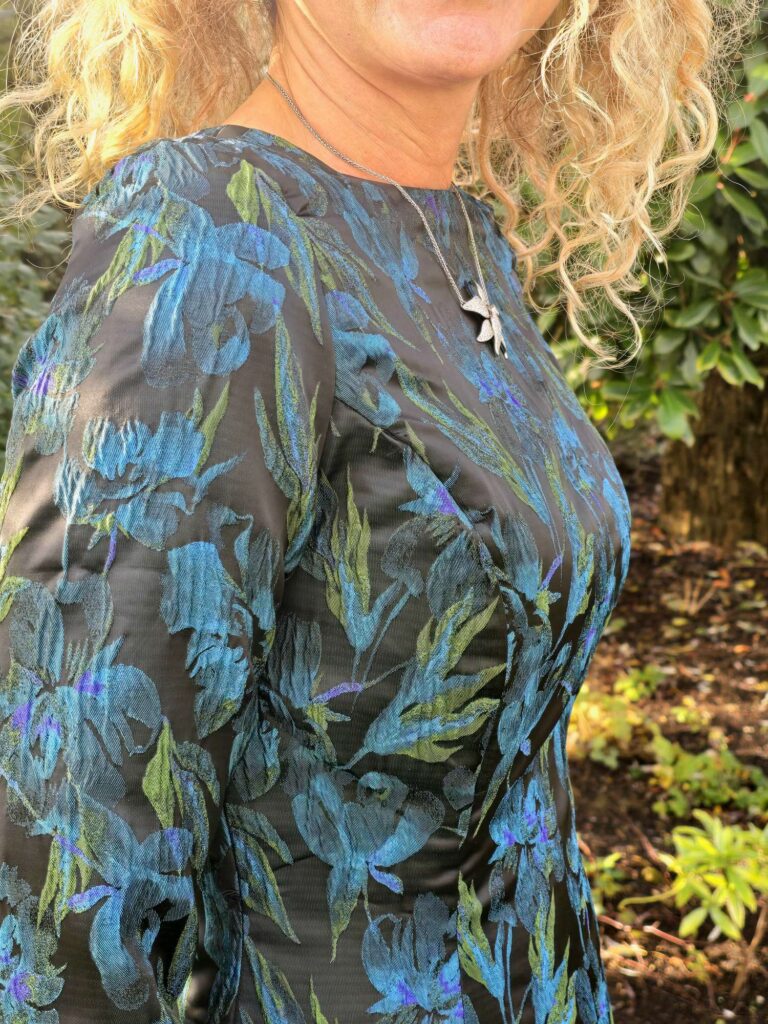
Second, you will need to cleverly think about how you finish your neckline, as this is definitely a very sensitive area. For both my dresses I inserted some piping, in a similar colour for the pink dress and in a contrasting one for the blue dress. To do this I sew the lining to the dress before attaching the lining by the neckline. You can also use a slighly overlapping bias, using the same method. Whatever your preference, you will need to use a different, skin-friendly fabric.
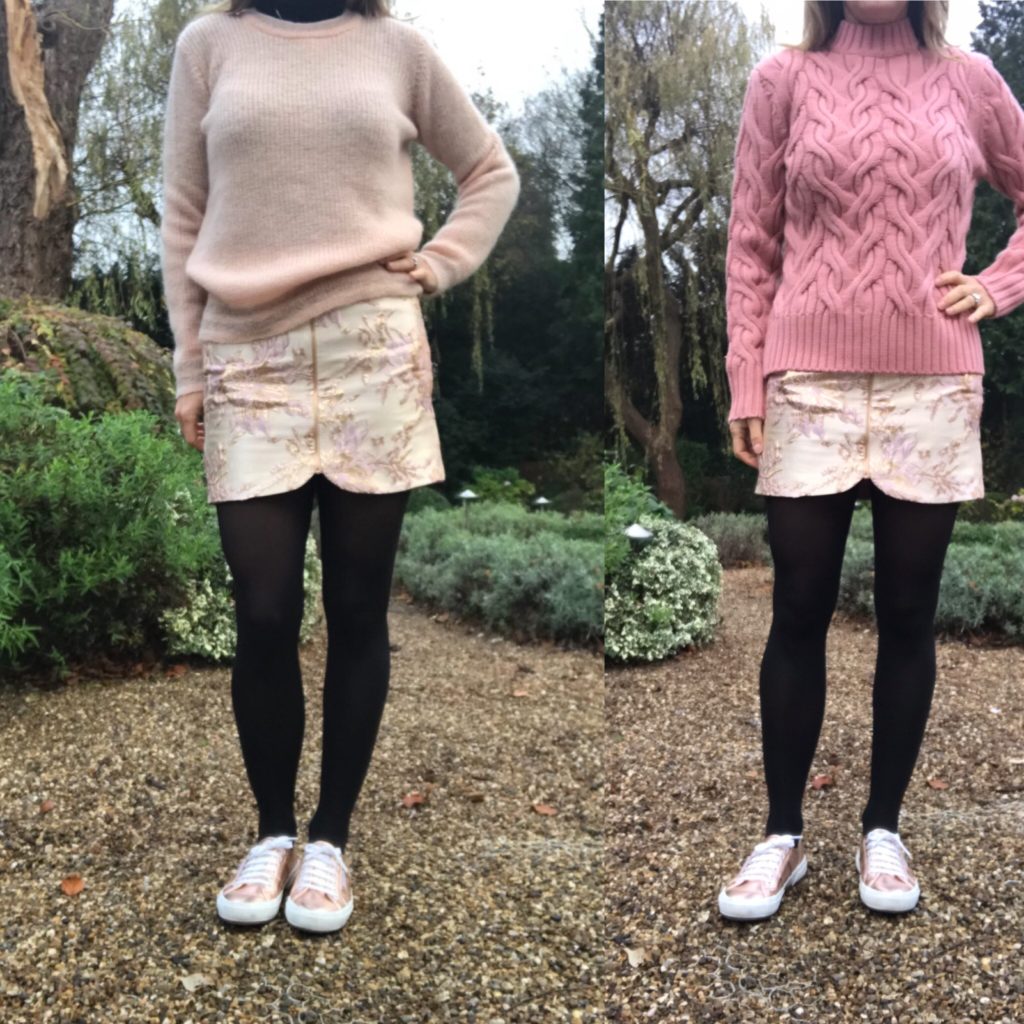
I WISH I HAD BEEN TOLD NUMBER 3… BROCADE IS VERY RIGID. It has no give whatsoever and does not really shape to the body. So I would not recommend using it for very tight fitted garments like my mini skirt, because it is just not comfortable to wear.
I would not recommend a very puffy gathered or pleated skirt either – I tried the later and it looked terrible. And I would strongly advise having plenty of seam allowance, to be able to enlarge at key areas – I did have to enlarge both my dresses (which are based on a fully tried, tested and perfectly fitted pattern) and my midi skirt at the waist.
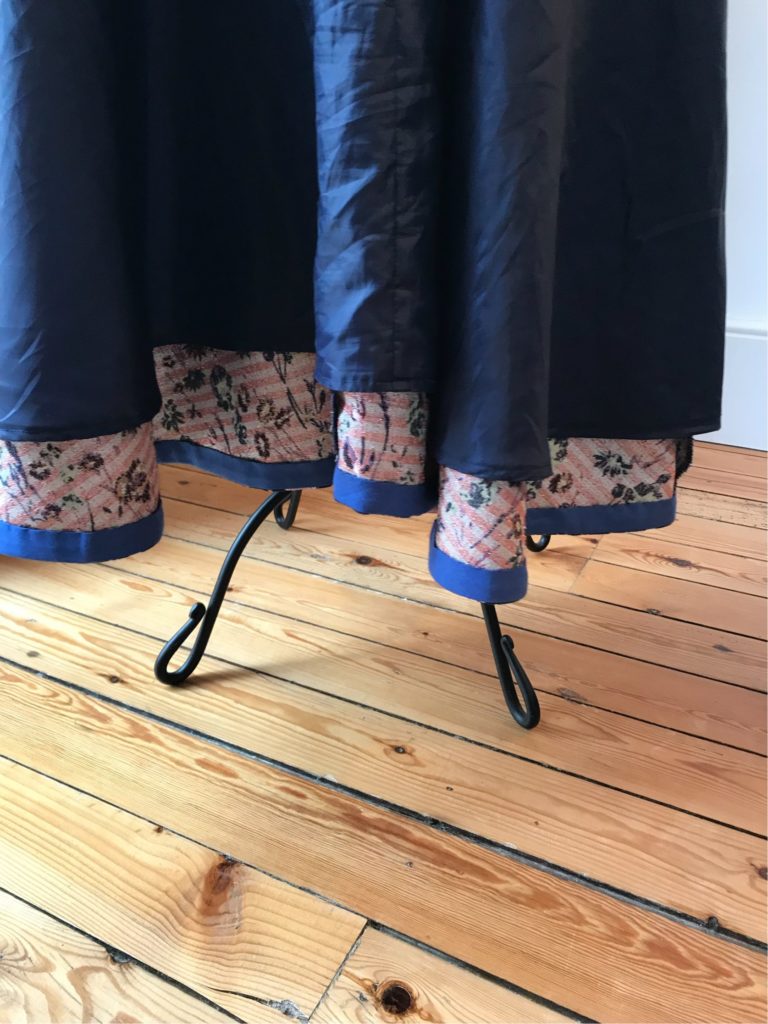
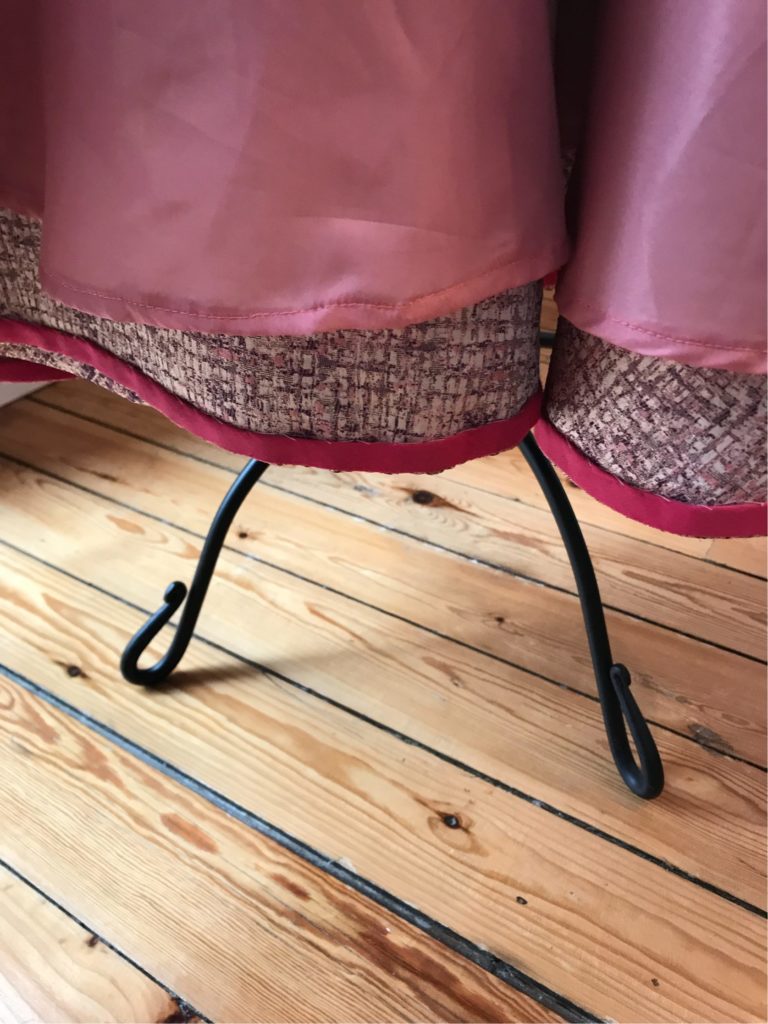
I WISH I HAD BEEN TOLD NUMBER 4… BROCADE AND VISIBLE STITCHES JUST DO NOT WORK WELL TOGETHER. So get ready for a lot of hand-stitching, especially if you chose a circle skirt! Both brocade dresses and my brocade skirt are based on a (self-drafted) semi-circle skirt pattern; and I followed wonderful Emily Hallmann’s advice on how to line them: I sew with my machine a bias tape at the bottom, then fold it and and hand-stitched it inside. The hand-stitching takes absolute ages (90 minutes for a half-circle skirt, I counted!) but it is really worth the effort, the result is flawless. The bias also creates a nice rigid curve at the bottom, which is really pretty in my view.
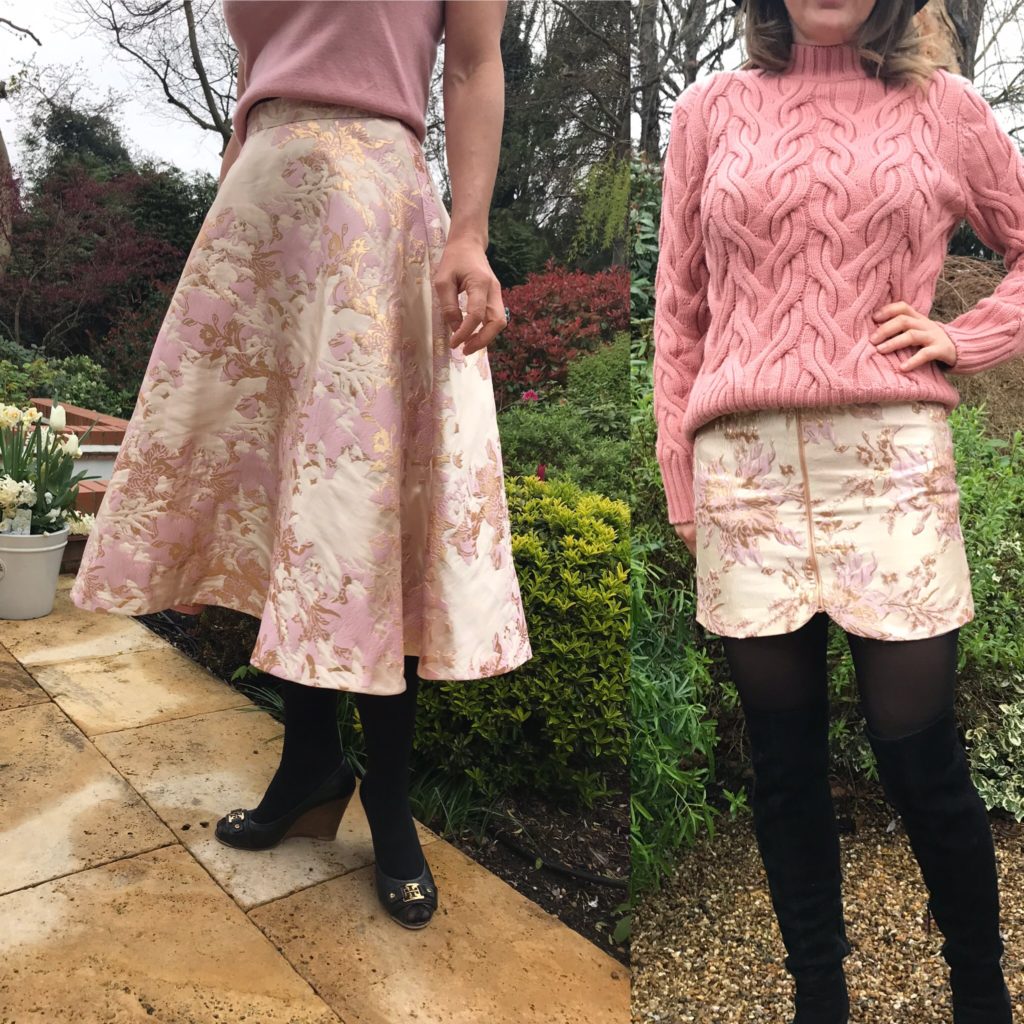
I WISH I HAD BEEN TOLD NUMBER 5 … BROCADE OFTEN HAS A “WRINKLY SIDE”, WHICH IS QUITE DIFFICULT TO WORK WITH. So you have two options: either use the wrinkly side as your right side and be super careful that you don’t create unwanted folds when you sew – this will definitely require more time and attention than with “normal” fabric. Or work on the other side of the fabric, which is perfectly smooth – for illustration my mini skirt is wrinkly-side out, while my midi skirt is smooth side out.
I WISH I HAD BEEN TOLD NUMBER 6… BROCADE IS ABSOLUTELY BEAUTIFUL SO DO GO AHEAD AND USE IT!!! And I hope you will find this article useful to tackle this material.
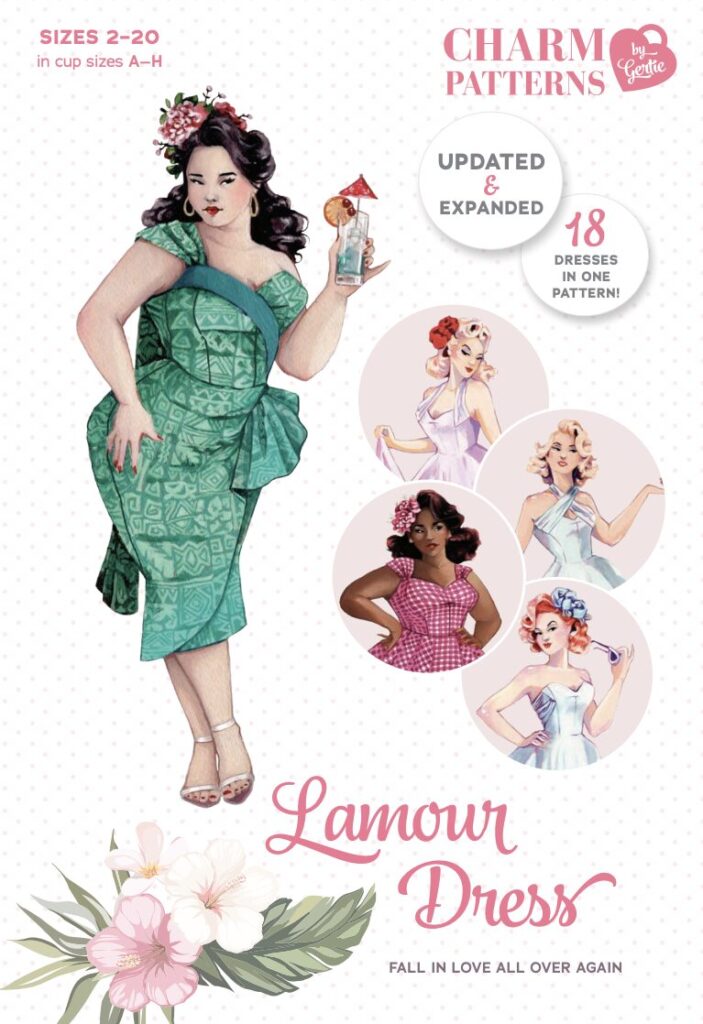
Sewing the Lamour dress… for Valentine of course!
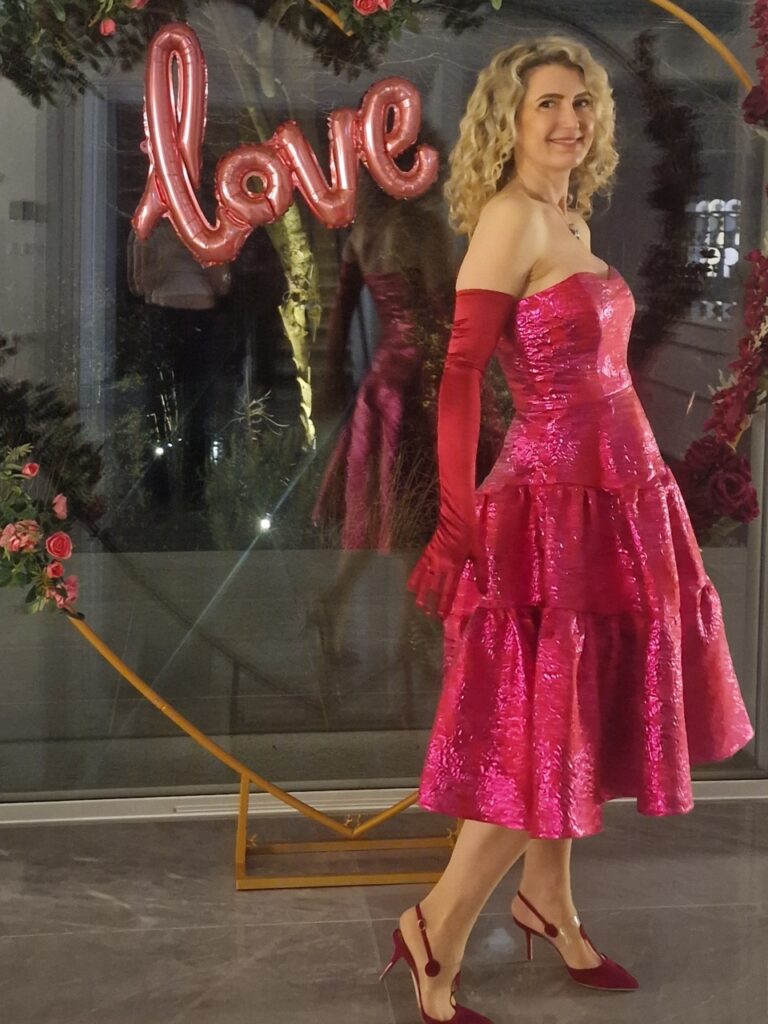
My first sewing challenge of 2025 was to tackle a project I have been dreaming of for very long time: a dress with a fully integrated bustier. And for Valentine, what else than the so appropriately-named Lamour dress by Charm Patterns?

Pink & Red for Valentine
I am the lucky owner of an extensive collection of party dresses. But while I sew most of my daytime dresses, all of my party ones are store bought. Why will you ask? Given that most of my sewing is actually dresses, I should really be an expert by now… But combine difficult fabric with the technicalities of a structured bodice and here is a perfect excuse to buy yet another Marchesa Notte gown…Oh well…
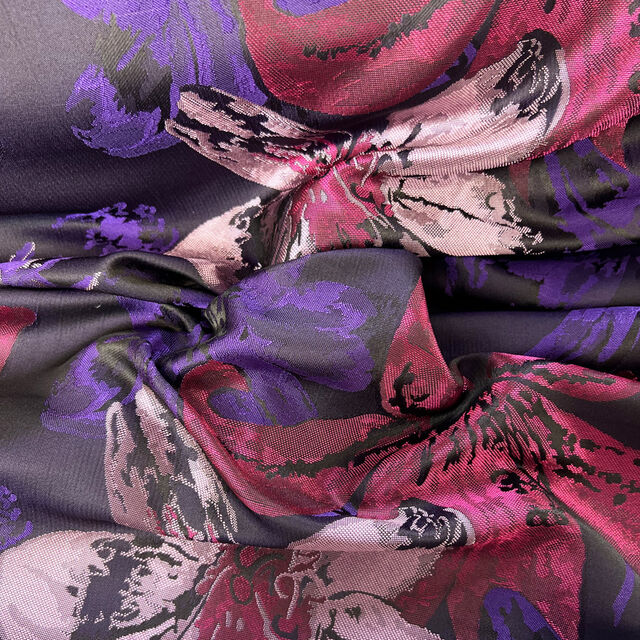
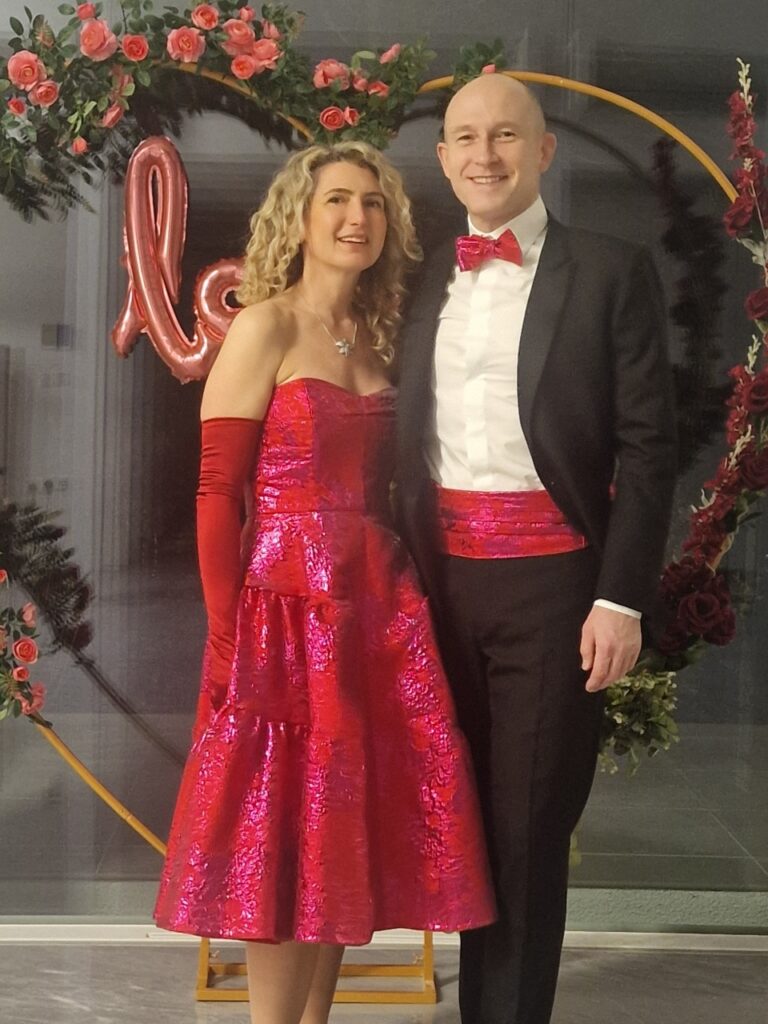
What I really needed to break my sewing block was a challenge. So I invited loads of friends to a “Pink and Red” Valentine party and promised myself that I would make the dress for it if I found the right fabric. And so I did – a perfect pink and red brocade, not too stiff for a dress and super Valentine appropriate.

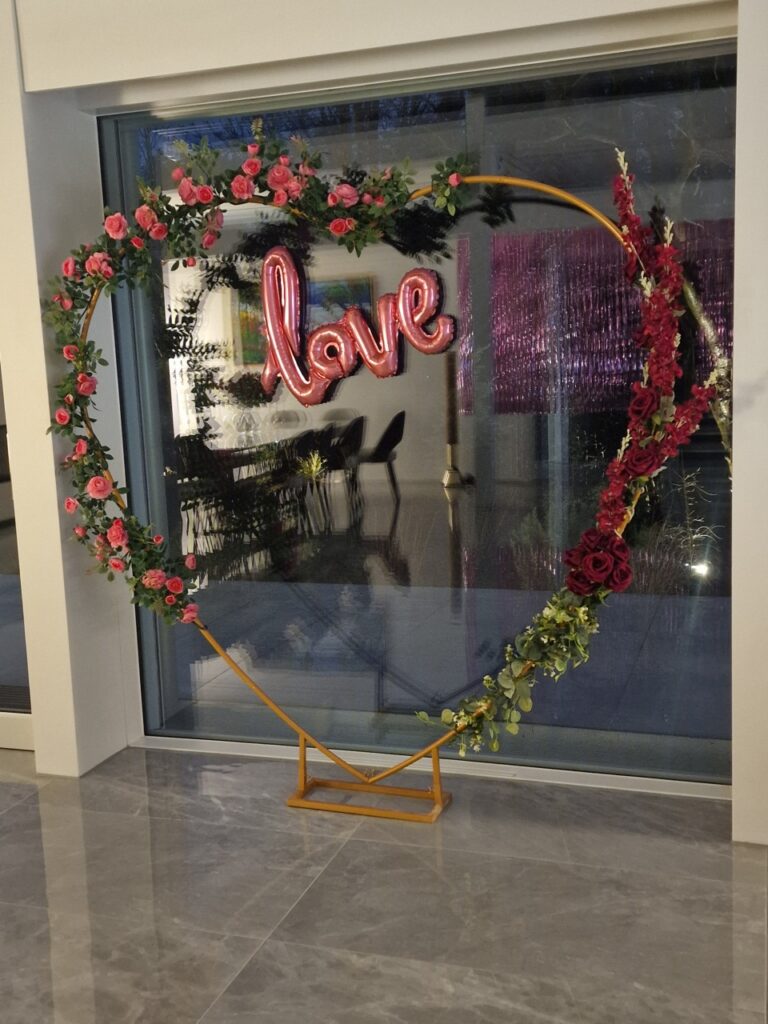
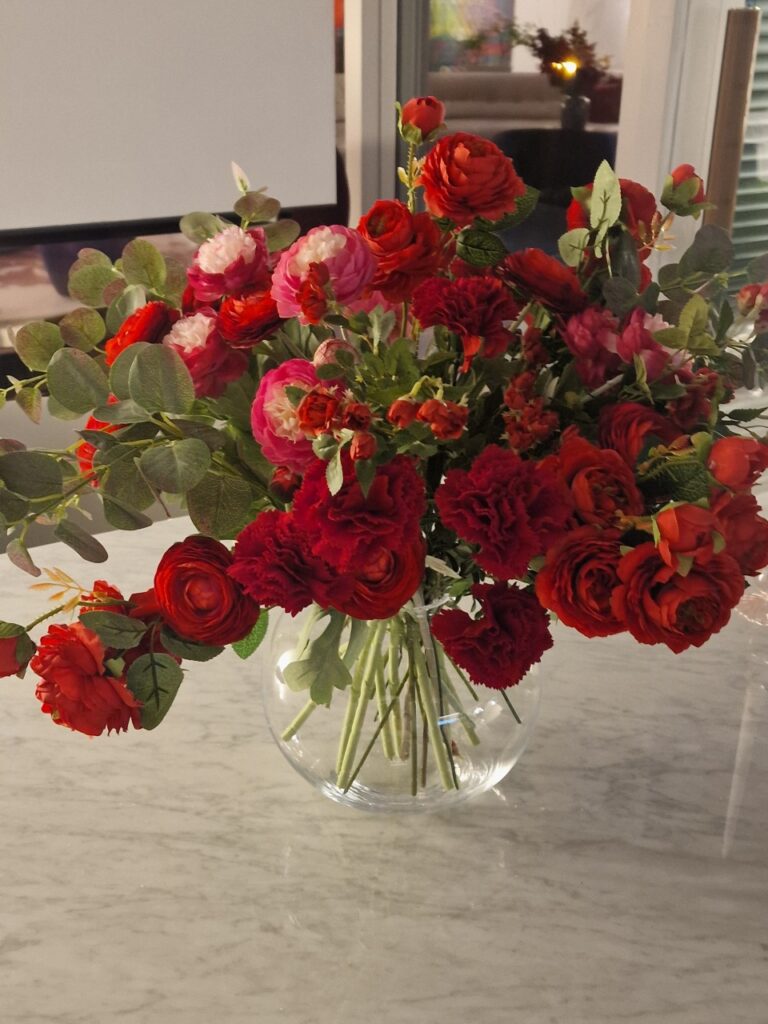
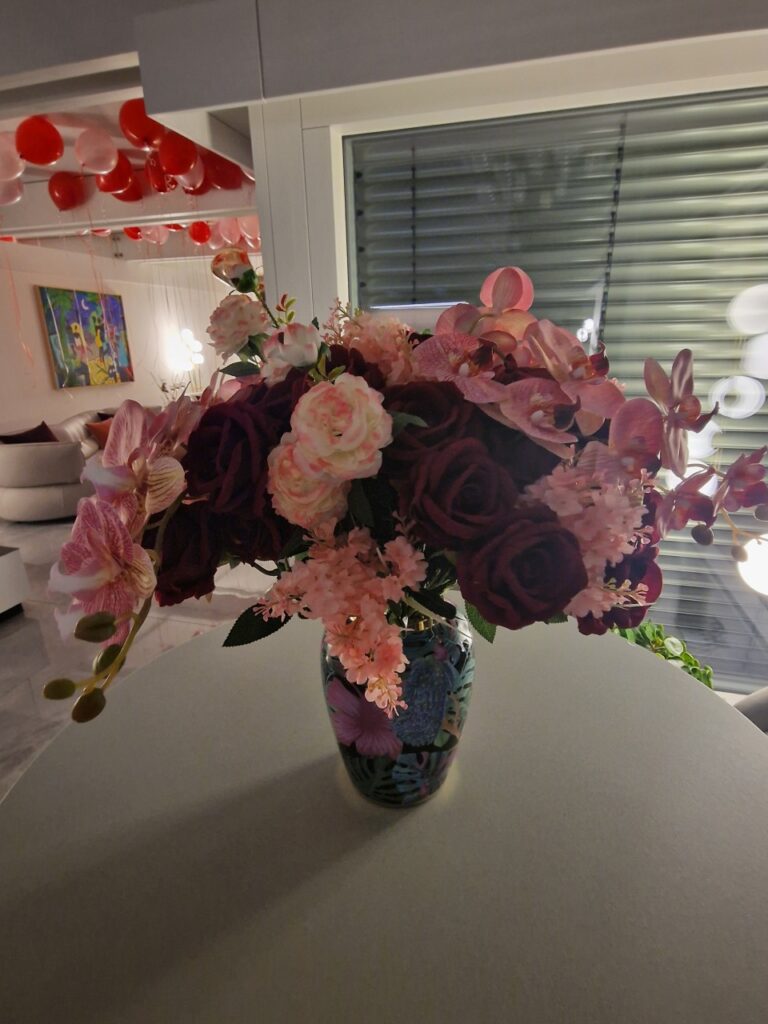
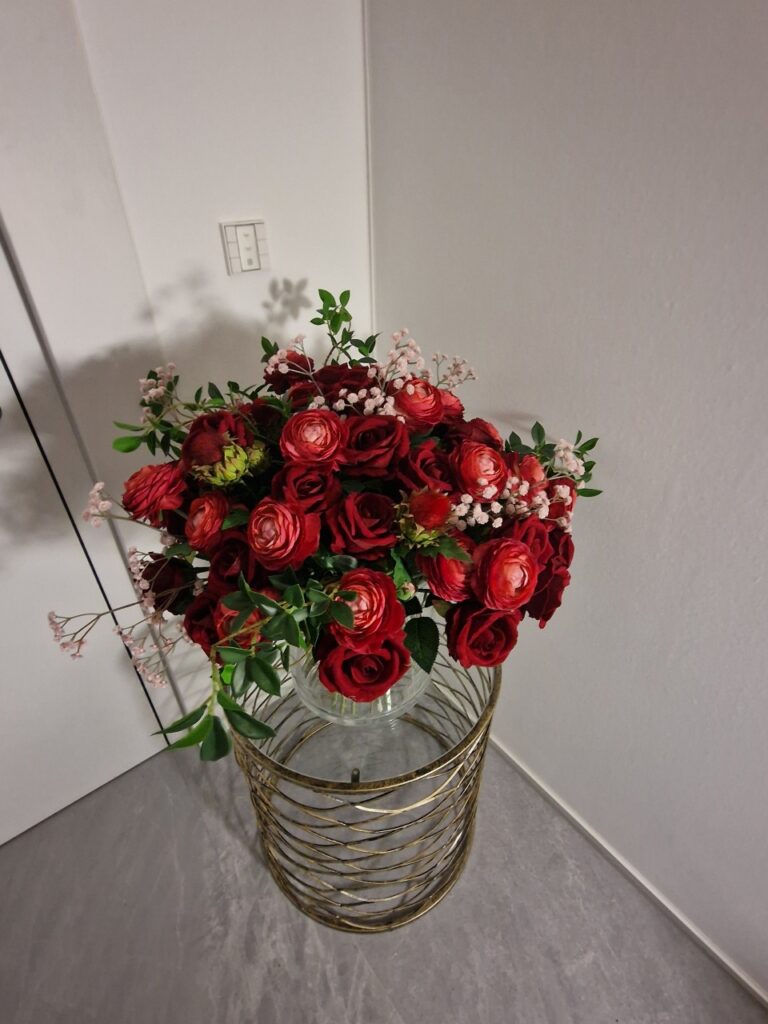
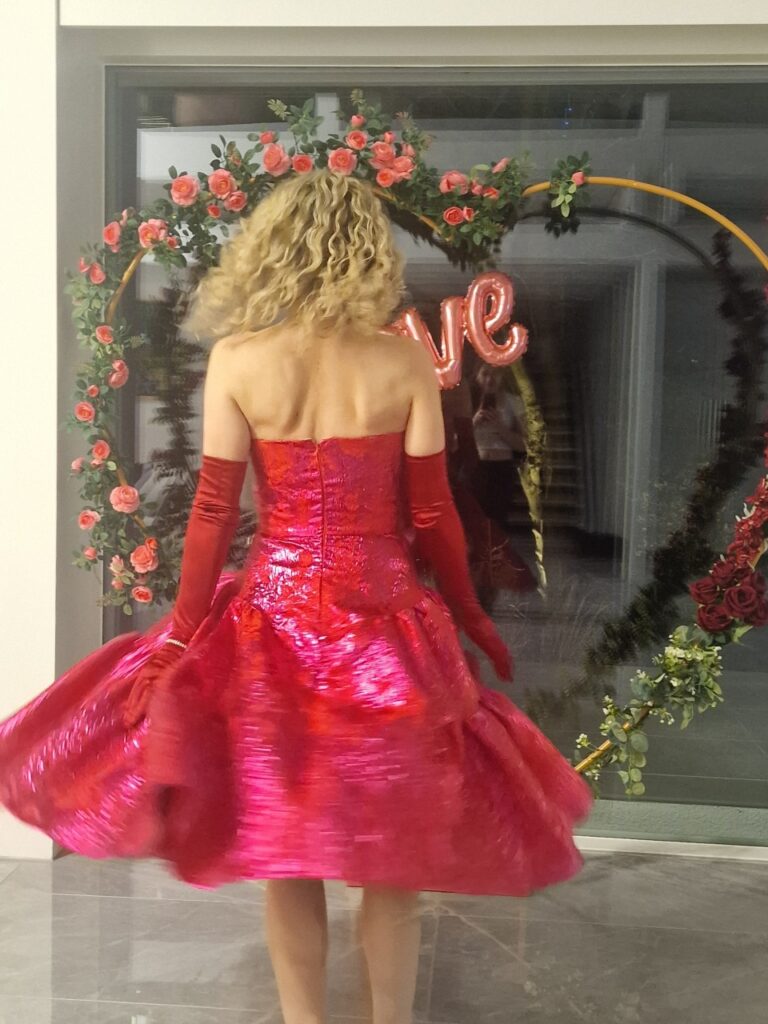
Before giving you more details about the dress, I cannot resist showing you a few pictures of the party decorations, another really fun part of party-planning.

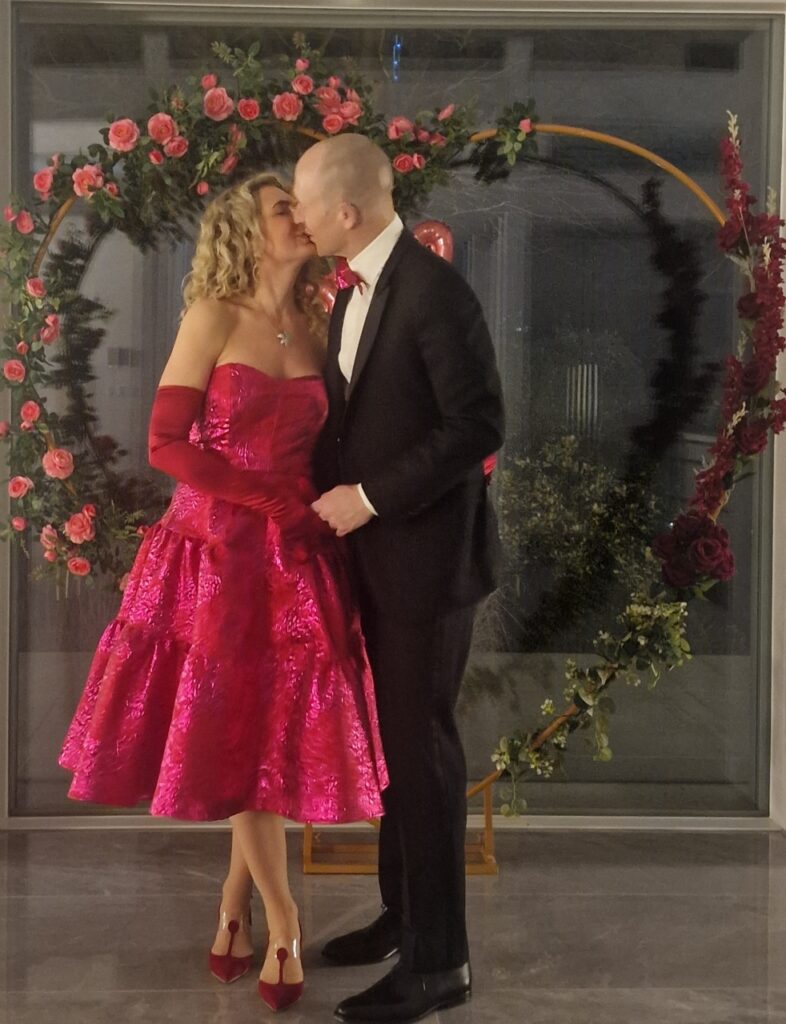
And here are a few pictures with my Valentine. I always intended to make him a traditional bow tie. He also requested a cummerbund (a tuxedo belt). I could find no pattern I liked, so I ordered a very cheap belt on Amazon, dismantled it to draft a pattern and used the back elasticated part and… TADA!

Lamour dress pattern review
I am in love with Charm Patterns…
I am a huge fan of the Charm Pattern dresses (well, actually, of all their patterns) for several reasons:
- First, their nostalgic 1940-50’s style is all I want for my wadrobe.
- Second, they fit me to perfection, even more so thanks to the (very wide range of) bust cup options.
- Third, the written and video instructions are fantastic. I was dreading the application of boning so much that I watched this specific section of the video even before buying my fabric… It was so well explained that it convinced me to go ahead!
I love Charm Patterns so much I am actually a patron on Patreon . For a very reasonable monthly fee you get access to a treasure trove of exclusive past pattern and a new one every month. This is definitely a great motivation to try new patterns and I hugely recommend becoming a patron if you are not already one.
… and even more in love with the Lamour dress
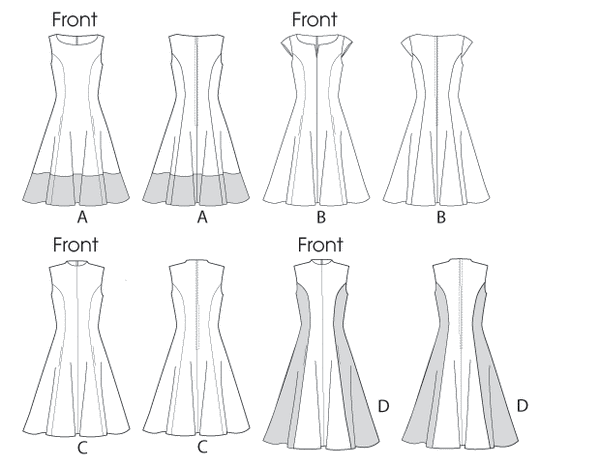
Anyway, back to the Lamour dress. Here is the enveloppe, as well as the drawings of all the bodice and skirt options offered.
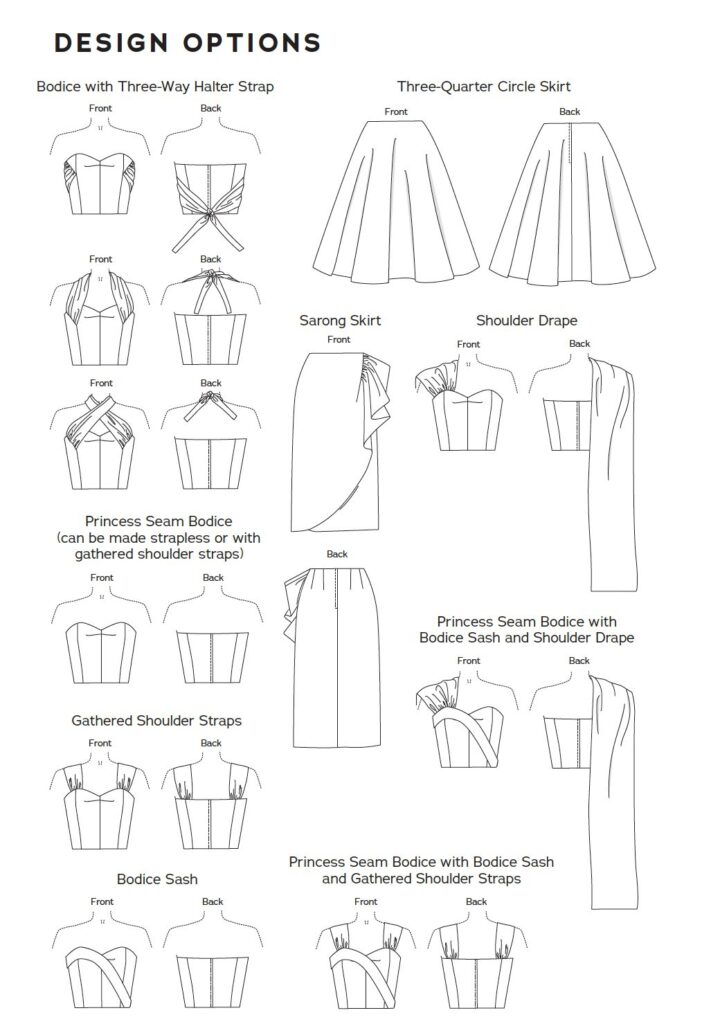
Do not fear boning the bodice!
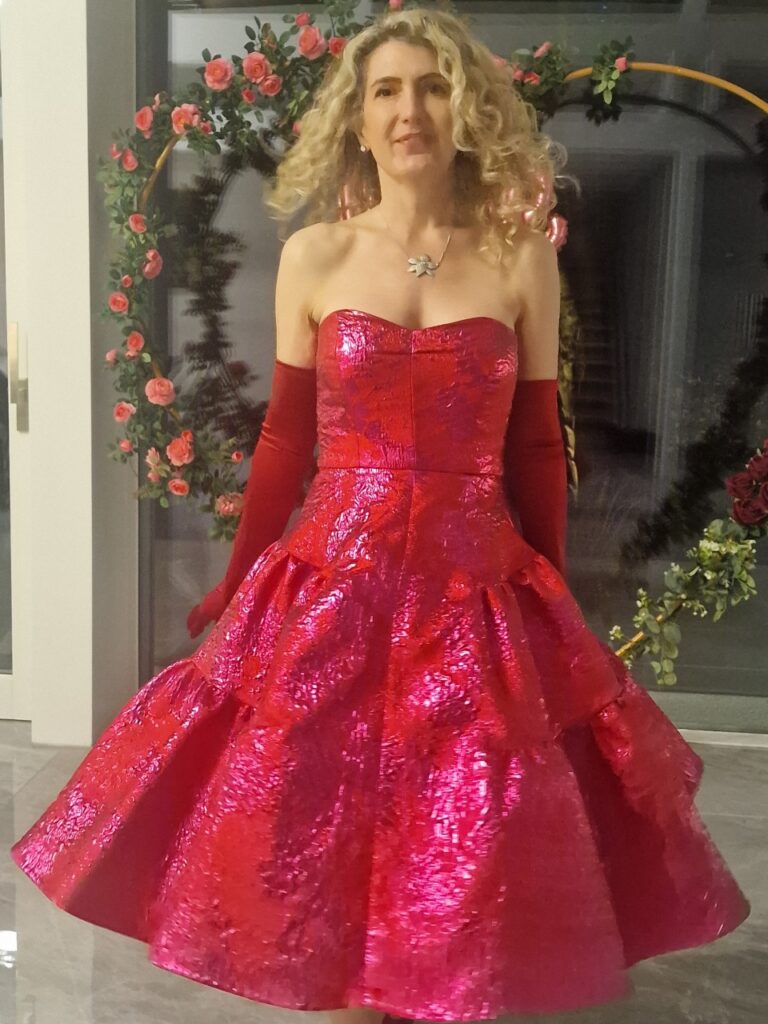
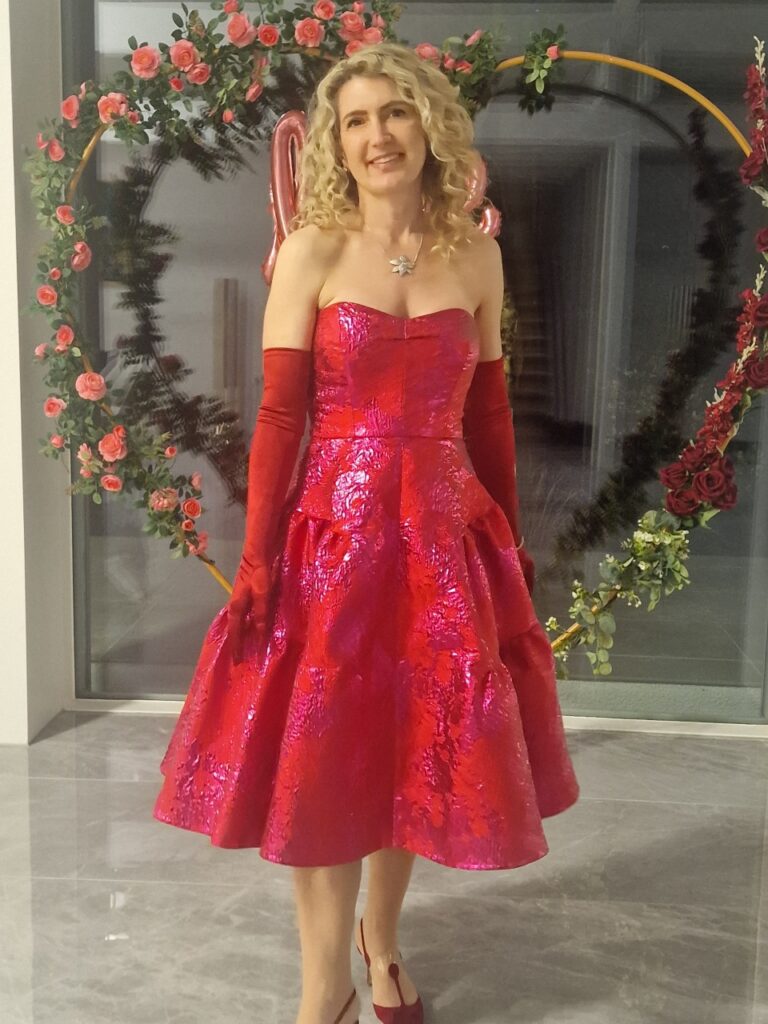
As you can see, this dress is basically made of a boned princess seam bodice; and either a sarong or a circle skirt. For my dress, I went for the most basic bodice option – plain vanilla strapless, shash-less, decoration-less. I was absolutely terrified to mess-up and it turned out all very easy actually!
The main bodice has 8 pieces of fabric, which are interlined for structure. You can pattern-match if you want to spend ages cutting, which I did and seemed in restrospect very unnecessary. The lining uses the same pattern pieces, but you add boning to the seams to guarantee perfect hold.
Why did I dread this bit for so many years? It was actually very fun to do, it is invisible from the outside and and it works so so well to prevent the bodice from moving at all!! You can twirl and dance without any worries.
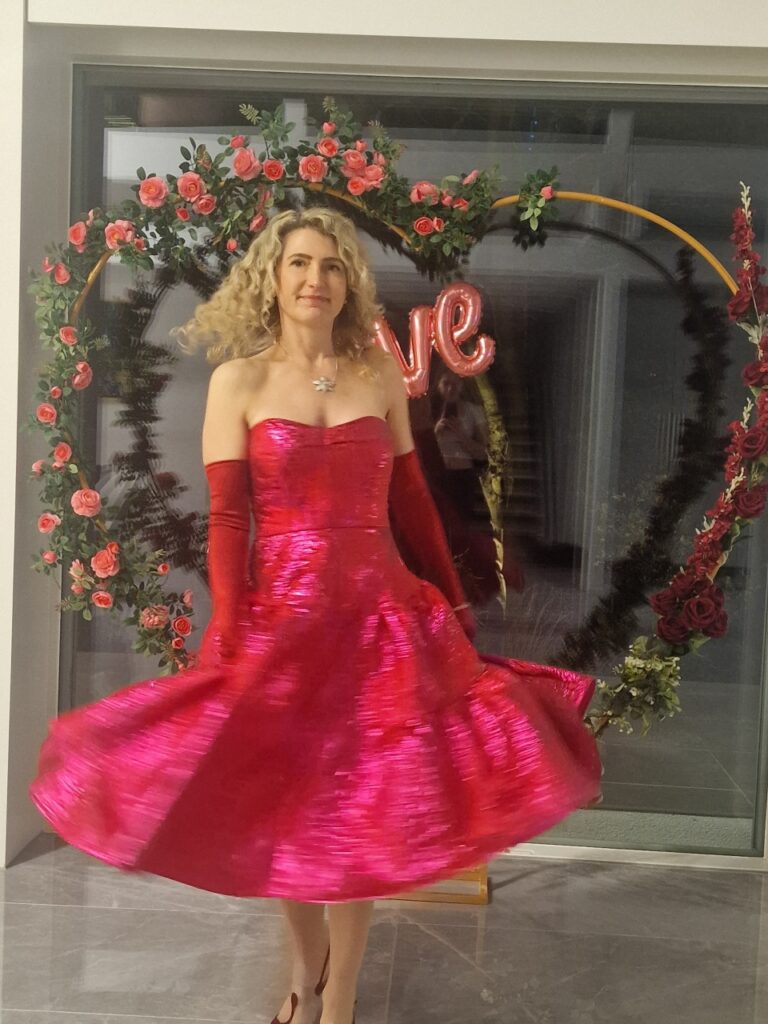
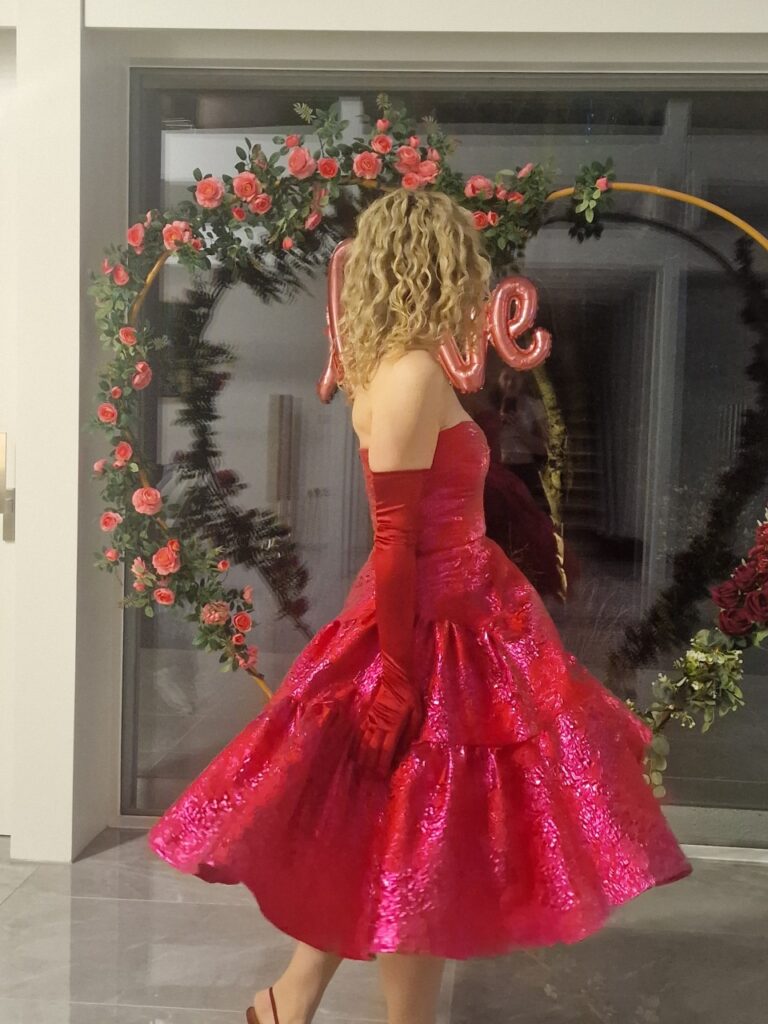
Add a big skirt for more puff
For the skirt, I could have gone with my all-time favourite full circle skirt. However this Valentine dress was the perfect opportunity to use another pattern of my stash, Vintage re-edited Vogue V9106.
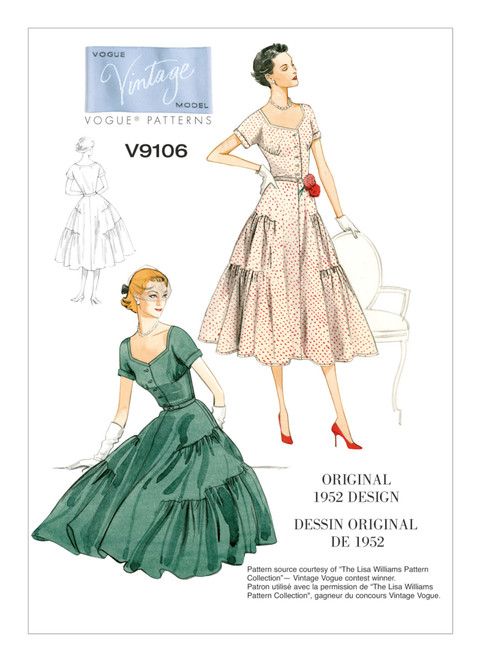
The skirt has a circle shape, but is extended at two levels to add gathers and create even more volume. I am delighted with the effect.
I obviously fully lined the skirt but no need for gathers for the lining, a full circle skirt was perfect.
Only a tiny fit adjustment needed for the bodice
As for adjustments, I cut a size 4 with D/DD cup for the bodice (my usual for Charm Patterns) and I made a toile. This helped me adjust the bust princess seam so that it would perfectly follow my bust curves, but frankly nothing drastic. I went for a size 10 for the skirt (my usual for Vogue) and made no change whatsoever.
Conclusion
I can’t believe how well this dress turned out. I am beyond proud by how perfectly professional it looks and very keen to put my bustier knowledge to good use – I alreay have another project in mind for the summer.

Sewing the M6741 dress
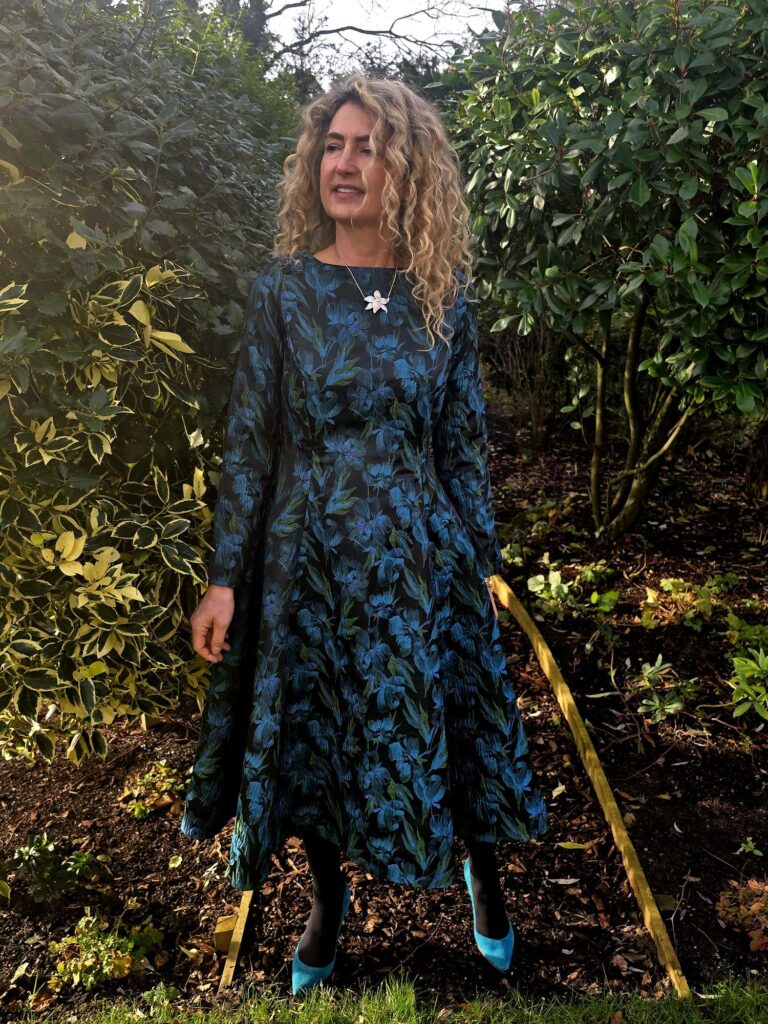
One of my New Year resolutions is to come back to my beloved blog, after a long absence. So let’s start with my latest make of the year: the M6742 dress by McCall.

An easy dress to sew
Although my 18-month absence from this blog does not mean I completely stopped sewing, I have less time to commit to this hobby these days – new and bigger house, new garden, 4 teenage kids, 2 cats, more exercise and new interests I am trying to pursue. So to avoid sewing another version of yet again the same pattern, I decided to pick something straightforward.

M6742 is classified as an “Easy” pattern on the enveloppe and it truly is. There is no waist seam, meaning that you are dealing with less pattern pieces than usual – 5 in total (which you use for both the dress itself and its lining), and large ones so no fiddling about.
Beware adjustments! – a toile is a must!
That said, the pattern does not have bust cup options, so if you are not a standard B cup I would strongly advise you make a quick toile, to check the fit. This really does not have to be complicated, I used a cheap cotton fabric and I cut my pieces just below the waist and cut the front piece in 2 – this way, no closure is needed at the back, you pin the front and you can make all your adjustments much more easily.
For me, the main adjustment was to add ease at the bust (I am an E cup). I am not particularly good at doing this with princess seams, so I basically made my sewing allowance smaller accross the bust. Not an exact science but it somewhat did the trick.
Dress specifics
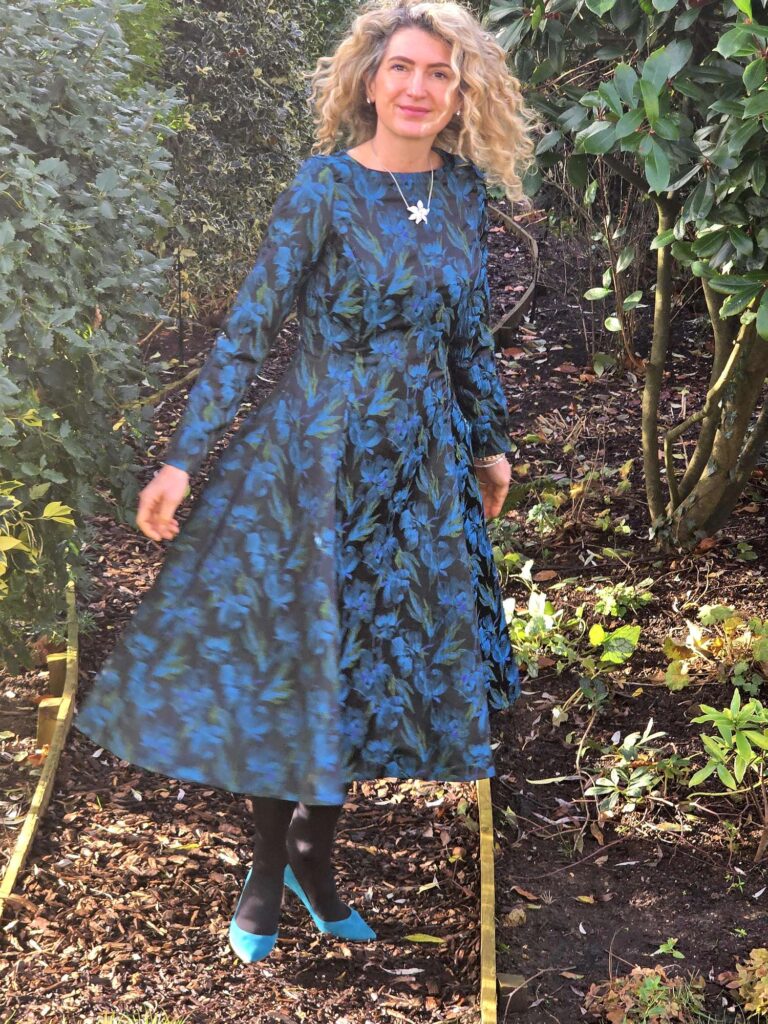
- Fabric: I have been obsessed with the green colour lately (which frankly is a shock to my pink and blue self) and stumbled upon this gorgeous brocade from Sew Me Sunshine (sold out I’m afraid). It is the perfect weight for a dress, not stiff but heavy enough for the winter. I never wear cotton or silk in the English winter (too cold!!) and I hate polyester, soI find brocade a good alternative to wool.
- Sizing and adjustments: I cut a size 10, my usual in McCall, and appart from the bust adjustment just discussed it fitted well.
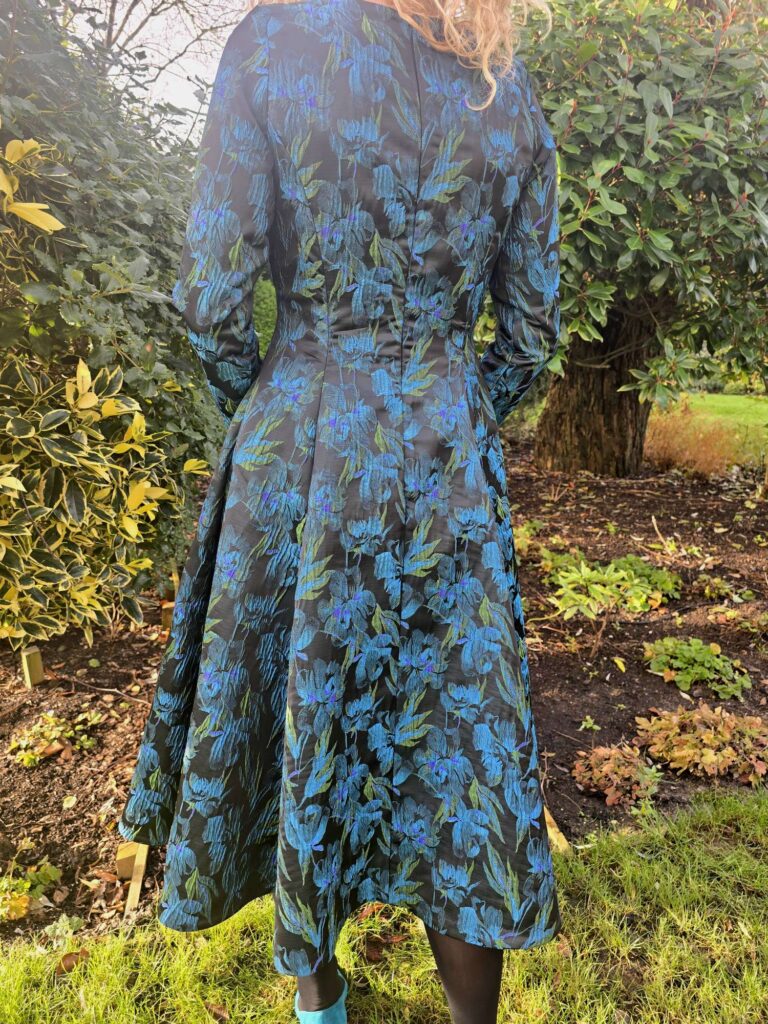
- Modifications to the pattern: I added sleeves to the dress, using another McCall pattern; and I lenghtened slighly. I also lowered the front neckline, as it was really unpleasantly positionned initially.
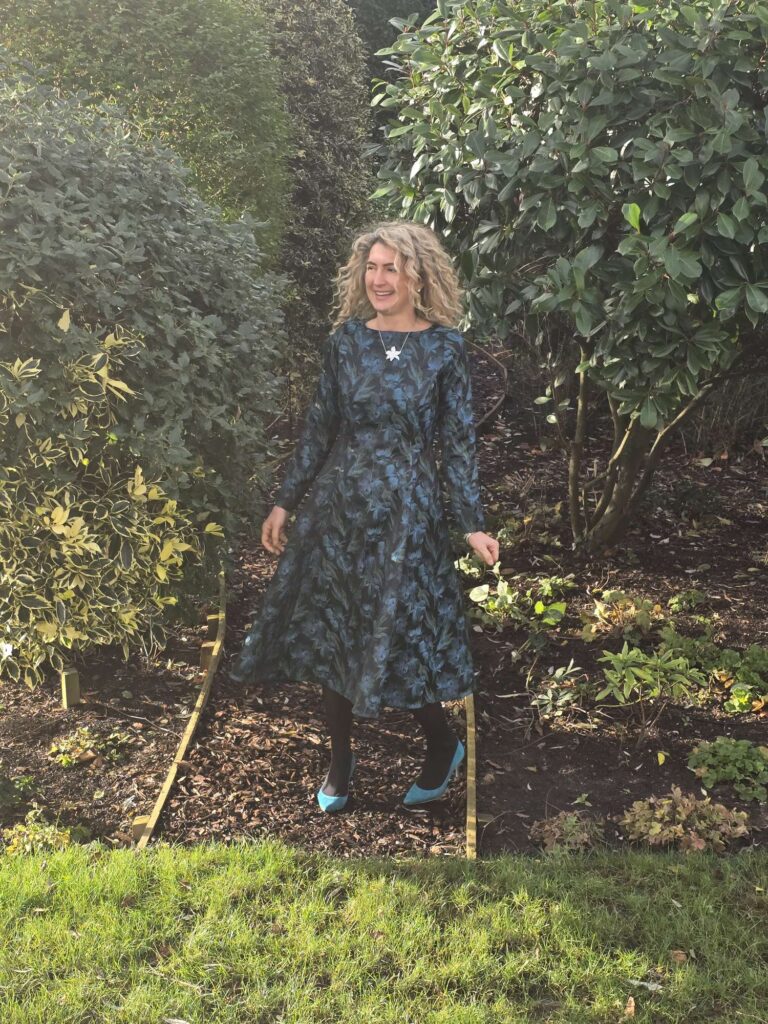
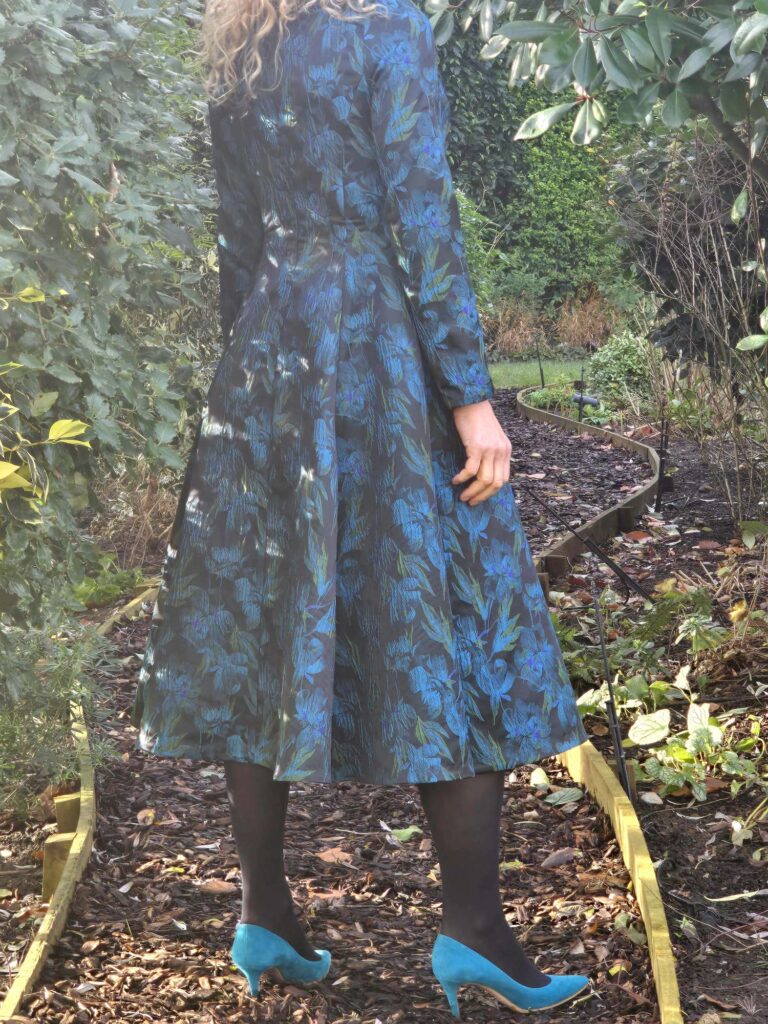
- Likes and dislikes: on the positive side, I really like the perfect fit and flare shape, the fact that there is no interruption at the waist (not easy to find for this shape) and the easy nature of this project. On the negative side, I wish there had been bust cup options to save me the trouble!
Conclusion
Very pleased with this dress, and a second one has already been sewn so see you soon….