Sewing the Magnolia dress: more silk and more flowers in my wardrobe
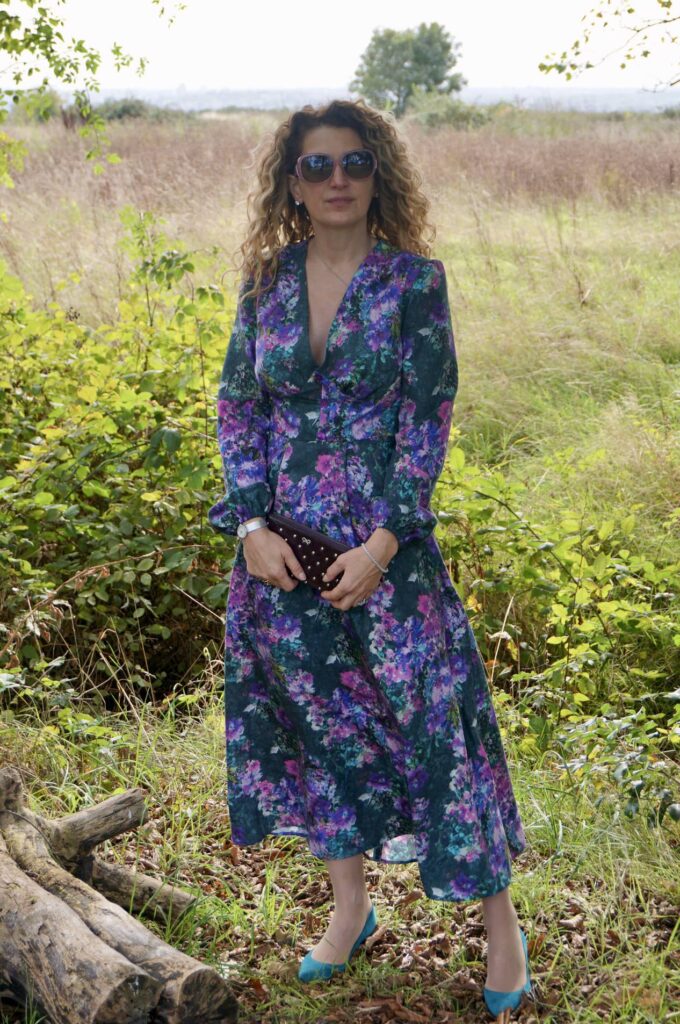
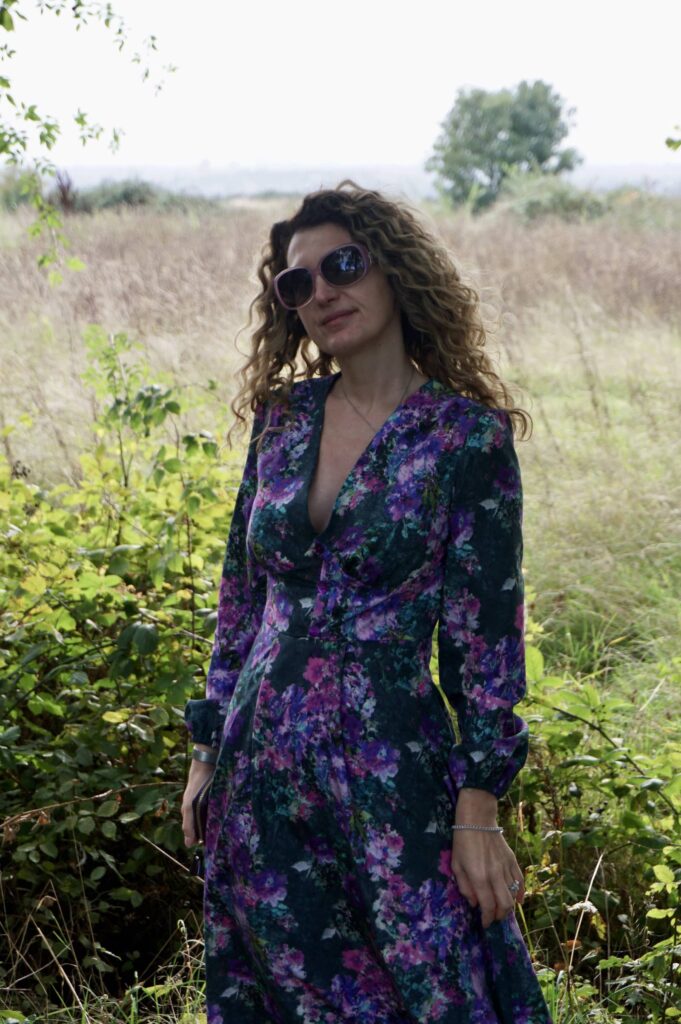
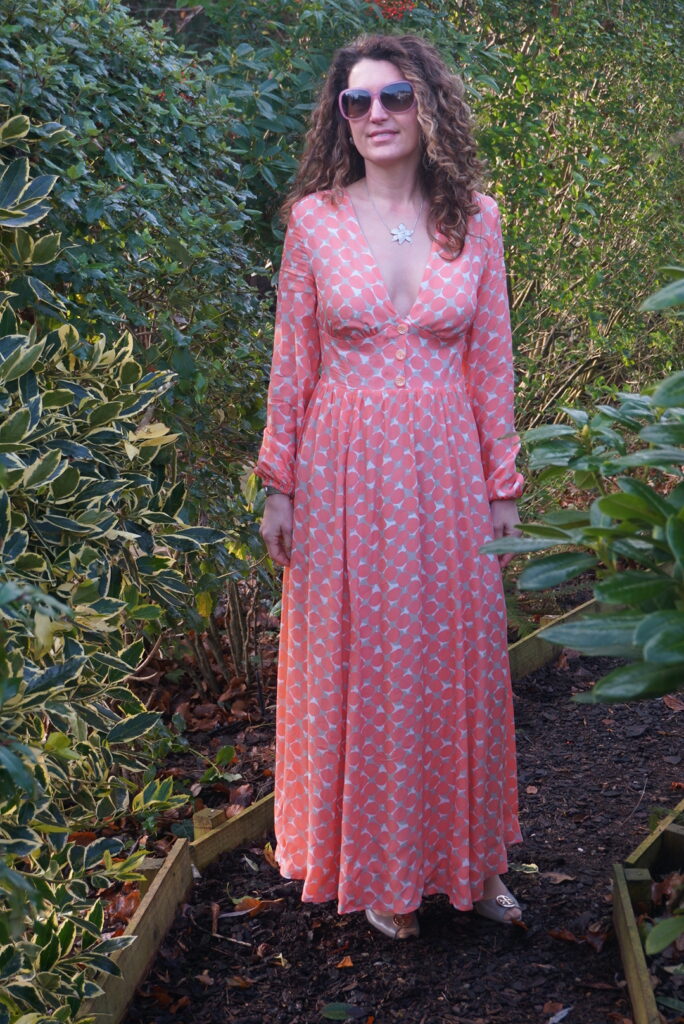
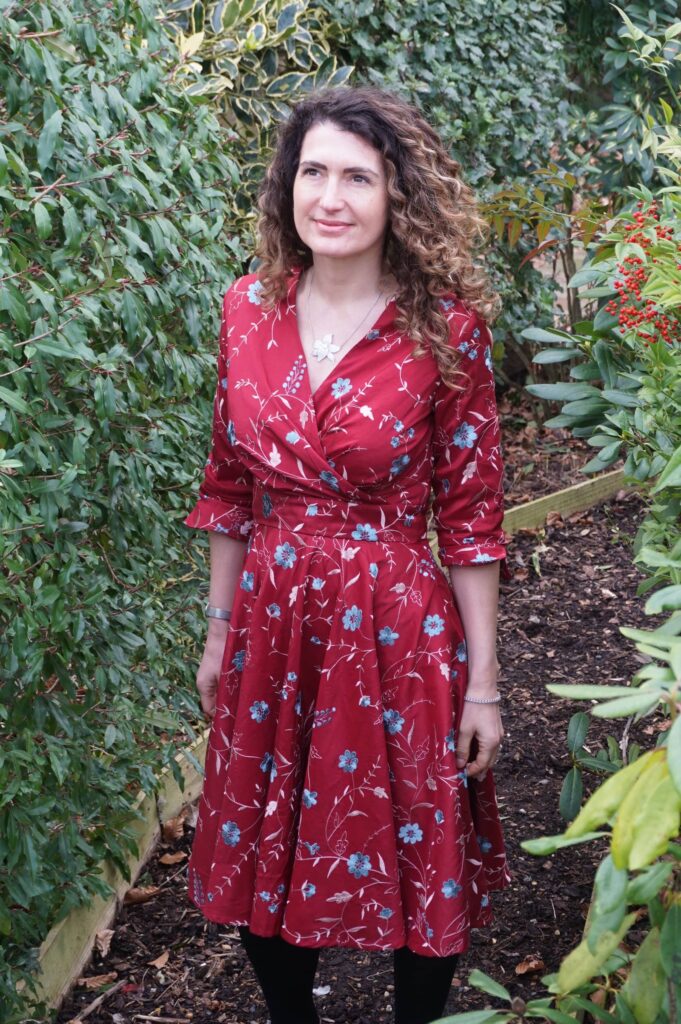
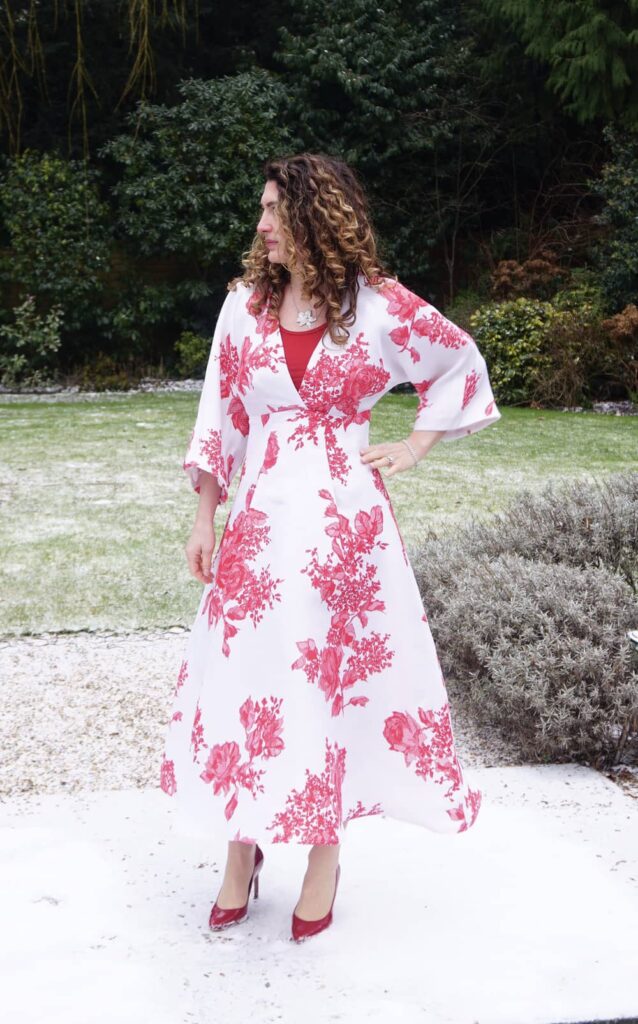
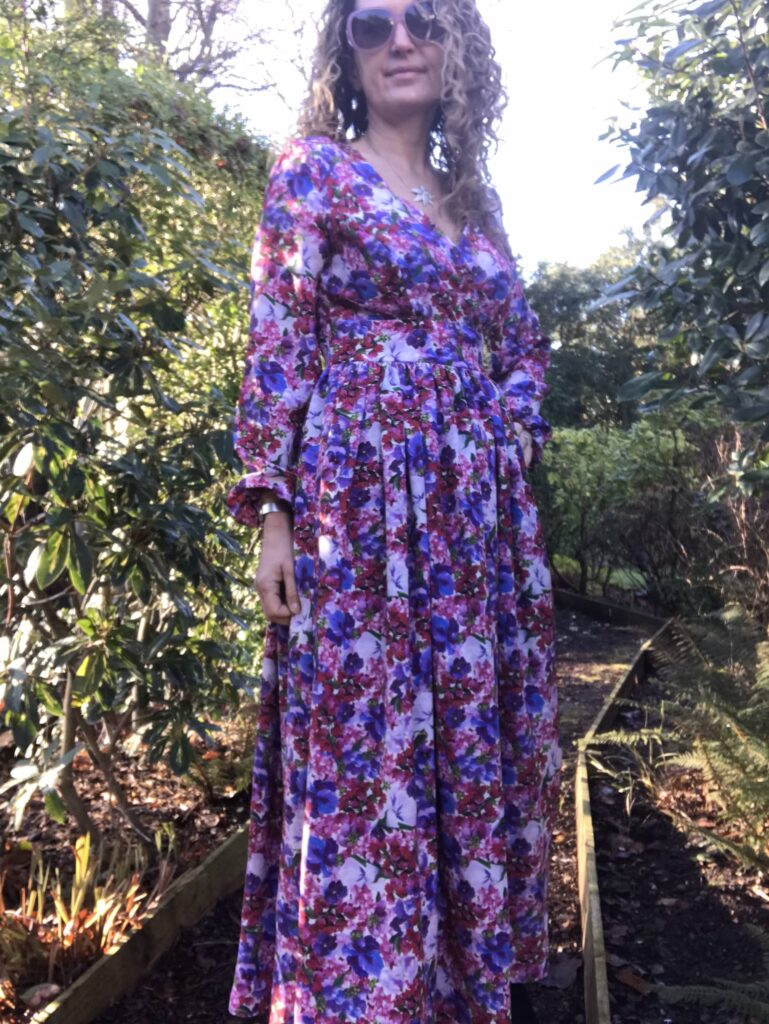
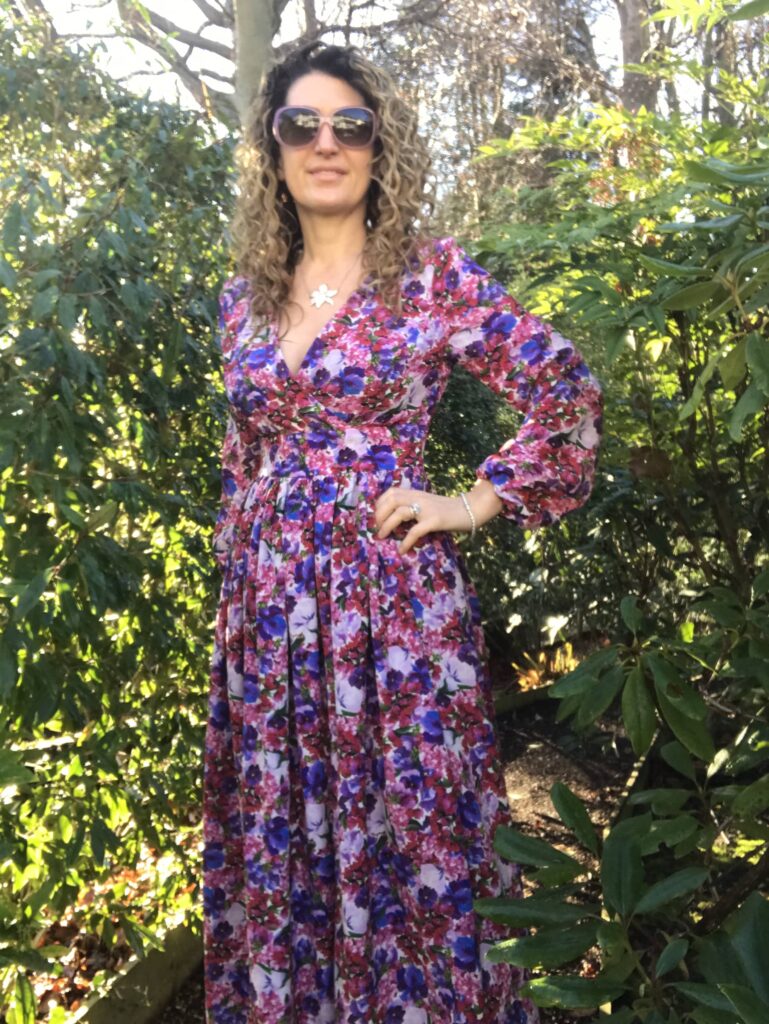
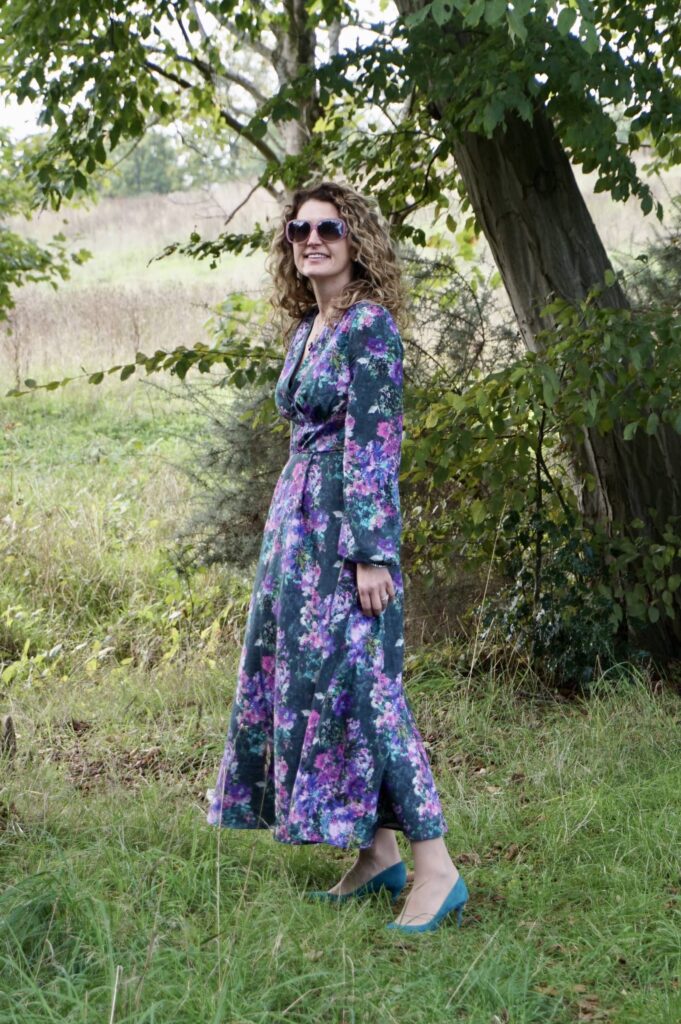
Although knitting has dominated the blog lately, I have in no way given up sewing. Here is my latest Magnolia dress by Deer&Doe, in a dreamy floral silk fabric from Selvedge and Bolts.
Magnolia pattern review: a long love story
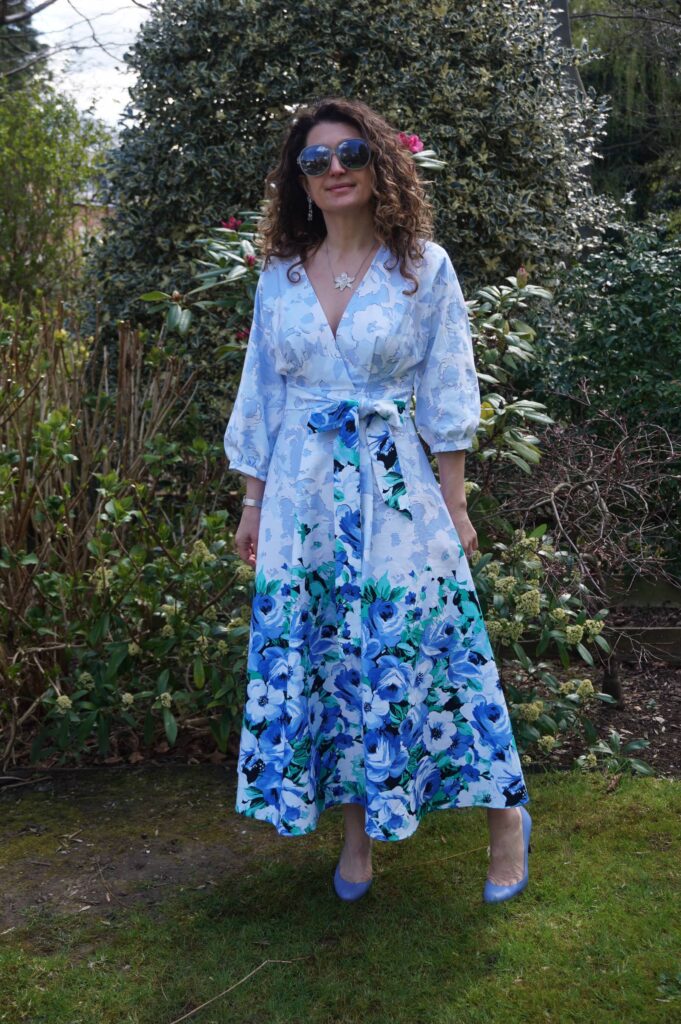
Magnolia is one of my favourite dress patterns; and this version is the latest of a long series. In the past, I have sewn Magnolia dresses in stretch velvet (three times!); in none-stretch velvet; in silk to use as a luxury nightdress or a day dress. So many options!
There are many things I like about Magnolia:
- The shape is ultra-flattering. I am not a huge fan of empire waists but here it is just sitting at the right level. The multi-panel skirt perfectly balances the generous sleeves. And who does not love a wrap bodice?
- The bust fit (well, the entire fit actually) is perfect. Deer & Doe tends to size generously at the bust level. This suits me perfectly as despite my E-cup I never had to make any FBA for Magnolia (and neither for my Luzerne trench coat actually).
- This is an easy and (reasonably) quick project. There is no major technical difficulty with this project except for the invisible zip. And the dress comes together incredibly easily for such a stunning result. This is very comparable to sewing V9253, another of my favourite dress patterns.
- The pattern instructions are super clear, as always with Deer & Doe.
Sewing Magnolia more efficiently: my advice
I have sewn Magnolia so many times that there are a few things I do differently to what the instructions recommend.
To get perfect princess bust seams, I reduce my seam allowance from 1.5 to 1cm at this level before sewing pattern pieces 1 and 3 together; and I use an ironing ham to get the seams in shapes. I also reduce seam allowances before setting-in the sleeves, as I have noticed working with less fabric makes the process much easier.
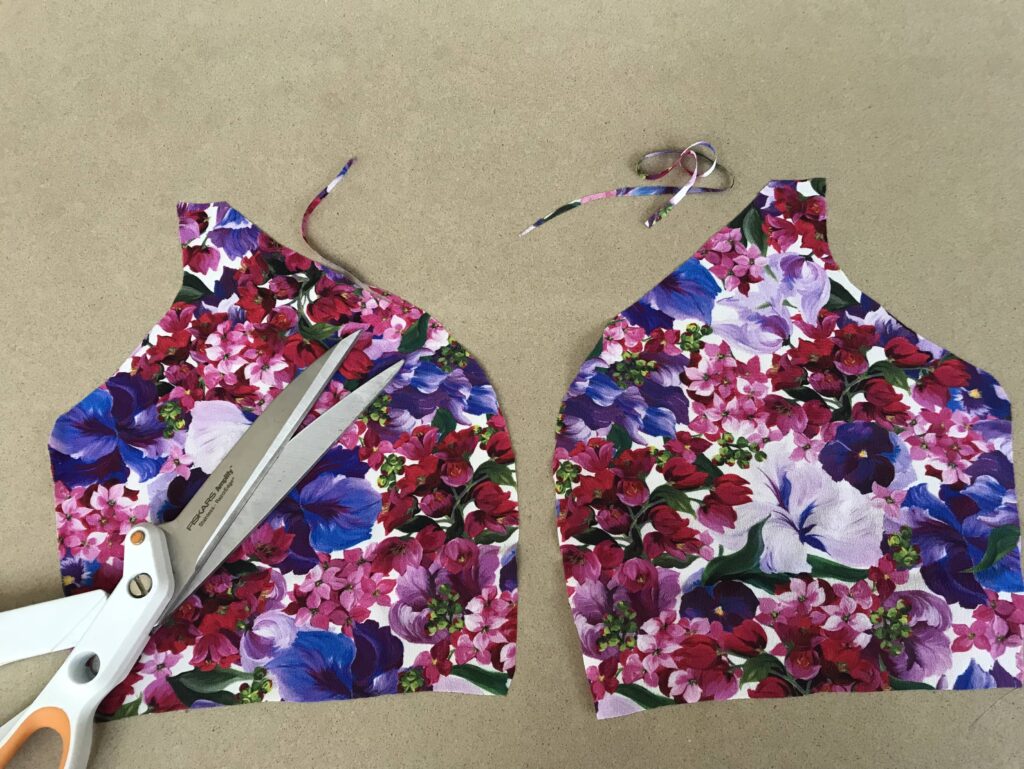
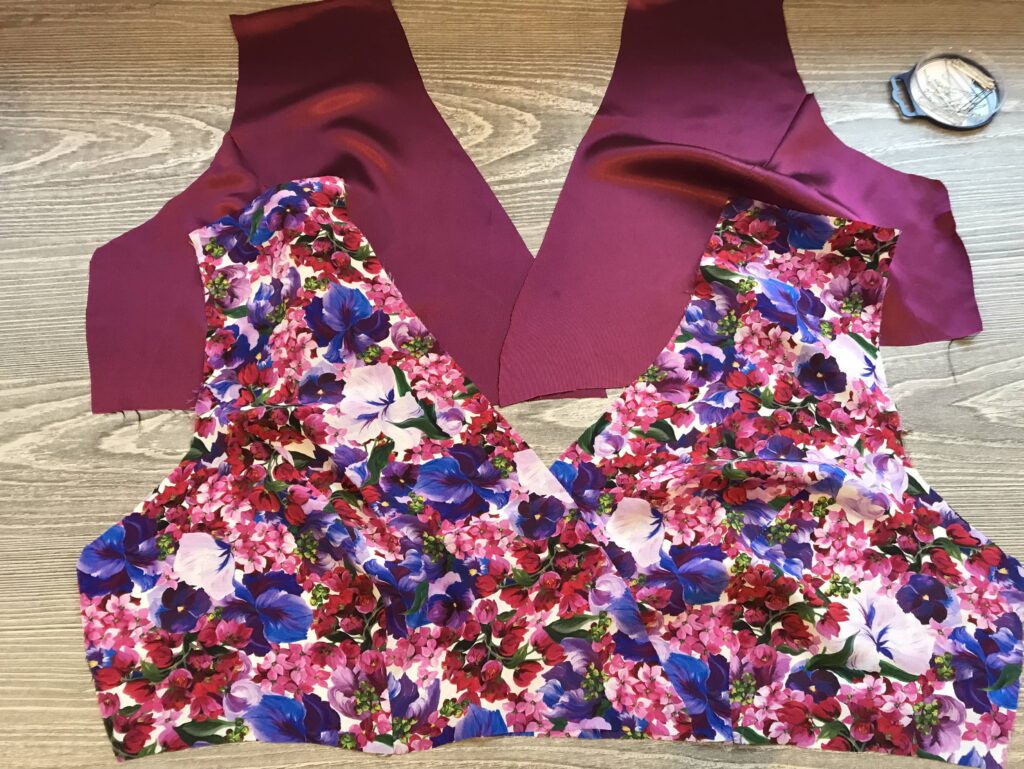
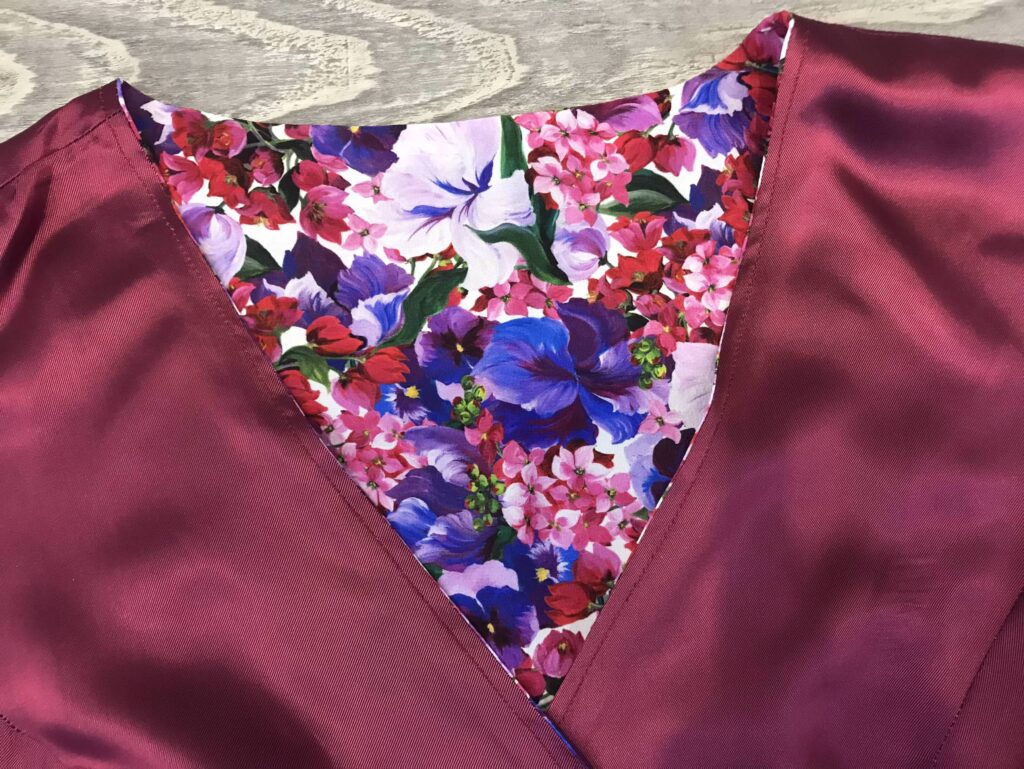
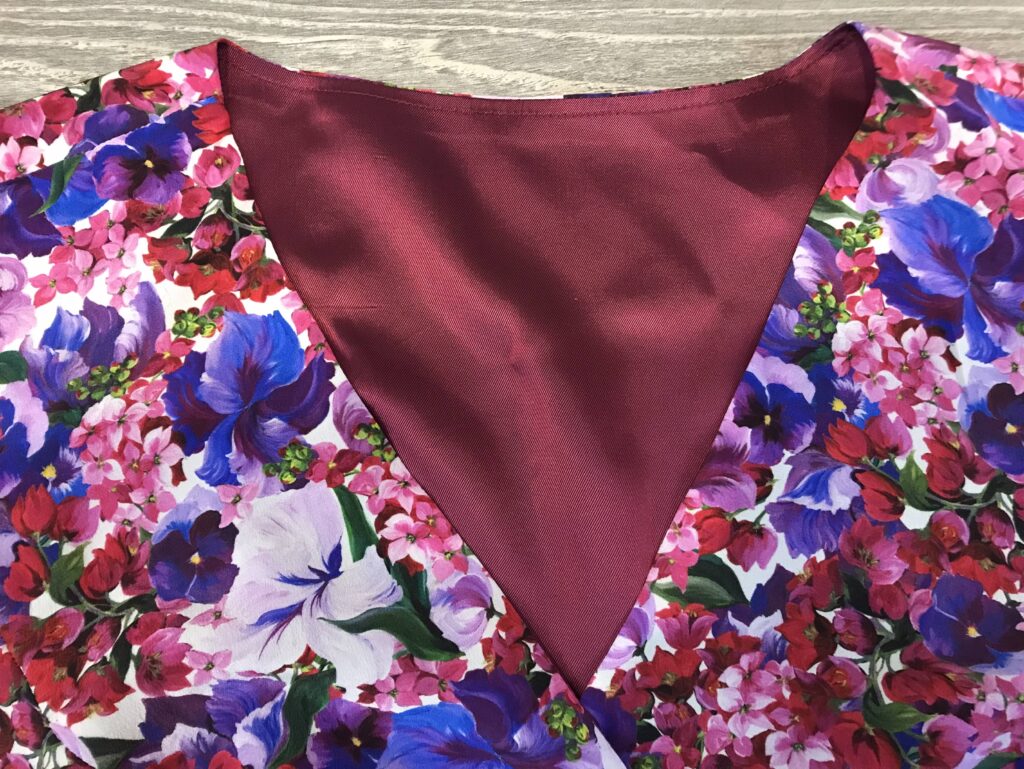
For a neater neckline, I entirely line the bodice instead of using bias binding. This prevents any visible stitching right at the middle front of the dress. To do this, I simply make two bodices (one main fabric, one lining); attach them together at the neckline; clip the curves; and understitch so that the lining remains invisible. (Then I attach the bodice to the skirt and the the sleeves as if main fabric and lining were one.)
For a neater waist, I also line the belt. I make two belts (main fabric + lining) instead of one and sandwich my bodice between the top of the two belt. I attach the skirt to my bottom of the MF belt, fold and iron the seam allowance of my L belt and finish by hand.
And for a skirt with less panels, which is useful when you work with fabric with large patterns of just when you want to make the process quicker, I either use the V9253 skirt or simply two rectangles of fabric gathered at the waist.
Sewing silk: my advice
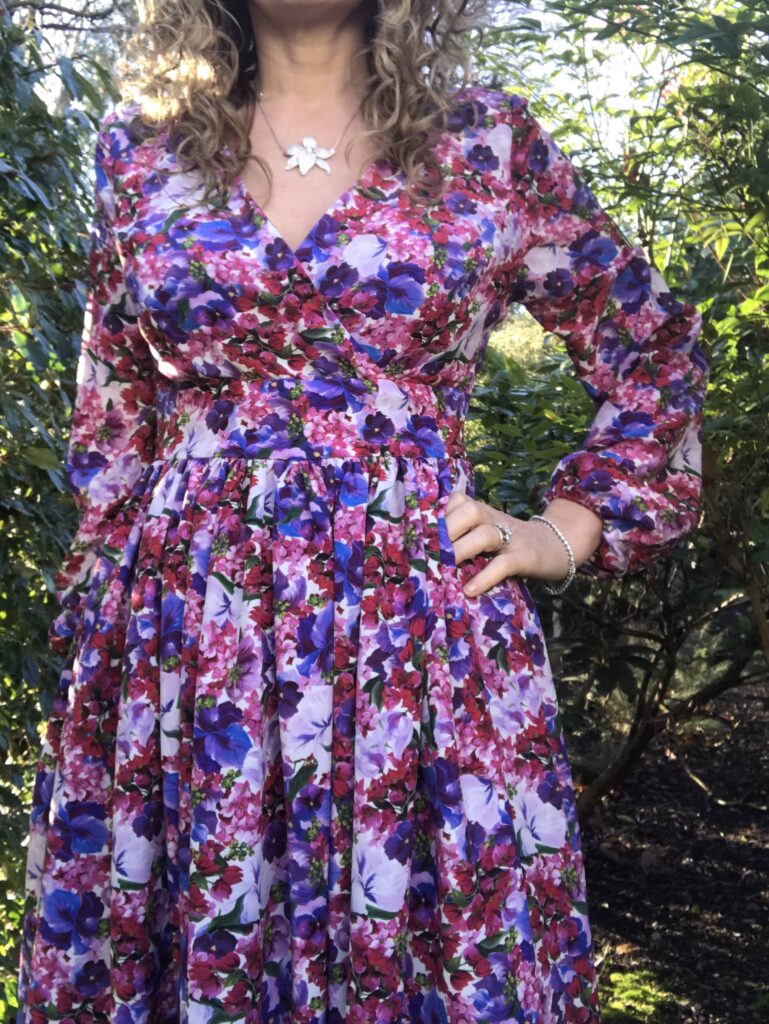
I am a horrible fabric snob and I adore wearing silk (cotton, wool, cashmere – natural materials only please!). I used to be terrified at the idea of sewing such a delicate material but after a number of skirt and dresses, not any more!! Over the past 18 months I have actually sewn quite a number of silk garments:
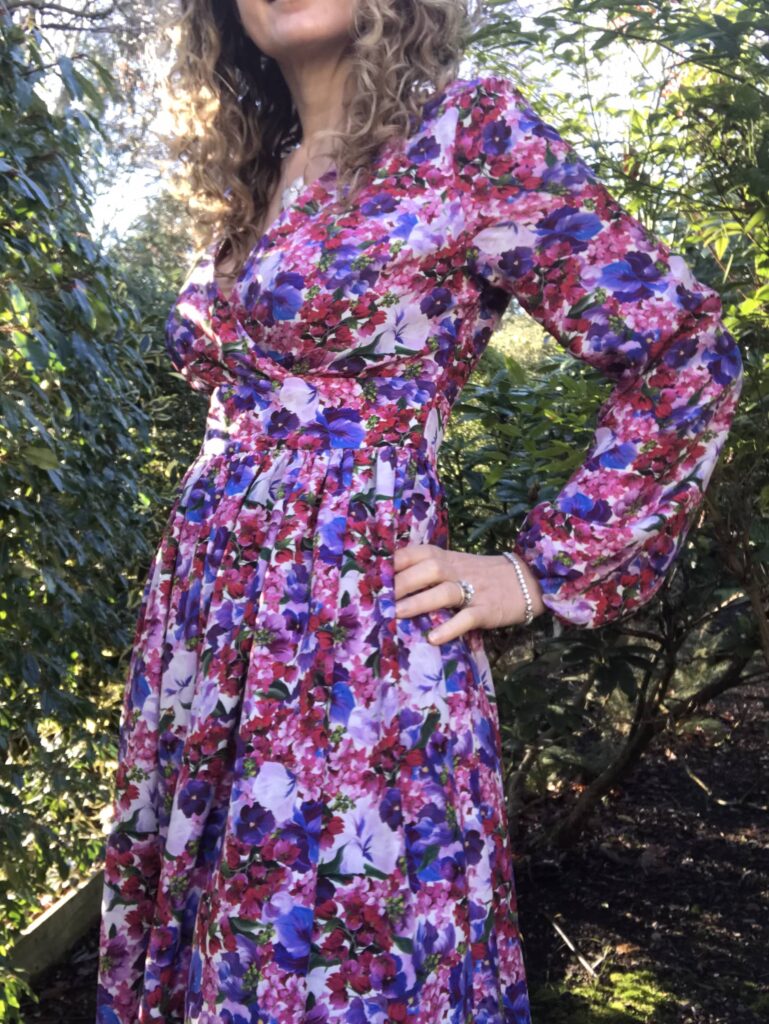
This version of Magnolia is in a dreamy floral crepe silk from Selvedge and Bolts, one of my most reliable sources of exceptional luxurious fabric. Look at this beauty!
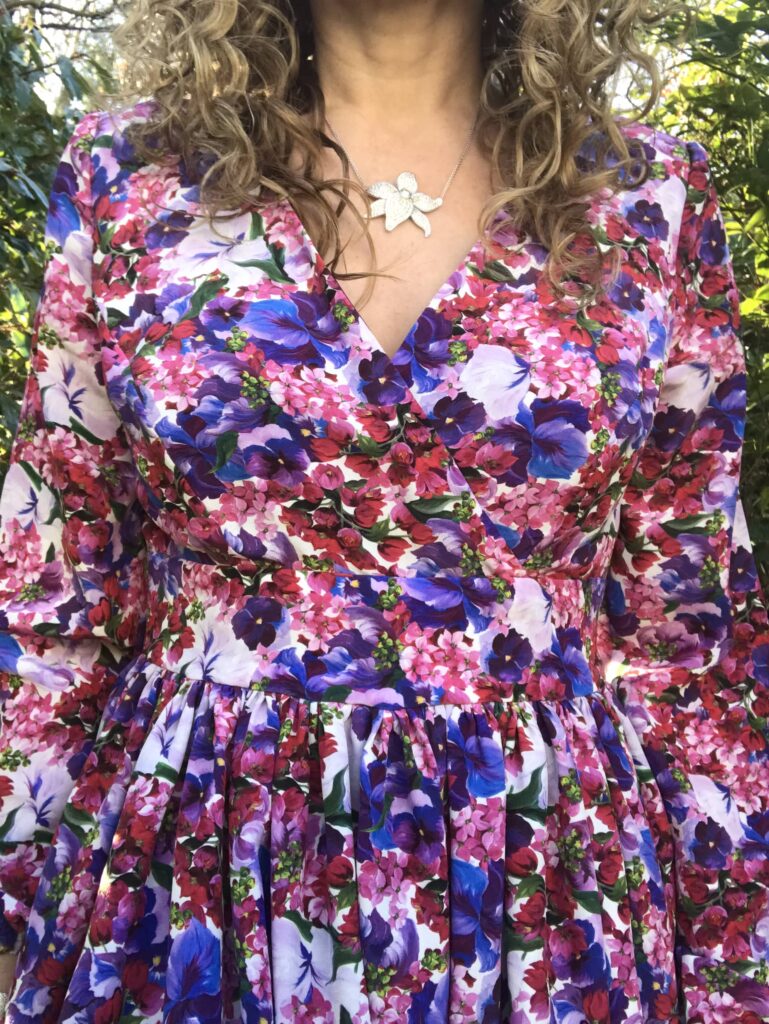
If you’re toying with the idea of sewing silk but are terrified to start, here are a few words of advice:
- Don’t overspend on the fabric. The more you spend on silk, the more terrified you will be to use it. My best source of reasonably-priced silk of good quality is Bennytex. Looking for deadstock is also a good option – I regularly browse through Amotreads‘ stock. Obviously as you become more competent do not hesitate to spend more, this is exactly what I did with this dress.
- Pre-wash and iron you fabric as you normally would, except if you are planning to have your dress professionally cleaned in the future. I personally only sew and knit clothes I can machine-wash… but I am the woman who puts all of her husband suits in her Miele washing machine! Wool program, no temperature, 600 spin, it works wonders for wool, silk, cashmere…
- Go for silk that is slightly thicker or that has texture. I find that silk crepe and silk dupioni are easier to work with, as they are less slippery that silk satin for instance. In any case look at the material weight, the heavier the easier.
- USE A MICROTEX NEEDLE, absolutely, even if you can’t find it on Amazon. Using a super-thin (60) general needle will not work a well, with some silks it may pull off strings and damage your fabric for good. And also use thin pins, not standard ones.
- Use a pattern you have already sewn, to reduce the risk of mistakes. Having to unpick stitches is particularly dangerous with silk.
- Line silk with silk if you can afford it, it would be such a pity to lose the softness and drape of silk because of a synthetic lining.
- Go SLOW – no need to rush, you are unlikely to want tens of silk dresses in your cupboard (except if you are me), so you have all the time in the world!
Conclusion
I cherished this fabric and hesitated for a long will on which pattern to use. I am very pleased I chose Magnolia, as it really shows the fabric under its best light!
A new velvet Magnolia
Yes, I’ve done it again… I’ve sewn another version of the Magnolia dress by Deer&Doe!
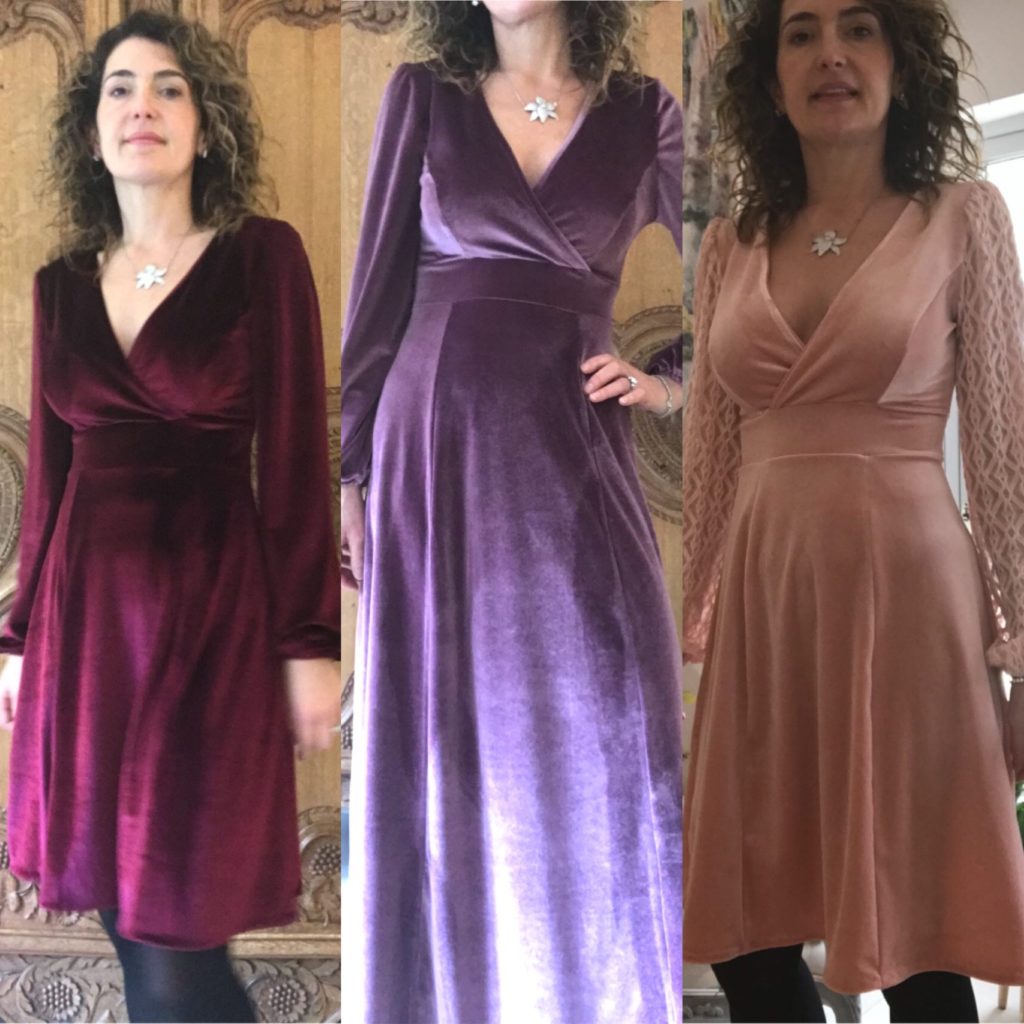
Magnolia Old and New
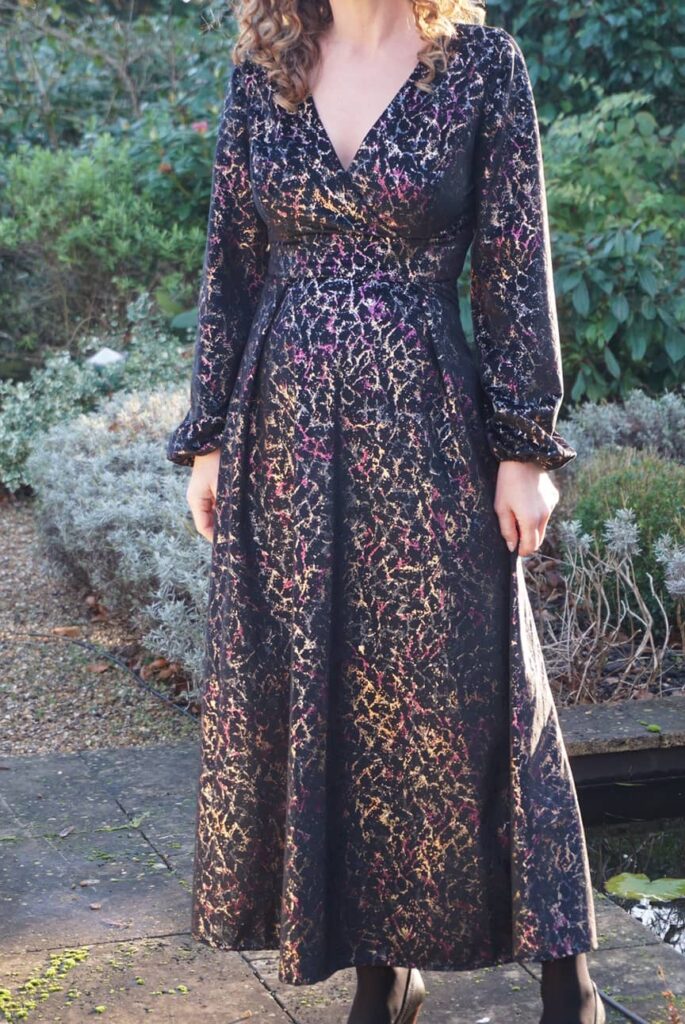
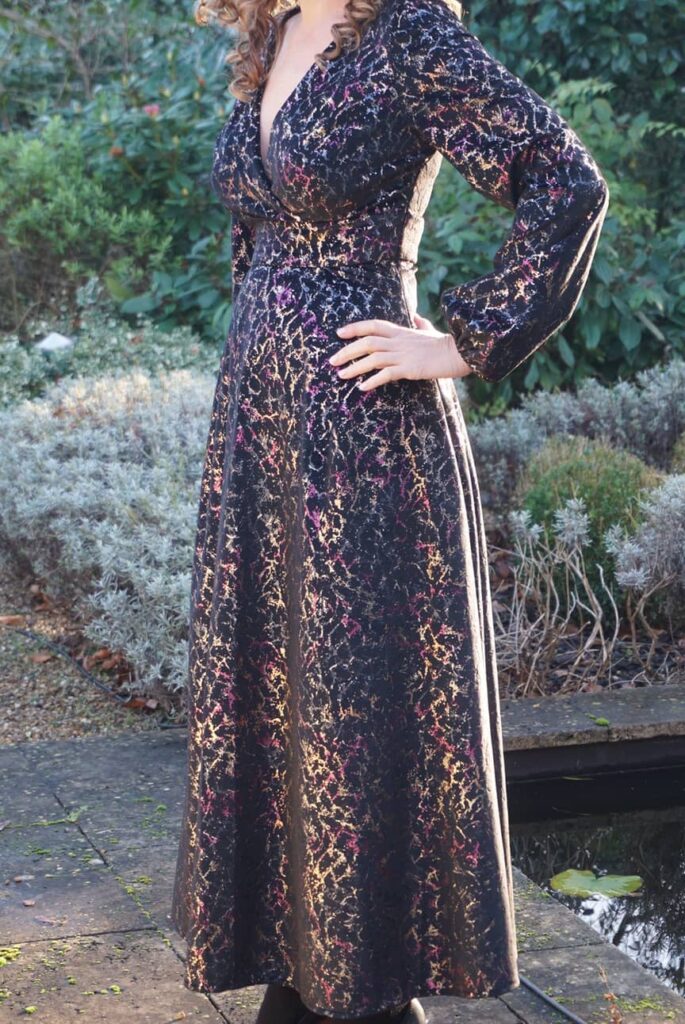
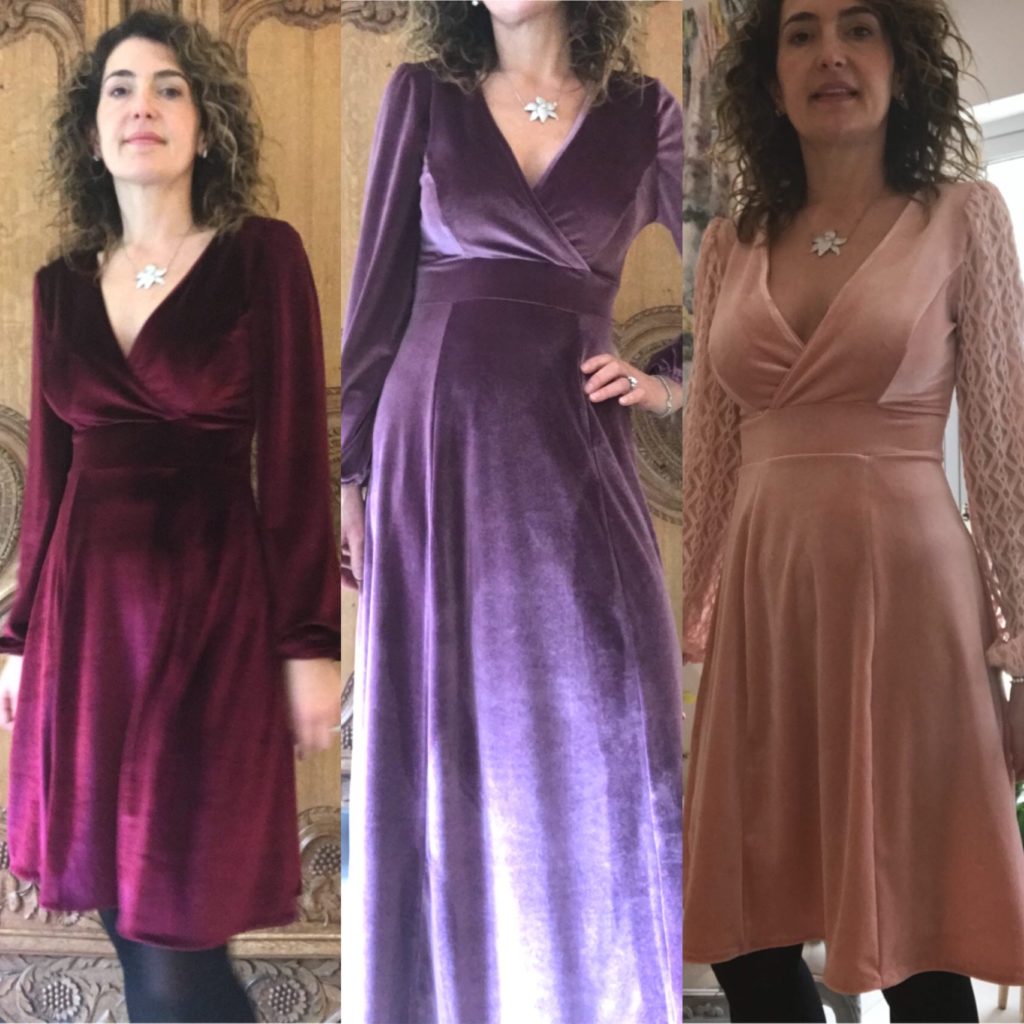
You will probably remember my previous versions of Magnolia, all in stretchy velvet, sewn compulsively last autumn and reviewed in this article. They are among the dresses I have worn most both last and this Autumn, as they are so comfy while looking so stylish. The purple version actually got a chop and is now knee-lengh.
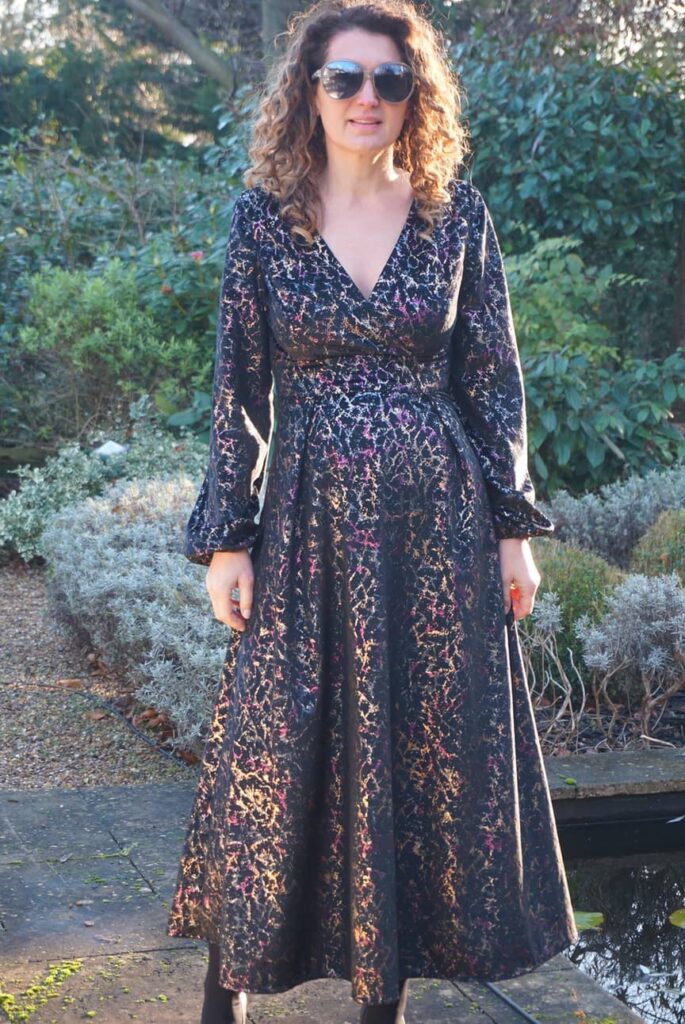
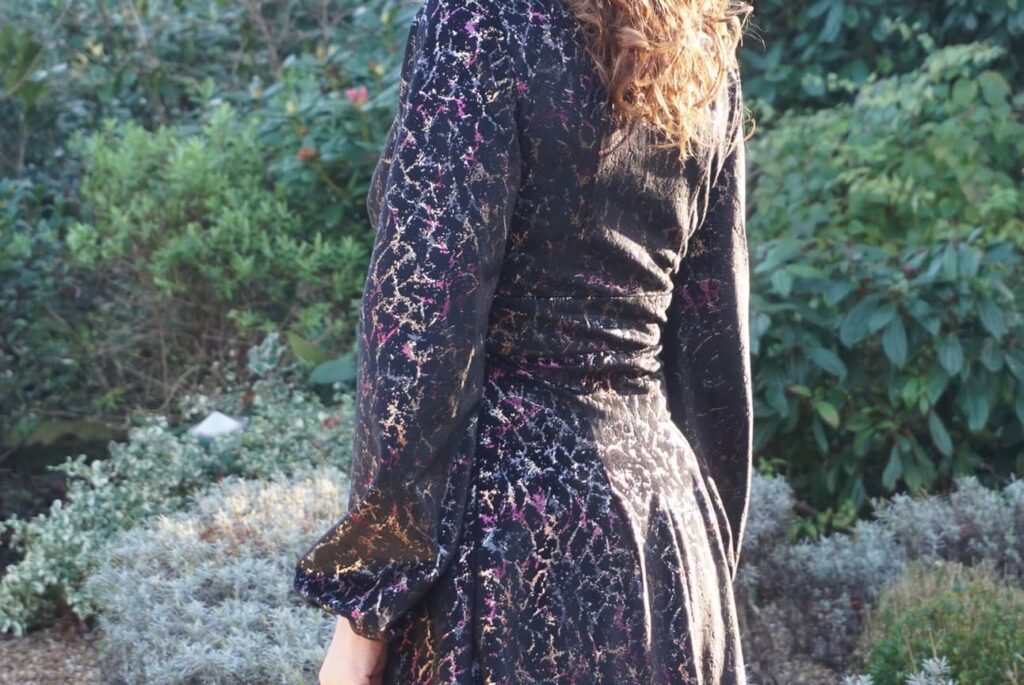
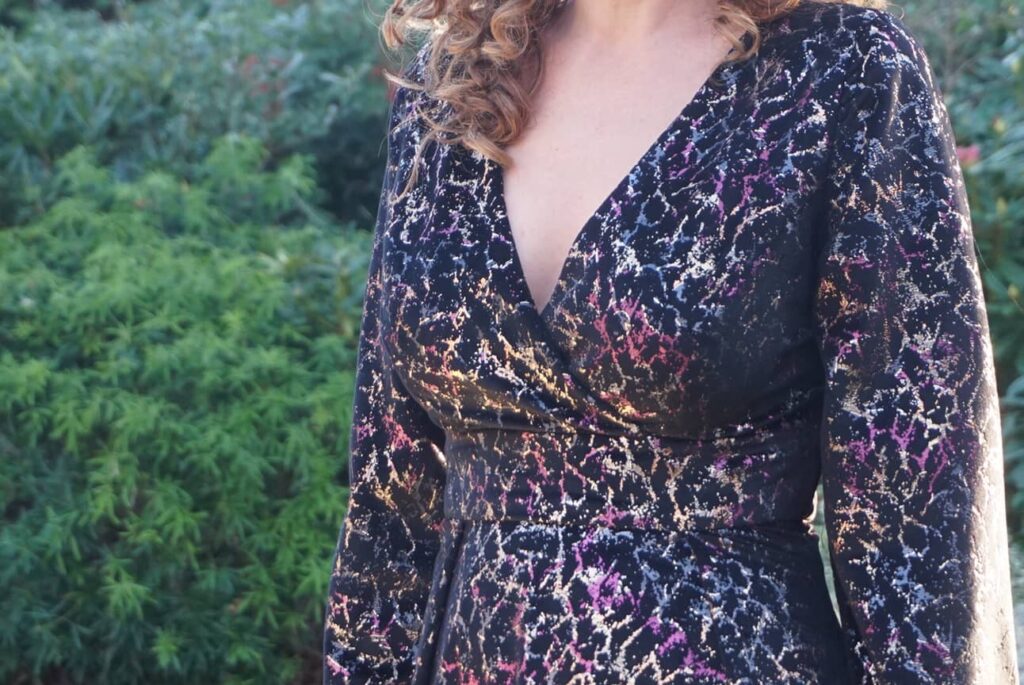
For my new Magnolia, I used velvet again, but this time thicker and non-stretchy. I bought this beautiful fabric from SewMeSunshine last year and had a Magnolia in mind all along. With it golden touches and its long skirt, this dress would be particularly appropriate for Christmas…
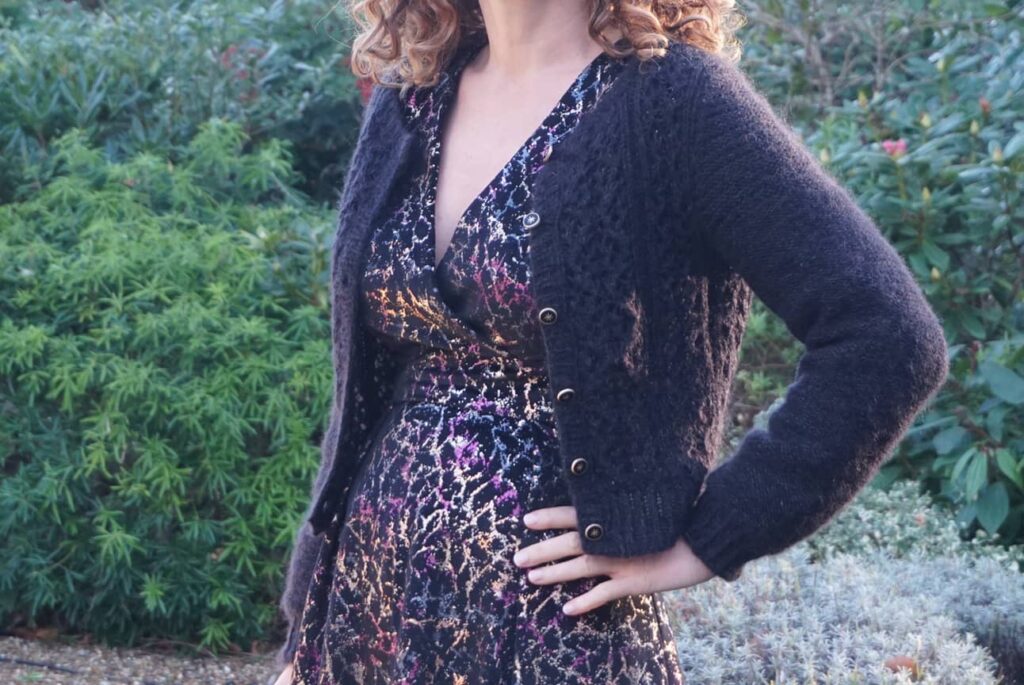
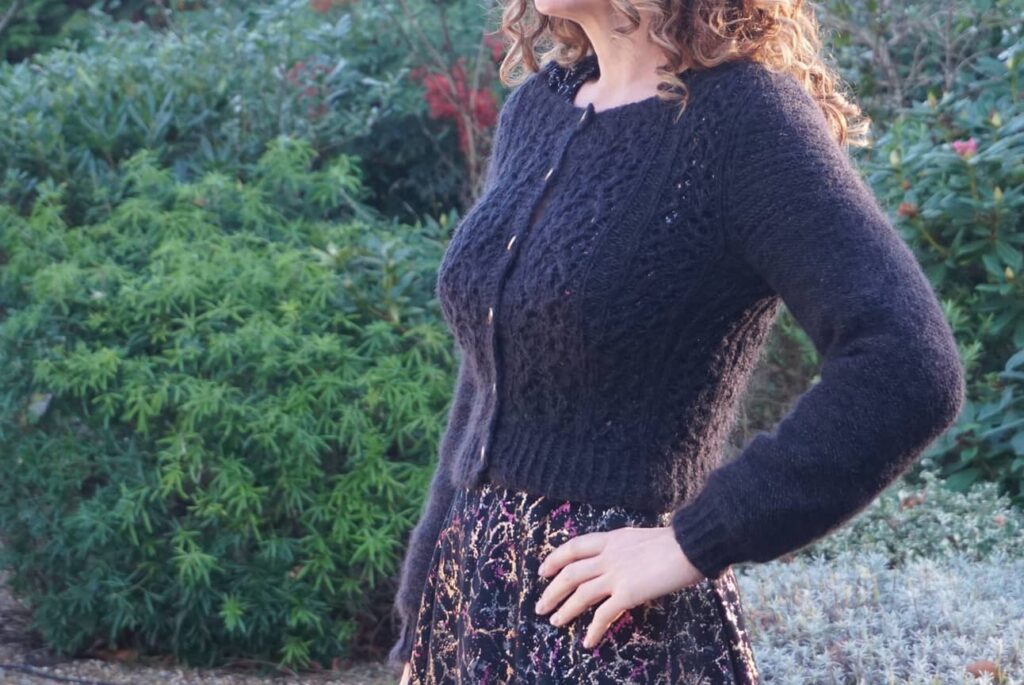
… but I mostly wear it casually to be honest, as my vision of casual is… well, very extensive! It works particularly well with one of my latest knits, my black Belladonna cardigan. The thickness of the velvet and the length of the skirt also mean it’s warm enough for the London cold.
Pattern Review and Modifications
As for the pattern, I already reviewed it extensively here and to be honest there is not much to add .
I cut a size 38, which fits perfectly my 36 FR/ 8 UK/ 2 US. And the ultimate joy is that I don’t need an FBA: it fits my E-cup without any adjustment, hurrah!
I made a few changes to the dress though:
- To make the sleeves puffier, I lengthened them by 5cm and reduced the wrist elastic to 19cm.
- I used the skirt of another of my favourite dresses: V9253, because I like its shape so much. I just checked that the width would match the Magnolia bodice and I was good to go.
- I fully lined the bodice (except sleeves) to make the neckline finish easier – I did not feel the need to line the skirt for once, which is a nice change as I usually line all my dresses in winter.
Overall it was a quick and rewarding project. I am now on the lookout for similar velvet to make a twin dress to this one – because of course I really need a fifth velvet Magnolia!
My Dream Autumn Dress – Or How to Combine Magnolia and La Boheme
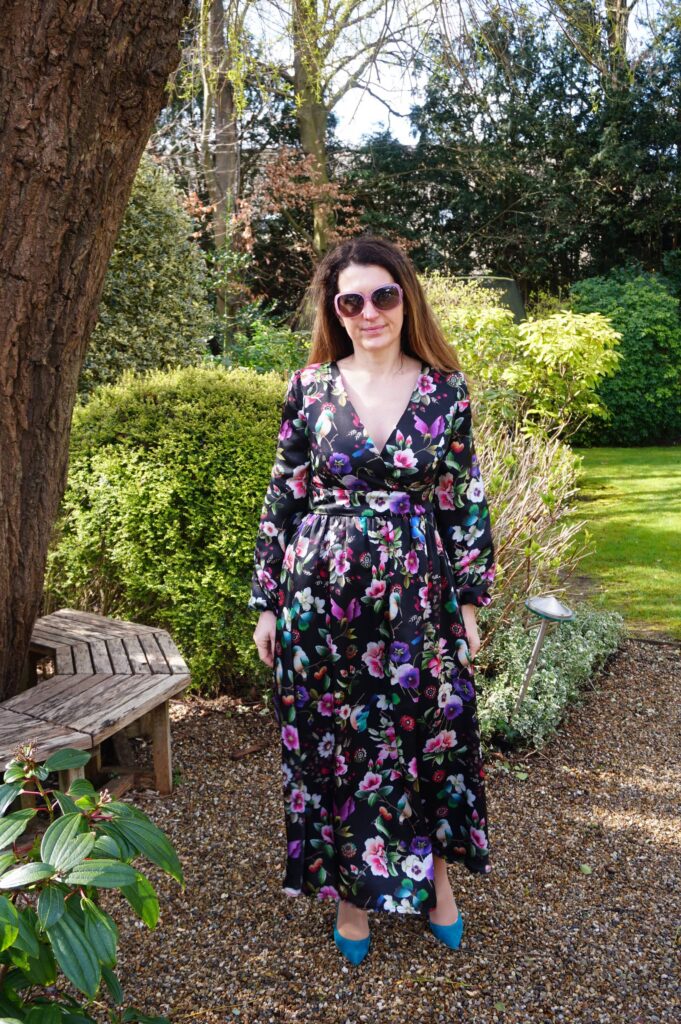
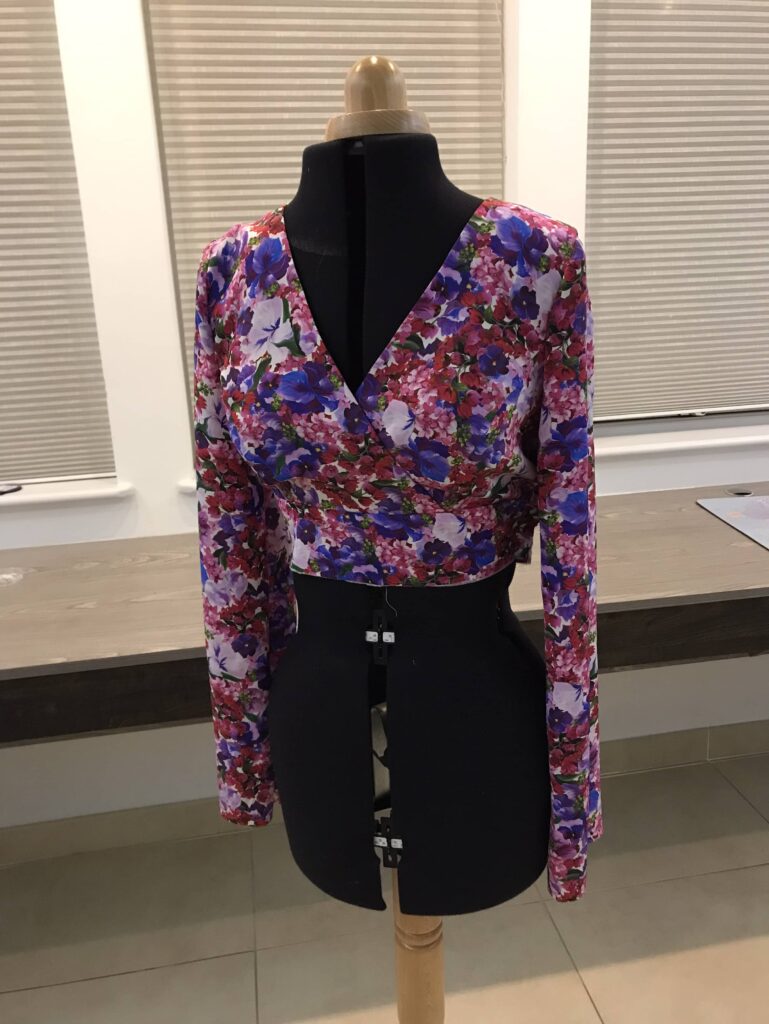
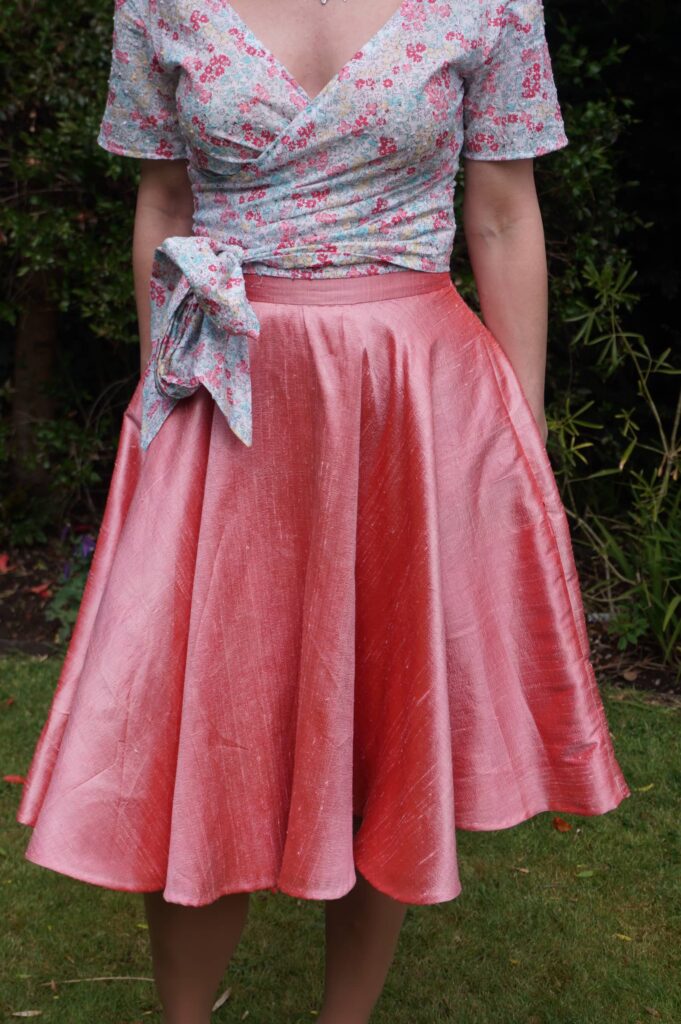
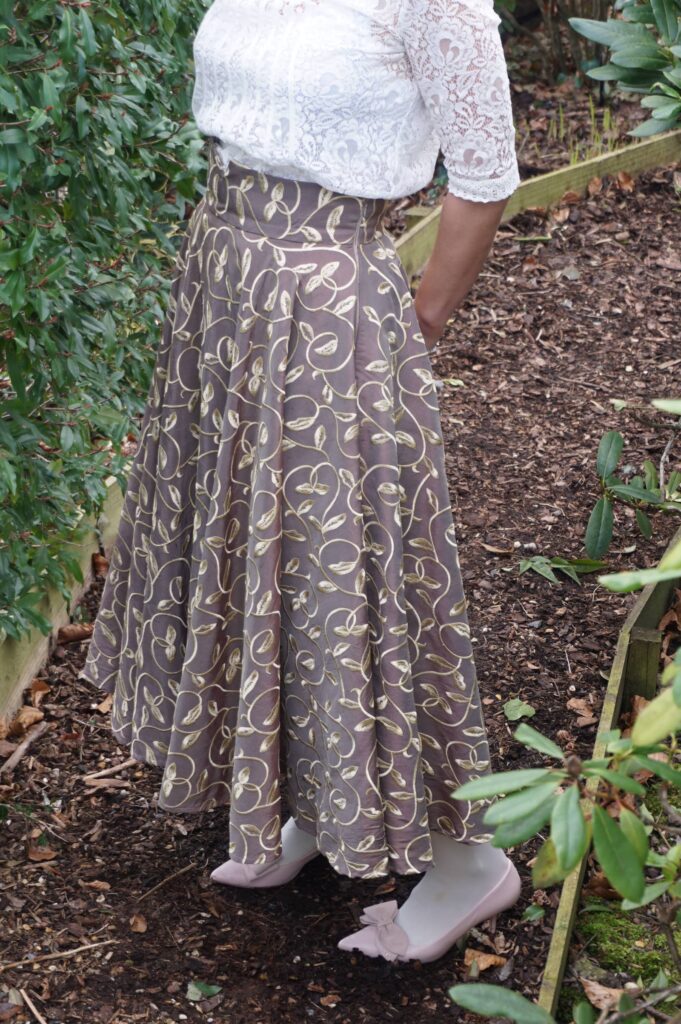
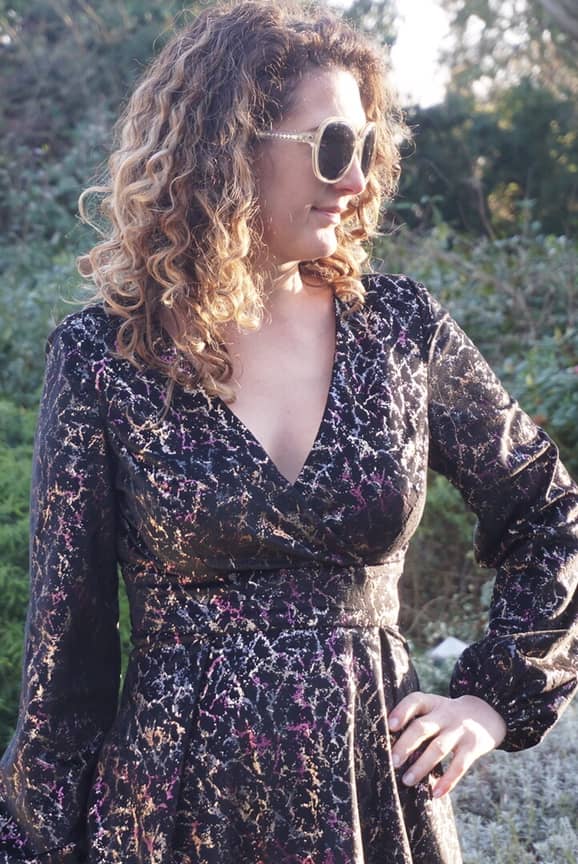
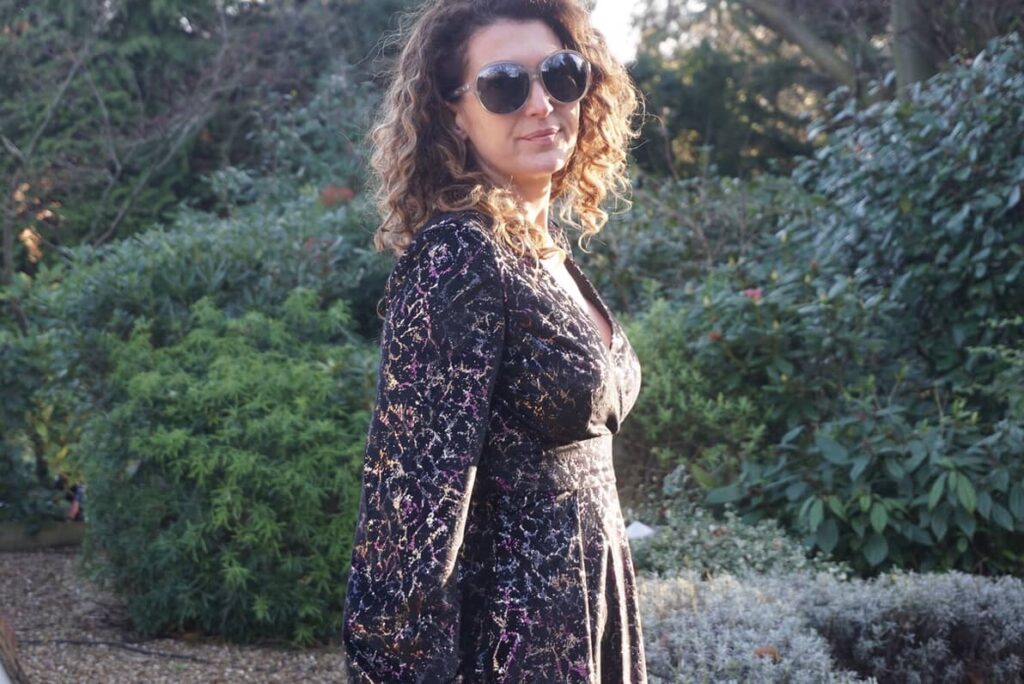
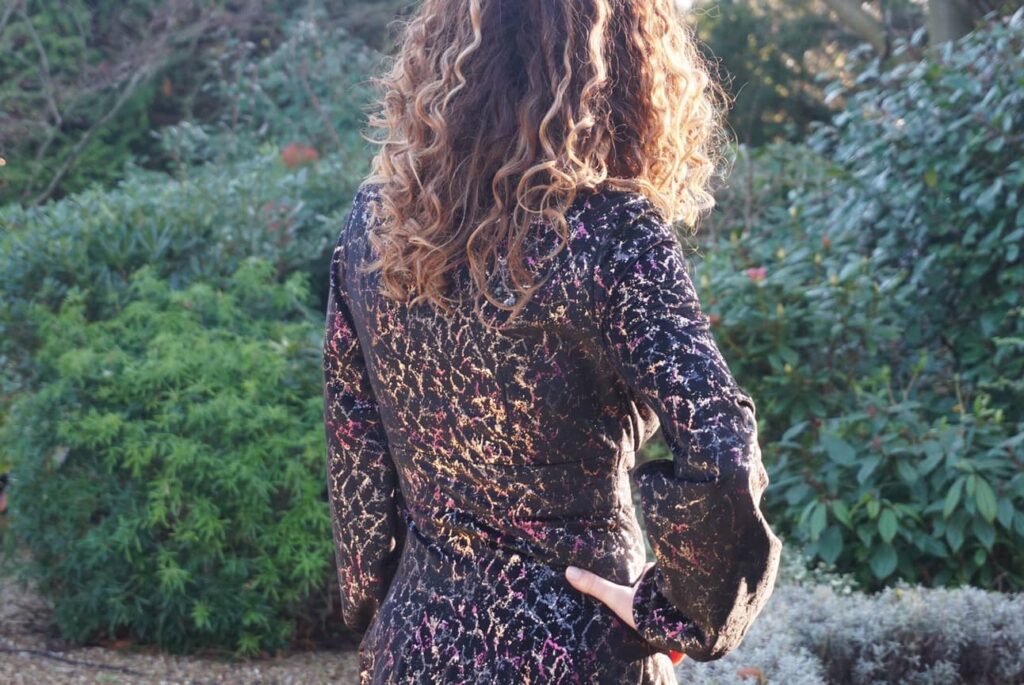
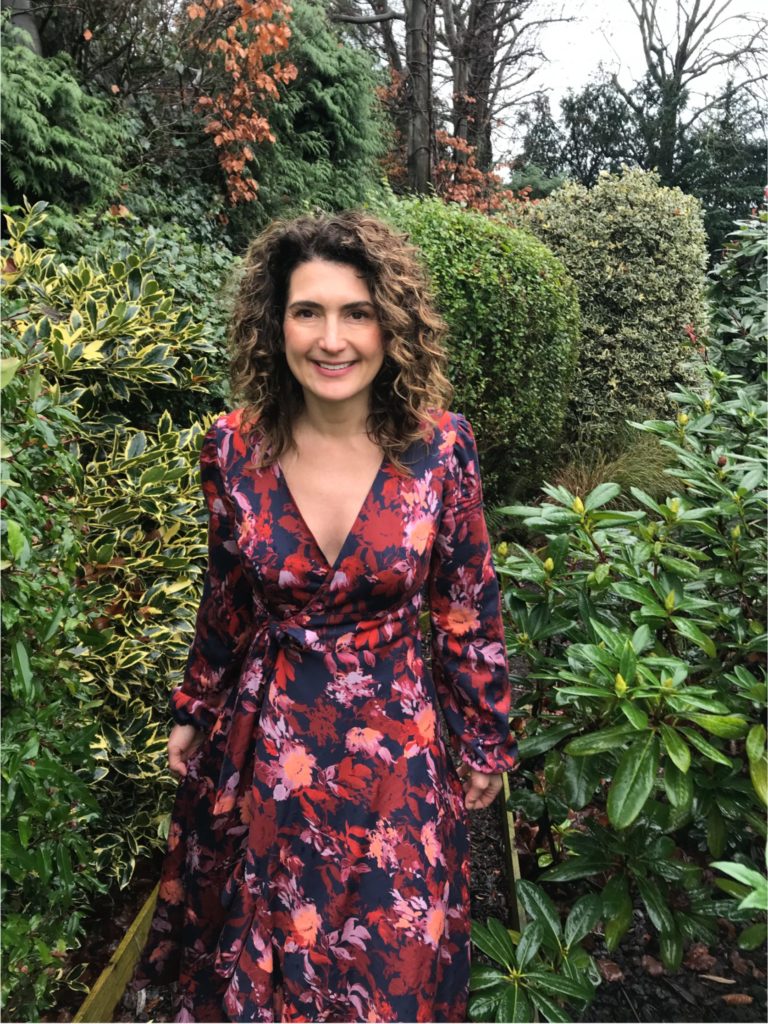
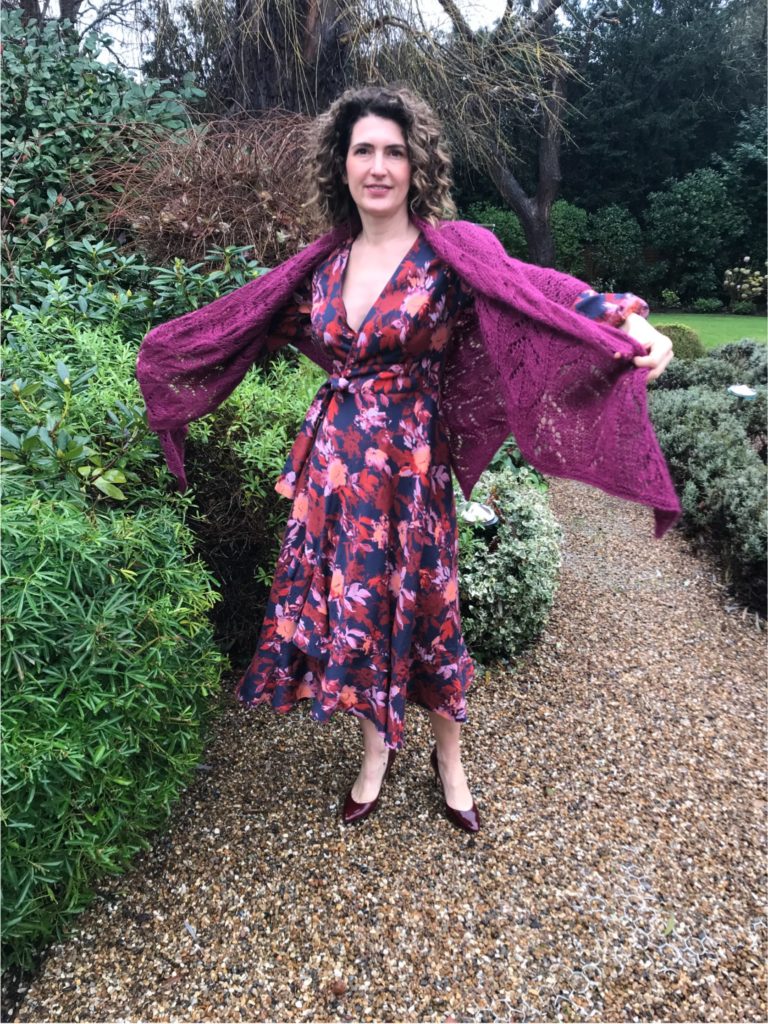
You will by now know my adoration for the Magnolia dress, after seeing my three velvet versions. My dream was to combine it with another of my beloved patterns, the La Boheme skirt, and make it a real wrap. After months of hesitation, I finally took the plunge and went ahead – let me introduce you to my pride and joy of this Autumn collection!
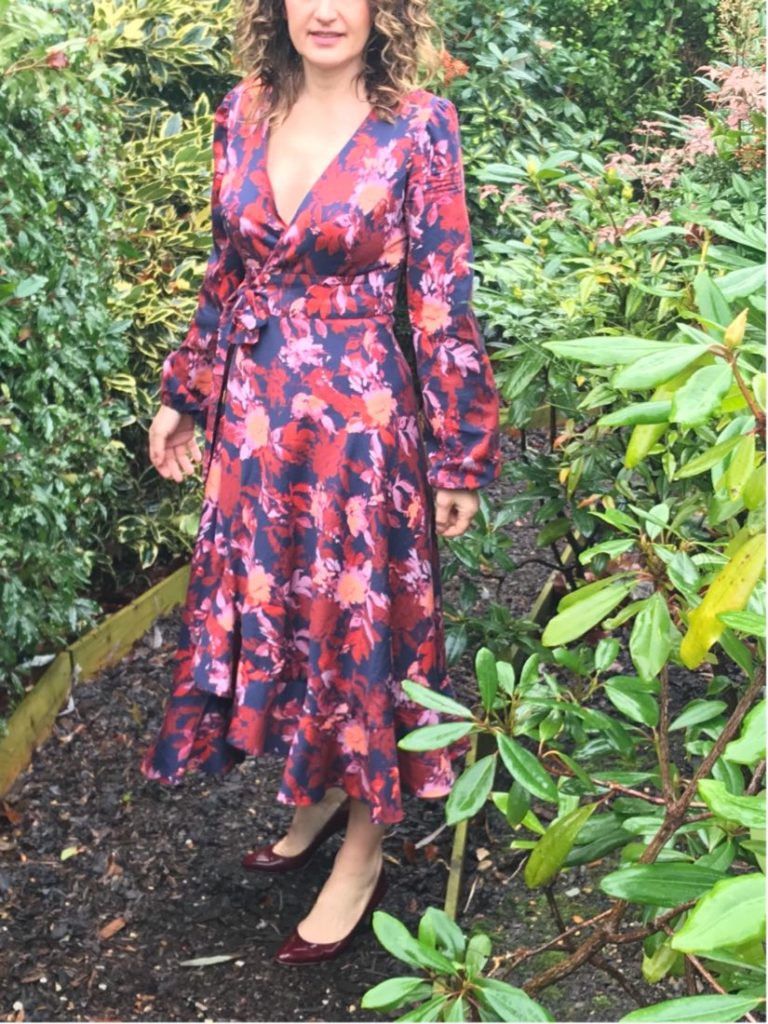
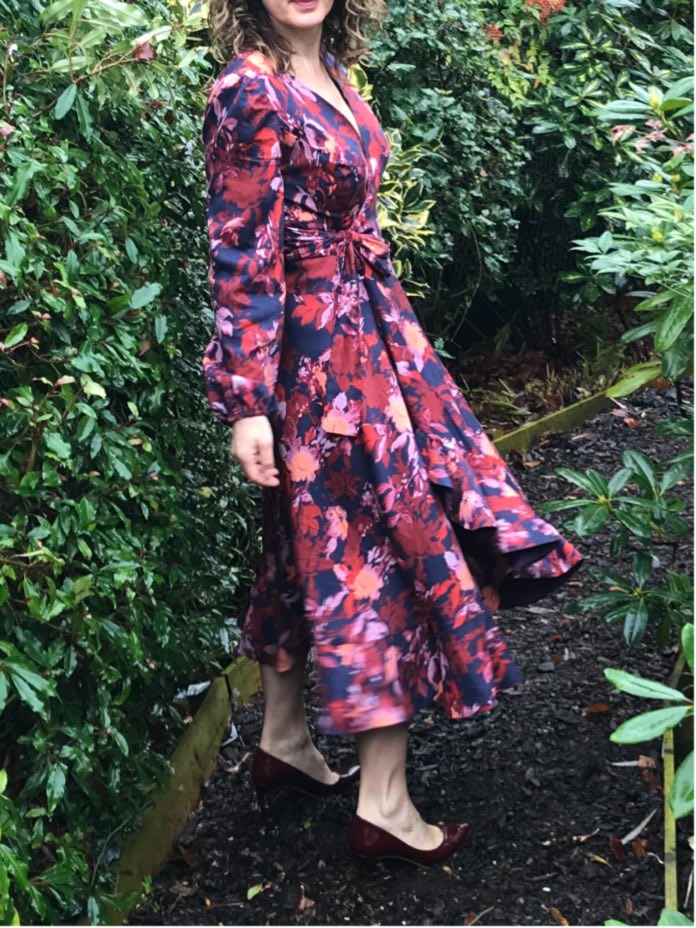
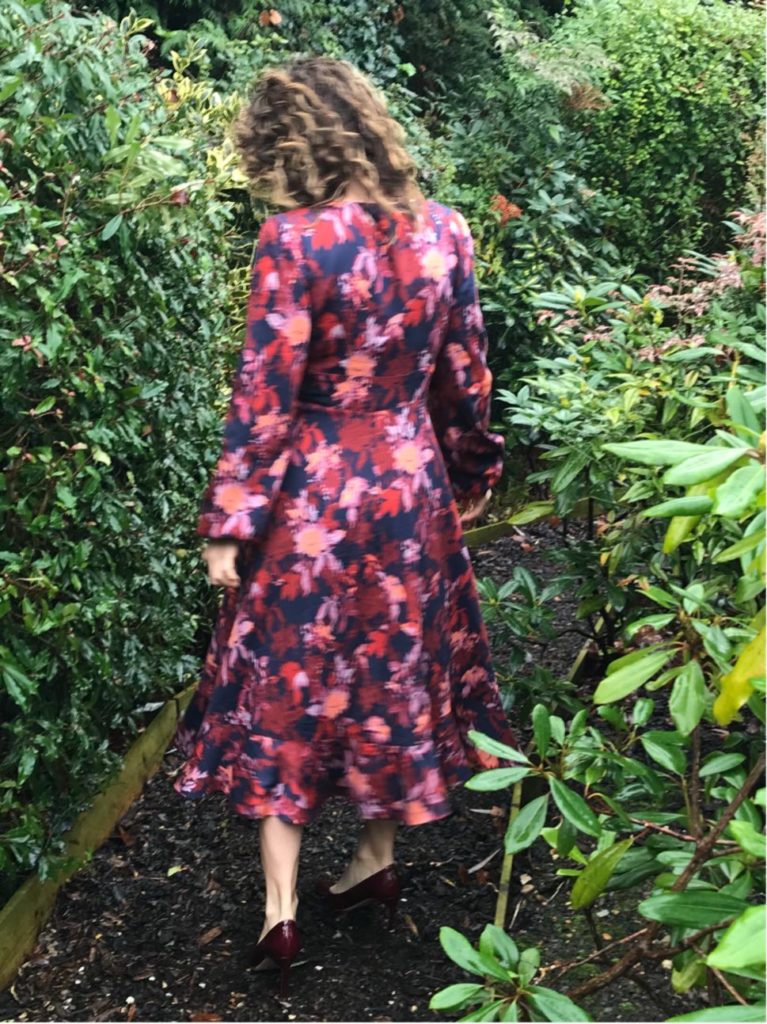
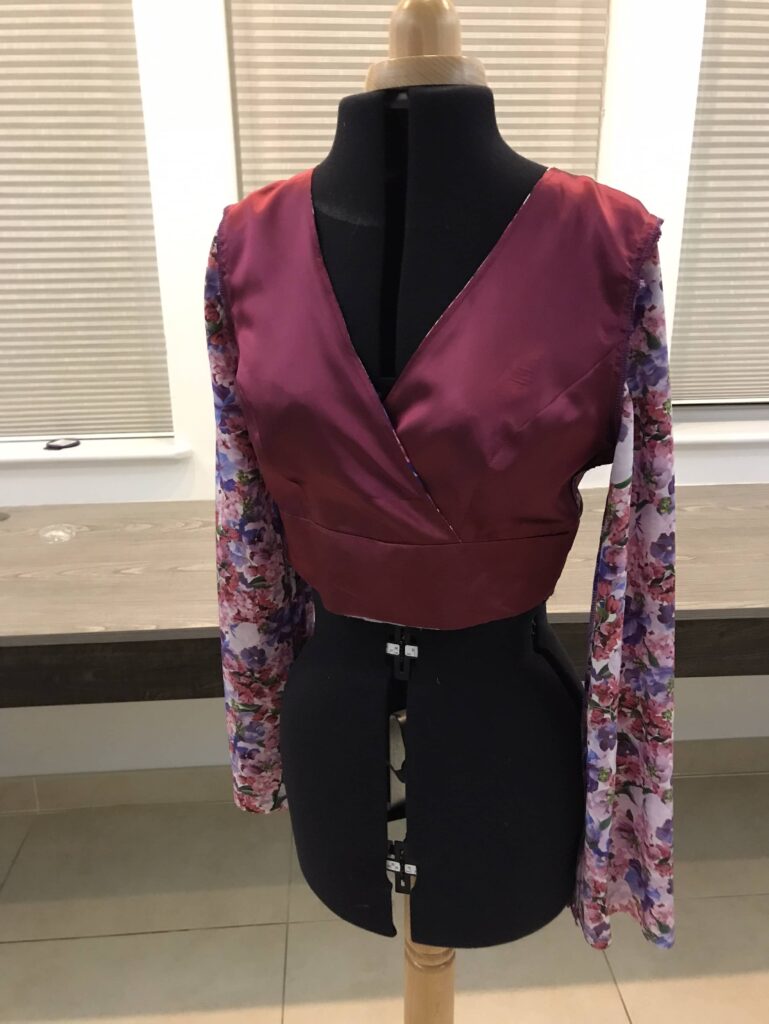
I also wanted this dress to be fully lined, because this inside of La Boheme skirt is partly visible – adding another level of complexity to the self-drafting process. It was all the more necessary that I chose a cotton fabric for this project, with beautiful colours but very much on the thin side for the season!
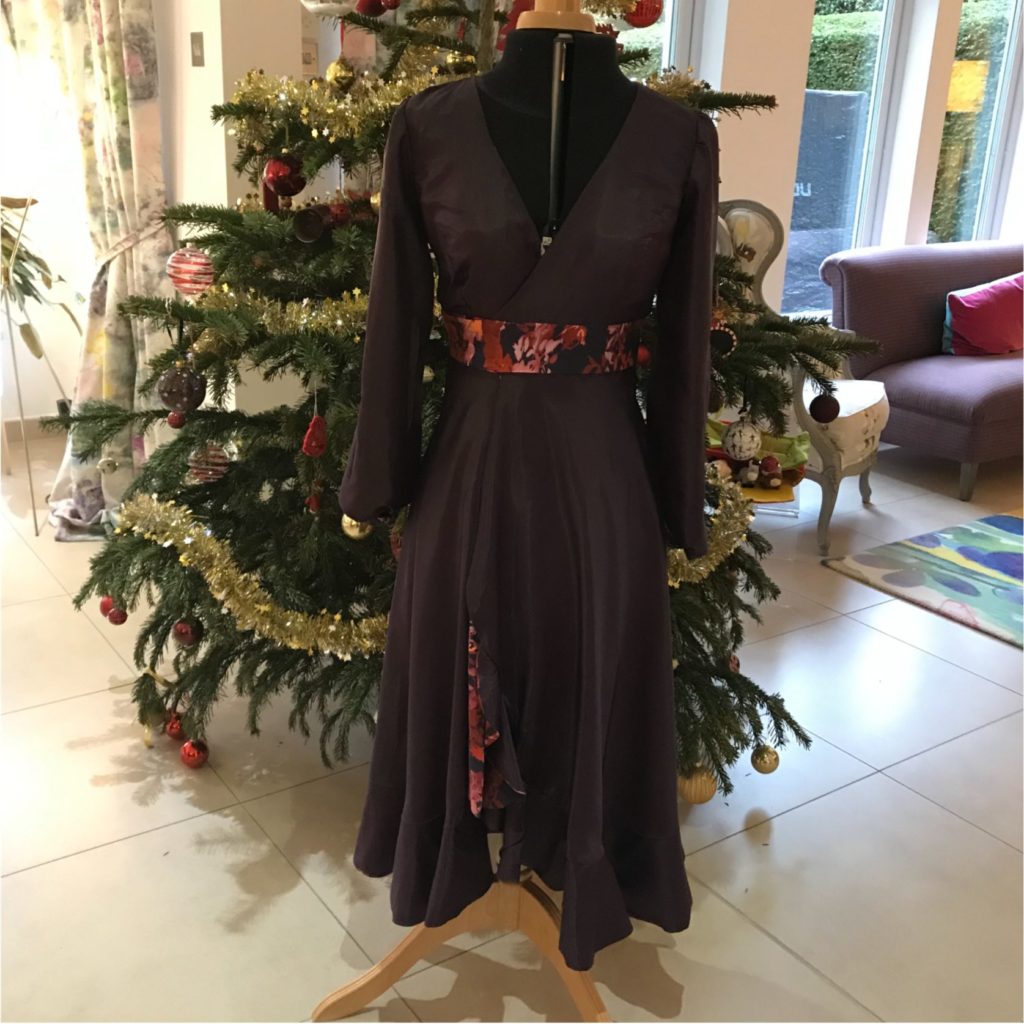
Here is how I managed the process – I pretty much went step by step, as I struggled initially with the overall process. So there you go!
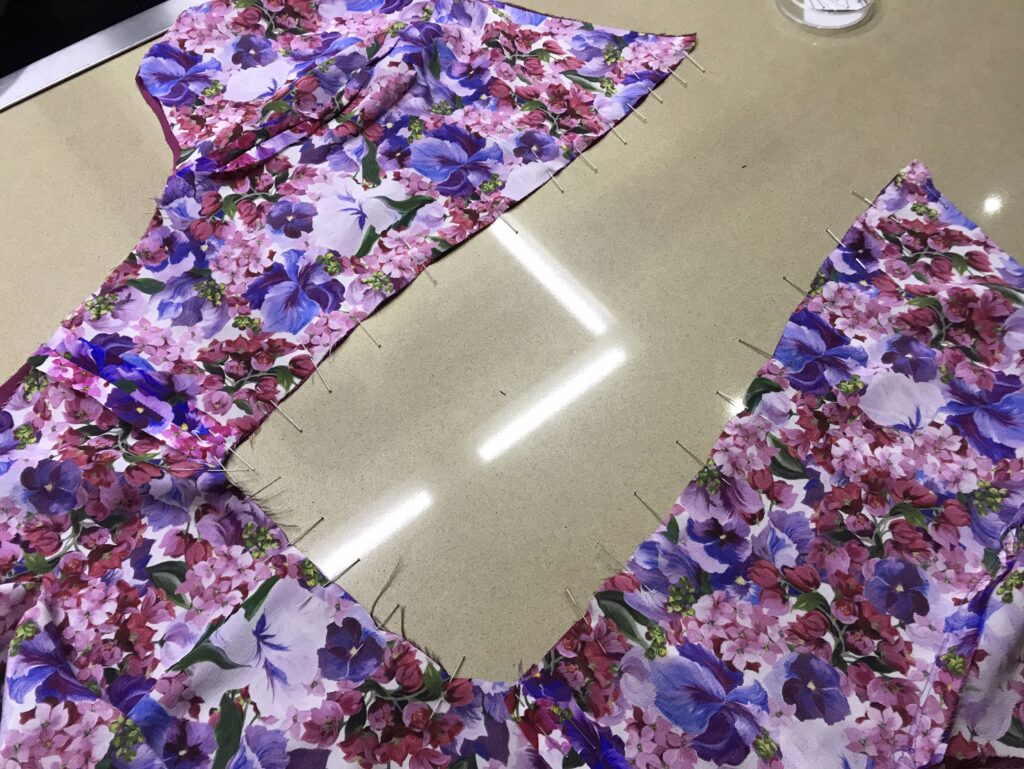
First, I made the lined bodice.
- I cut front, back and sleeve pieces both in the cotton and lining fabrics.
- I sew both bodices independently then attached them at the neckline.
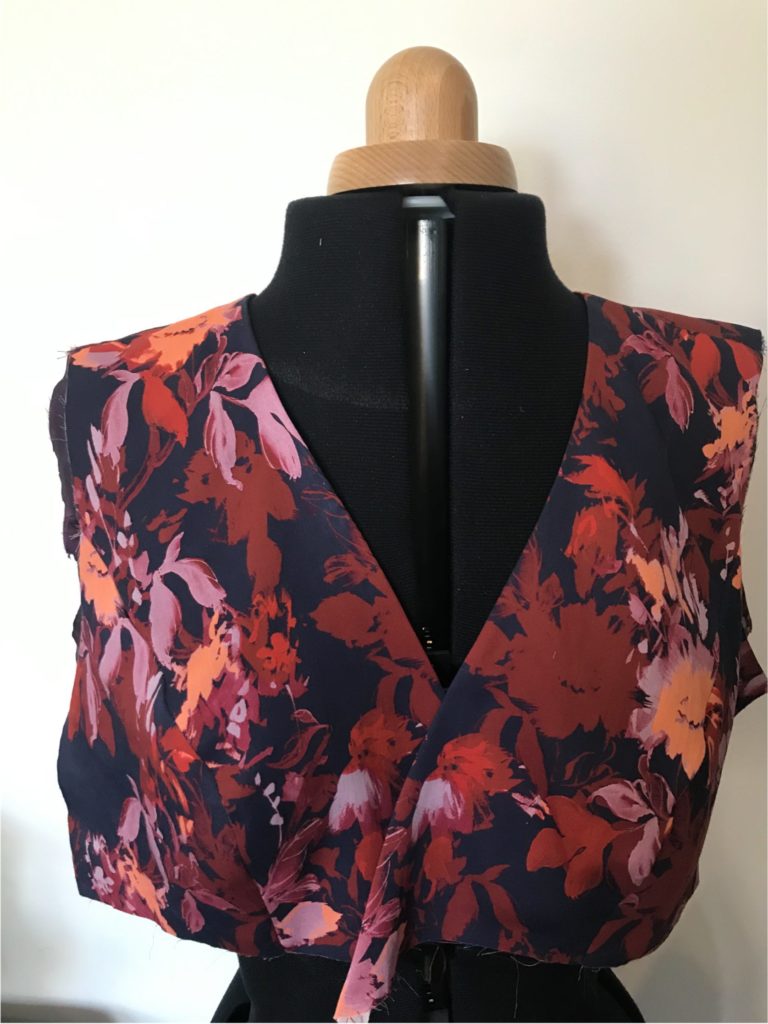
- I then added the sleeves separately to each bodice (fabric and lining) and attached them together at the wrist while making the elastic tunnel (my Magnolia sleeves are 5cm longer than the original pattern and the elastic a bit shorter (19cm), I find it prettier this way).
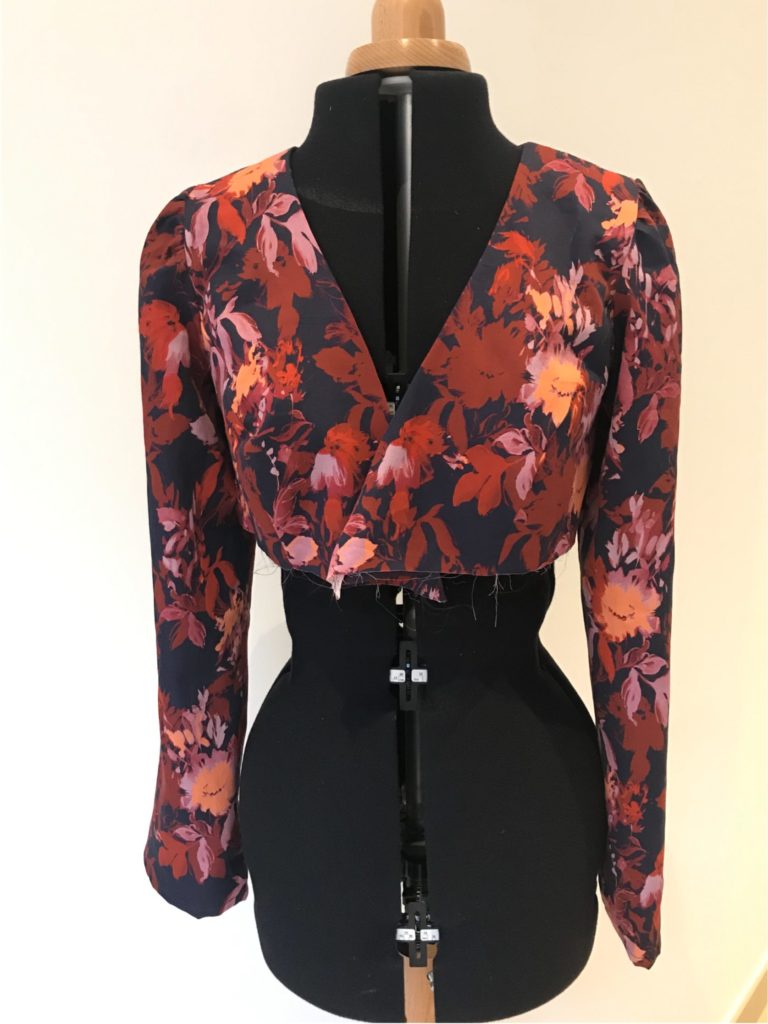
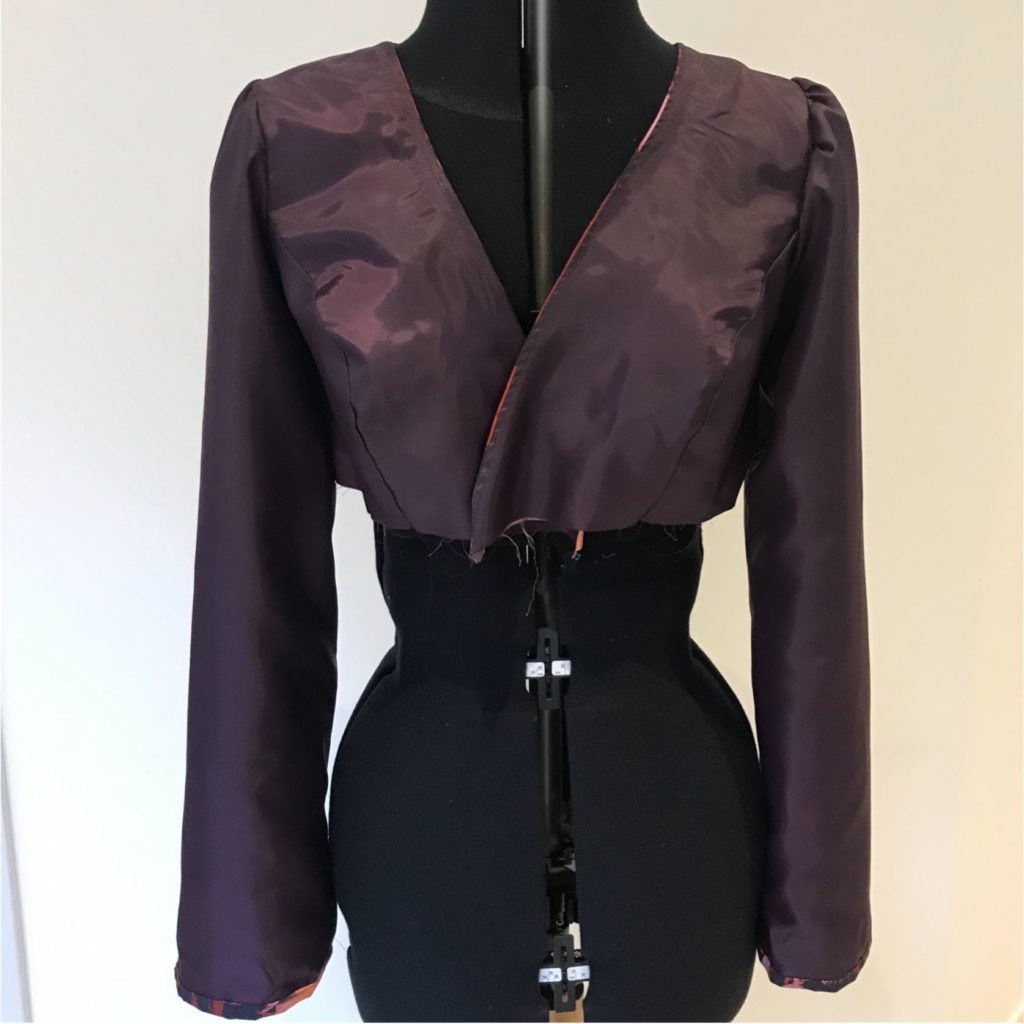
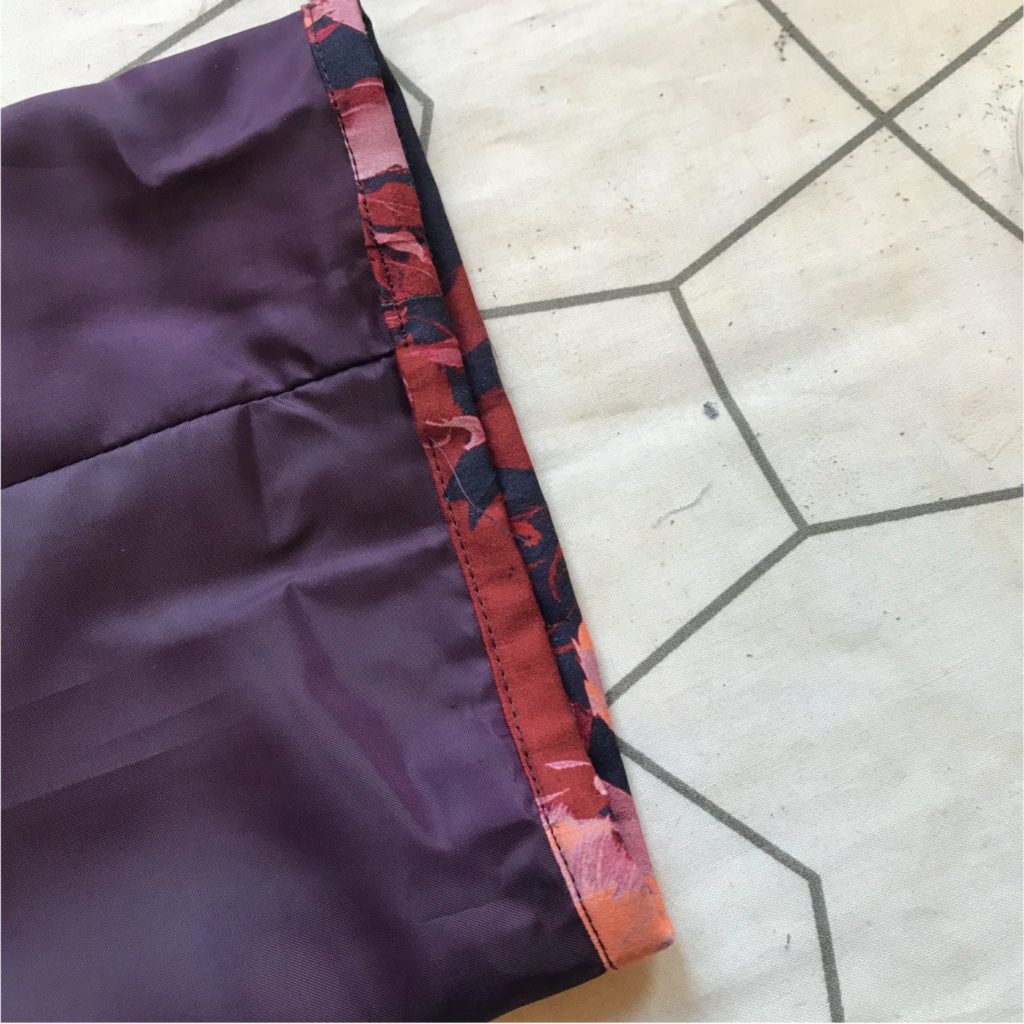
Second, I made the belt:
- My belt making was very convoluted, as I did not want to have hole on one side to pass the overlapping belt as recommended in the La Boheme Pattern. Instead, I sandwiched a piece of fabric where the hole should have been. It is neater but mind-boggling so I would advise you make the belt following the pattern instructions if you’re not that fussed about the hole.
- If you do that, you need to cut two back belt pieces of Magnolia ; and four front pieces extended by 80cm.
- Sew all three pieces of belt together twice (front + back + front); then sandwich the bottom of the bodice )fabric + lining) between the top of the belts and sew all along, leaving only bottom side of belt unsewn (this is where you will insert your skirt).
- Do not forget to make the side hole.
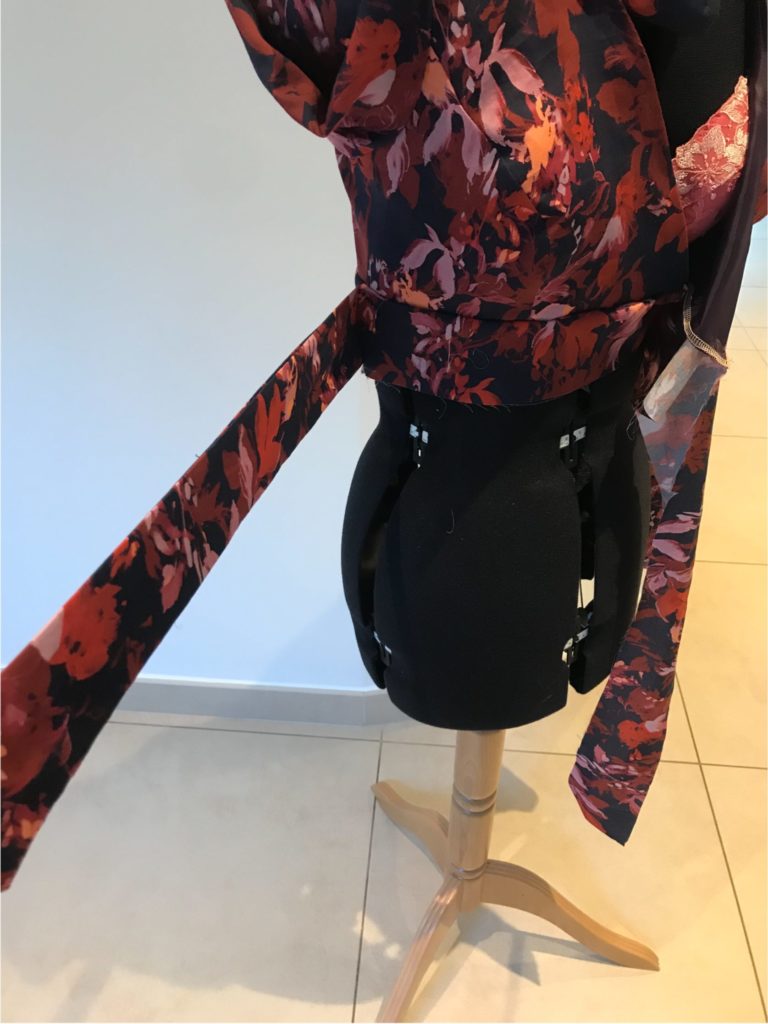
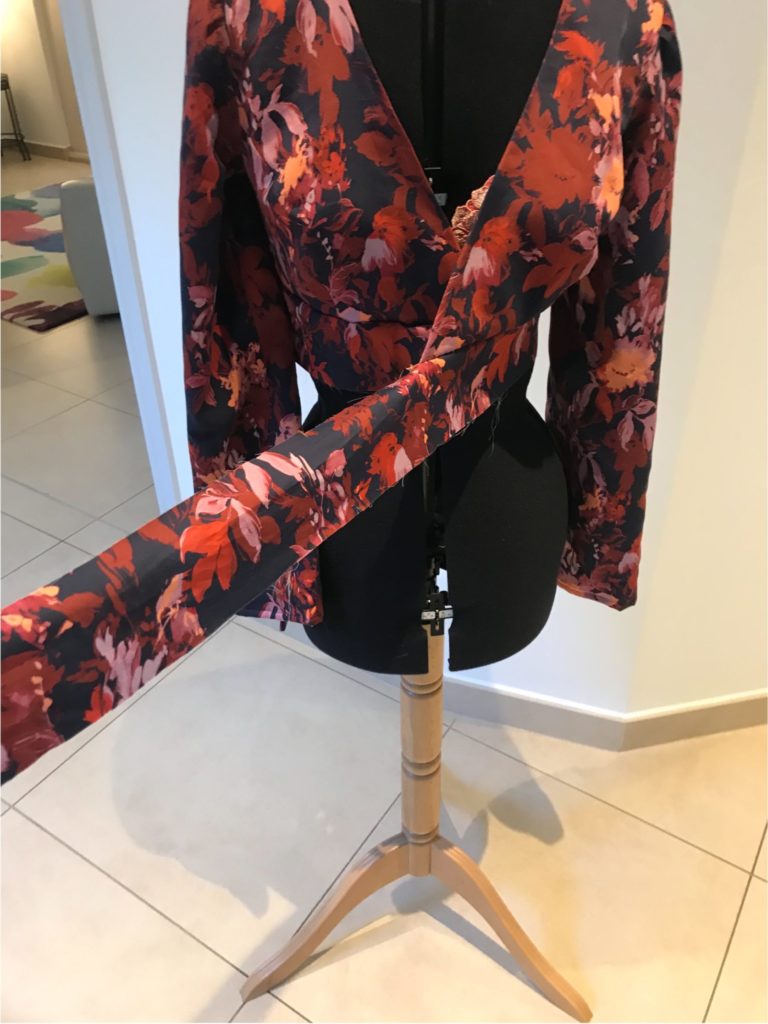
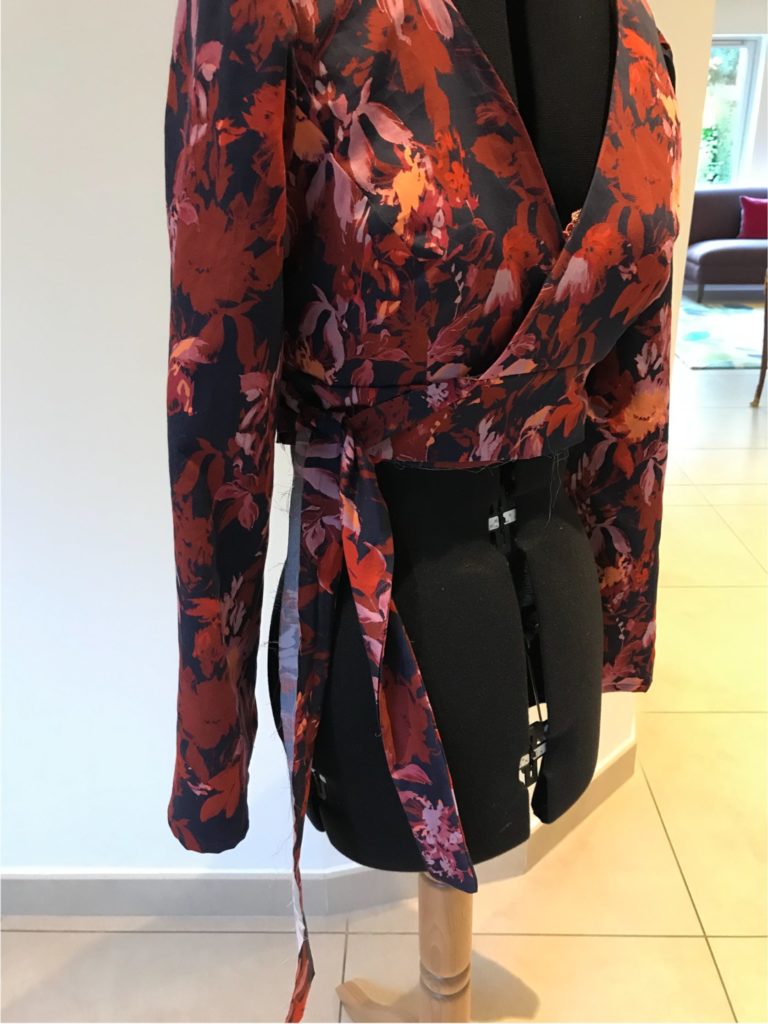
Third, I made the skirt:
- I modified my La Boheme skirt pattern to make it shorter (because I wanted a midi skirt rather than a long one); and by making the curved front side correspond to the width of the wrap bodice (the original skirt wraps further but that would not look very coherent to leave it like that). Be careful, once you’ve done that you need to shorten the ruffle – I took about 20cm off.
- I cut the skirt and ruffle pieces (but not belt) in both the cotton and lining fabrics. Then attached each ruffle to each skirt – no need the hem the ruffle here as this will be done automatically in next step.
- I attached lining to skirt through the outside hedge (this way the hemming is done).
- I attached the skirt to the outside belt (the one visible) with my sewing machine.
- On the inside, I hand-stitched to get an invisible finish.
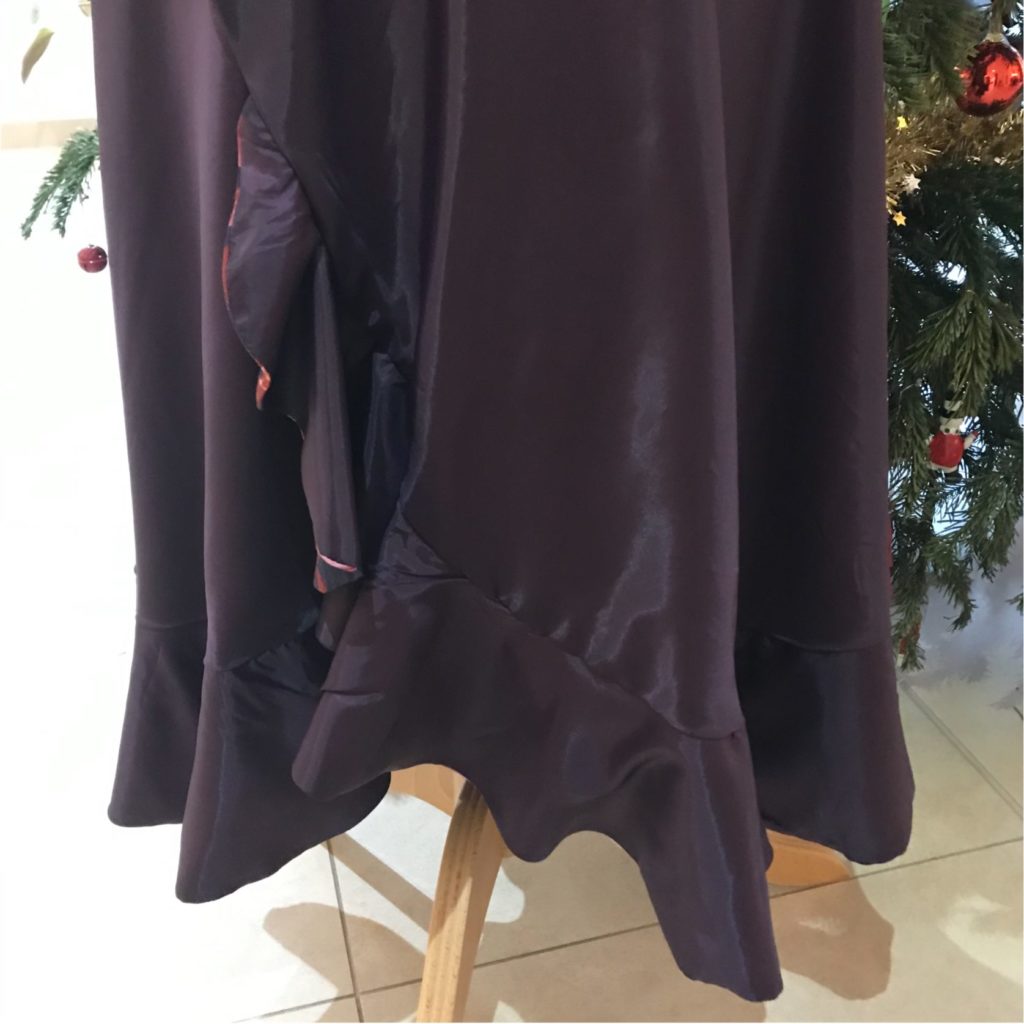
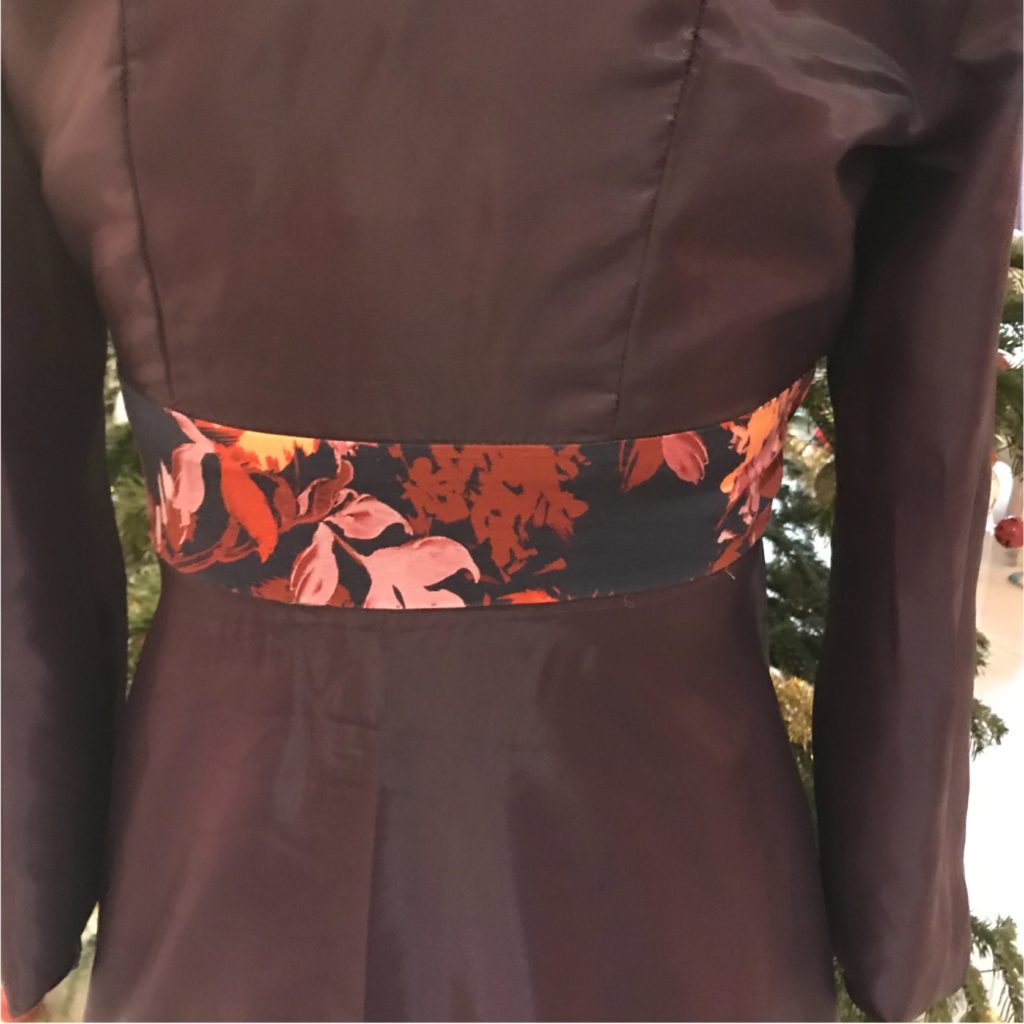
And that’s it!!! I hope the pictures help to understand the process. And here are a few more pictures of the finished dress, which I’m really pleased with! A sleeveless version is definitely on my to-do list, for when the weather agrees with it!!
YOU WILL PROBABLY LIKE THESE BLOG POSTS:
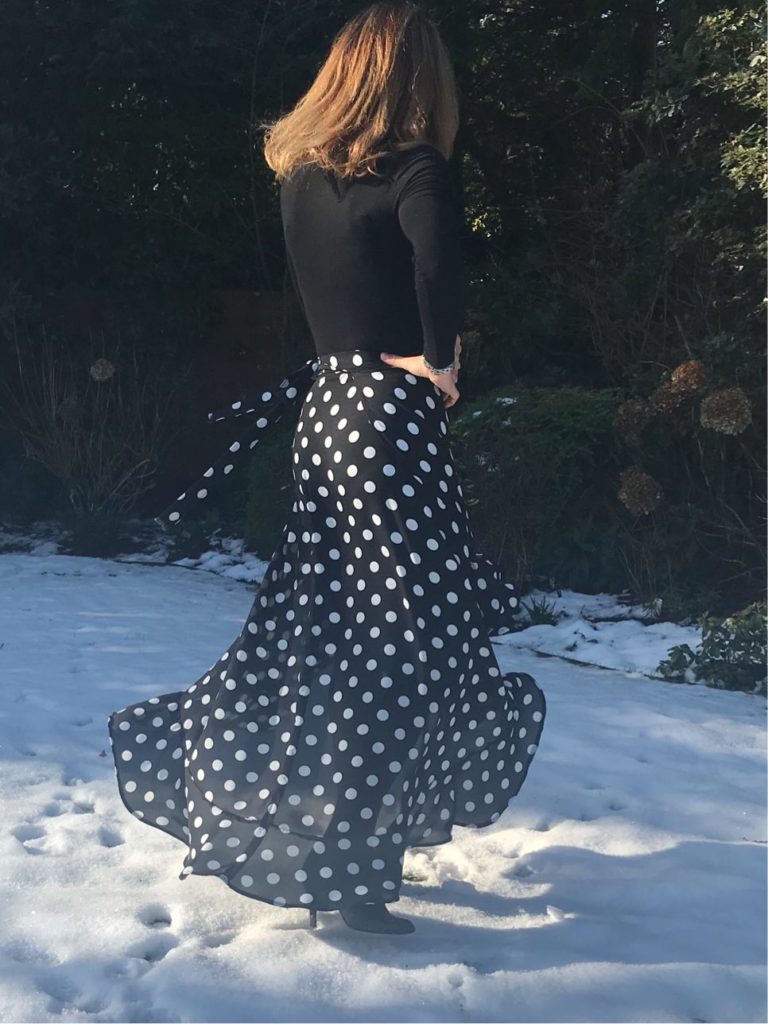
Sewing the M7974 dress for Autumn
I cannot believe I have neglected my beloved blog for so long! The weather has been for too gloomy for outside picture. And life has been busier and more stressful than ever (we are building a house, do I need to say more?)… Never mind, here I am with a new version of the M7974 dress, in a perfect Autumn palette:
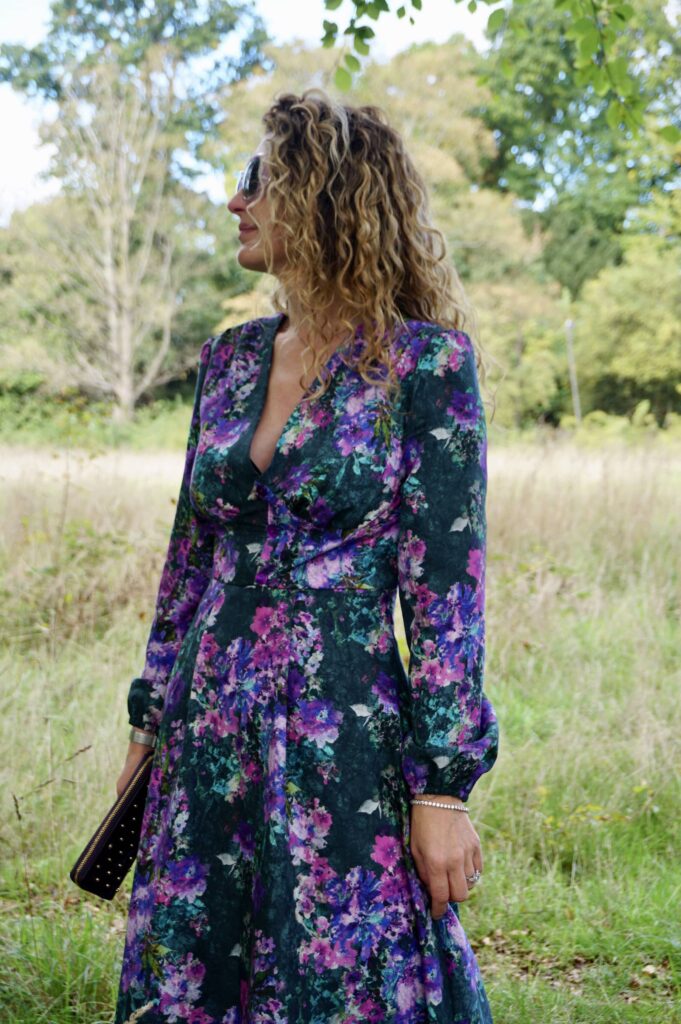
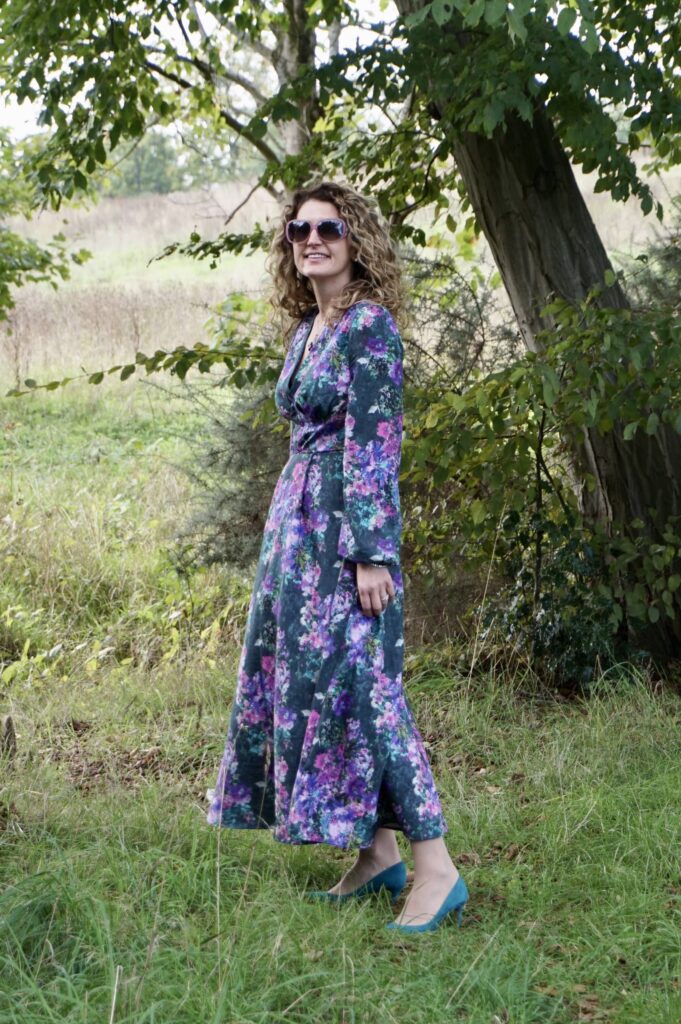
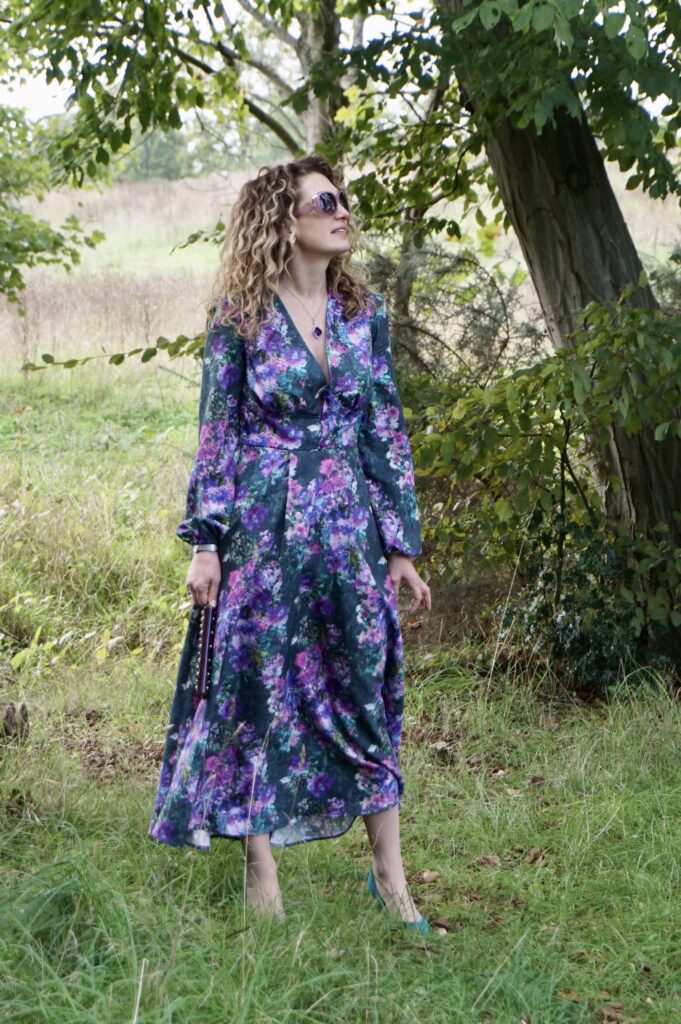
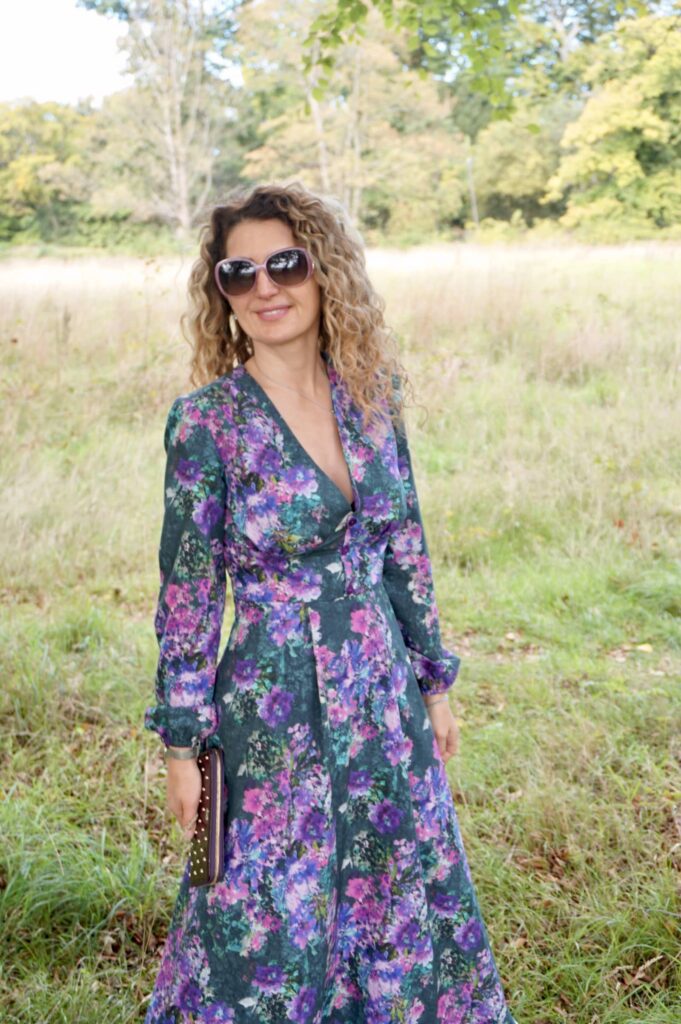
Before you ask, the fabric is a gorgeous silk crepe from Selvedge & Bolt. I boughtit as a pre-order in June and sadly not available anymore. It has all my favourite colours and I am in absolute awe!
M7974 pattern review
The M7974 dress pattern was published a few years ago, when romantic buttoned dress were all the rage. It was immensely successful and followed by many (many many) other similar patterns – such as the Orchidee Dress by Deer & Doe and the Millions Button Dress by Daria Pattenmaking.
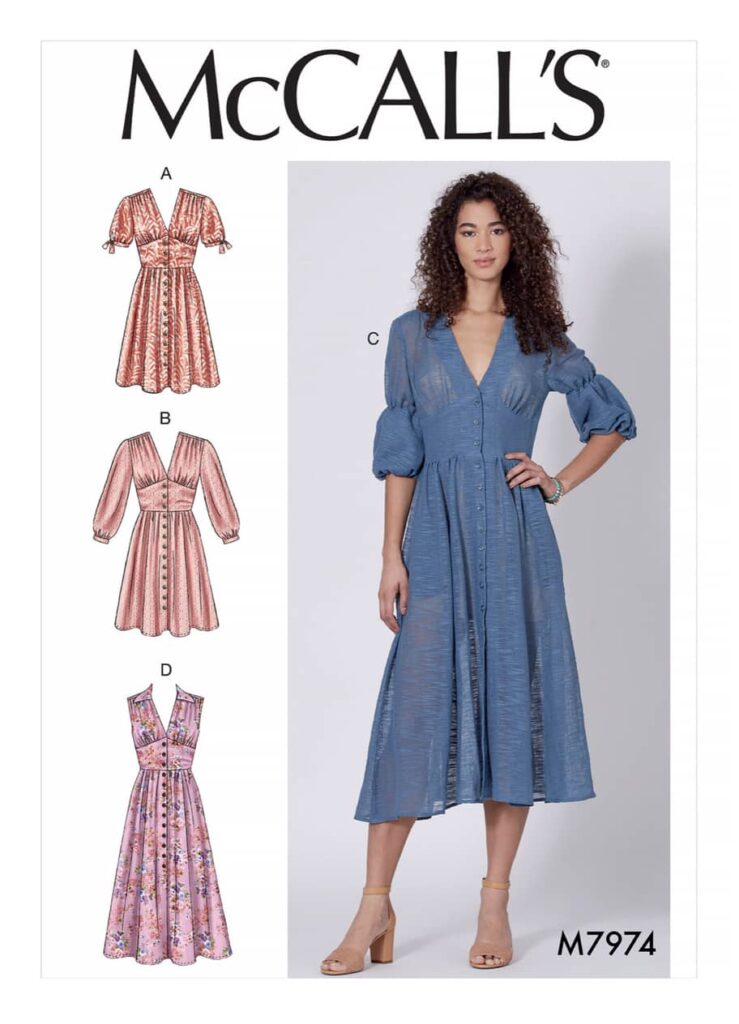
My major reservation about this type of dress is the bust fit. For the dress to sit perfectly at the bust, either you are lucky to be the perfect patterned bust cup. Or (more likely) you will need to peform a FBA (full bust adjustment) or SBA (small bust adjustment), as none of the patterns are offered with cup options.
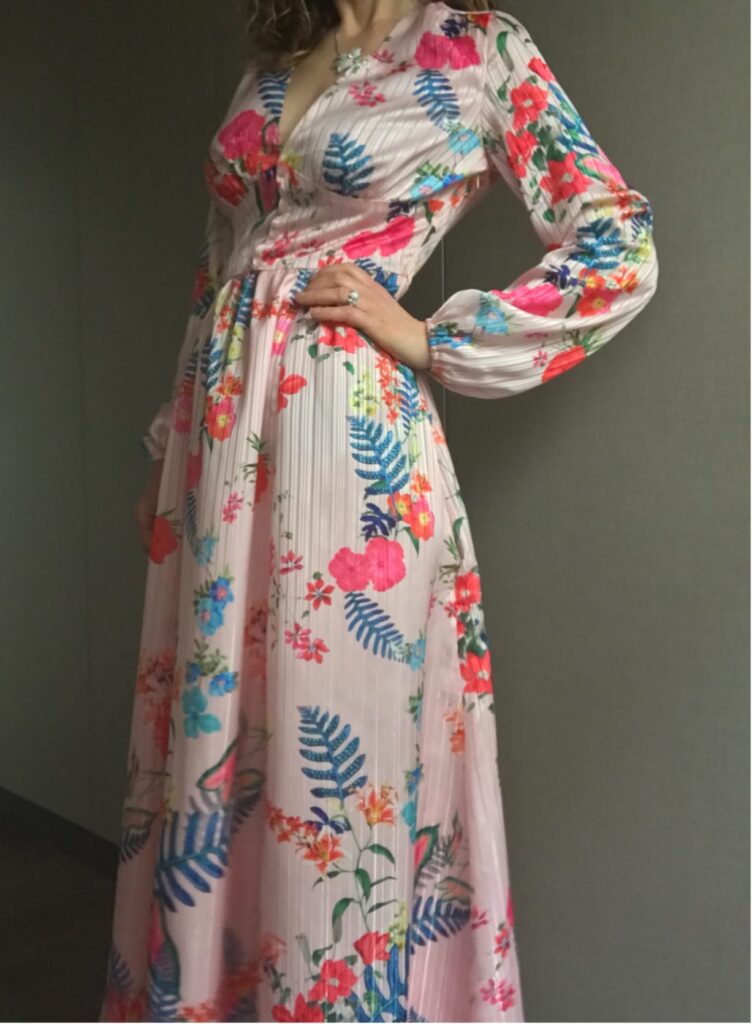
For my first version of this pattern, I made no FBA and you can see that the bust seam sits too high. What you cannot see is that I have very little room to move my arms…
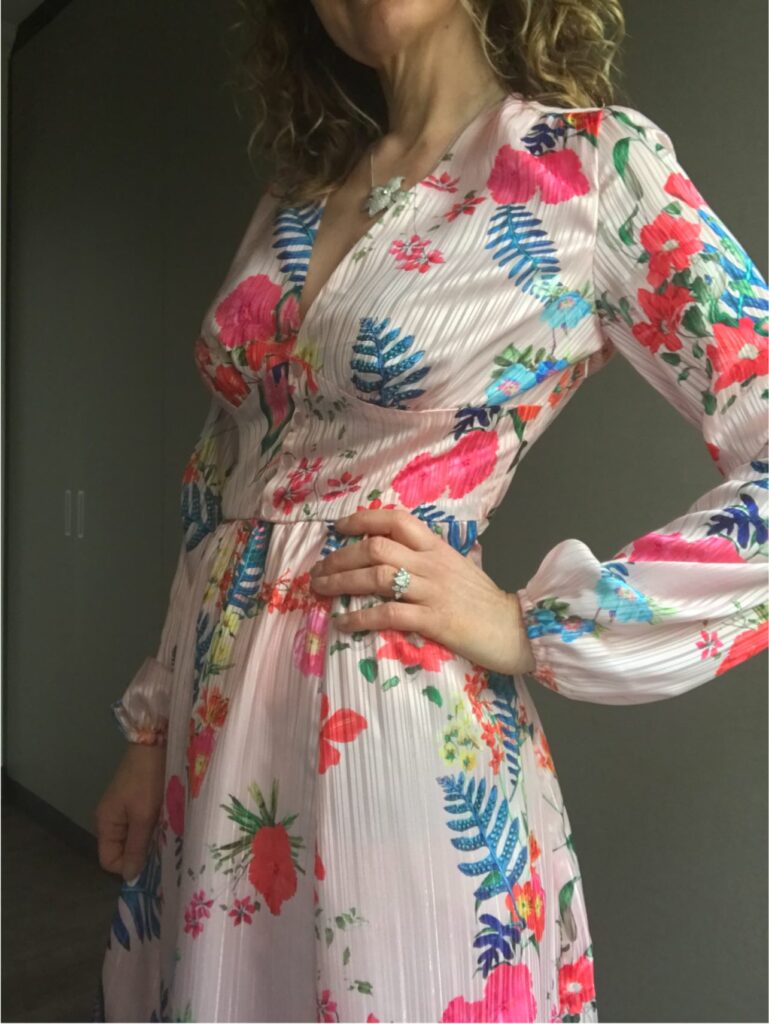
For my second version, I improvised a FBA but it lowered the décolletage to uncomfortable levels… without lowering the bust line enough, very annoying!
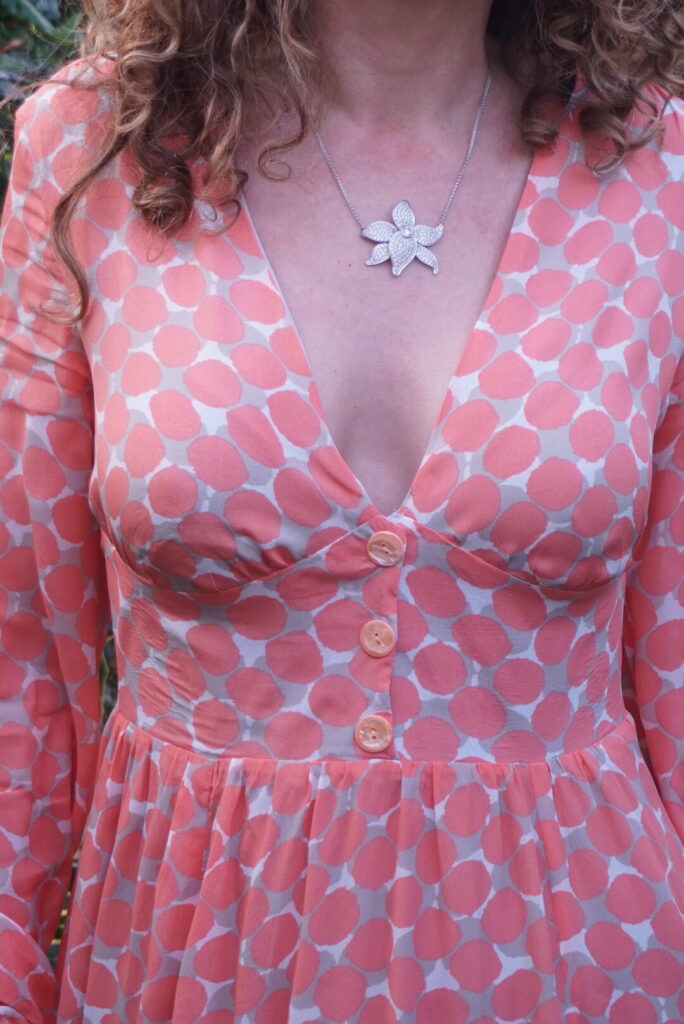
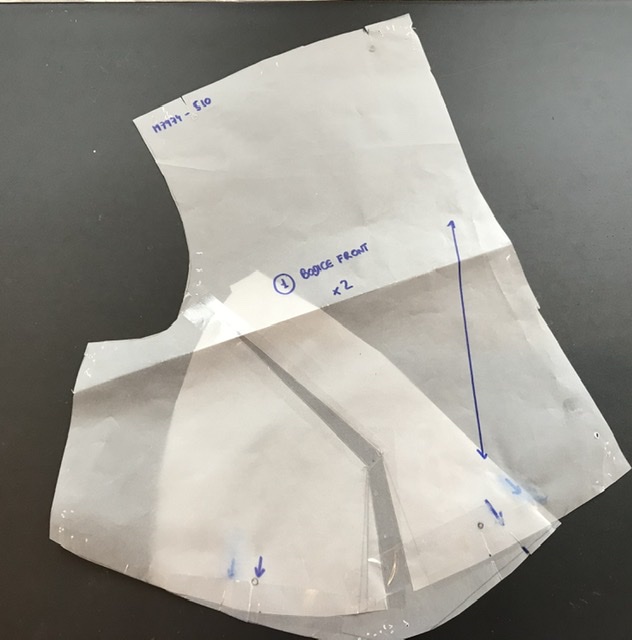
This time, not only did I allow more room in the upper part of the bodice; but I also took room off in the lower part, which seems to have done the trick… It only took me three years to get it right!
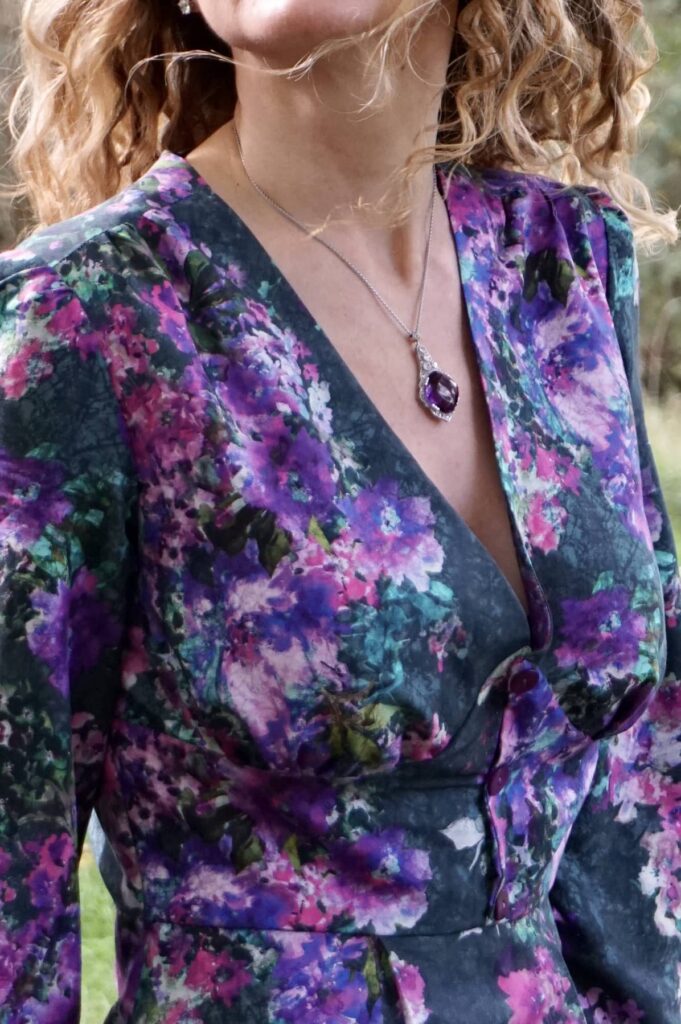
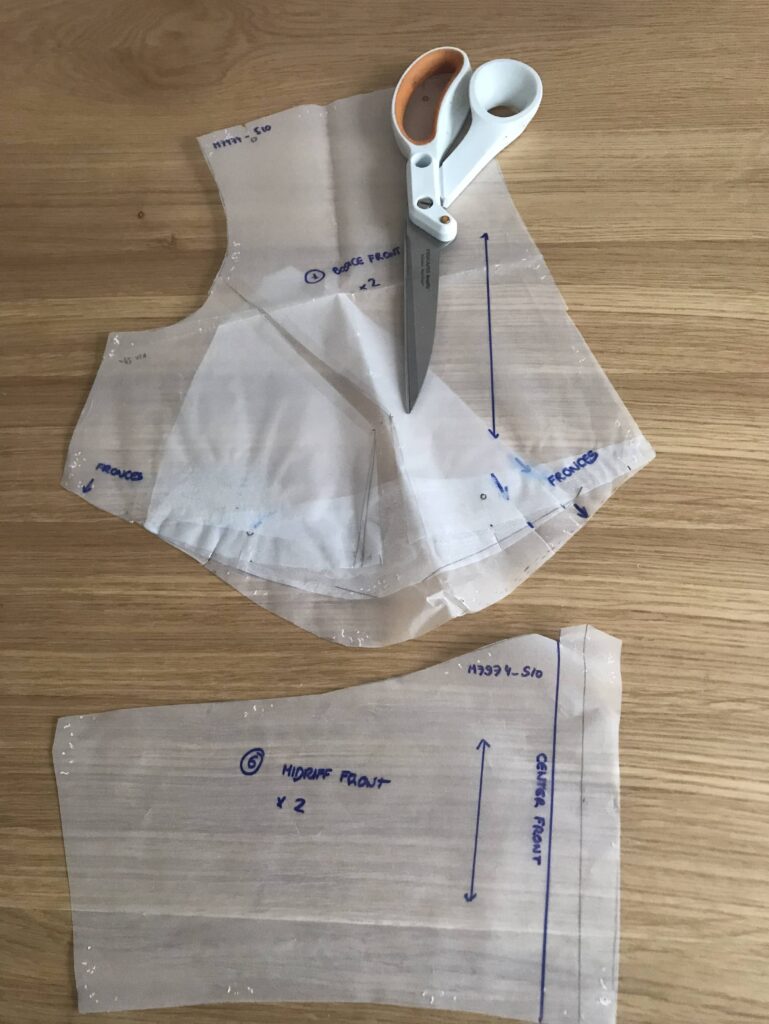
A few changes I made to the pattern
Appart from the FBA, the other changes I made versus the original pattern are the following:
- I used the skirt from the V9253 dress, which I find utterly flattering with it elongated silouhette;
- I used the sleeves from the Magnolia dress, more appropriate for cold weather in my view.;
- and I added a side zip as I had given up the front buttons of the skirt.
Conclusion
I am very happy with this dress and even happier to be back on the blog! Hopefully many more articles to follow soon, as I have been very productive in the atelier!
