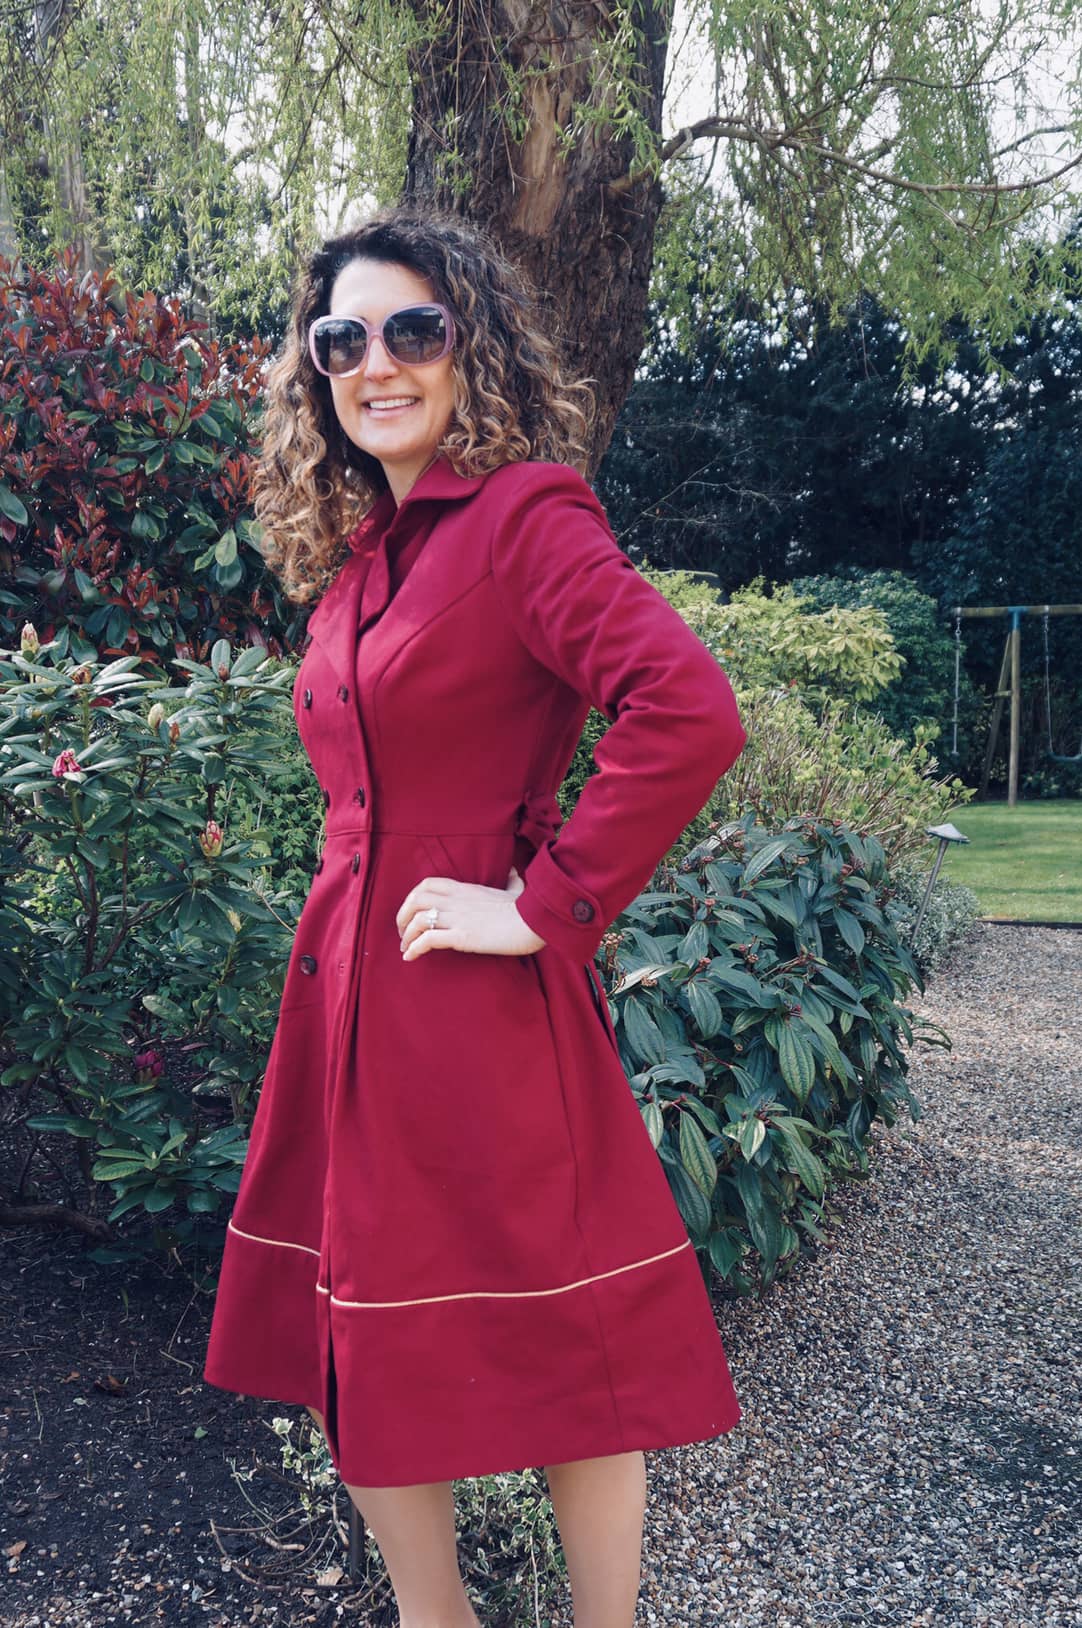
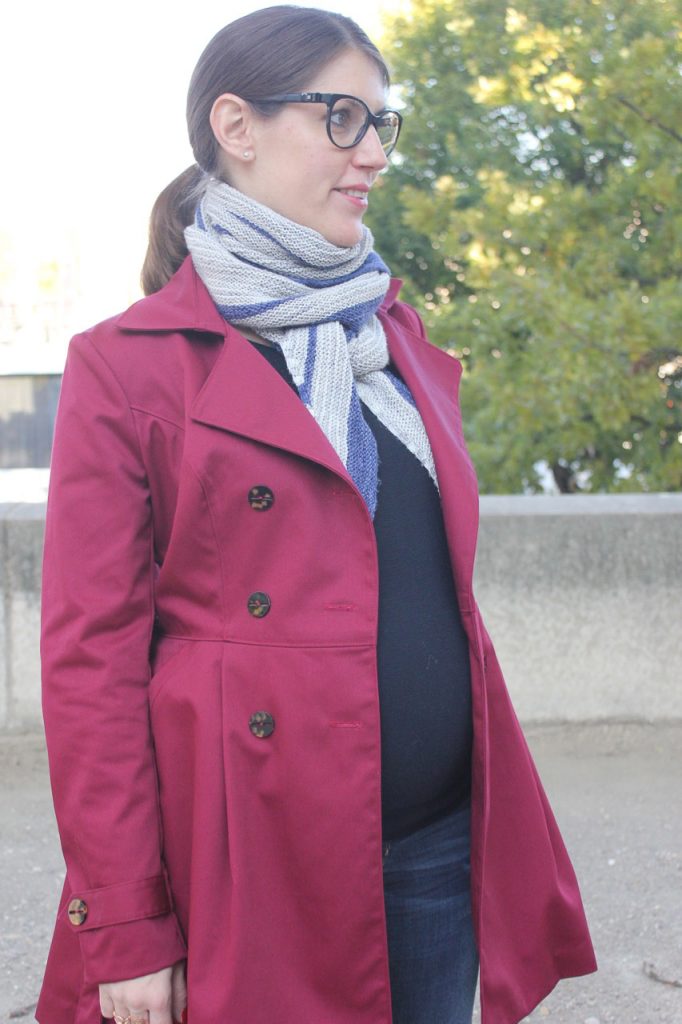
I warned you in this article: my Spring sewing has been progressing at supersonic speed (well, maybe not supersonic but quite fast). So here is my second completed Spring piece: my burgundy Luzerne trench coat.
This picture reflects very well how I feel about it: very smug! Despite a few hic-ups (which I’ll explain later), I am very pleased with how this project turned out.

Inspiration and long gestation
I already explained the gestation of this project in my “What to sew for Spring” article; but let’s repeat it for newcomers to my blog.
The Luzerne trench coat by Deer and Doe has been in existence for years so I am quite late to the game of sewing it. When it was released, I actually had very limited interest: I am not a huge fan of trench coats, as I find their details quite masculine; and I had plenty of recently purchased, very nice mid-season coats in my wardrobe at the time.
But then Lise Tailor published this article about hers… (3 1/2 years ago!) I literally feel in love and wanted the exact same – in a deep cherry/burgundy colour (the picture on the right is from Lise’s blog).
It took me a good 2 years (October 2019 to be precise) to find the right fabric in Europe: a burgundy cotton twill by Robert Kaufman, which I had tracked on a US website but finally managed to get from SewMeSunshine in the UK. Amazingly, there is still 9m left at the time of writing – I think because the website picture really does not reflect the gorgeous deep and warm burgundy of the fabric. And then it took me another year and a half to get going… to finally get my coat done in a few days in March 2021. Hurrah!

Luzerne coat pattern review and modifications
Length is my only disappointment with this pattern
Much has already been written about this pattern so the first thing I want to mention is what I would have liked to know before starting: Luzerne is really short!!! The pattern envelope does not indicate the finished length – it is about 82cm in size 38, which is mid tights. It’s fine if you want to wear your coat with trousers, but it does not work at all with skirts or dresses. Especially if like me, you are in the knee-lenght-at-the-very least team…
I obviously realised this after having assembled most of the coat – for me, it made the coat completely unwearable as I do not wear trousers at all! I had to stop and ponder for about 48 hours before reaching an acceptable solution…
In the end, I added 20cm to the coat by drawing additional skirt pieces in the continuity of the existing ones; and connecting them with bronze piping to the assembled coat. I was really scared it would look terrible but in the end I think it actually looks quite nice; and now the coat works perfectly with my wardrobe. Thank God I had enough fabric! – I consumed the entire extra metre I had left of my 110cm wide fabric.

Buttonholes are quite fiddly and done too early
The pattern calls for hand-sewn bound buttonholes and that’s actually the first thing you have to start with, before starting assembling any of the coat pieces together. I did practice several times beforehand on a leftover piece of fabric. Despite that, my buttonholes are far from perfect, which is not the end of the world as they are not that visible.
Much more problematic is that as you’re working on independent pieces of fabric ( bodice and skirt non assembled), the probability of getting button placement wrong is quite high. That’s exactly what happened to me! My coat has two rows of 4 buttons instead of 3 only because I got the placement of the skirt button wrong, so I had to add and intermediary button just below the waist line. Luckily it is not too obvious; but next time I will definitely tackle the buttonholes after having assembled bodice to skirt pieces. And I may well explore traditional machine-sewn buttonholes to be honest…
All the rest is just plain sailing
From all these warnings, you will think that I had a terrible time with this coat, but I didn’t, I actually enjoyed sewing it a lot! The very big positives of the Luzerne pattern are the following:
- The instructions are so good that the coat feels actually very easy to put together (once the buttonhole phase is over that is). You just have to follow meticulously absolutely all the steps – something I rarely do for easier pieces I am used to sewing (did I hear someone say dresses?). Here, I even followed the cutting layout, which I had never ever done before, can you believe? Very silly of my because it does make your life much easier.
- The sizing is absolutely spot on, with enough room at the bust and perfect ease at the waist. I really could not be bothered making a toile for this coat, for an obscure reason (I make toiles for most of my dresses). So I cut my usual Deer & Doe size 38 and it worked perfectly, I would really change nothing to the fit.
- The finished coat is impeccable, both outside thanks to a lot of topstitching and inside thanks to having all visible seams bound with bias tape.
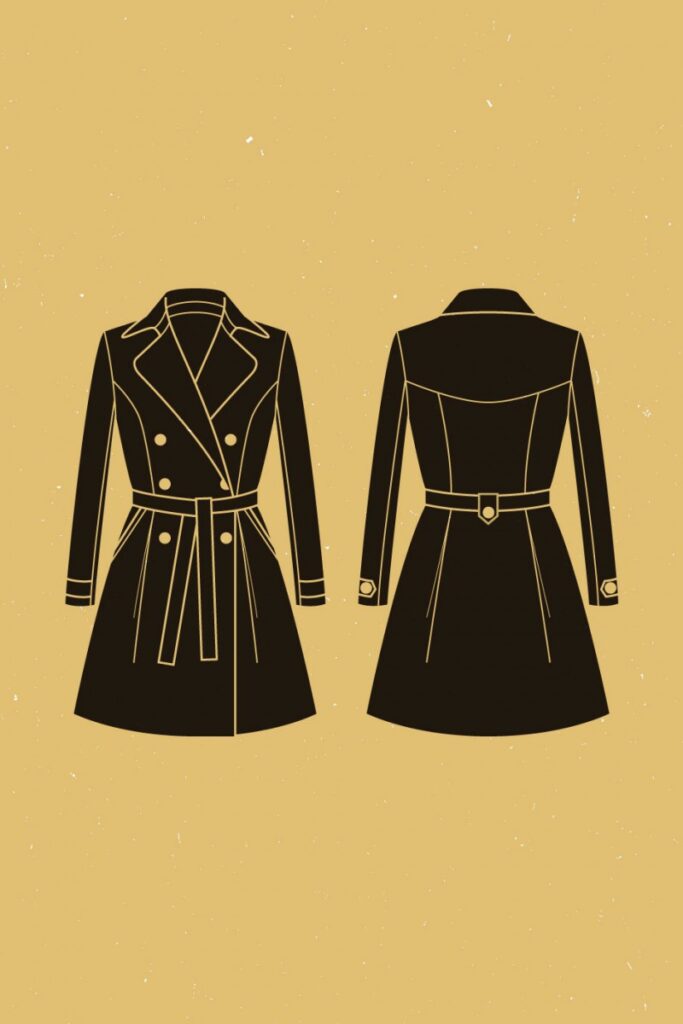
- The shape is exactly what I have been looking for all these years! In its lengthened version, this coat is the perfect version of the fit-and-flare (but not too flare) coat I was looking for. I am definitely planning a wool version now, as there is enough ease to use thicker fabric I think.
A few pieces of advice
If you’re planning to make this coat, here are a few words of advice:
- Make up your mind on whether you want to lengthen it or not immediately, as if you do you will need to order more fabric than what is advised on the enveloppe.
- Get all your supplies ready before starting: buttons, interfacing, bias tape. There is nothing more frustrating on a project of this size than having to stop due to lack of supplies! On the pictures, you may notice that the back flap of my coat is unfinished, because I was missing one single button (after my buttonhole drama), arrggghhh!! All sorted now, just after the pictures, no comment
- Cut directly into the pattern rather than reproducing it. I never ever cut my patterns and instead reproduce them on tracing paper, as I want to save them for my daughters if they end-up being smaller or bigger than me. However with Luzerne I did cut directly into the pattern, just to make sure not to get mixed up with the sheer number of pattern pieces – and I am very happy I did. The one thing you need to be aware of, though, is that there is a slight overlap of two skirt pieces – do reproduce this small bit before cutting.
- Take your time and enjoy the process. This is not a quick make and it makes it all the more enjoyable in my view.
Conclusion: how many more Luzerne to come?
I am so pleased with this coat that I already have two other versions in mind: one in a powder pink version of the same fabric; and one in baby blue double-face cashmere (if it managed to cross the France-UK border, fingers crossed). This will not happen immediately though, as I want the process to remain as enjoyable as this one was. So I think we’re done with the outwear side of my Spring wardrobe now. The rest can now follow (did I hear someone say dresses again? – well, you may be surprised!).