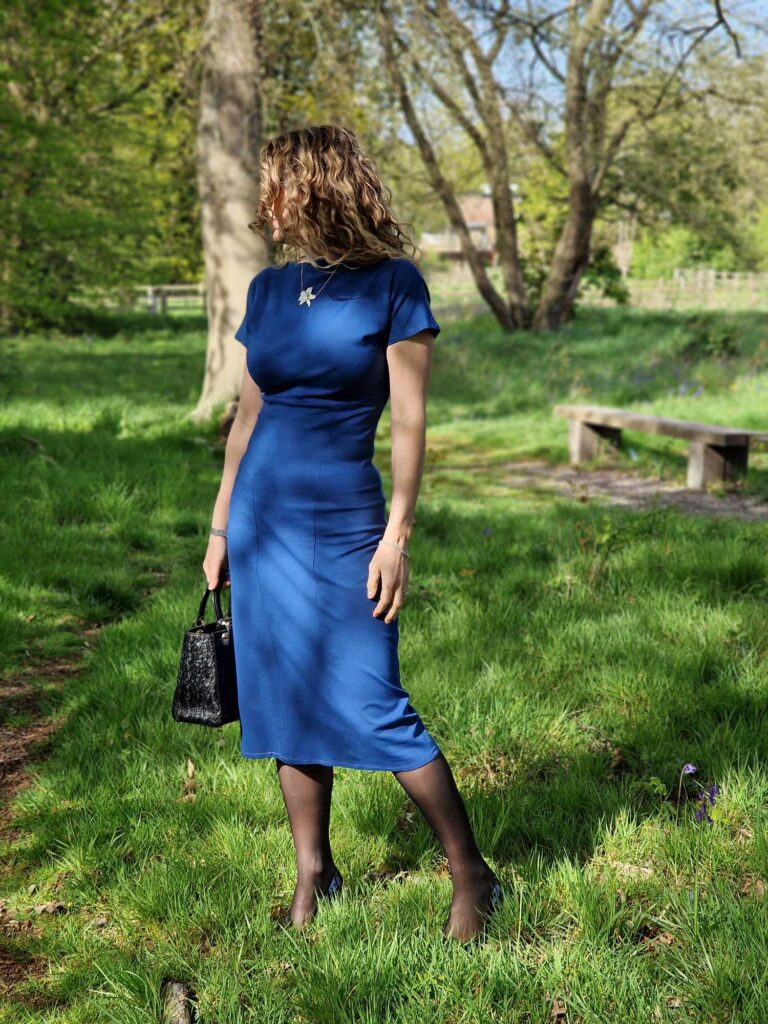
Sewing a new 1960’s dress: Style 3172 Vintage
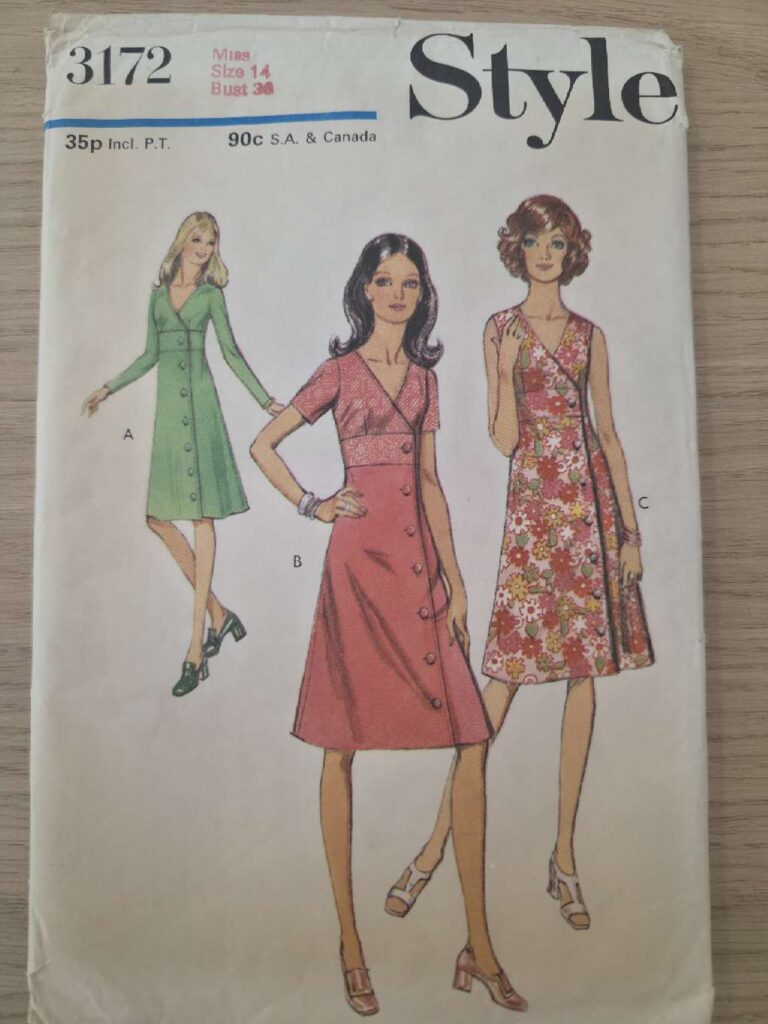
My 1960’s revival obsession continues, as you probably guessed it would… Here is my second 1960’s dress, this time sewn from a genuine vintage pattern: Style 3172.

Sewing vintage… from Vinted!
Ever since I started sewing for myself (11 years ago), my style has definitely changed towards a more vintage look. Not that I did not like it before but it was just quite difficult to find the clothes I wanted without them looking either worn out or plain fake. Sewing sorted out this problem and my wardrobe bloomed into my 1950’s wildest dream!
I have sewn tens of vintage-inspired dresses (mainly 1950’s) from contemporary patterns. But I had rarely ventured into genuine vintage patterns (just once actually). I particularly feared the sizing uncertainty: vintage patterns usually come in only one size; and the cost is high – vintage can fetch quite a high premium on Etsy or E-Bay… Who wants to spend a fortune to end up making zillions of adjustments? Certainly not me!
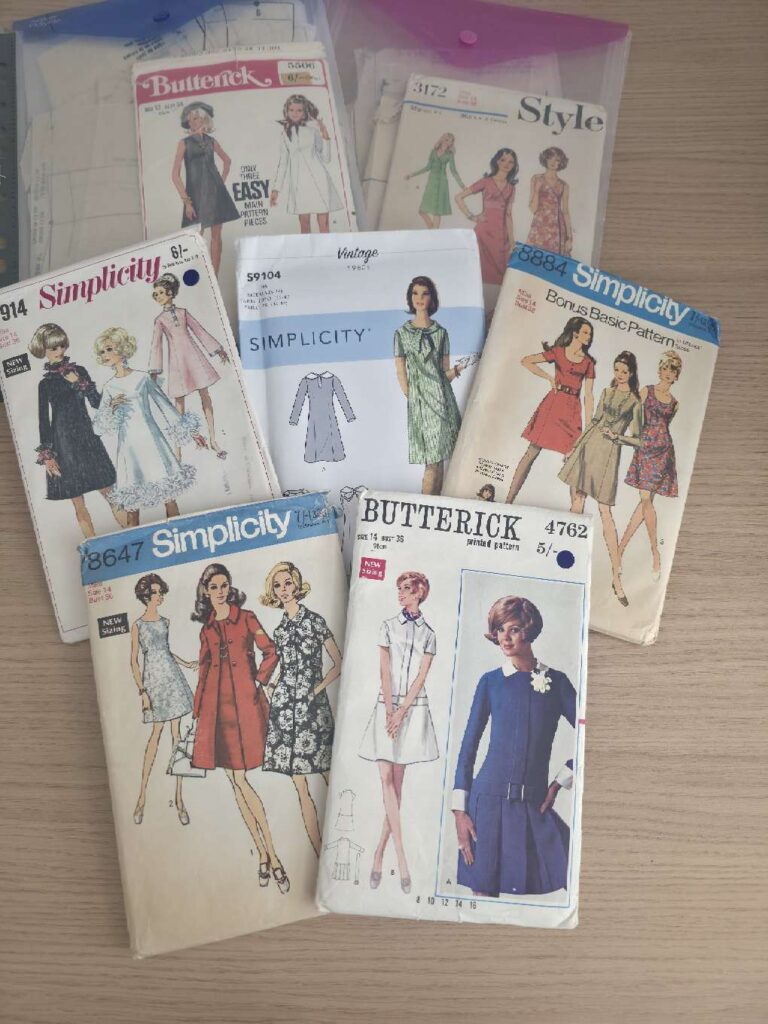
But then I discovered Vinted. After a (very long) designer shoe addiction phase, I started buying sewing patterns. And what joy! For between £3 to £5 (postage included), you can find real gems… and start building a ridiculously large collection. Here are only the vintage patterns, I buy non-vintage too…
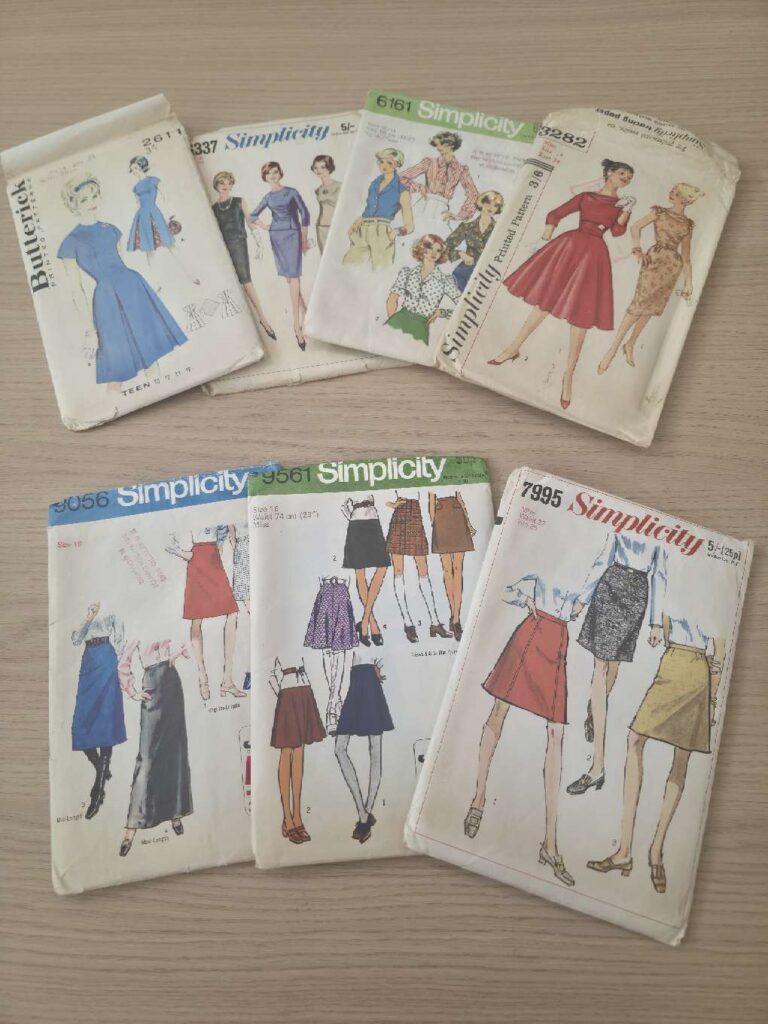
So you can really take the risk of wrong sizing without too many regrets. A toile is never optional though!
Sewing the Style 3172 dress: the process
Introducing the pattern
I had never heard of the Style patterns, being more of a Vogue/ Butterick/ McCall’s/ Simplicity girl. But this dress was far too pretty to overlook – how lovey is this envelope!
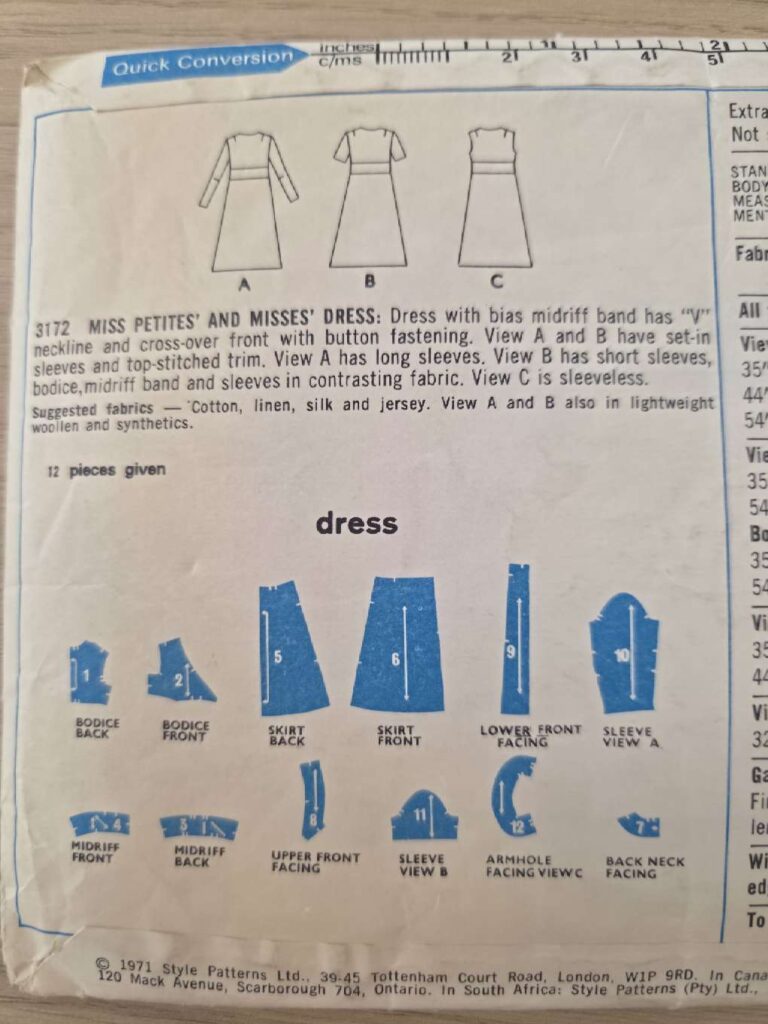
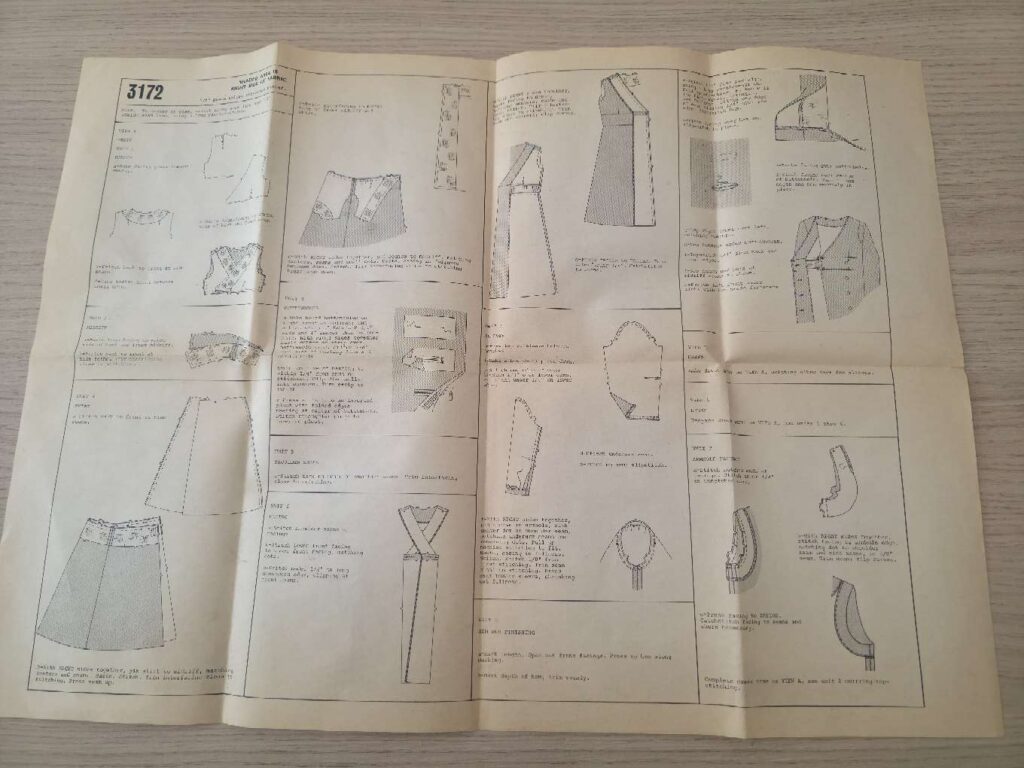
Overall it frankly looked a lot like Big 4 pattern, with very clear instructions (which I did not necessarily fully follow but never mind)…
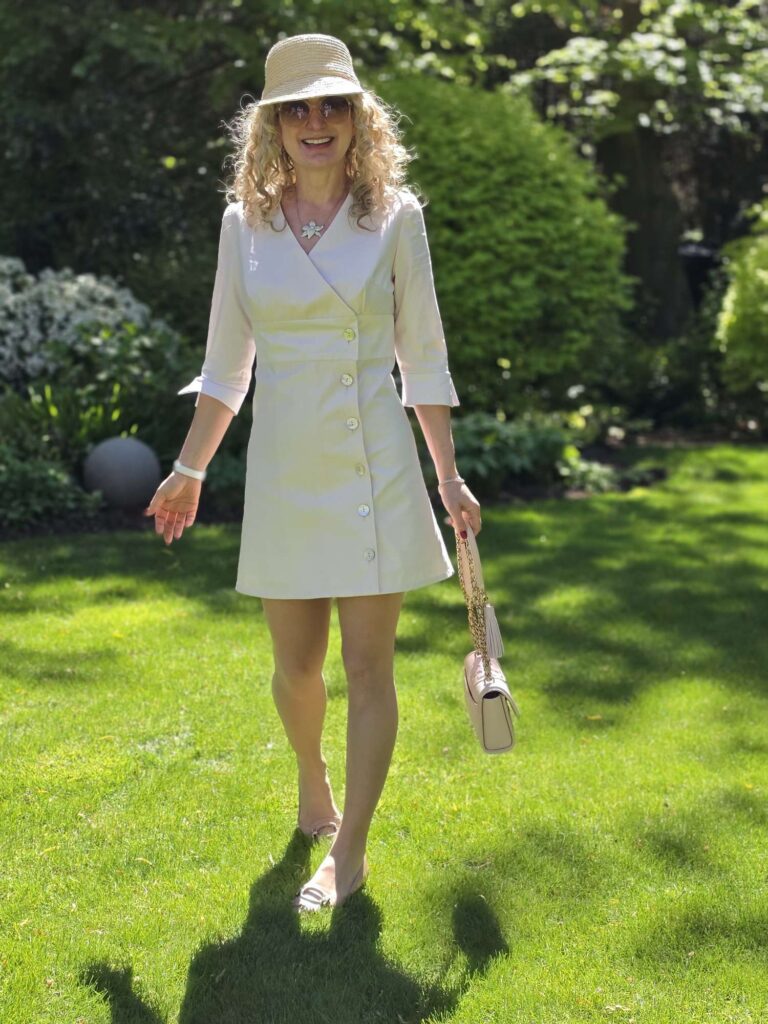
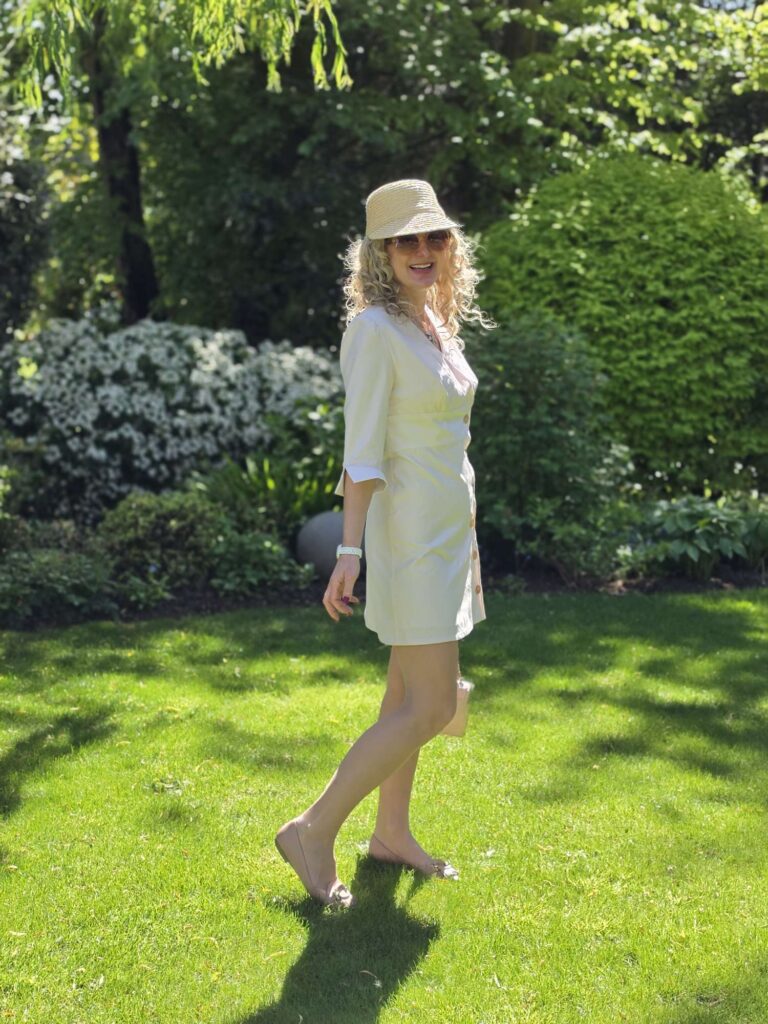
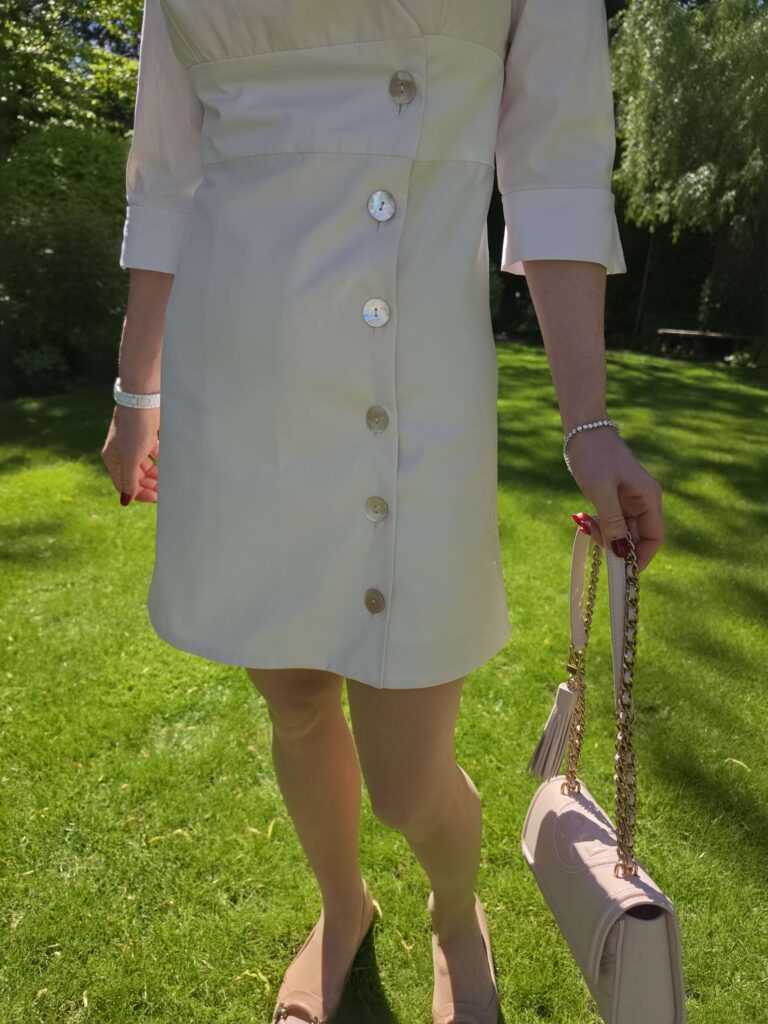
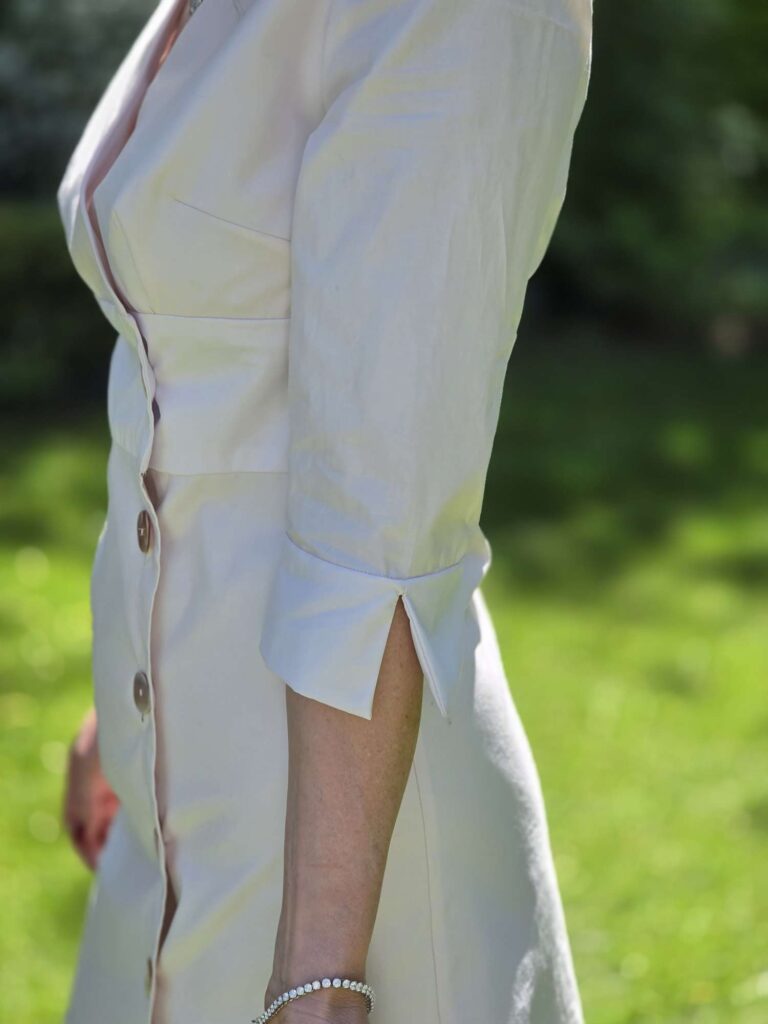
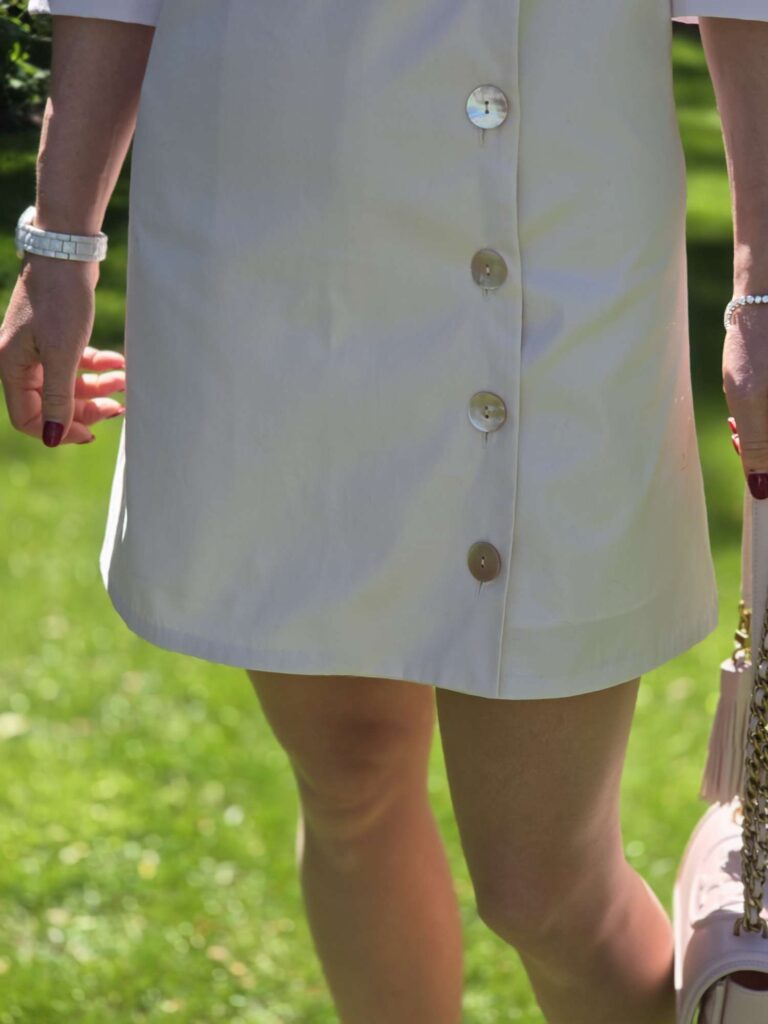
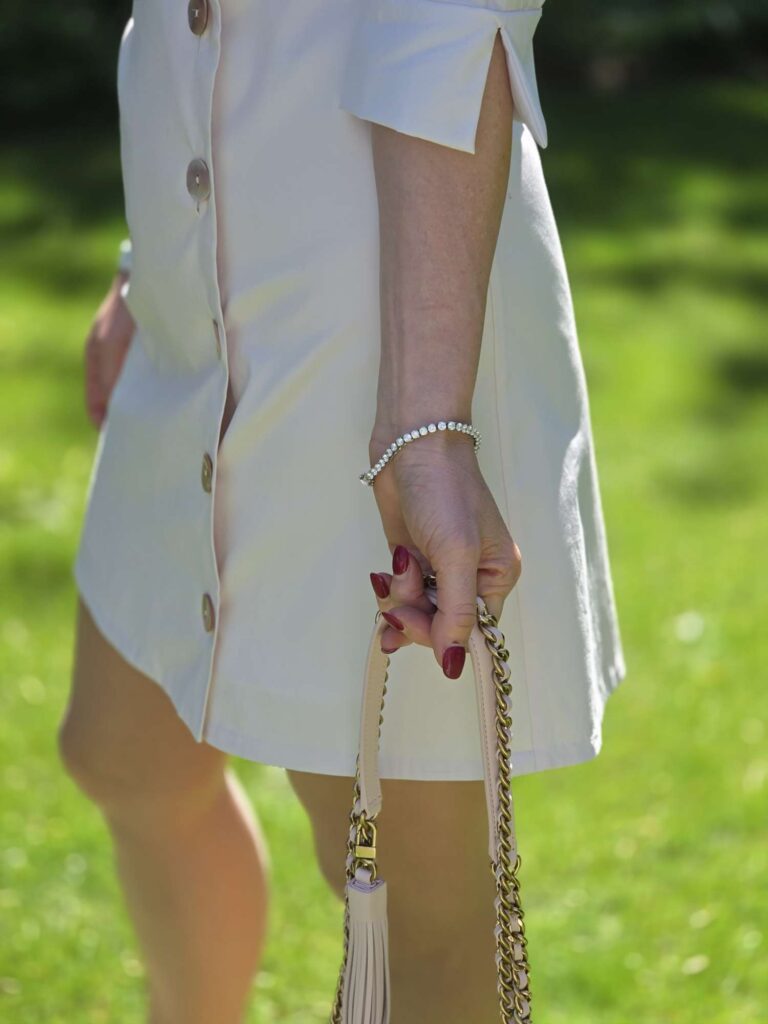
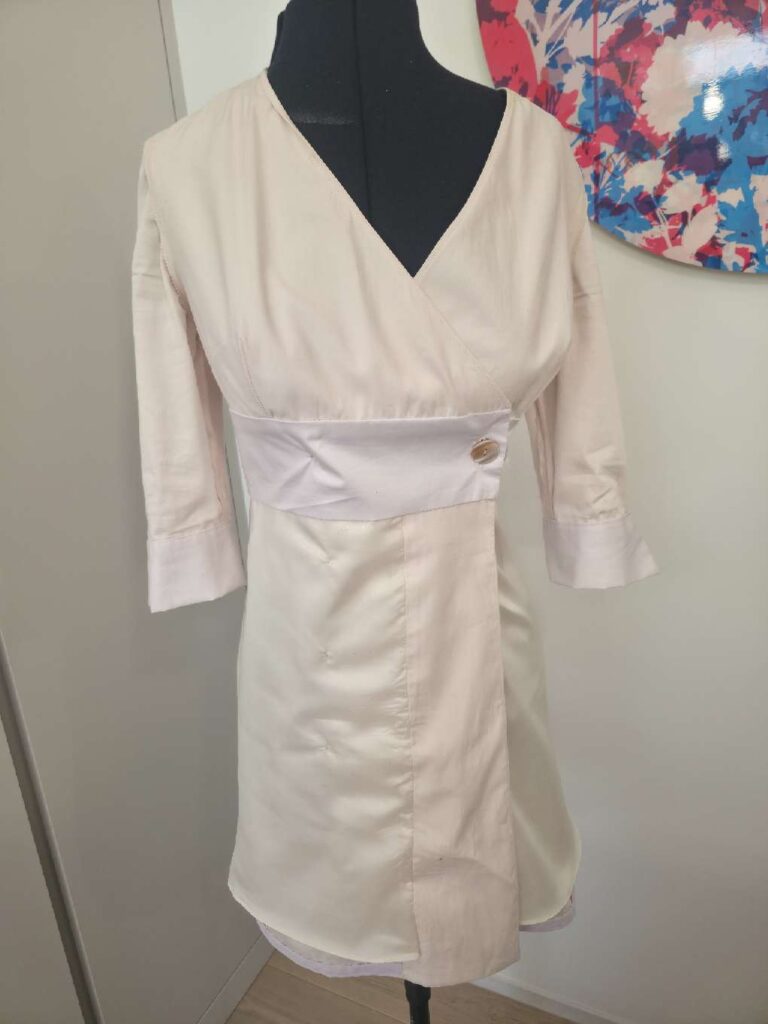
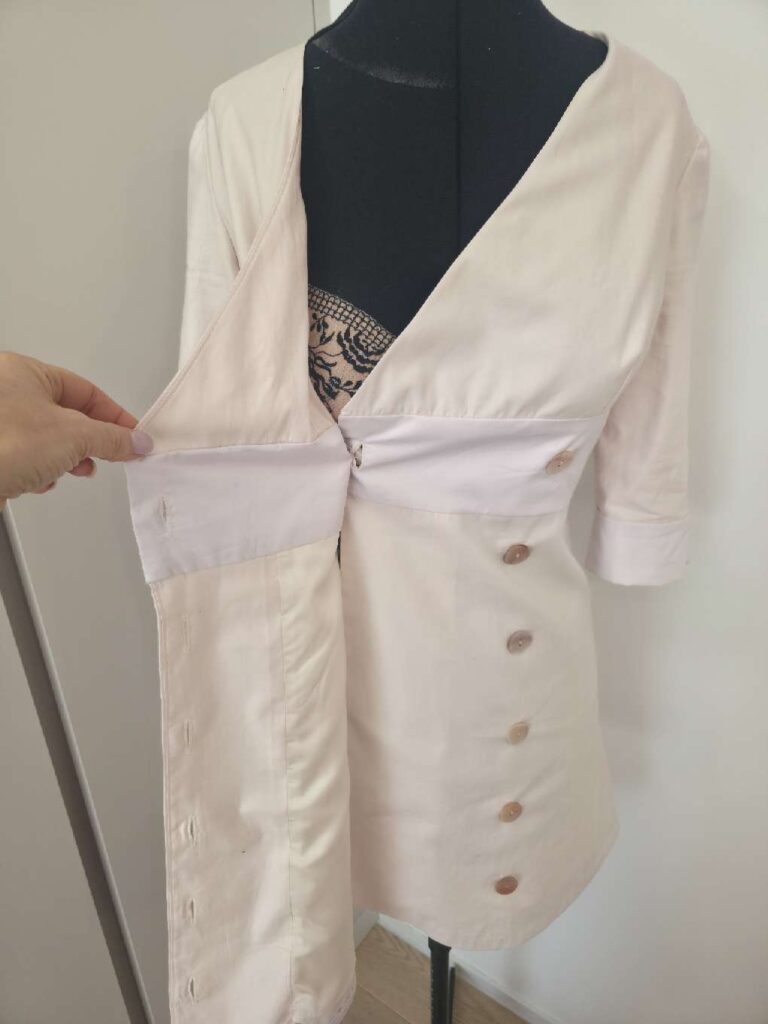
… a flattering shape and lovely details, in particular the crossed bodice and the side buttons…
… but the sizing was a bit of a nightmare!
Adjustments made to the pattern: fit, fit, fit!
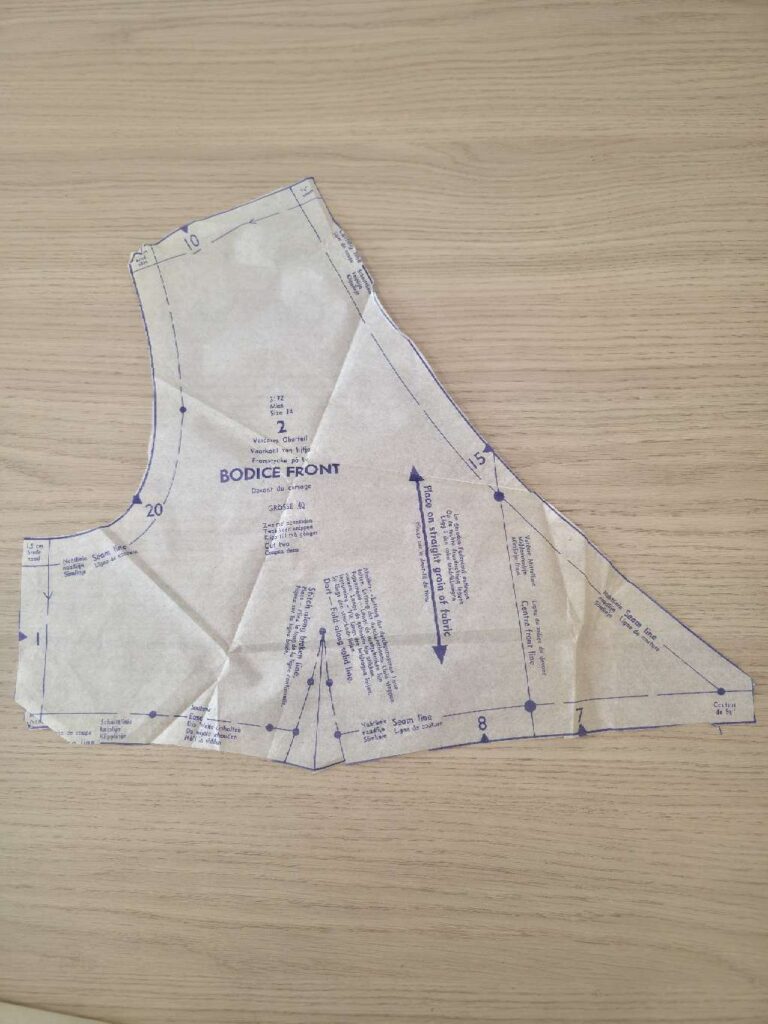
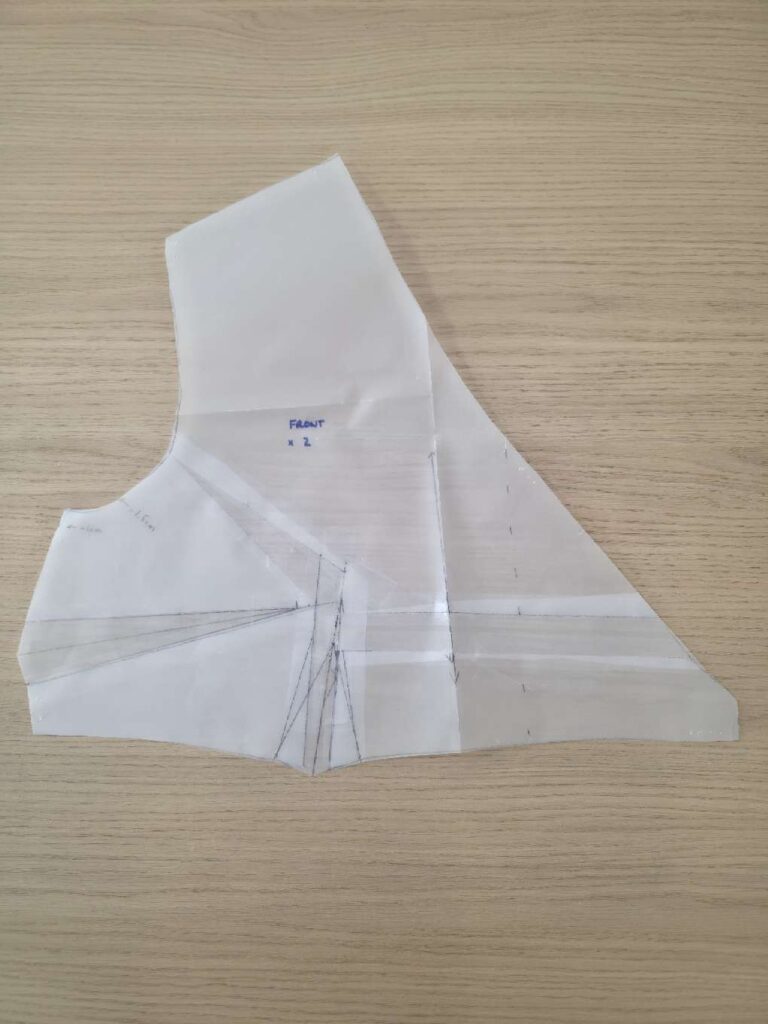
- My main work on the pattern was to make the dress fit better – I am obsessed with fit! My first toile, with my usual FBA of 2.5cm for my E-cup, was enormous. I had to remove about 1cm on the sides for each pattern piece (so 4cm in total) and redo a smaller, 1.5cm FBA. Here are the initial versus final bodices.
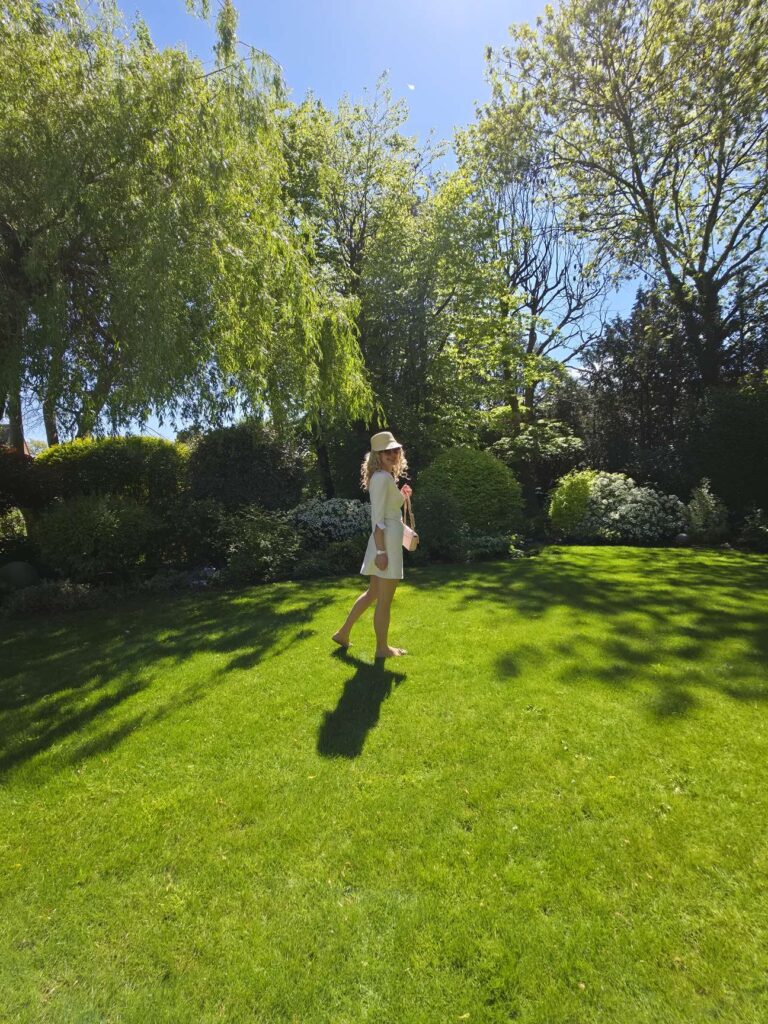
- I substantially shortened the dress to give it more of the mini look we associate with the 1960’s.
- I played with the inside to add some cotton lining for the bodice (less sweat) and synthetic for the skirt (softer with tights). I also added a button on the inside as a waist-stay substitute.
- Lastly I made the sleeves 3/4 and added a cuff – my favourite for mid-season dresses

Conclusion
As a result of all these effort, this dress is an absolute perfect fit and very comfortable to wear. I also particularly like the soft contrast of colours. All in all I am very happy with this vintage pattern experience and fully ready to tackle more!
Leave a Reply