If you make a smocked dress with one of my tutorials, do not hesitate to use the hashtag #smocksmignons so that I can admire and re-gram it!!
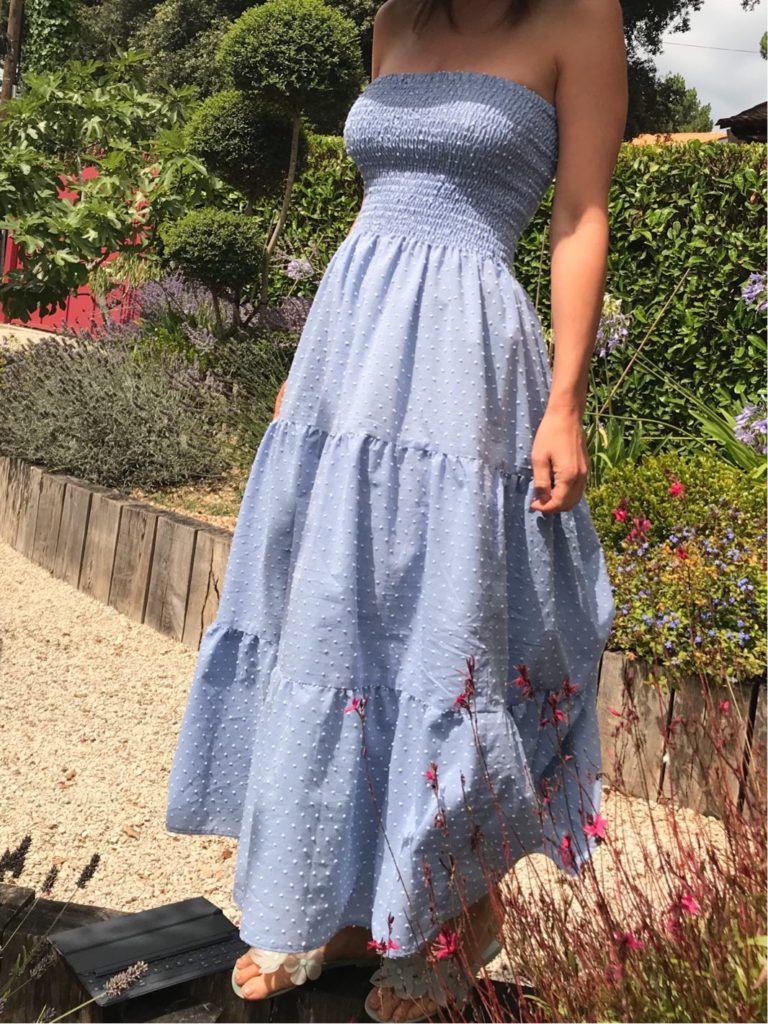
I have an adoration for shirred dresses in the summer: they are fresh, sun-tan compatible and most importantly extremely easy to make without a pattern. Here is a small selection of my handmade shirred dress collection (I obviously have more than eight…):
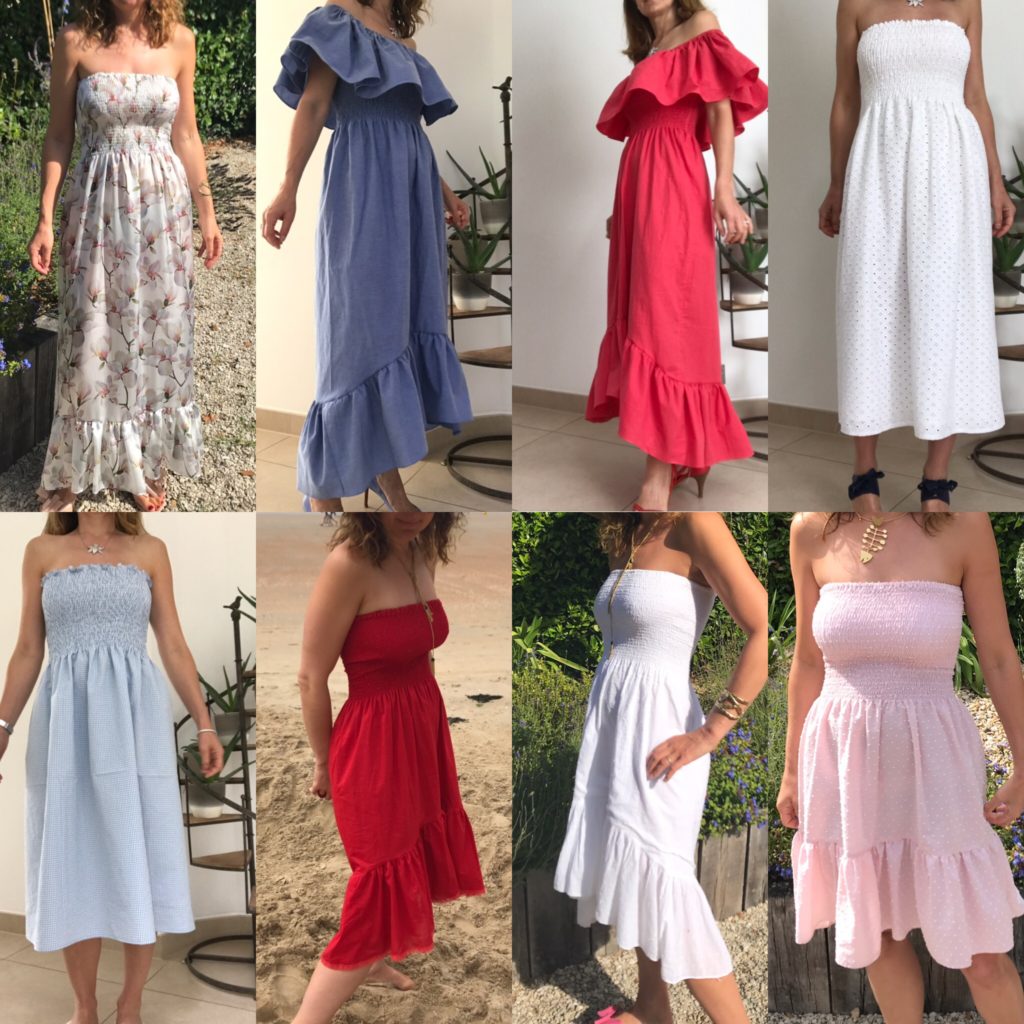
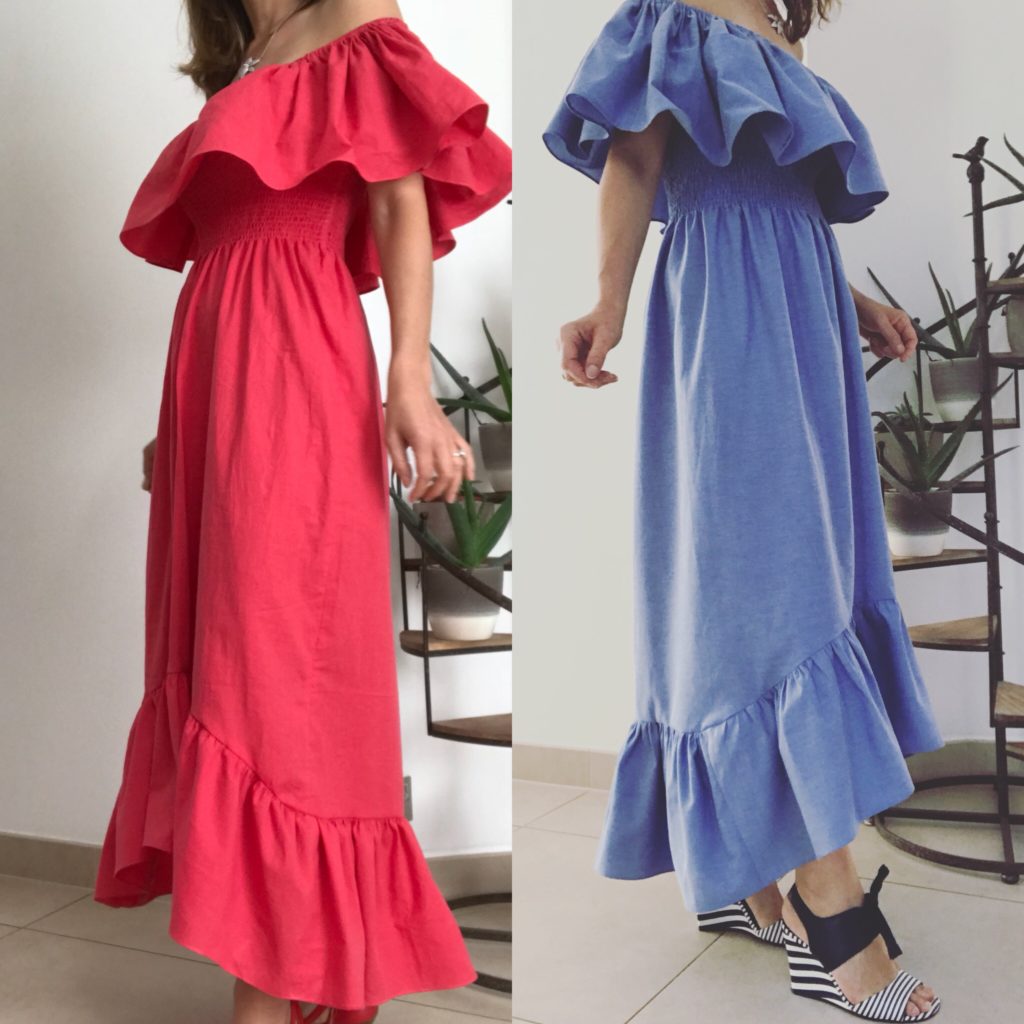
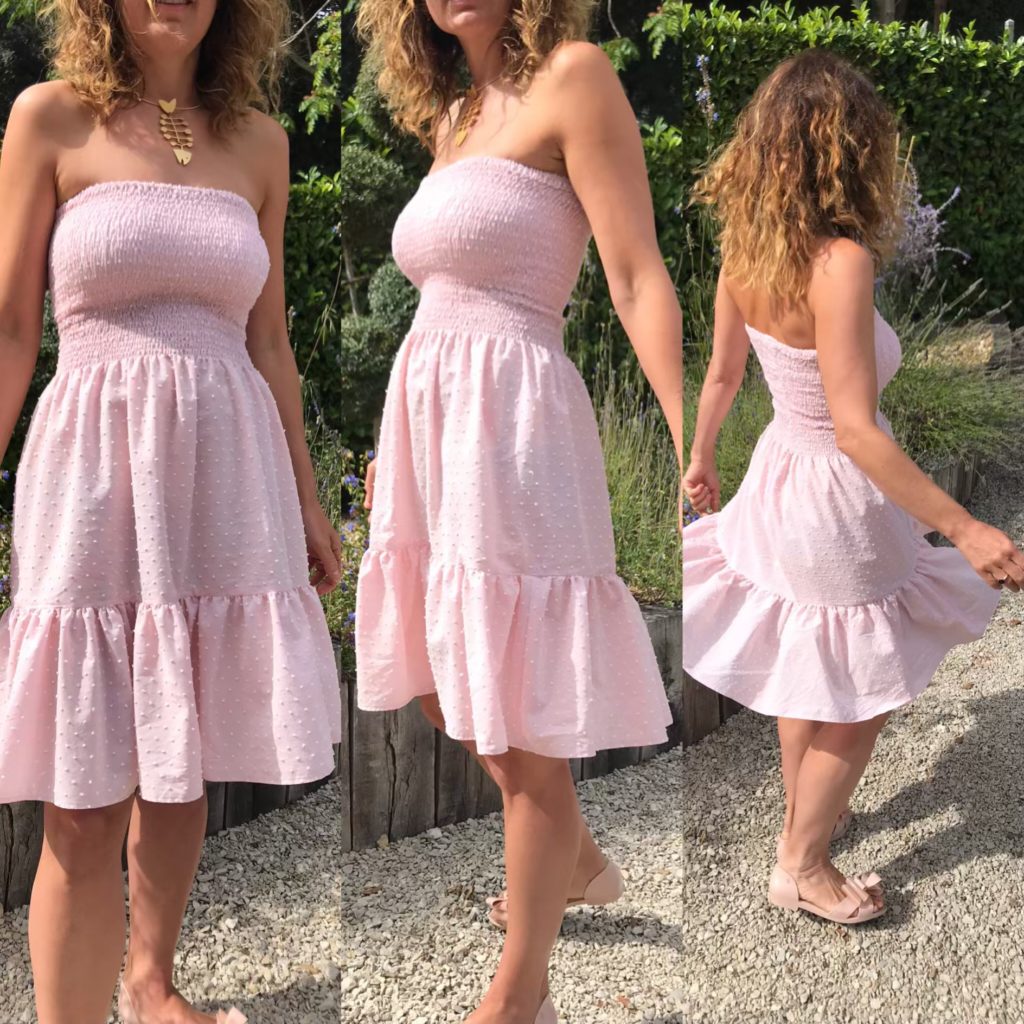
I have already written tutorials on the two dresses below (just click on the pictures to get to the blog articles)…
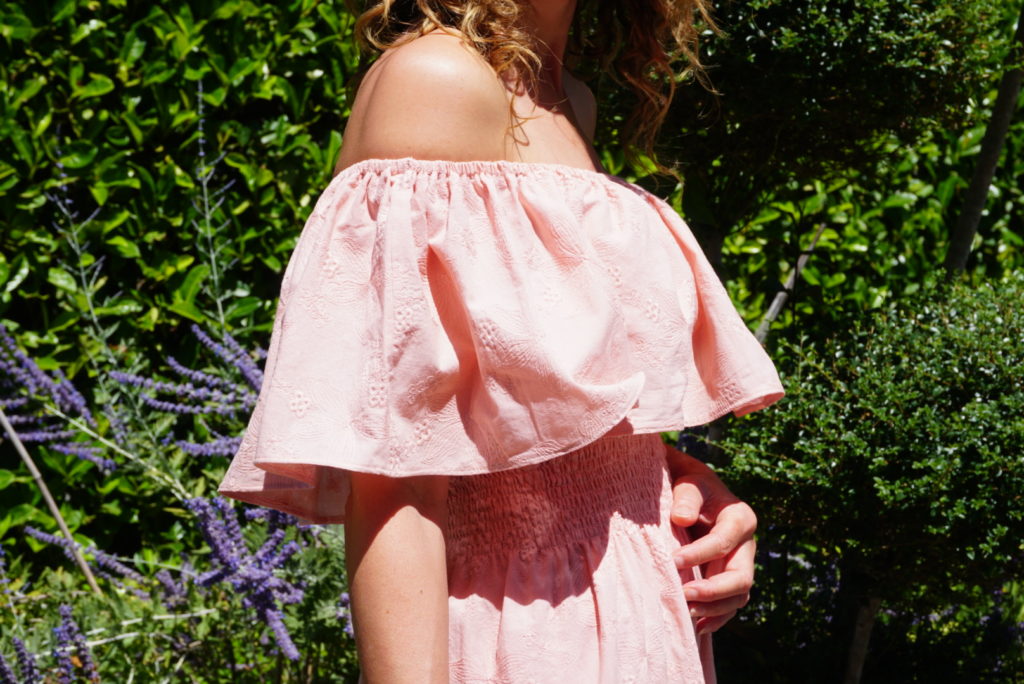
… but I get asked many times about these two – specifically how to add an off-the-shoulder ruffle to a shirred dress.
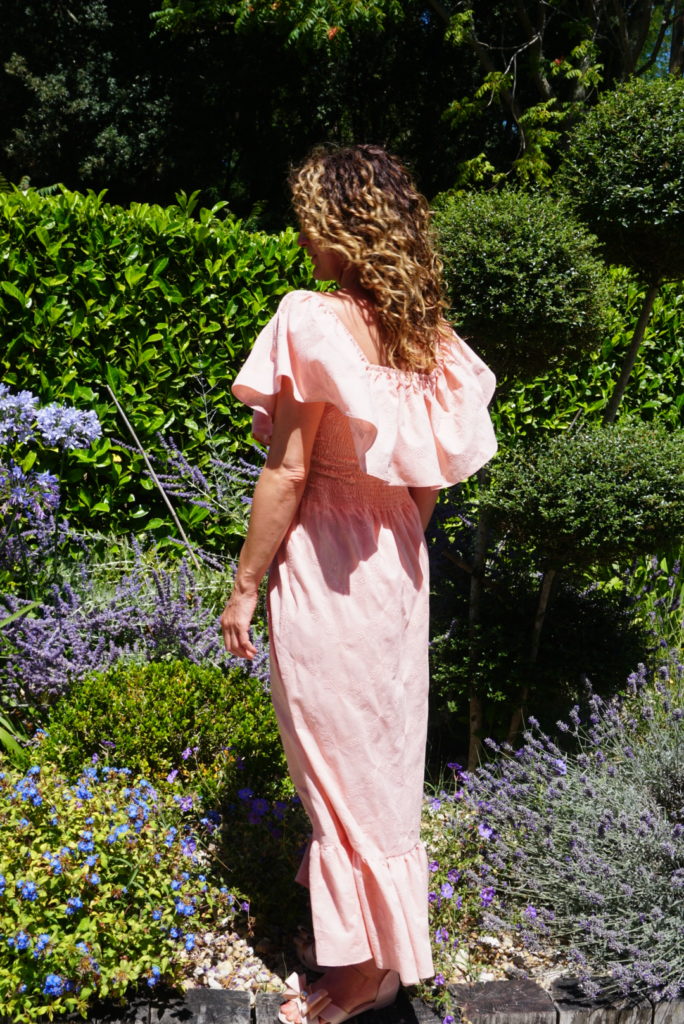
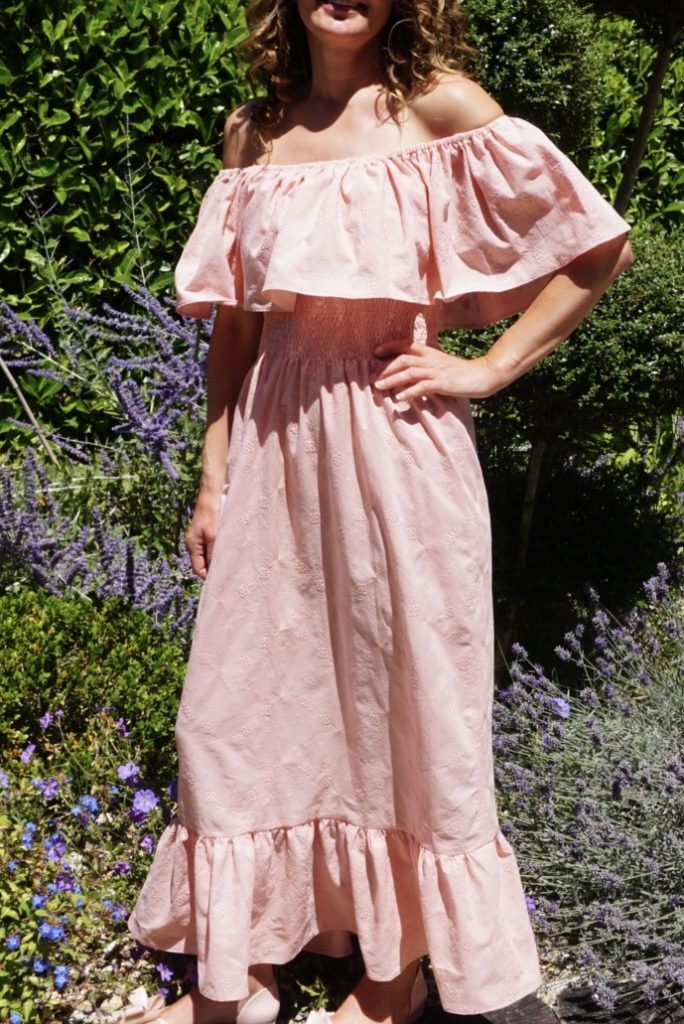
So here we are, I’ve finally managed to get my sewing machine in shirring mode again (this does not always work!!) and I made an off-the-shoulder shirred dress specifically for the purpose of this tutorial – any excuses to sew more dresses is good to me!! Note that this dress is longer and more complicated to make than the blue or pink ones – I would rate it of intermediate difficulty.

SUPPLIES
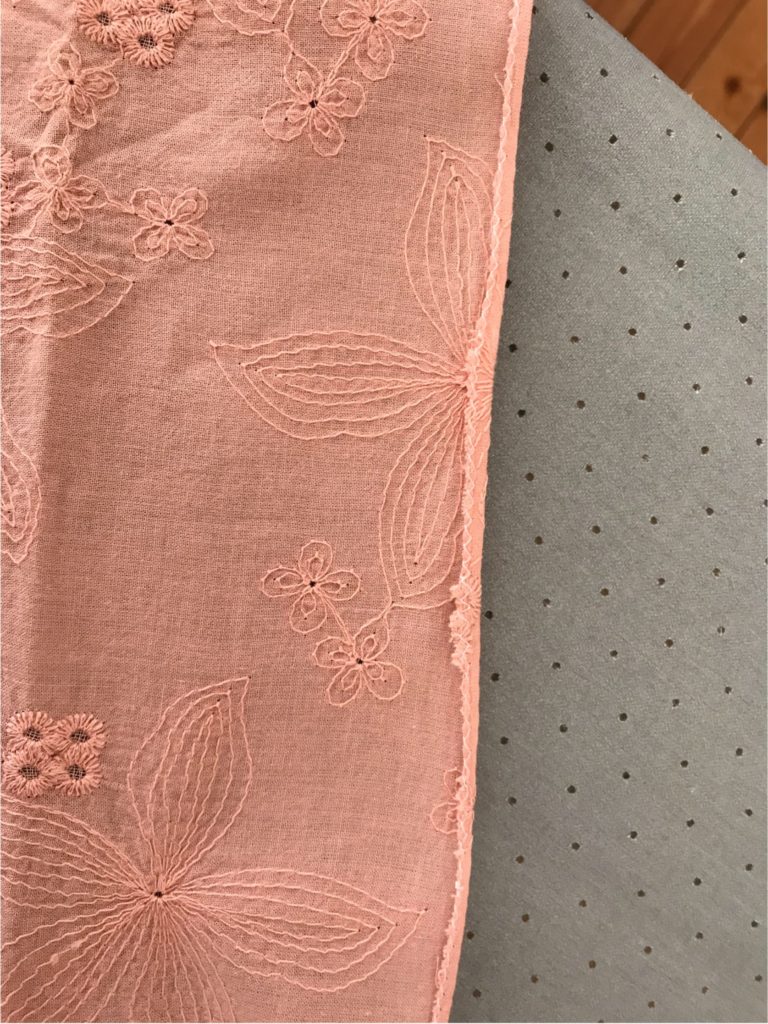
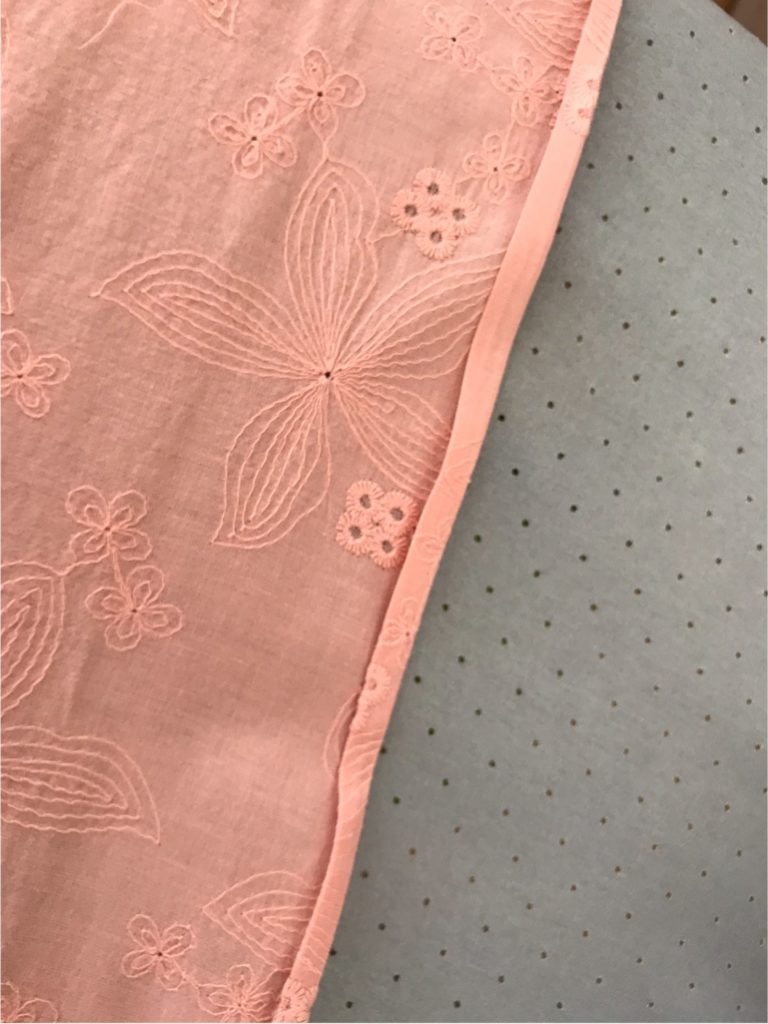
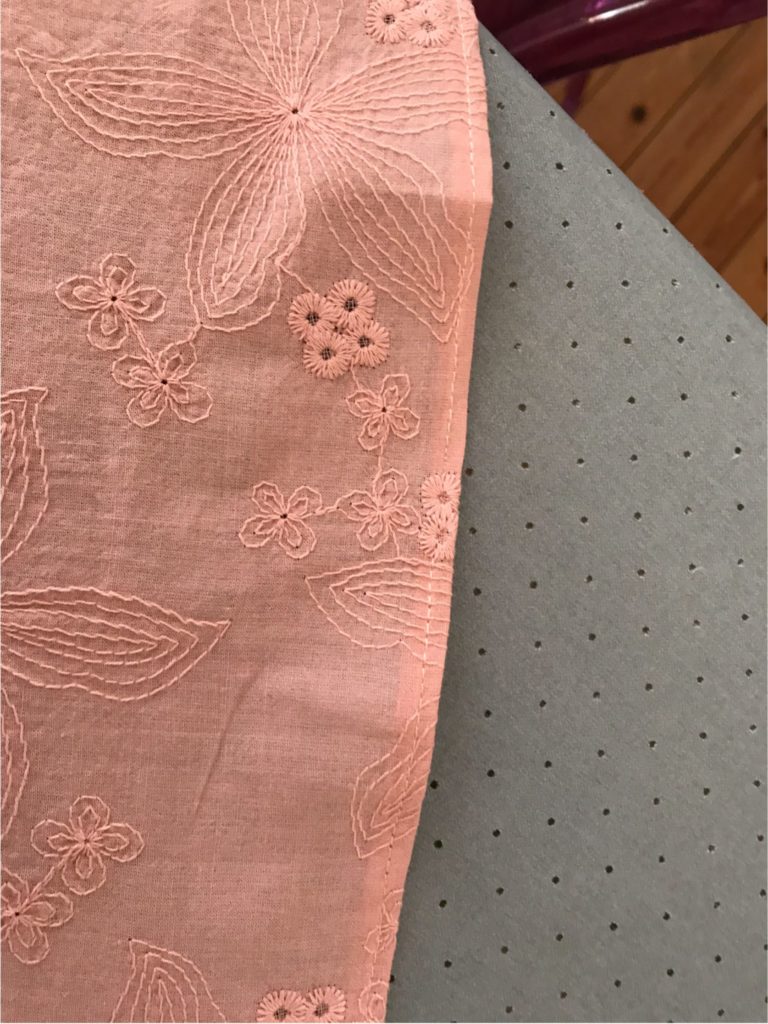
- 2m of fabric (150cm wide is best, 130 will do at a stretch but not less ); ideally lightweight: cotton voile, Swiss dots, silk or polyester satin. Do not forget to wash and iron before starting any work.
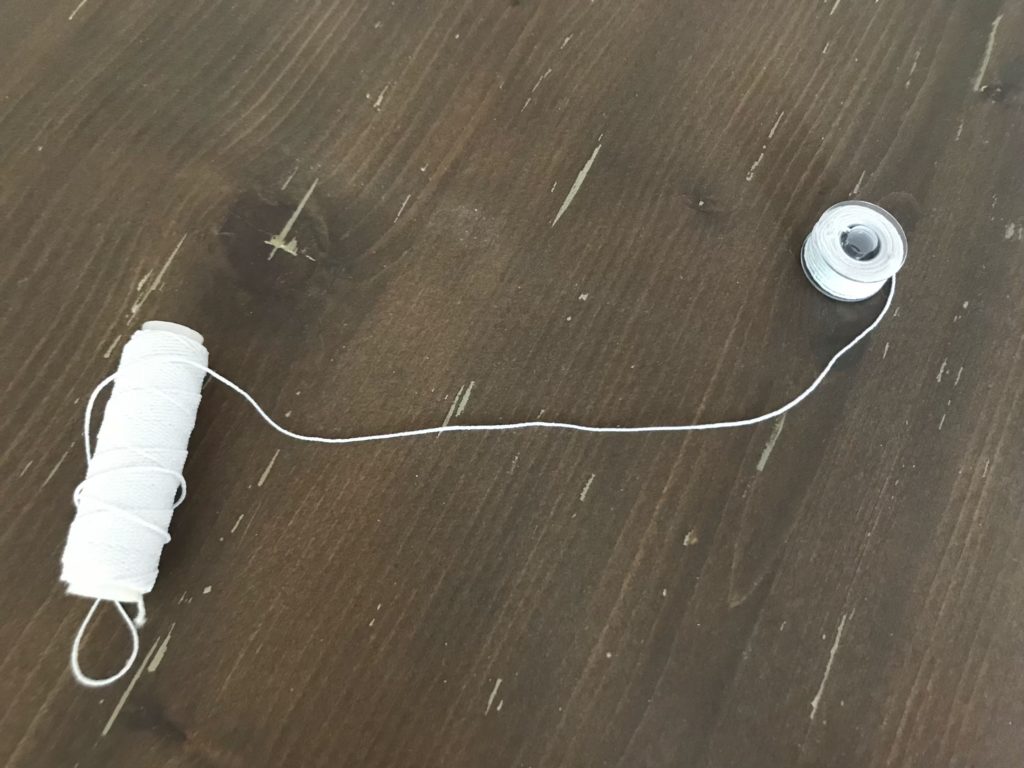
- Elastic sewing thread of 0.5mm wide, like this one (2x20m just in case).
- 1m of flat 5mm to 7mm wide elastic , like this one.
- Classic sewing thread matching your fabric and and all your usual sewing equipment.
1/ PREPARING YOUR PIECES
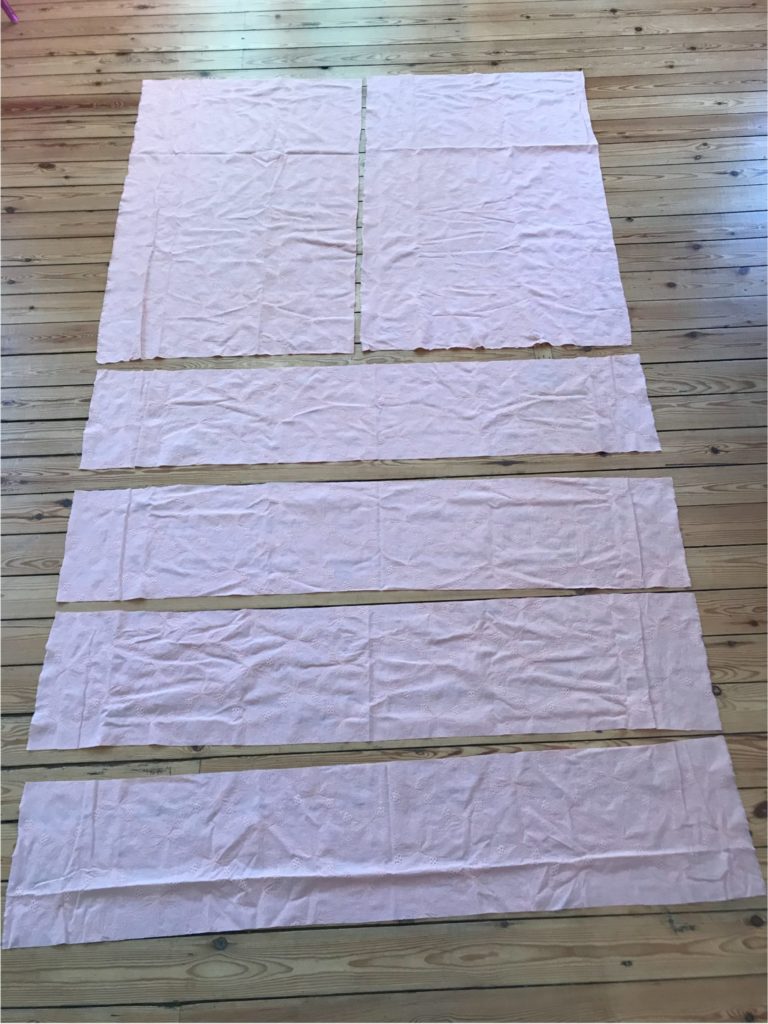
Cut:
- 2 rectangles 75 cm wide x 100 cm high
- 4 rectangles 150 cm wide x 25 cm high
(For those wishing to adjust this dress to their measurements, I am 1m68 tall and the length of my dress is to the ankle, not to the floor).
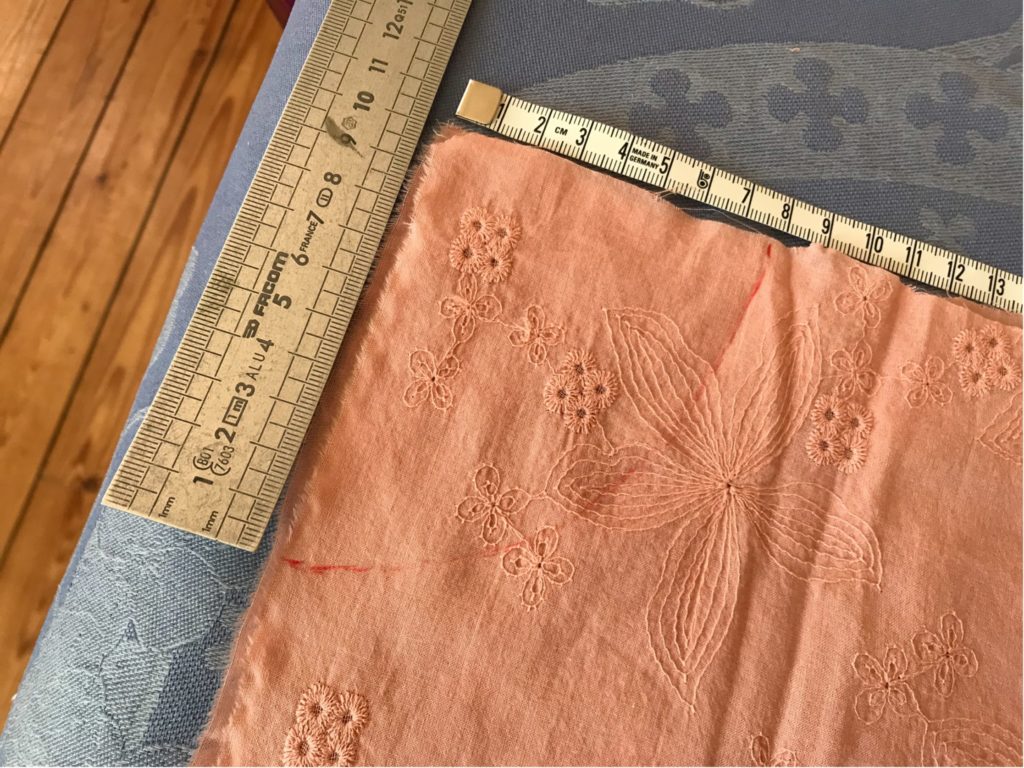
Make two under-arm openings at the top of the largest two rectangles, using 10x 8cm measurements and drawing an approximate quarter circle – this step makes the shirring more complicated, so you could avoid it, but I advise against this shortcut as it makes the dress definitely more comfortable!
Overlock all the faces of the rectangles with a zigzag stitch on the sewing machine or with an overlocker.
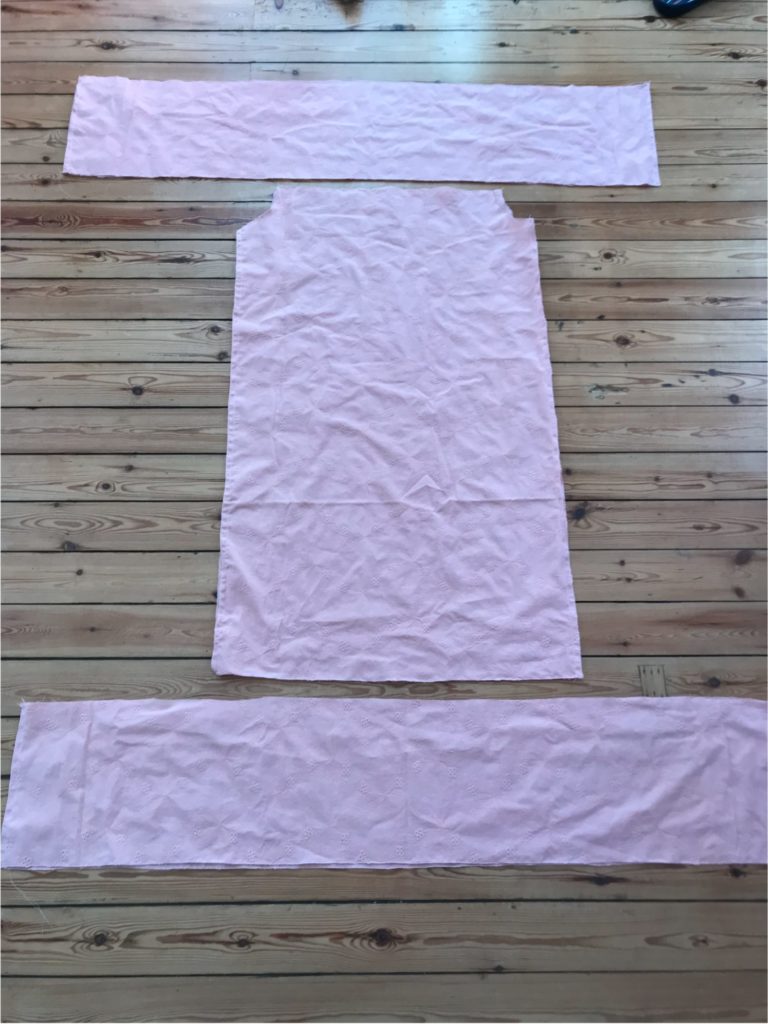
Make three tubes with the rectangles as follows:
- For the 75×100 rectangles, lay them on top of each other, right side against right side of fabric, stitch the 100 cm sides together, 1 cm from the edge (2 seams).
- For the 150×25 rectangles, lay them on top of each other two by two, right side against right side of fabric, stitch the 25 cm sides together, 1cm from the edge (2 seams each time and you end-up with two tubes).
- Open all seams with an iron.
You should end-up with this:
Make a mini-hem on one side of each of the two large tubes; and at the two under-arm openings – I use my iron to fold the fabric twice, then straight-sew 0.5cm from the edge of the fabric, as shown here.
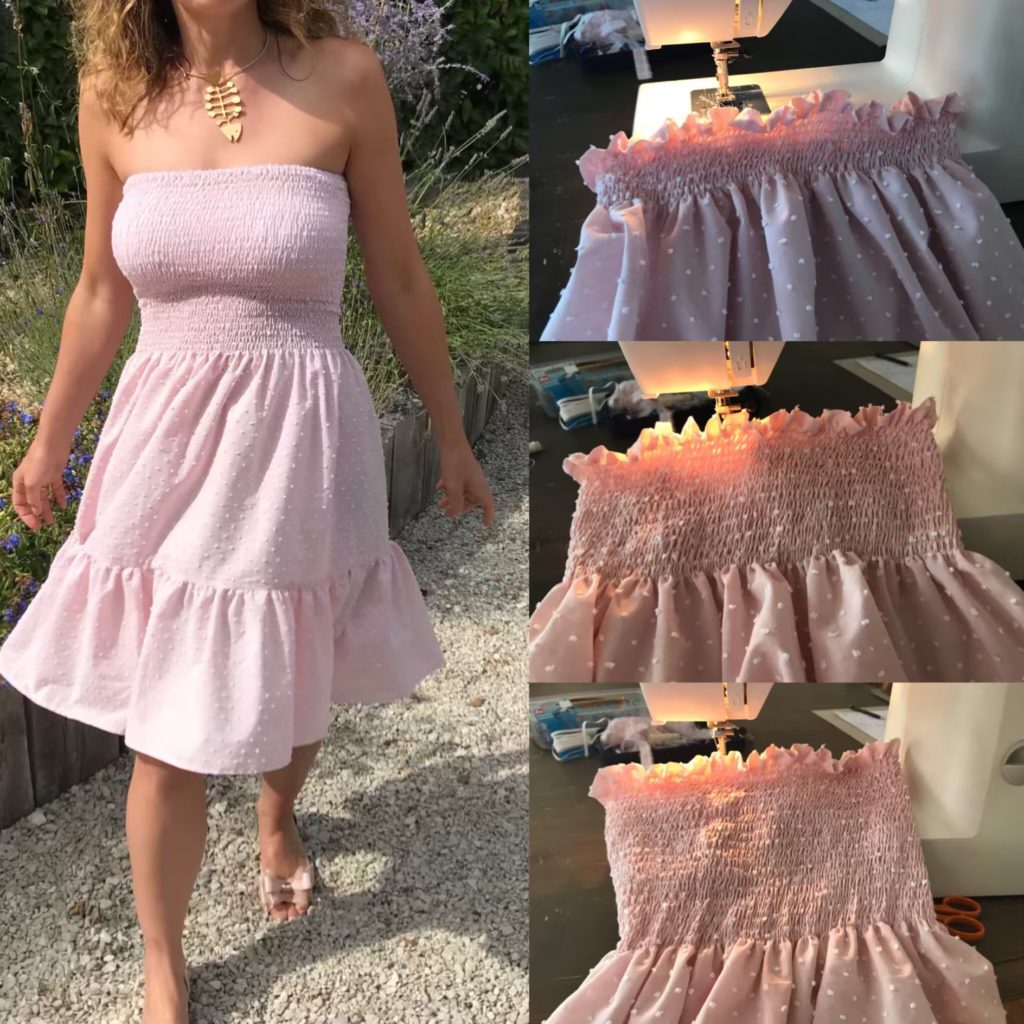
2/ START SHIRRING
I already made a shirring tutorial for this dress, so the one here is extremely similar.
First, get your sewing machine ready:
- Mount a spool of elastic thread by hand (creating a bit of tension) and position it in your machine.
- The top yarn remains a classic yarn, with a color matching your fabric.
- Set your stitch width to the maximum (4/5), without touching the machine tension (I use a standard 5/6).
You can now start shirring:
- Starting with one side, place the fabric under the needle, right face of fabric facing you, top of the dress at the top. Place your needle 3cm below the top edge.
- Make a back-stitch at the beginning, then sew in a straight line, finally make a back-stitch at the end – the elastic thread must be well blocked!
- Raise the needle and and place it about 1cm below, and proceed again in the same way.- you will go back and forth.

- Continue until you each the under-arm where the tube starts, then start again for the other side’s top, going back and forth until you reach the under-arm.

- Then start working in circles.
If you have decided not the cut under-arm openings, your life will be easier because you can work from the top and go in circles all along.
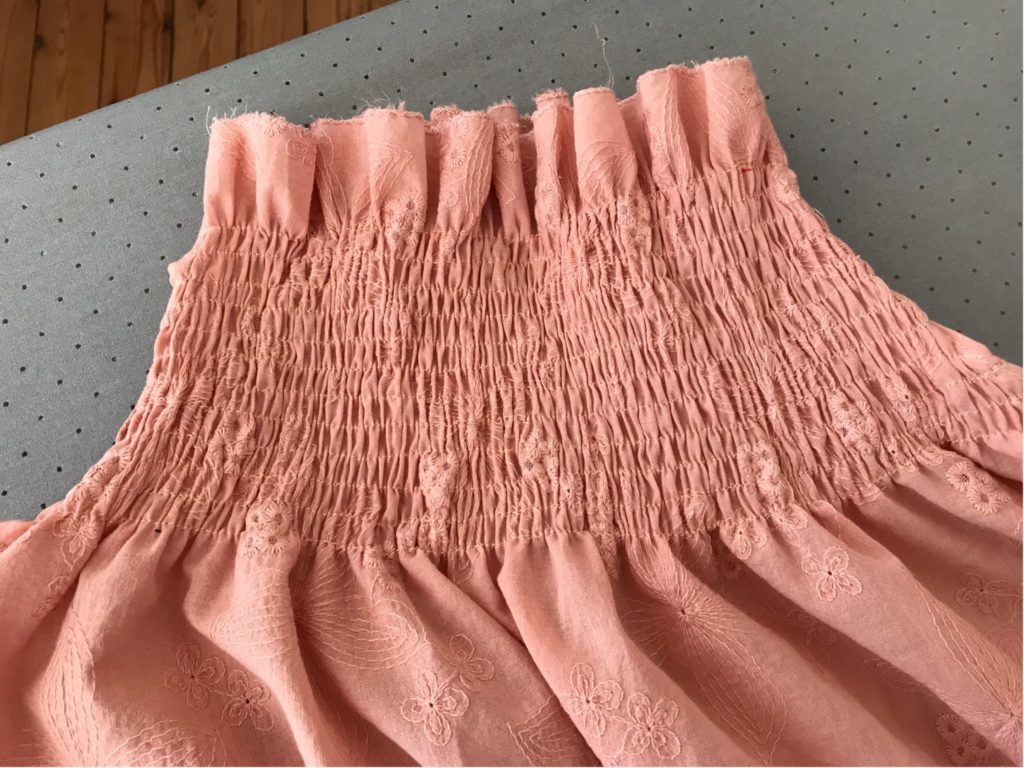
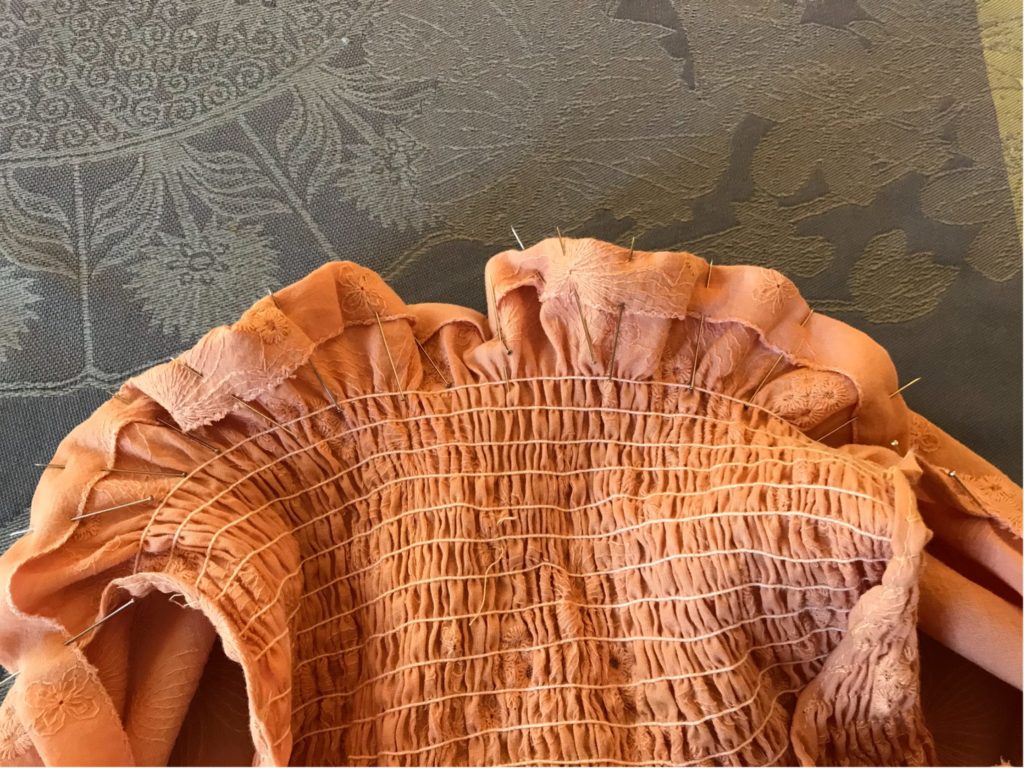
Try the dress on as you go to see where to stop shirring. I sew 28 rows (22cm), which allows the gathers to be well placed under the bust – but this will depend on your own measurements! Ideally you want the last line of shirring to reach the narrowest part of your torso, about 10 cm above your belly button – this is a lot of shirring but totally worth the effort!
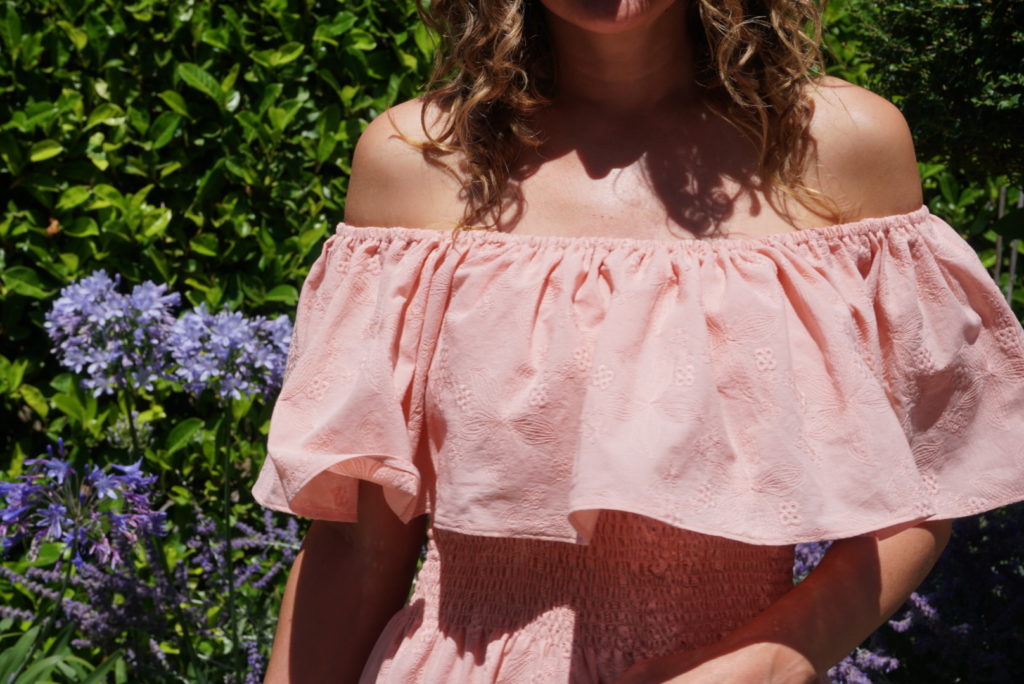
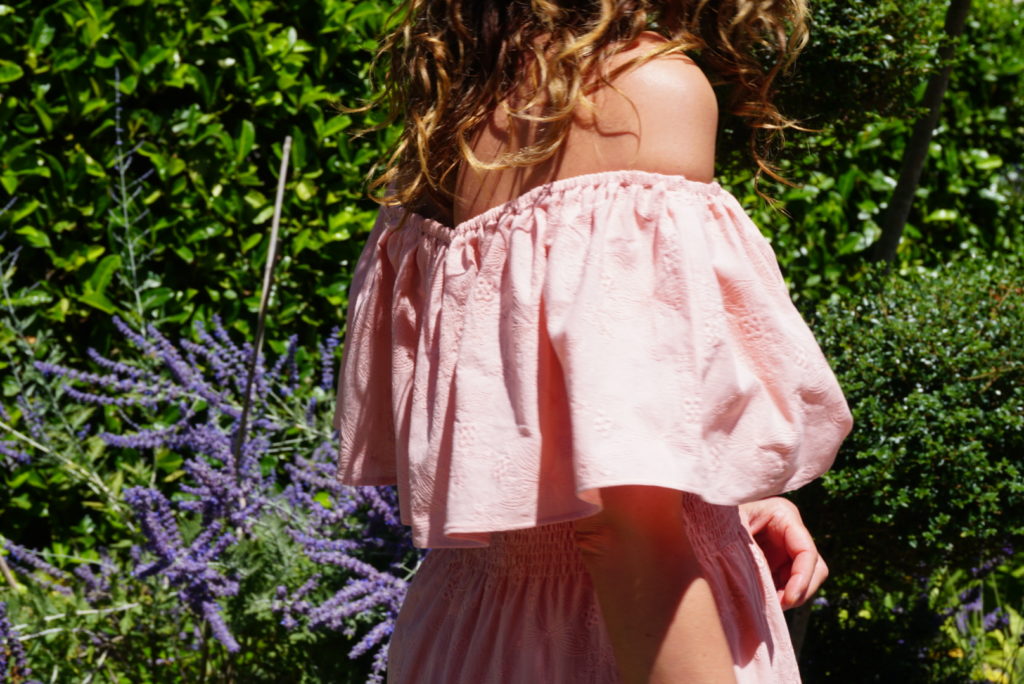
3/ ADD THE SHOULDER RUFFLE
Change your bobbin thread: remove the elastic thread and put on a standard sewing thread.
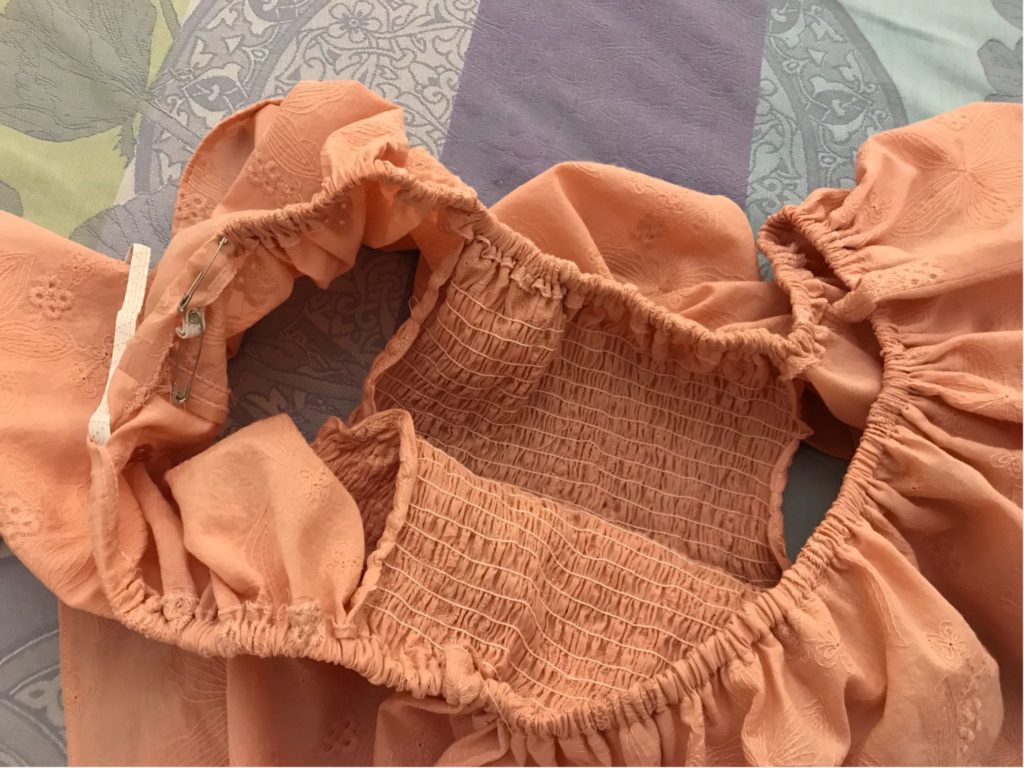
Join the ruffle to the dress:
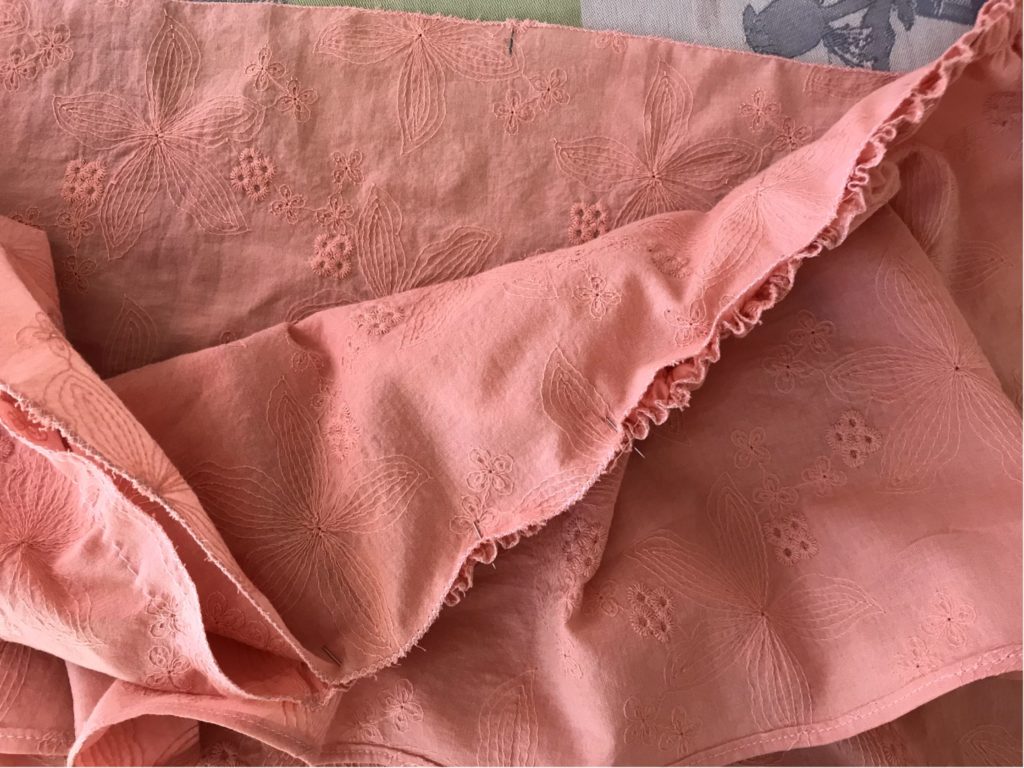
- With an iron, fold the non-hemmed side of one of two large tubes by 1.5cm.
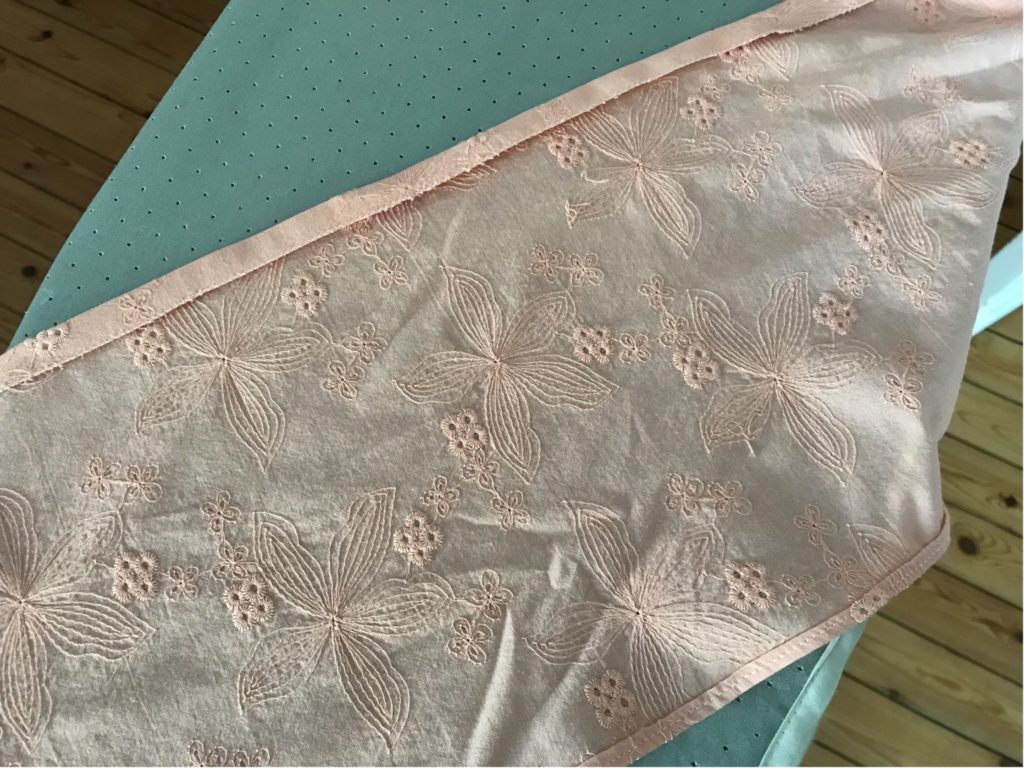
- Mark the middles of the top front and back of the large tube (where the fold is) and the top front and back of the shirred tube (the sides are where the rectangles have been sewn together).
- Aligning the middles, sandwich the top front and back of the shirred tube withing the fold of the large tube – the fabric will be face (of shirred tube) to back (of large tube), with the large tube sitting on top of the shirred tube.
- Sew an elastic tunnel 1 cm from the edge, leaving a 5 cm opening on the side.
Within the tunnel, insert the flat elastic:
- You can use a safety pin, a skewer or any other tool that suits you.
- Be patient as this a very narrow (1cm) but very long (3m) tunnel, aaarrgghh!!
- Once the elastic as gone trough, put the dress on to determine the width you need, cut the excess of elastic and sew both ends of elastic on top of each other with a zigzag stitch – but make sure that the elastic does not turn in the tunnel before sewing.
- Close the open section of the tunnel with a normal stitch, without catching the elastic.
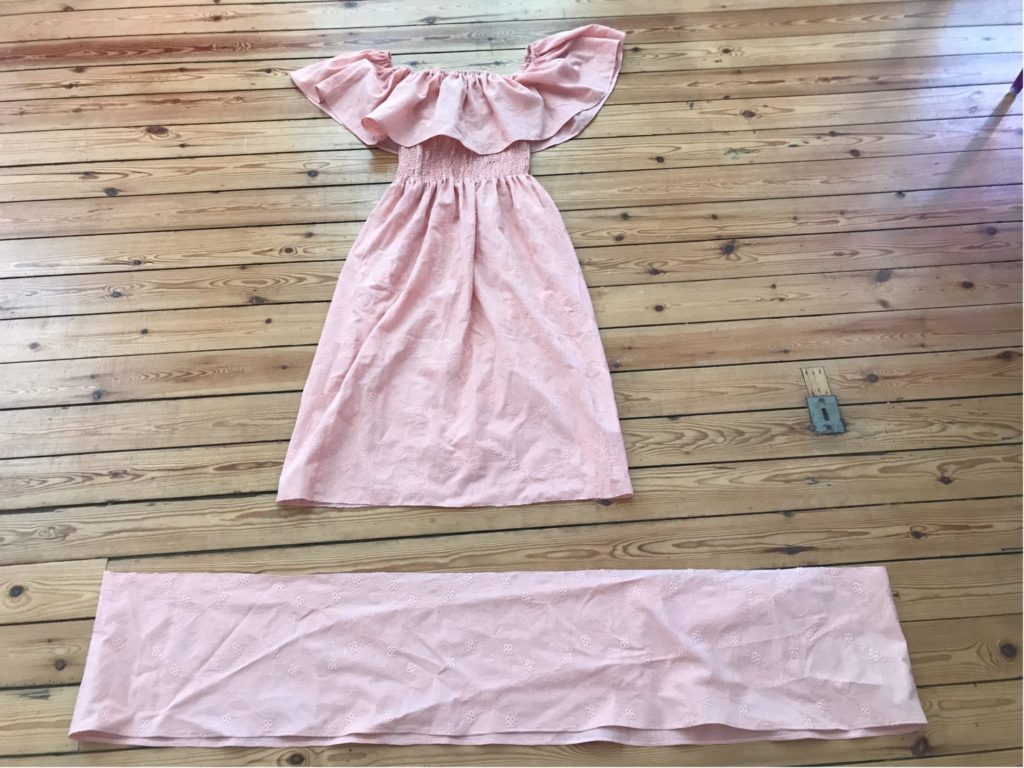
4/ ADD THE BOTTOM RUFFLE
Now time to join the bottom ruffle to the dress! (last step, yesssss)
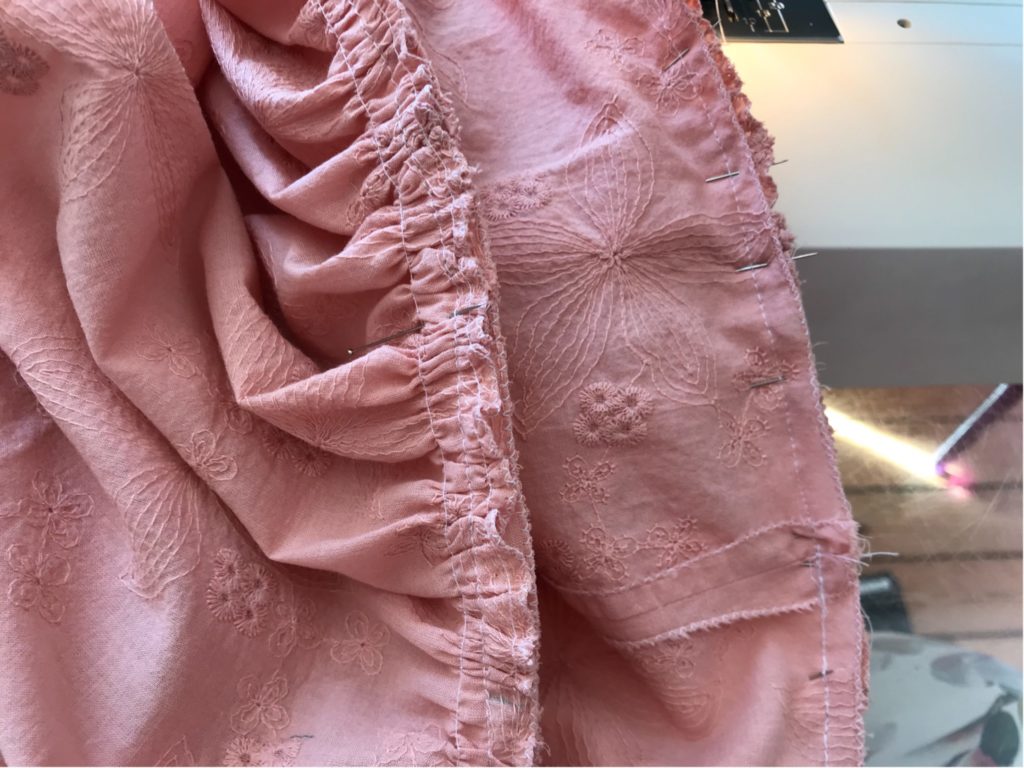
- Split the ruffle in 4 equal parts with pins; do the same for the bottom of the dress.
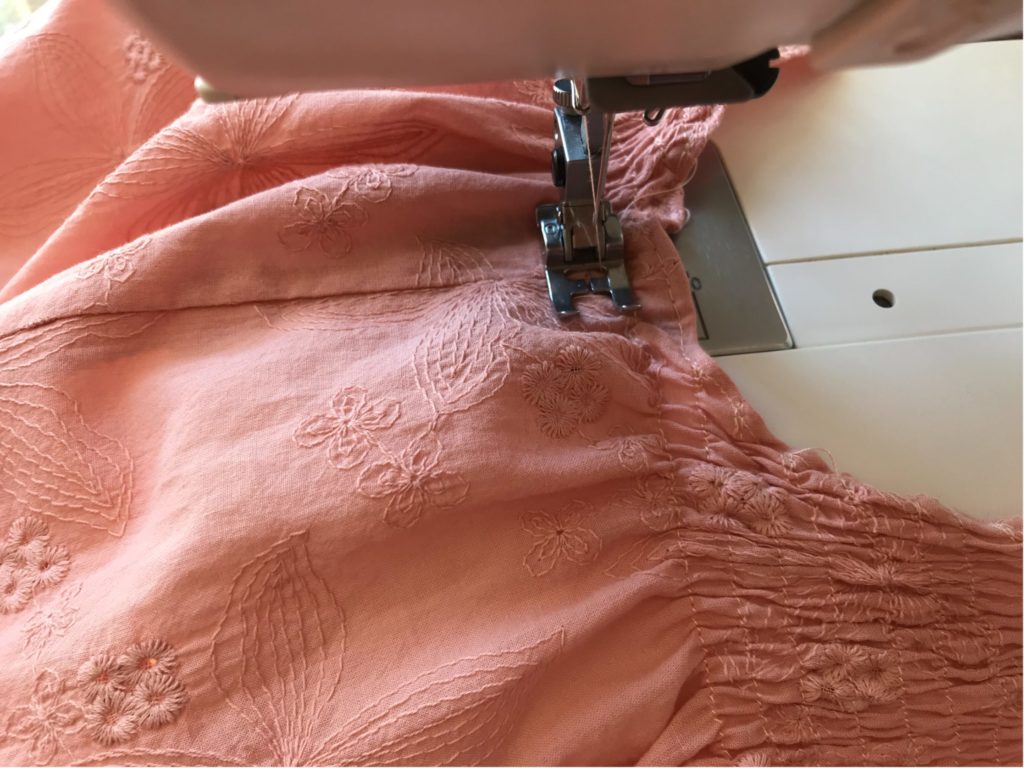
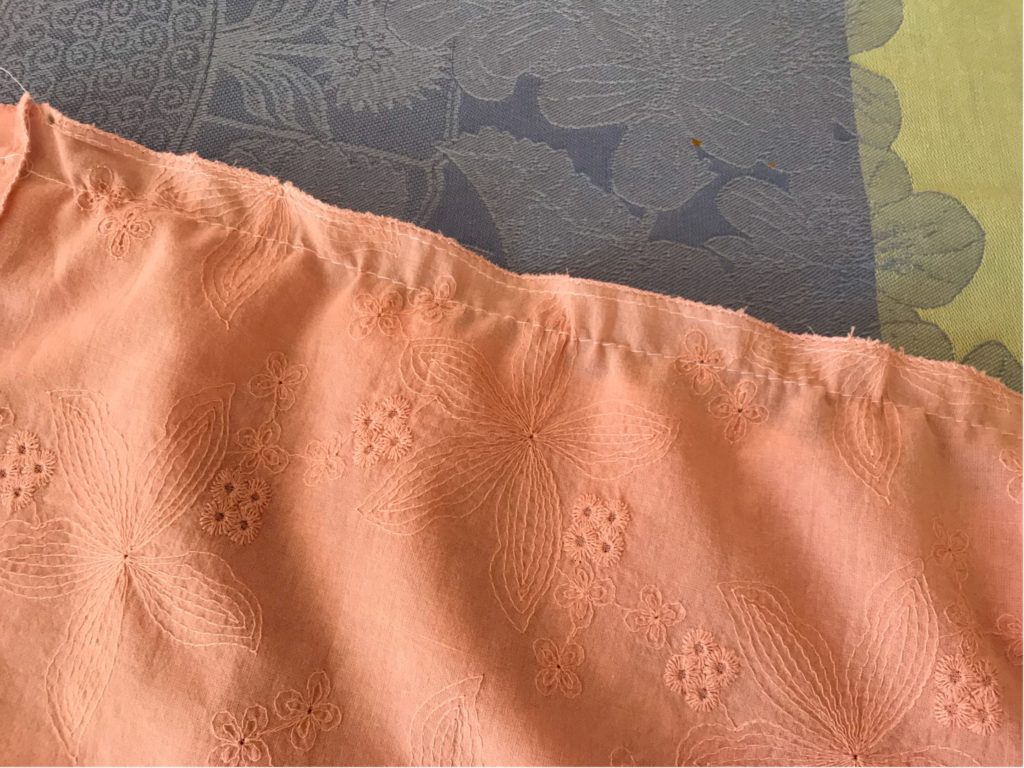
- Insert gathering lines: set your machine on a large straight stitch (4/5) ans sew two parallel lines, one 0.5cm and the other 1.5cm away from the fabric hedge. Do not forget to leave enough thread at both beginning and end. To make the gathering easier and more regular, I divide my fabric in two (so four sewing lines in total, parallel 2 by 2).
- Assemble the ruffle and the dress together, matching the pins you’ve just laid. Pull on the threads to create gathers, until the width of the ruffle fabric matches that of the dress. Pin as you go along, being careful to keep your gathers regular. Work quarter by quarter and only pull on to two thread facing you (not the onces on the other side of the fabric).

- Put your sewing machine back to a normal-length stitch (around 2.5), put your fabric under the needle face up, and straight stitch 1cm from the fabric hedge.
- Check that you have caught all of the gathers and only then (calmly) get rid of your (meters of) gathering threads.
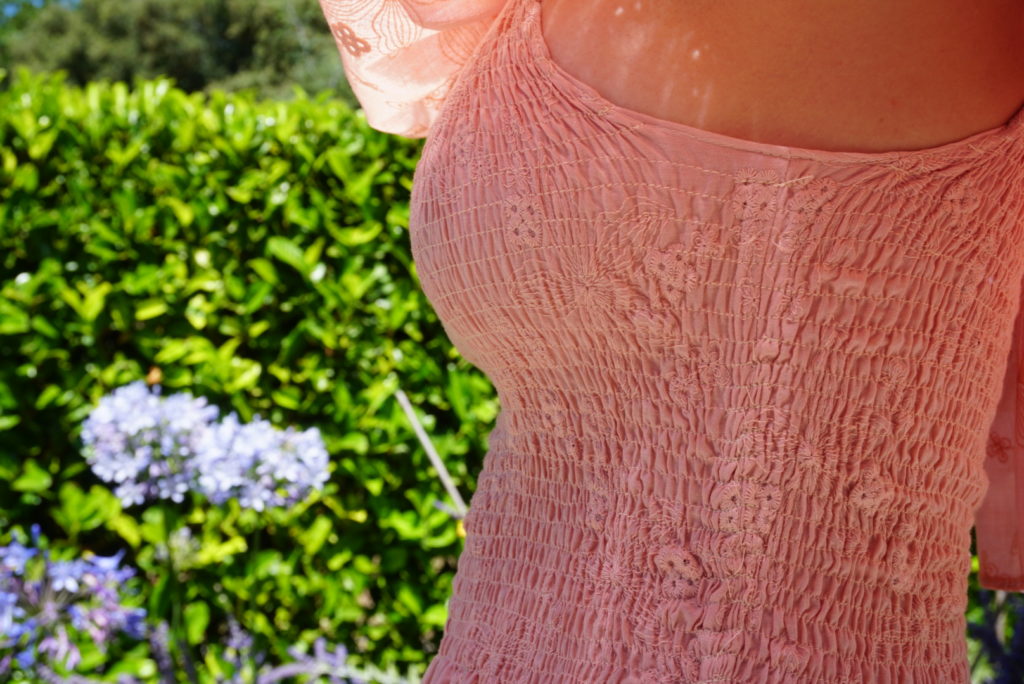
ET VOILA! Your dress is finished!
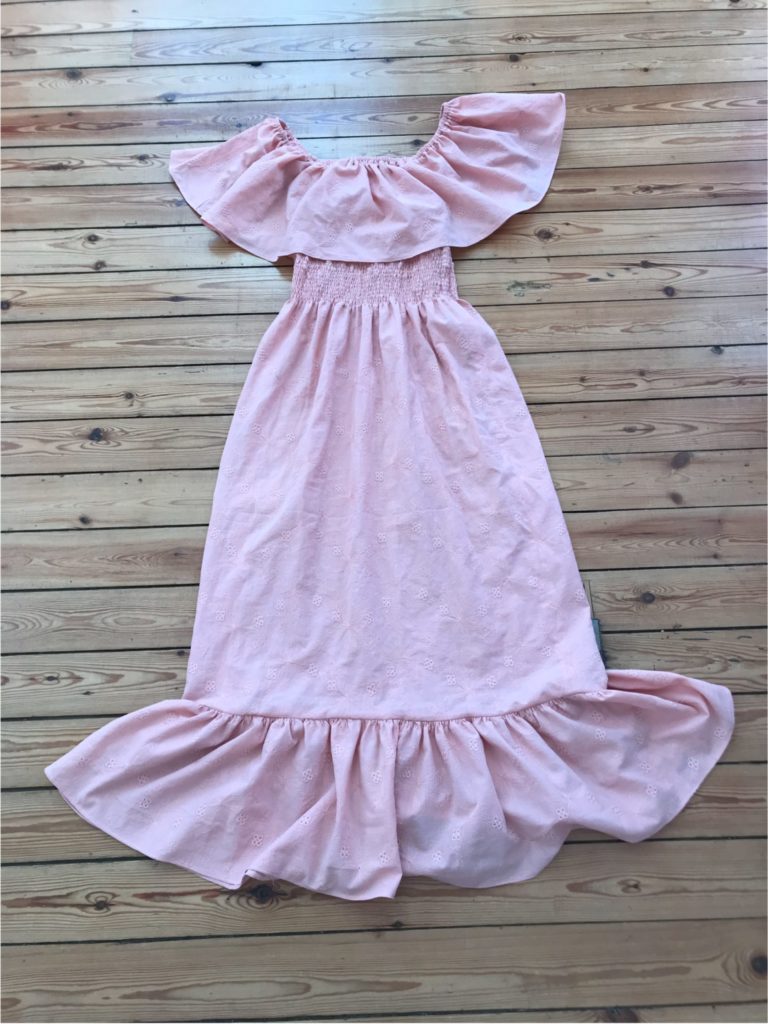
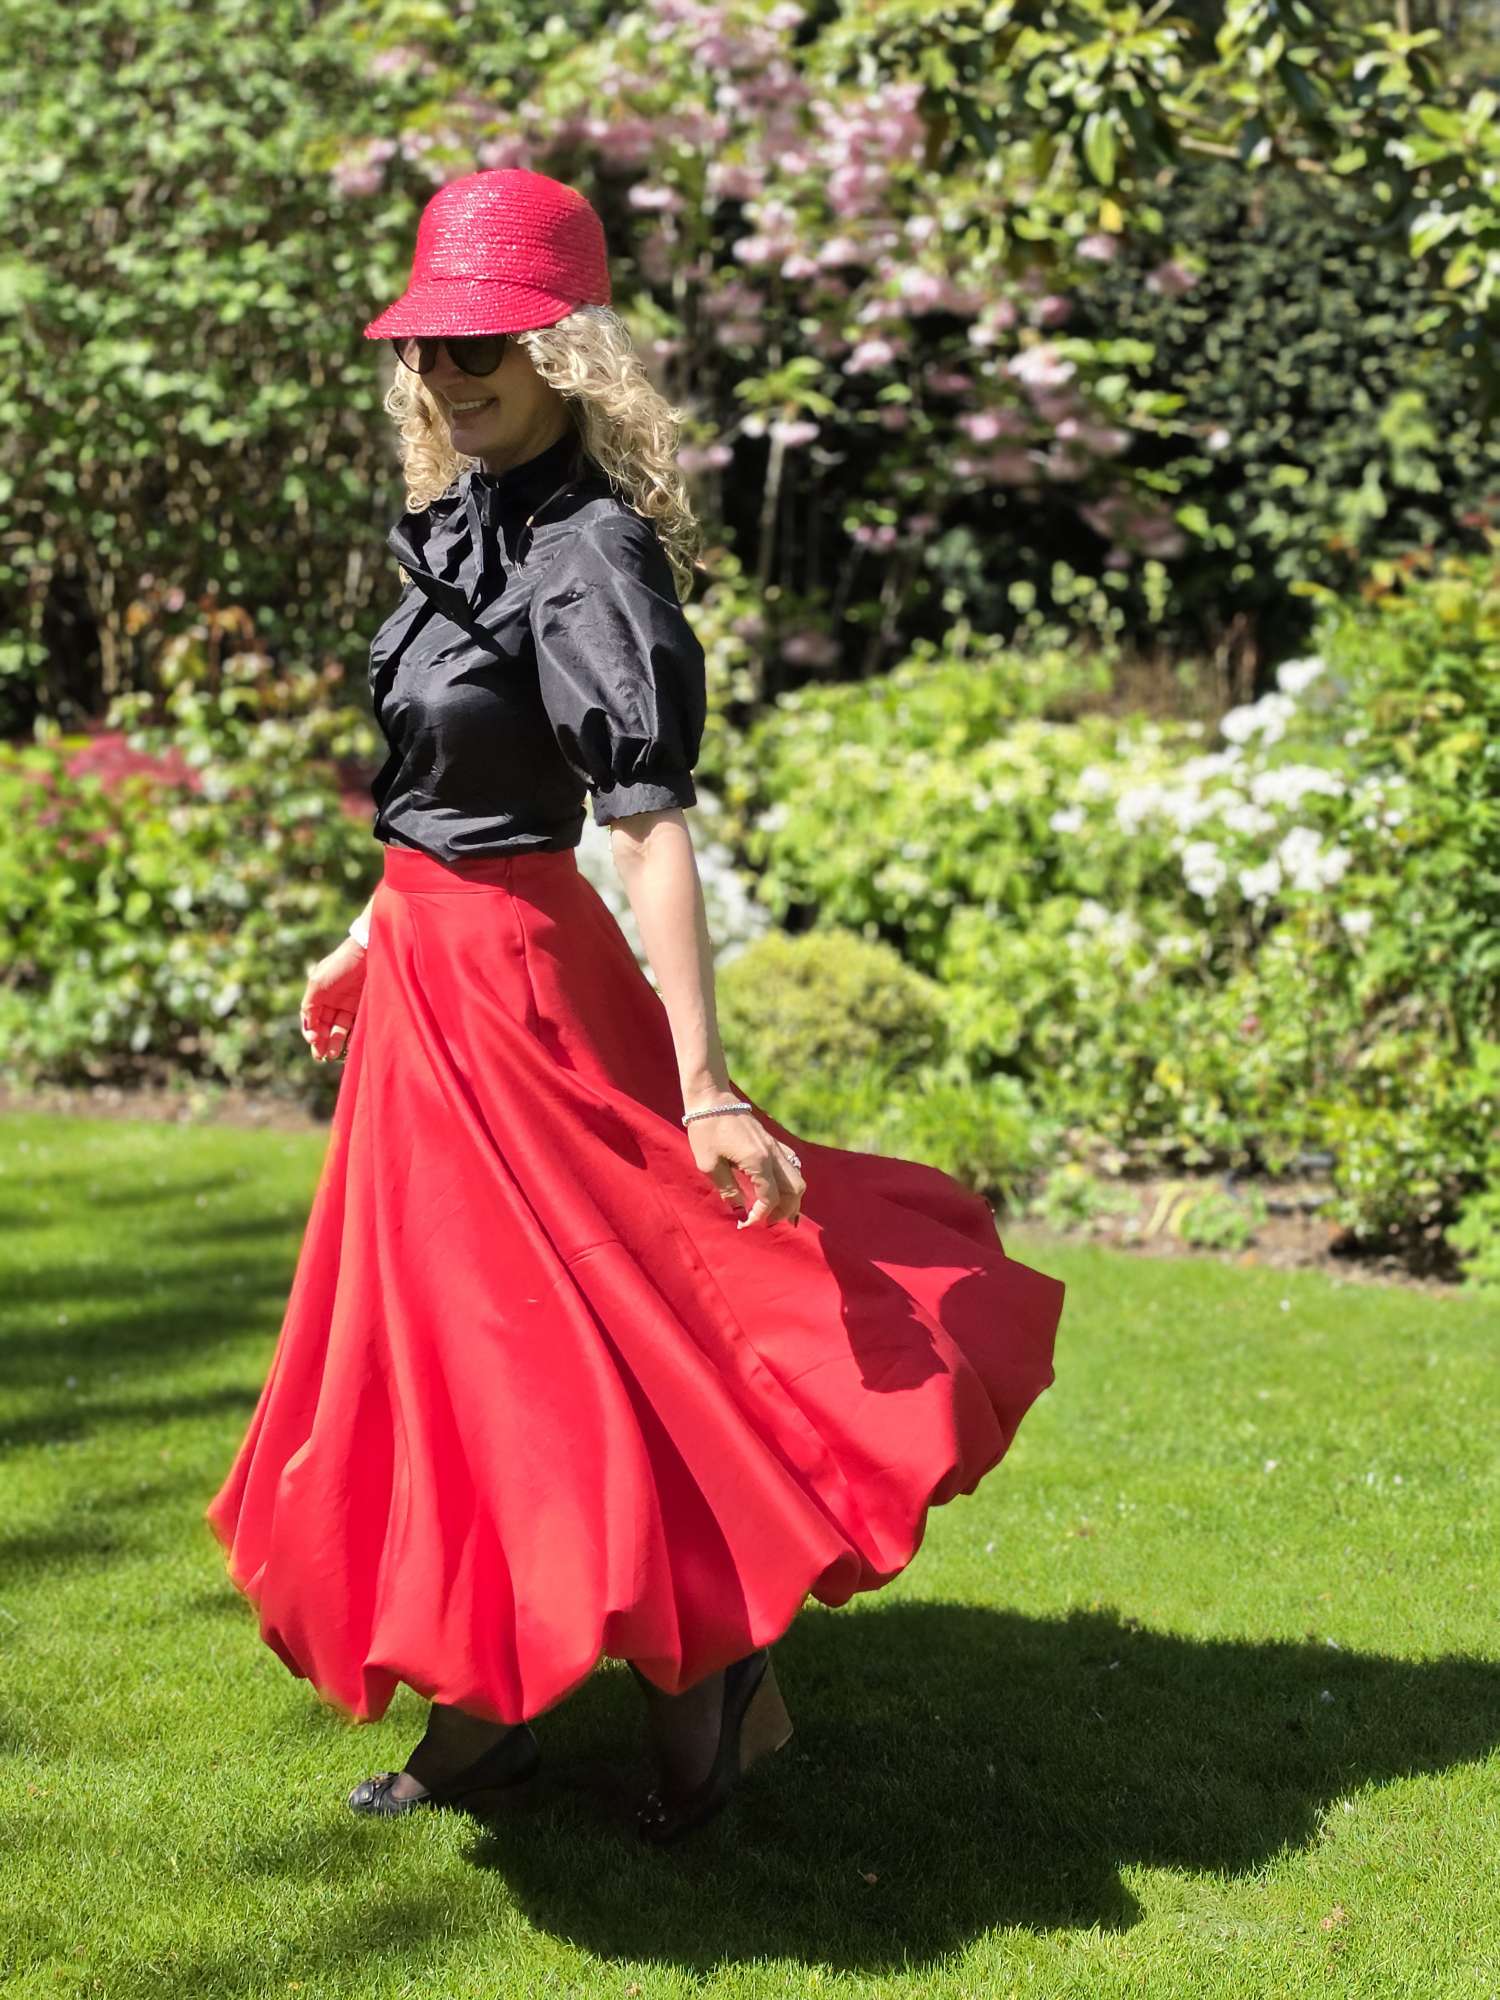
Always better worn immediately!
YOU MAY ALSO BE INTERESTED IN THESE TWO FREE TUTORIALS:
If you make a smocked dress with one of my tutorials, do not hesitate to use the hashtag #smocksmignons so that I can admire and re-gram it!!