If you make a smocked dress with one of my tutorials, do not hesitate to use the hashtag #smocksmignons so that I can admire and re-gram it!!
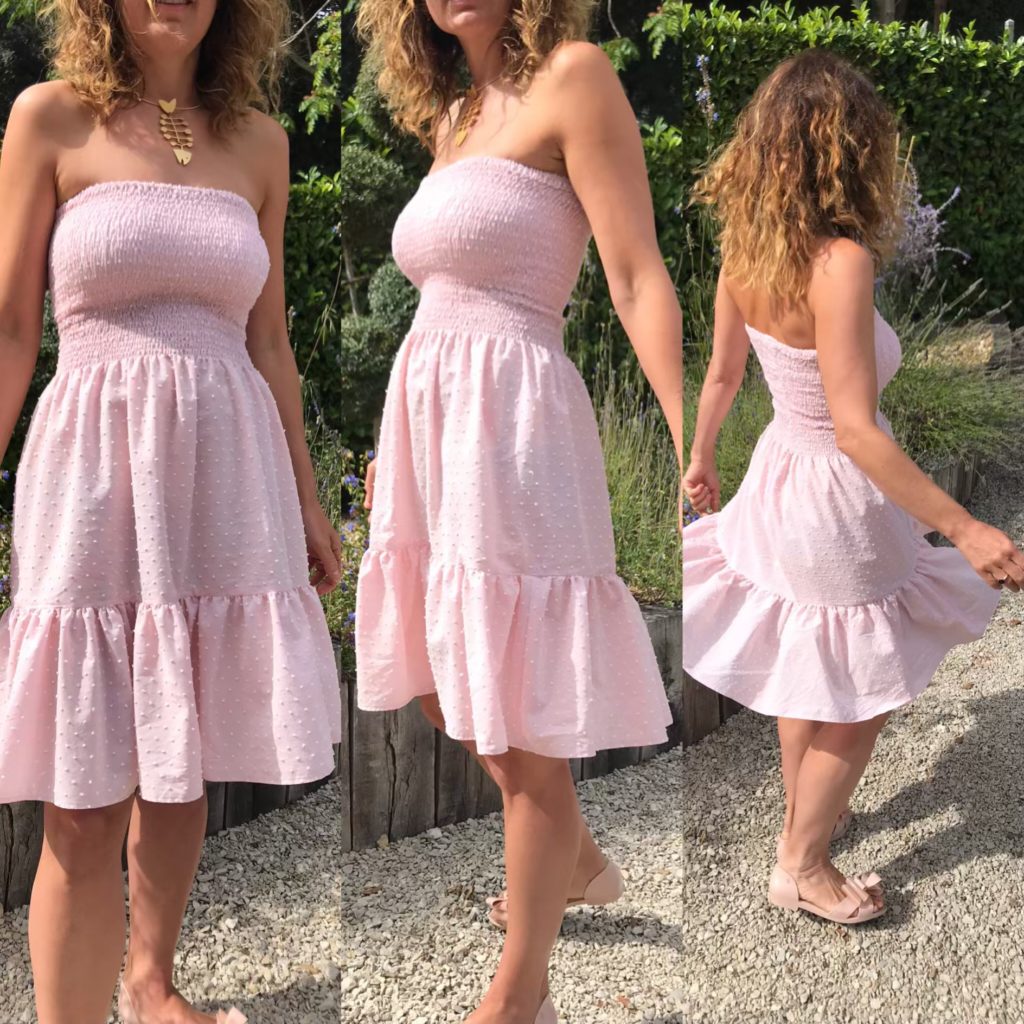
After sewing eight of these dresses last summer, I though I was done and over with shirred dresses with ruffles… Well, apparently not!
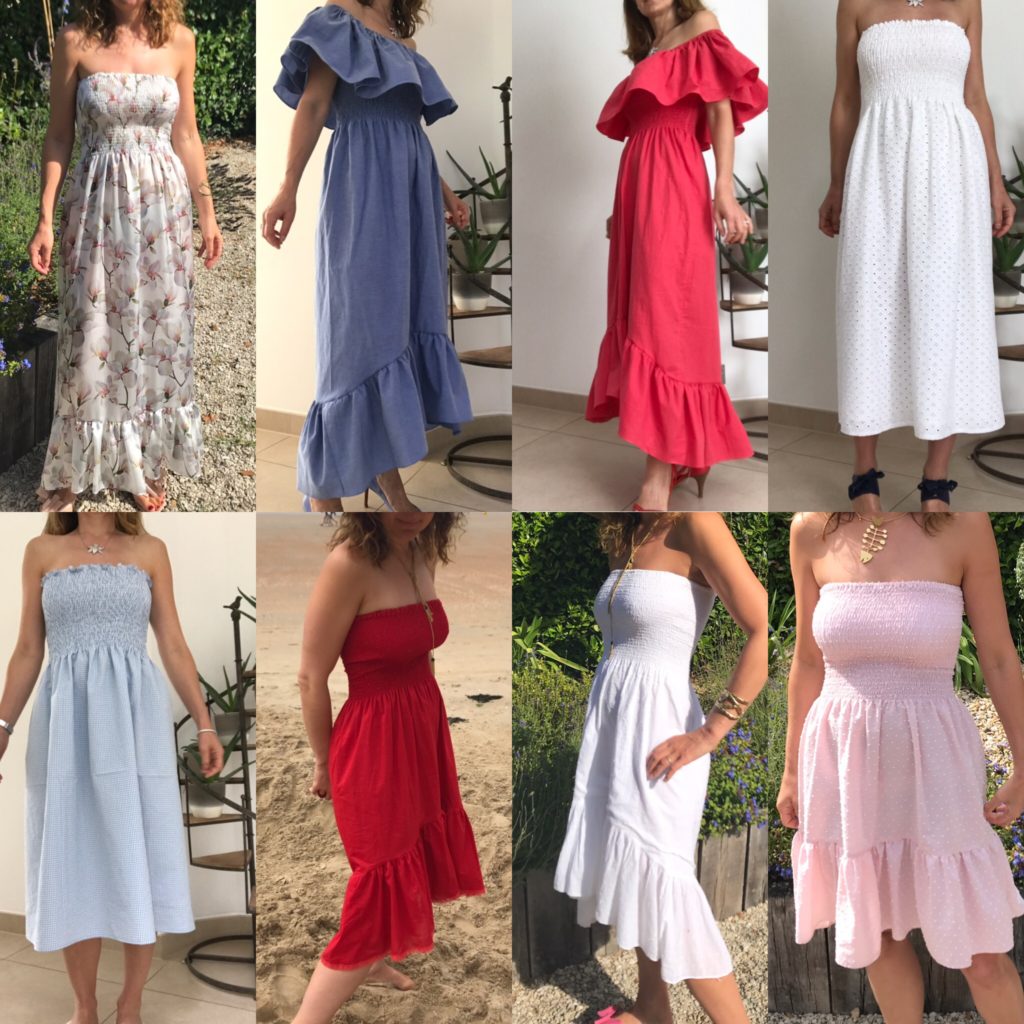
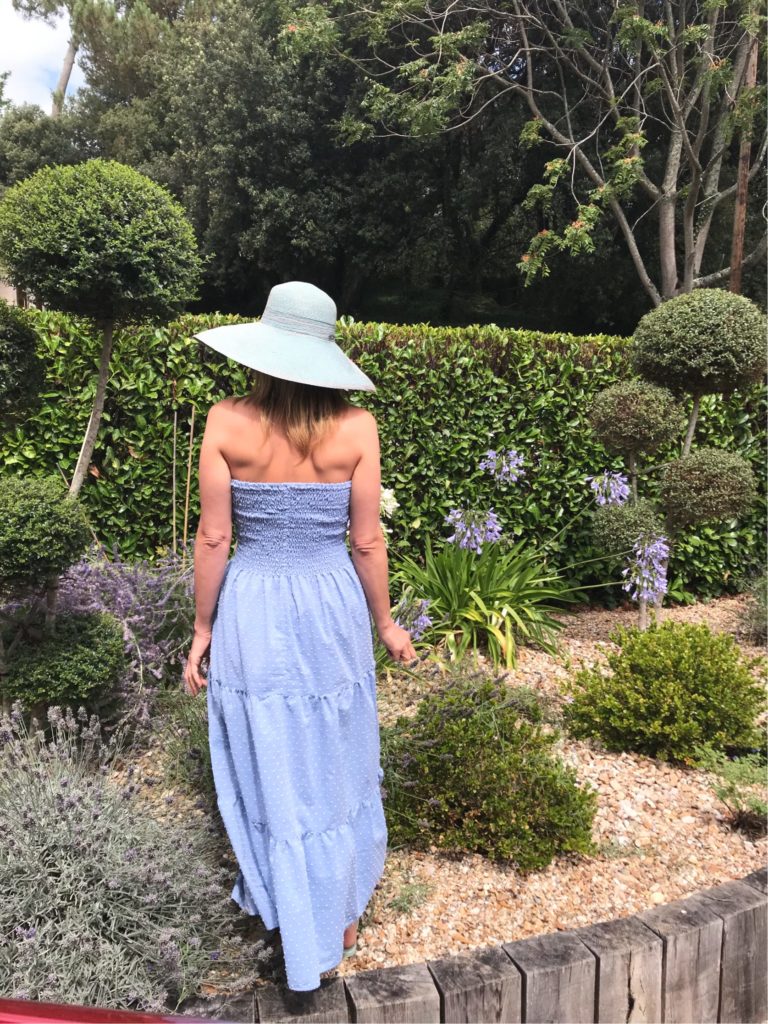
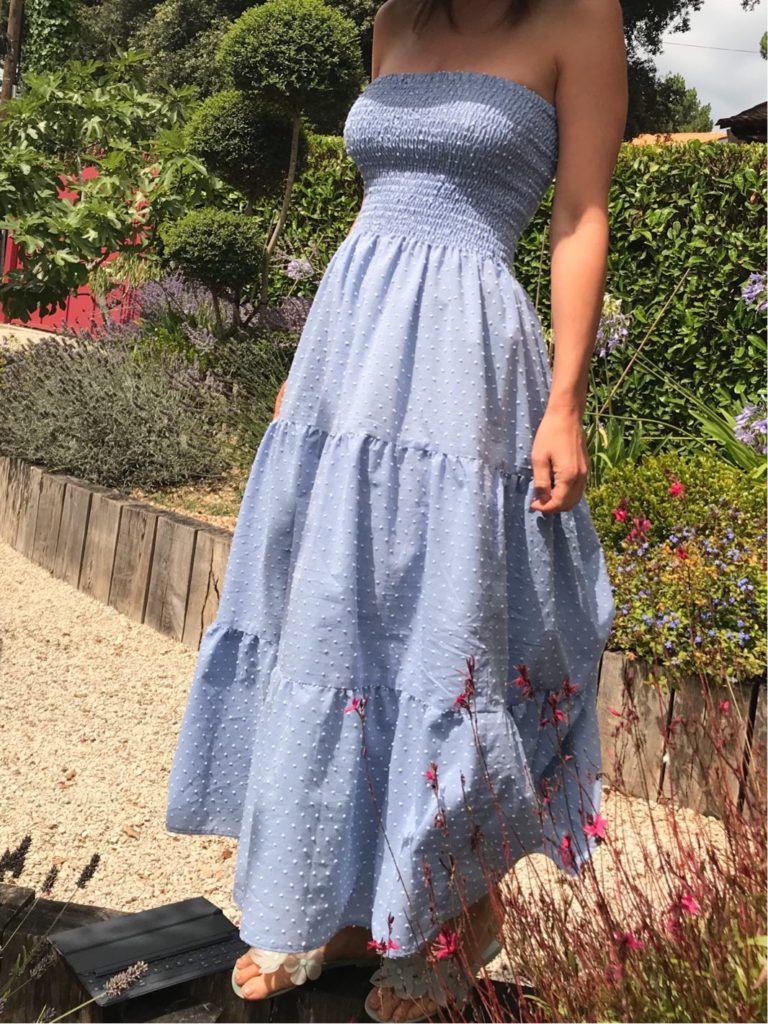
This year, I had something quite precise in mind: a maxi dress, with a shirred top as usual but also with tiered ruffles. However I pondered for ages about the proportion: how long and wide should the ruffles be to get the right proportions? In the end I think I nailed it down, so if this dress inspires you to sew something similar is here the full tutorial!
SUPPLIES
- 2 x 1.5m of fabric (or width 1.4 but not less, 1.1 will not be enough); ideally some light fabric: cotton voile, Swiss dots, satin. Do not forget to wash and iron before starting any work.
- Elastic sewing thread of 0.5mm wide, like this one (2x20m just in case).
- 1m of flat 5mm wide elastic , like this one.
- Classic sewing thread matching your fabric and and all your usual sewing equipment.
PREPARING ALL THE PIECES
Cut:
- 1 rectangle of 150 x 56 cm
- 2 rectangles of 110 x 32 cm
- 2 rectangles of 150 x 32 cm
(For those wishing to adjust this dress to their measurements, I am 1m68 tall and the length of my dress allows me to wear it barefoot without stepping on it).
Overlock all the faces of the rectangles with a zigzag stitch on the sewing machine or with an overlocker.
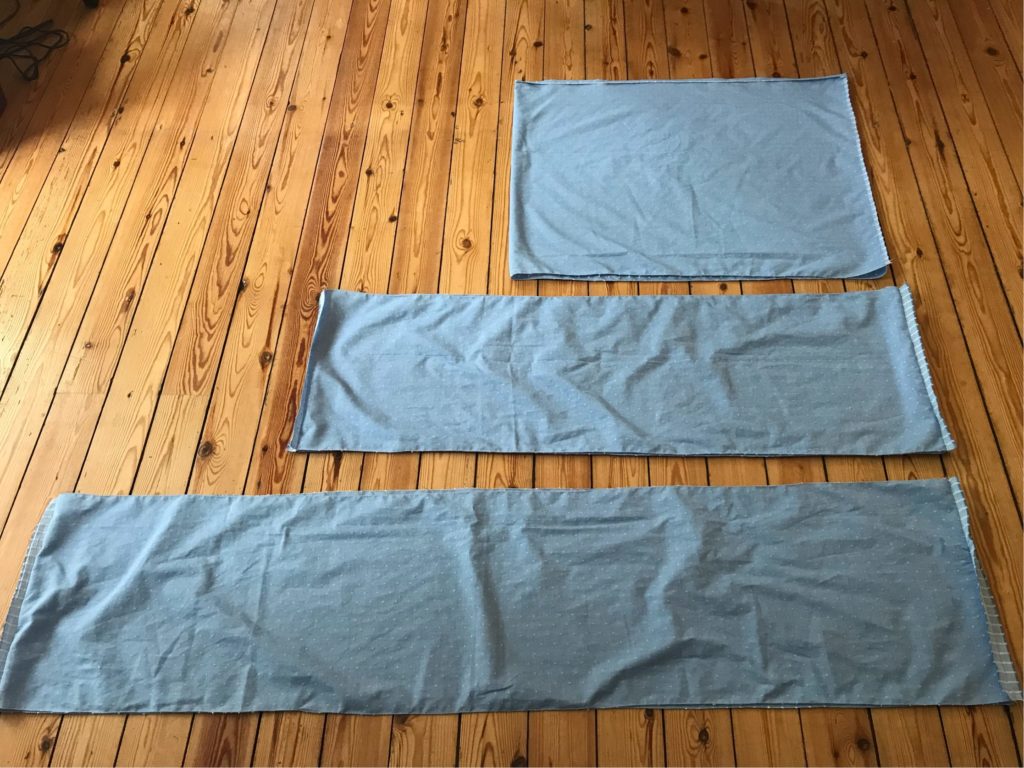
Make three tubes with the rectangles as follows:
- For the 150×56 rectangle, fold in two right side against right side of fabric, stitch the 56cm sides together, 1cm from the edge (1 seam).
- For the 110×32 rectangles, lay them on top of each other, right side against right side of fabric, stitch the 56cm sides together, 1cm from the edge (2 seams).
- For the 150×32 rectangles, lay them on top of each other, right side against right side of fabric, stitch the 56cm sides together, 1cm from the edge (2 seams).
- Open all seams with an iron.
You should end-up with this:
On the narrowest tube, prepare the elastic tunnel: on one of the large sides, turn the fabric 1.5cm inside , mark with an iron and stitch 1cm from the edge, leaving an opening of about 2cm of the back.
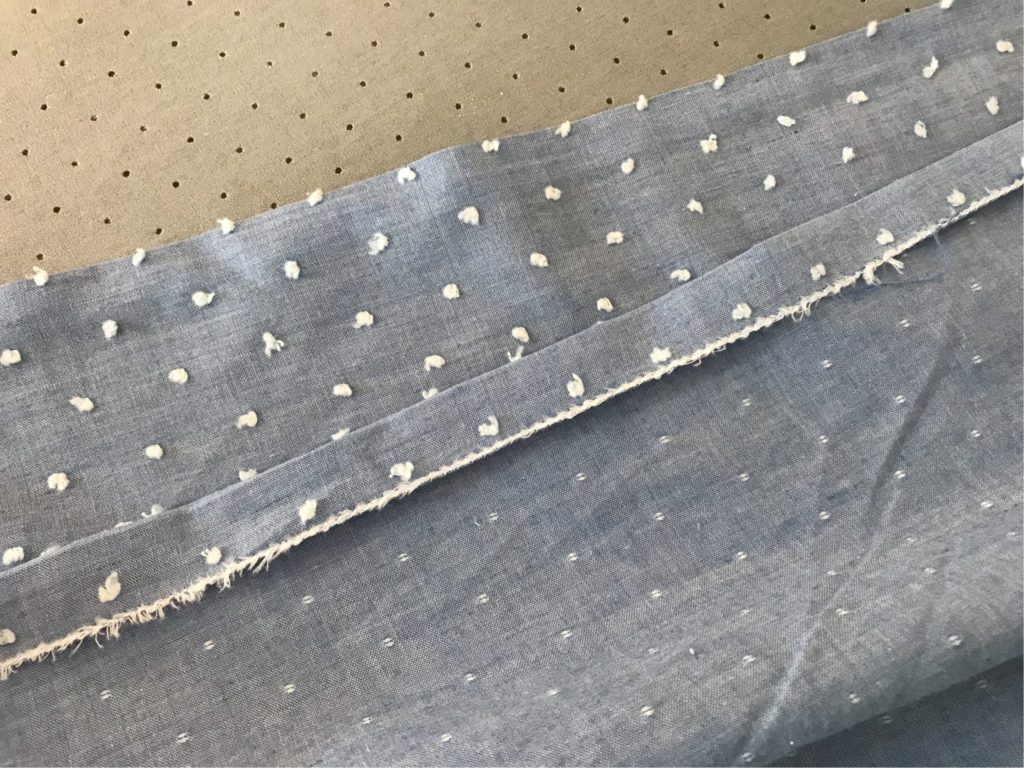
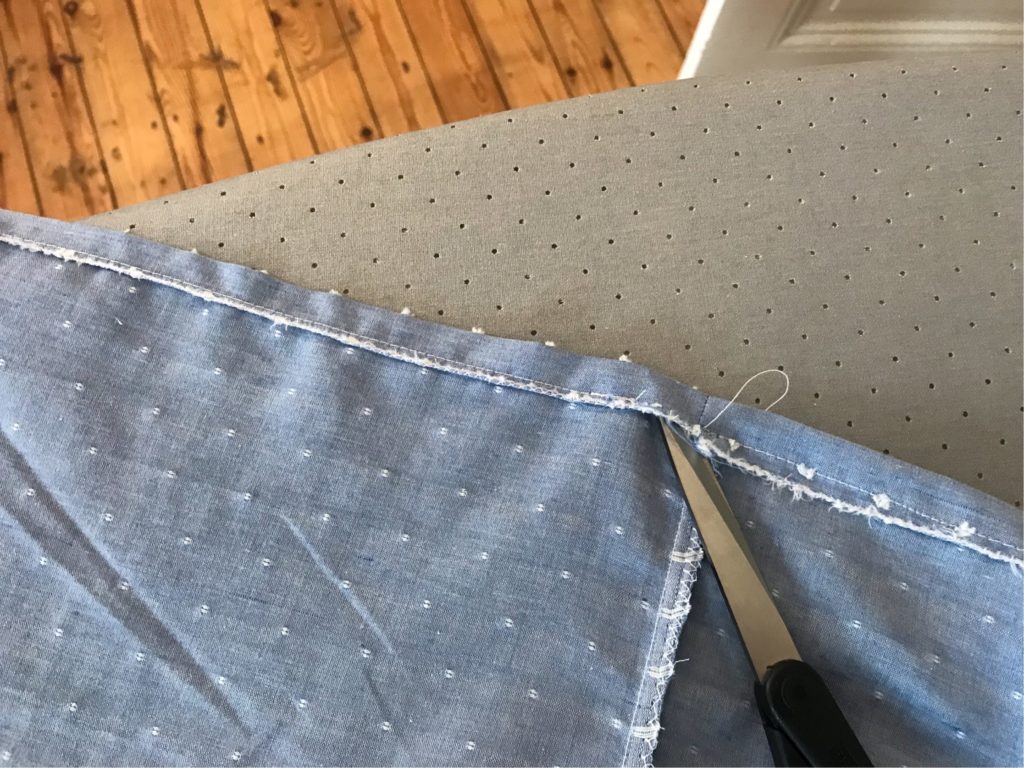
On the largest tube, make the hem: on one of the large sides, turn the fabric 1.5cm inside , mark with an iron and stitch 1cm from the edge, leaving no opening.
START SHIRRING
I already made a shirring tutorial for this dress, so the one here is extremely similar
First, get your sewing machine ready:
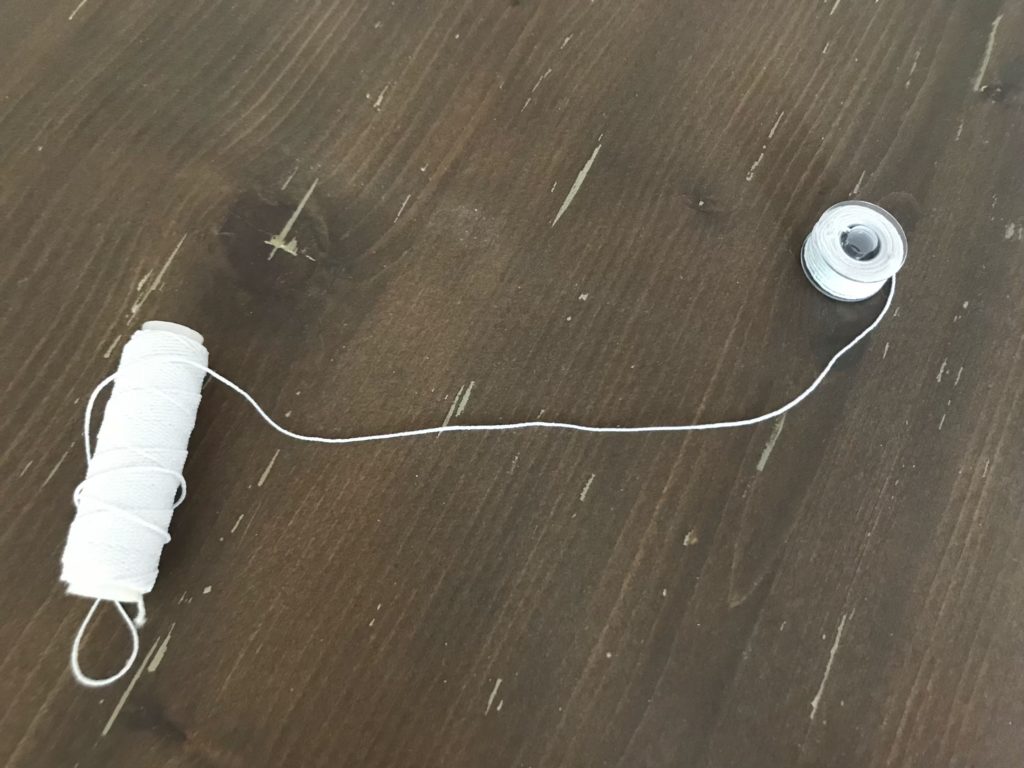
- Mount a spool of elastic thread by hand (without pulling excessively) and position it in your machine.
- The top yarn remains a classic yarn, with a color matching your fabric.
- Set your stitch width to the maximum (4/5), without touching the tension.
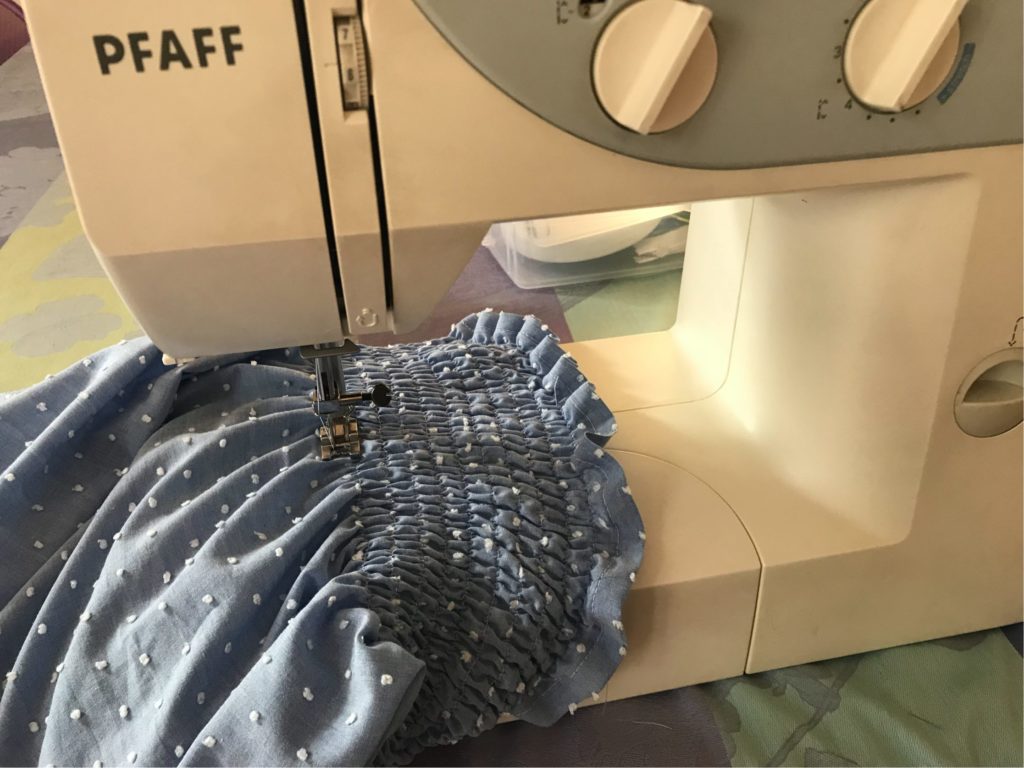
You can now start shirring:
- Place the fabric under the needle, right face of fabric facing you, elastic tunnel at the top. Place your needle 1cm below the previous seam
- Make a back-stitch at the beginning, then sew in a straight line all around the tube, finally make back-stitch the end – the elastic thread must be well blocked!
- Raise the needle and and place it 1cm below, and proceed again in the same way. A spool should cover between 5 and 8 rows. Block the thread well at each beginning and end of rank.
Your shirring should progress like this:
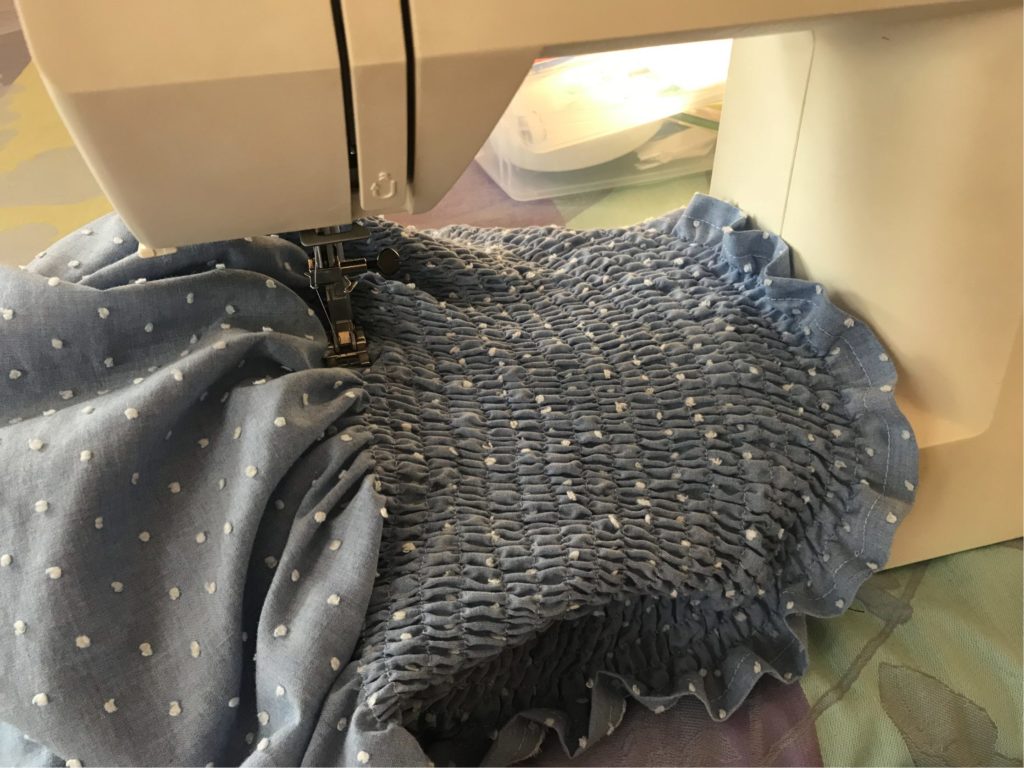
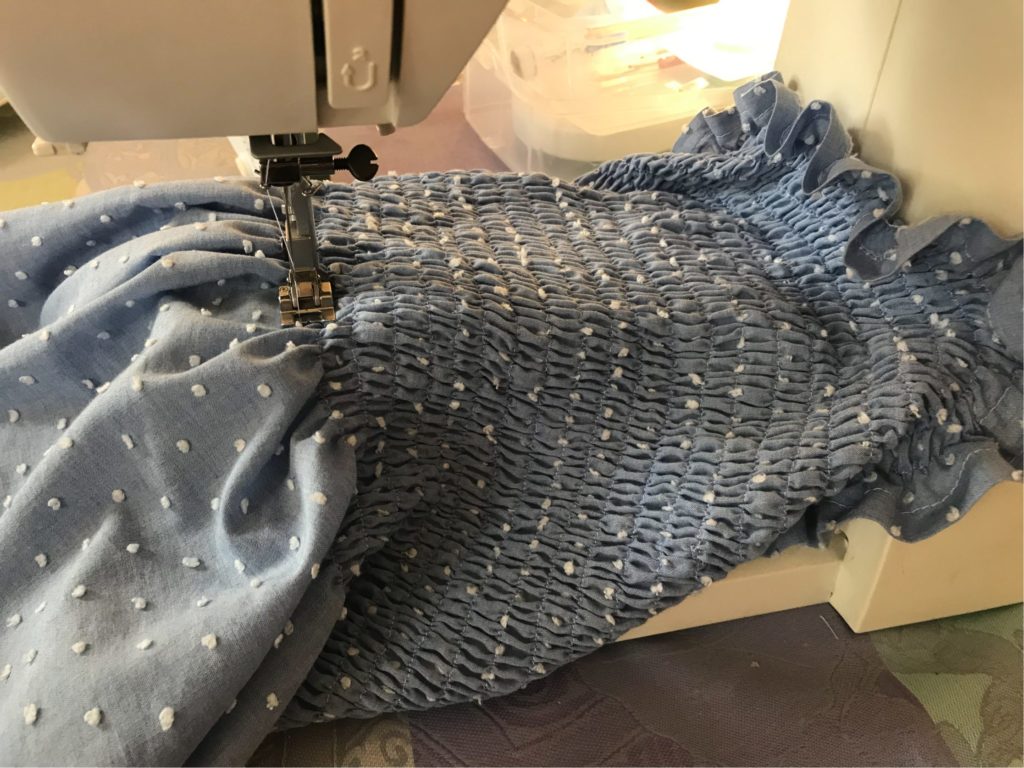
Try the dress on as you go to see where to stop shirring. I sew 28 rows (22cm), which allow the gathers to be well placed under the bust – but this will depend on your own measurements! Ideally you want the last line of shirring to reach the narrowest part of your torso, about 10 cm above your belly button.
Once you have finished shirring, here is what the top part of your dress should look like:
INSERTING THE RUFFLES
Change your bobbin thread: remove the elastic thread and put on the standard sewing thread.
To insert the first ruffle:
- Split the ruffle in 4 equal parts with pins; do the same for unshirred side of the top part of the dress.
- Insert gathering lines: set your machine on a large straight stitch (4/5) ans sew two parallel lines, one 0.5cm and the other 1.5cm away from the fabric hedge. Do not forget to leave enough thread at both beginning and end. To make the gathering easier and more regular, I divide my fabric in two (so four sewing lines in total, parallel 2 by 2).
- Assemble the ruffle and the top part of the dress together, matching the pins you’ve just laid. Pull on the threads to create gathers, until the width of the ruffle fabric matches that of the dress. Pin as you go along, being careful to keep your gathers regular.
- Put your sewing machine back to a normal-length stitch (around 2.5), put your fabric under the needle face up, and straight stitch 1cm from the fabric hedge.
- Check that you have caught all of the gathers and only then (calmly) get rid of your (meters of) gathering threads.
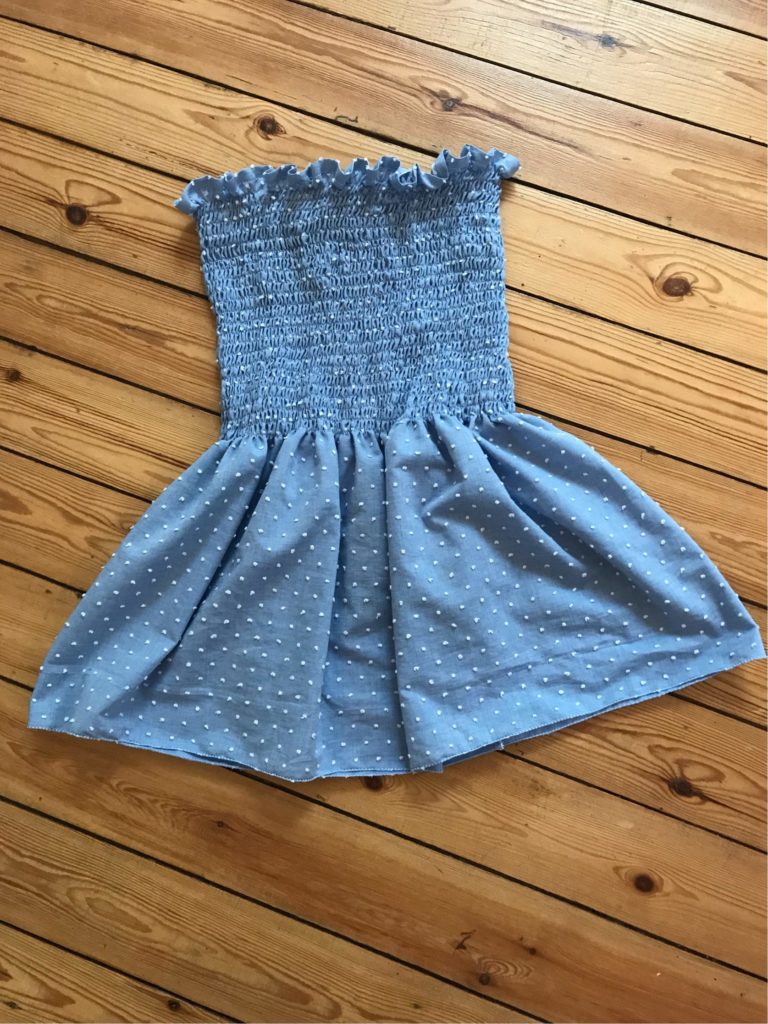
Here is the dress with one ruffle.
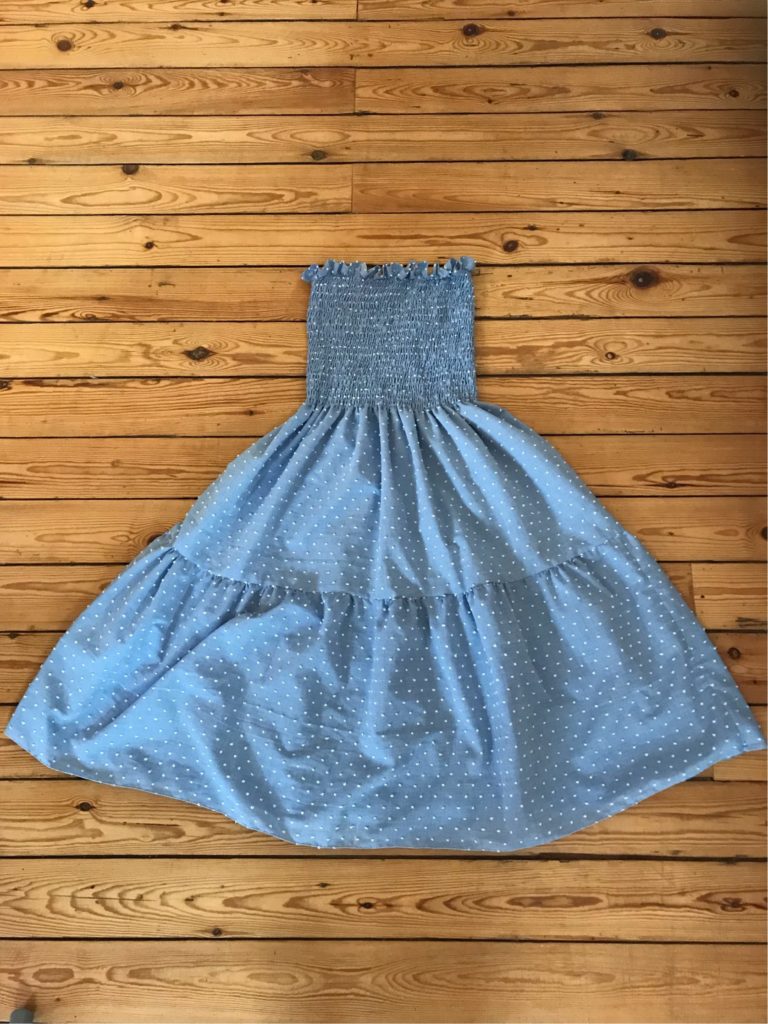
Proceed in the same way for the second ruffle, gathering the side of the largest rectangles which hasn’t been hemmed, and joining it to the first ruffle. Here is what things now look like!

INSERTING THE ELASTIC
On the previous photo, you can see that the fabric at the top of the dress is making some small folds, not very pretty, Let’s insert an elastic to solve this problem.
At the top of the dress, put the flat elastic in the tunnel you prepared at the beginning – you can use a safety pin, a skewer or any other tool that suits you. Put the dress on to determine the width cut the excess of elastic sew both side in a zigzag stitch. Make sure that the elastic does not turn in the tunnel before sewing.
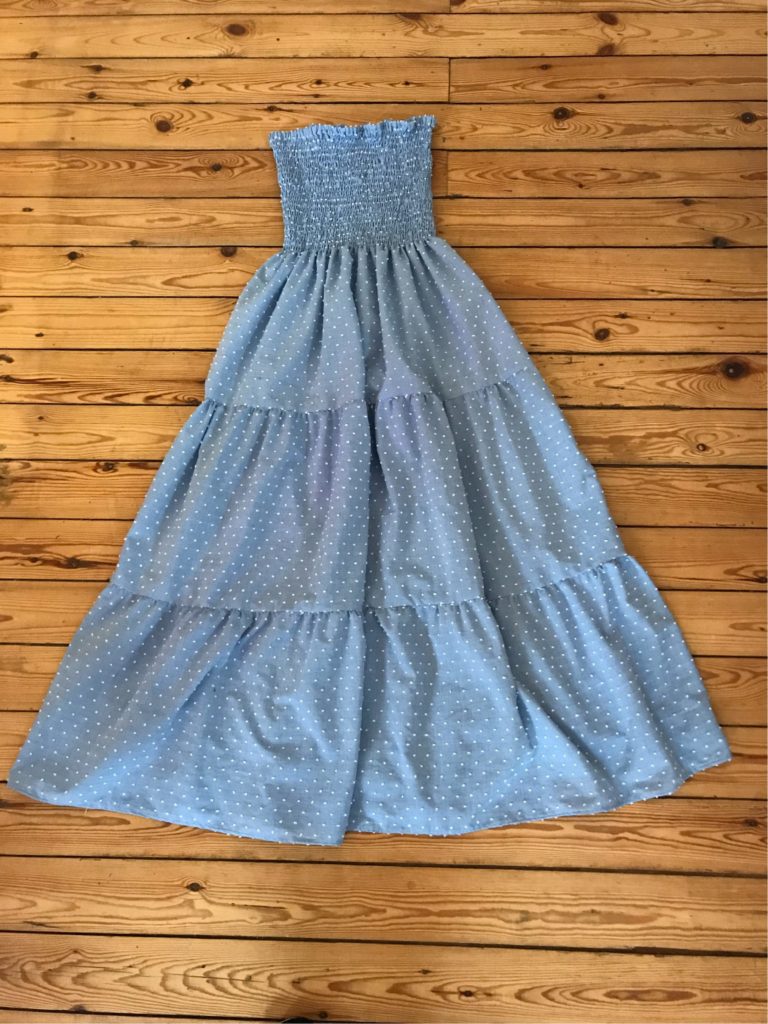
Close the open section of the tunnel AND VOILA, your dress is ready!
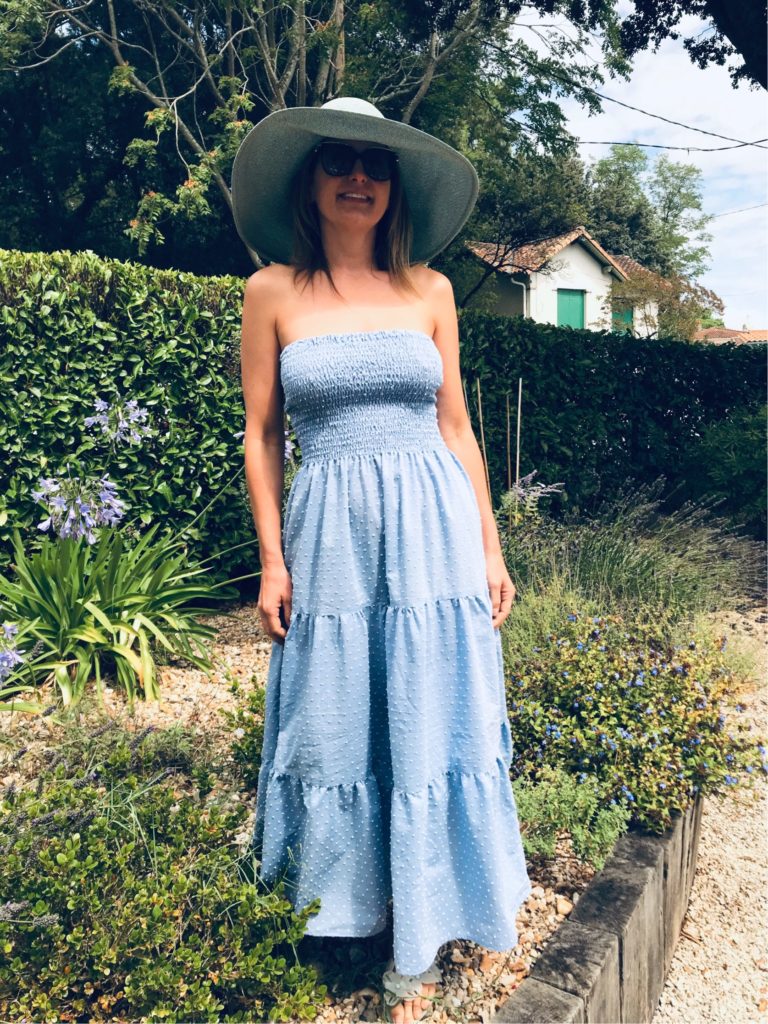
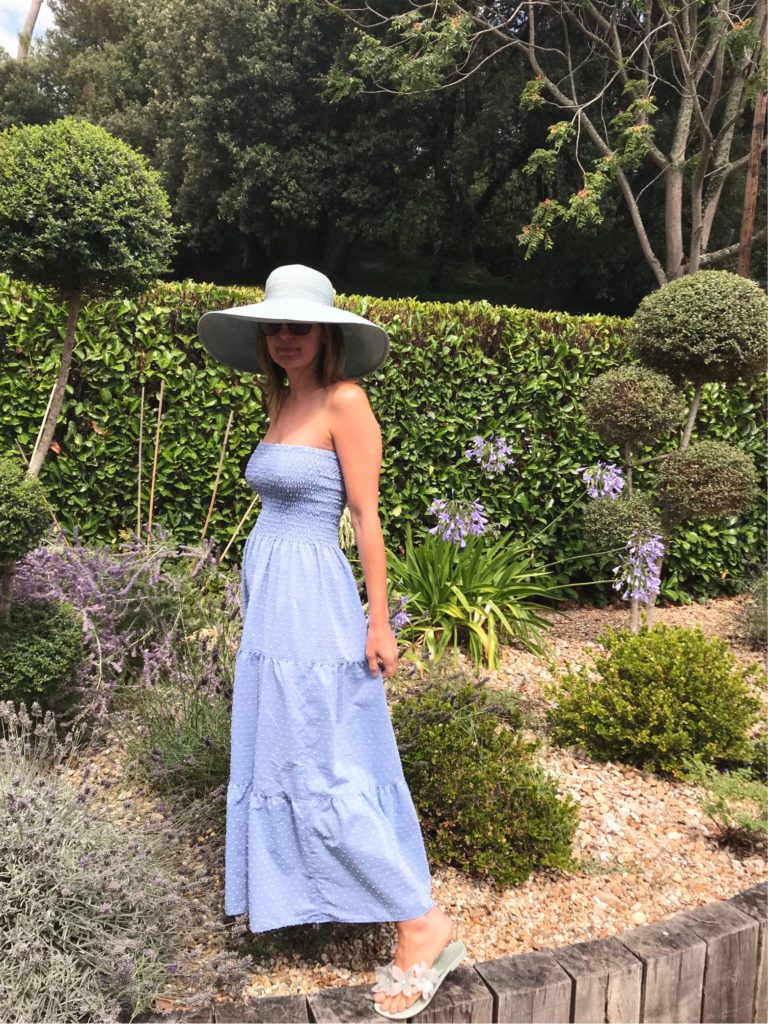
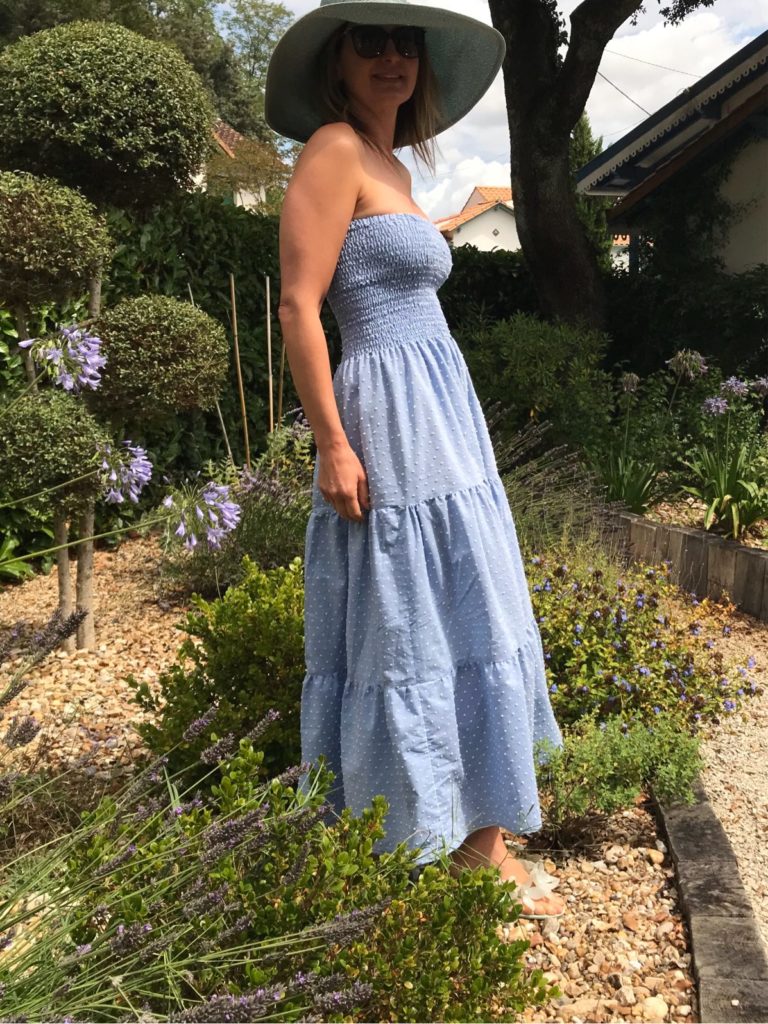
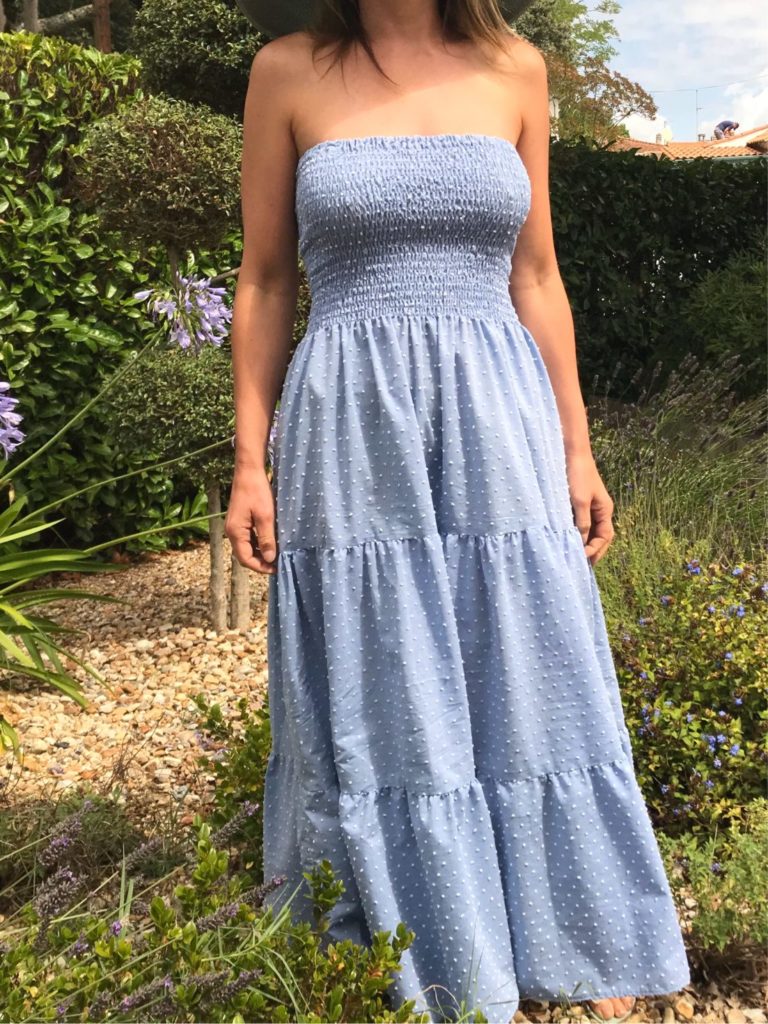
Even better worn! Fresh and nice for the summer!
THIS OTHER FREE TUTORIAL MIGHT BE OF INTEREST:
If you make a smocked dress with one of my tutorials, do not hesitate to use the hashtag #smocksmignons so that I can admire and re-gram it!!
This is an absolutely gorgeous dress. I’ve been searching & searching the inter web for a tiered maxi dress pattern – you’d be surprised how few there are (& I’ve gone through 63 pages on the sewdirect pattern site). You make it look so straight forward. Anyway the colour, style & fit look fabulous on you. Perhaps I will attempt, now that I’ve done my dutiful sewing of scrubs for a nurse.?
Thank you! I think it is probably too easy to make into a commercial pattern- people would get mad discovering they have spent money only to be told to gather rectangles !!! It is truly straightforward please please let me know if it works!
Hi there, what size are you ? Would these measurements suit a size 8?
Michelle
Hi Michelle, I am a size 8 UK, 2 US and 36 French – so if you are talking 8 UK yes definitely!
Hi, I love your dress with the off the shoulder part but you don’t explain how to add this to any of these dresses. Would you be able to explain how we do that part Please? My hubby is making my dress for my birthday and I need the off the shoulder part to cover the tops of my arms and we can’t figure out how to join them?
Hi Kim, I am writing the tutorial right now so should be online within one or two days – hopefully not too late for your birthday!
The tutorial is now online!!!
Thank you ever so much Elisenne, I’ve got no excuse now!!! I’m Kim’s hubbg by the way and before middle of May hadn’t touched a sewing machine in my life… This Covid-19 has a lot to answer for!!! LOL
Lewis you are the best hubby ever, well done you for taking up sewing and making something for Kim. Big big big congrats!
YOU’RE THE BEST I SWEAR!!! I’ve been looking all around for such an informative tutorial and after a long search here you are! Thank you and much love from Egypt!
oh thank you so much Maryam! I am SO pleased!!!
Thank you so much for this lovely tutorial. I was wondering about raising the neckline and adding sleeves, would you have any advice on how to do that?
As for raising the neckline I am not sure, but for sleeves Elisalex from By Hand London has put a tutorial on her Instagram, it is probably available on the By Hand London blog too. Good luck!
This tutorial and the comment section makes me feel so cheerful.
I just got a sewing machine on 15th April. (Lockdown) Thank you for the lovely instructions. <3
So please to hear that!!! Thank you! And enjoy the sewing!
Thank you for this tutorial! I’m super excited to make this dress. I’m just wondering what the measurements for the rectangles would be converted to inches?
Hi there!
Do you have measurements for just one teir full length skirt?
Thanks!
So if you put the tier at the bottom, you could cut:
1 rectangle of 150 x 100 cm
2 rectangles of 110 x 32 cm
Hello, what’s the best way to work out your measurements for each level, ie shirred bodice = width of chest plus how much? 2nd tier and third tier? Many thanks
Your bust will determine everything.
Bust +50% at least: top piece.
Then each skirt will need to 1.5x the width of the previous one.
For instance for me:
bust 90cm
shirred bust piece 150cm
first skirt 225cm
etc
It is not precise science though so also what works best with your fabric. Very light fabric can be gathered more for the skirt
I am STRUGGLING with the math 😂 I am 1m80 tall. What should the measurements be for it to be as long as yours?
can you do a 3 tiered skirt…please
You just need to omit one of the middle layers and you have a 3-tiered skirt