If you make a smocked dress with one of my tutorials, do not hesitate to use the hashtag #smocksmignons so that I can admire and re-gram it!!
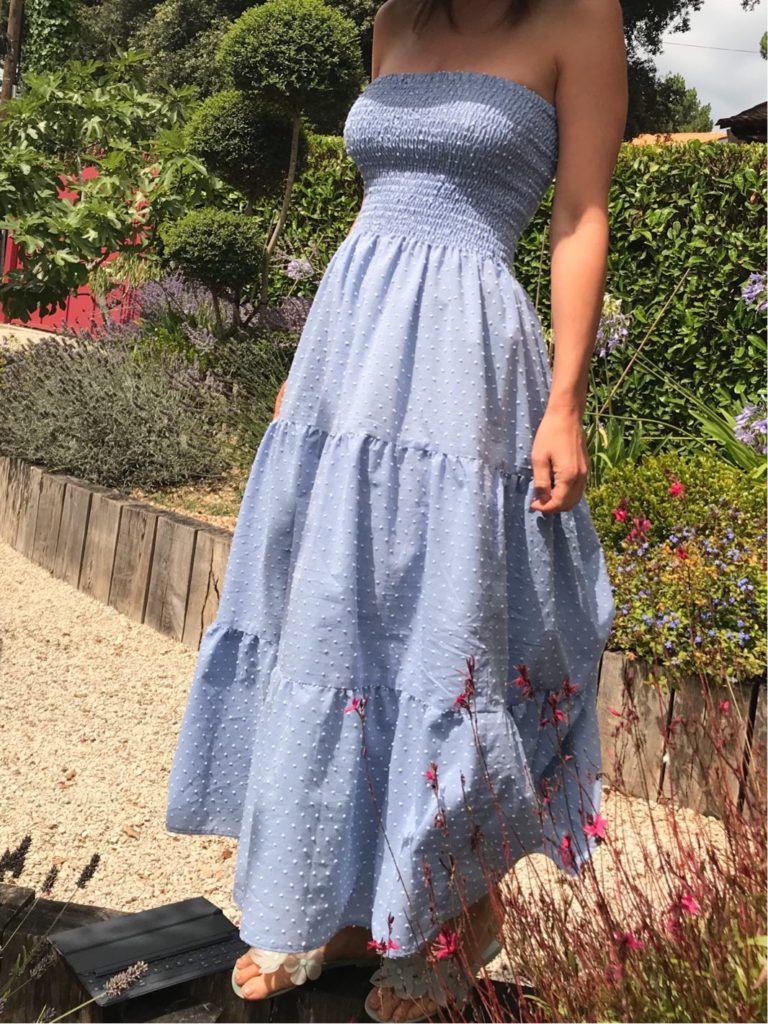
I have finally come around to writing the long-promised shirred dress sewing tutorial! – utterly timely on 25th August, oh well… Anyway, this tutorial is not only easy and free but it should allow you to make endless variations of the shirred dress – maxi dress, midi dress, mini dress; dress with or without ruffles; dress with a symmetrical or asymmetrical hem…
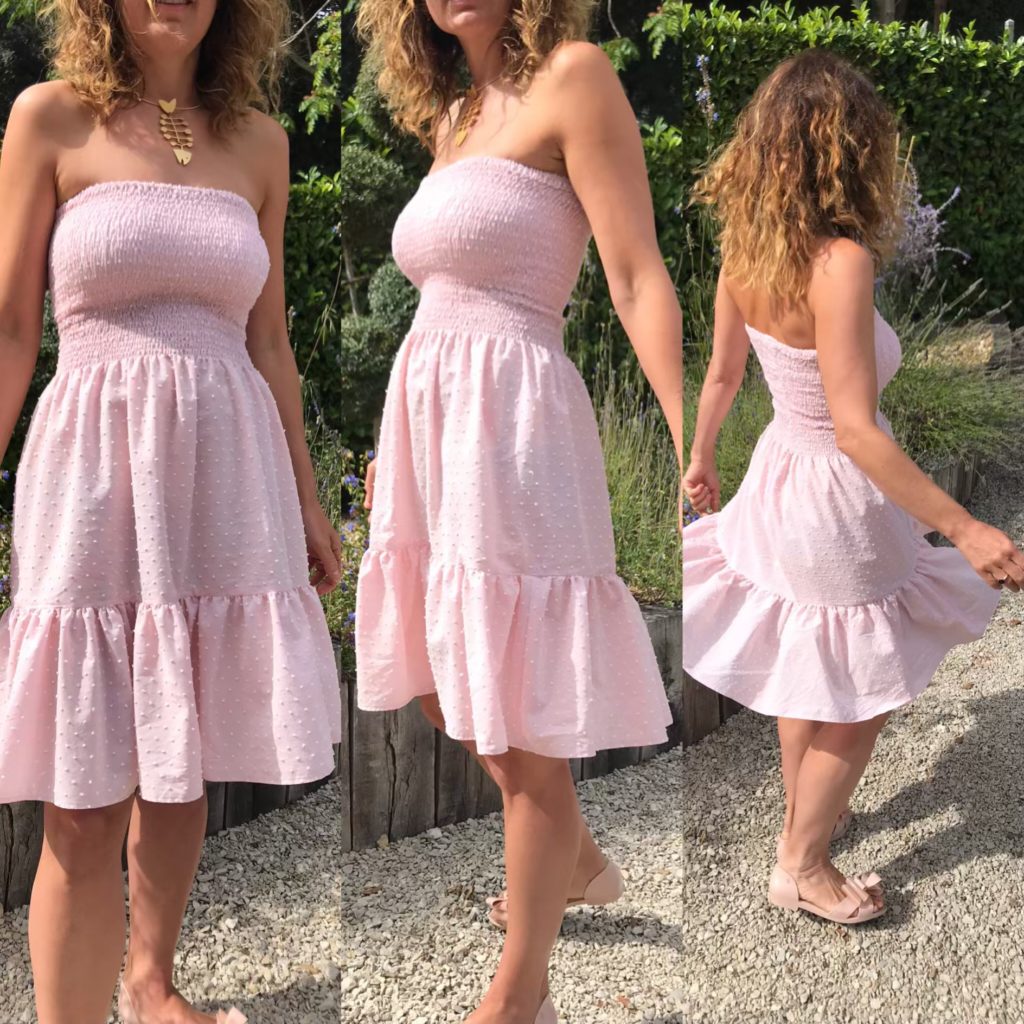
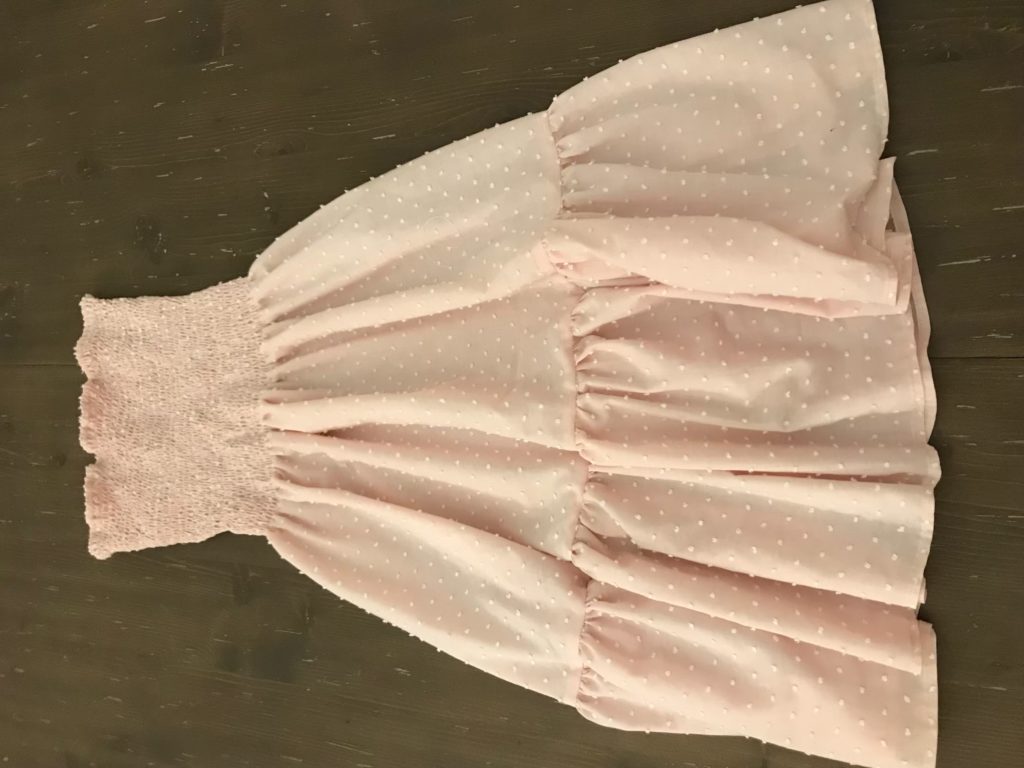
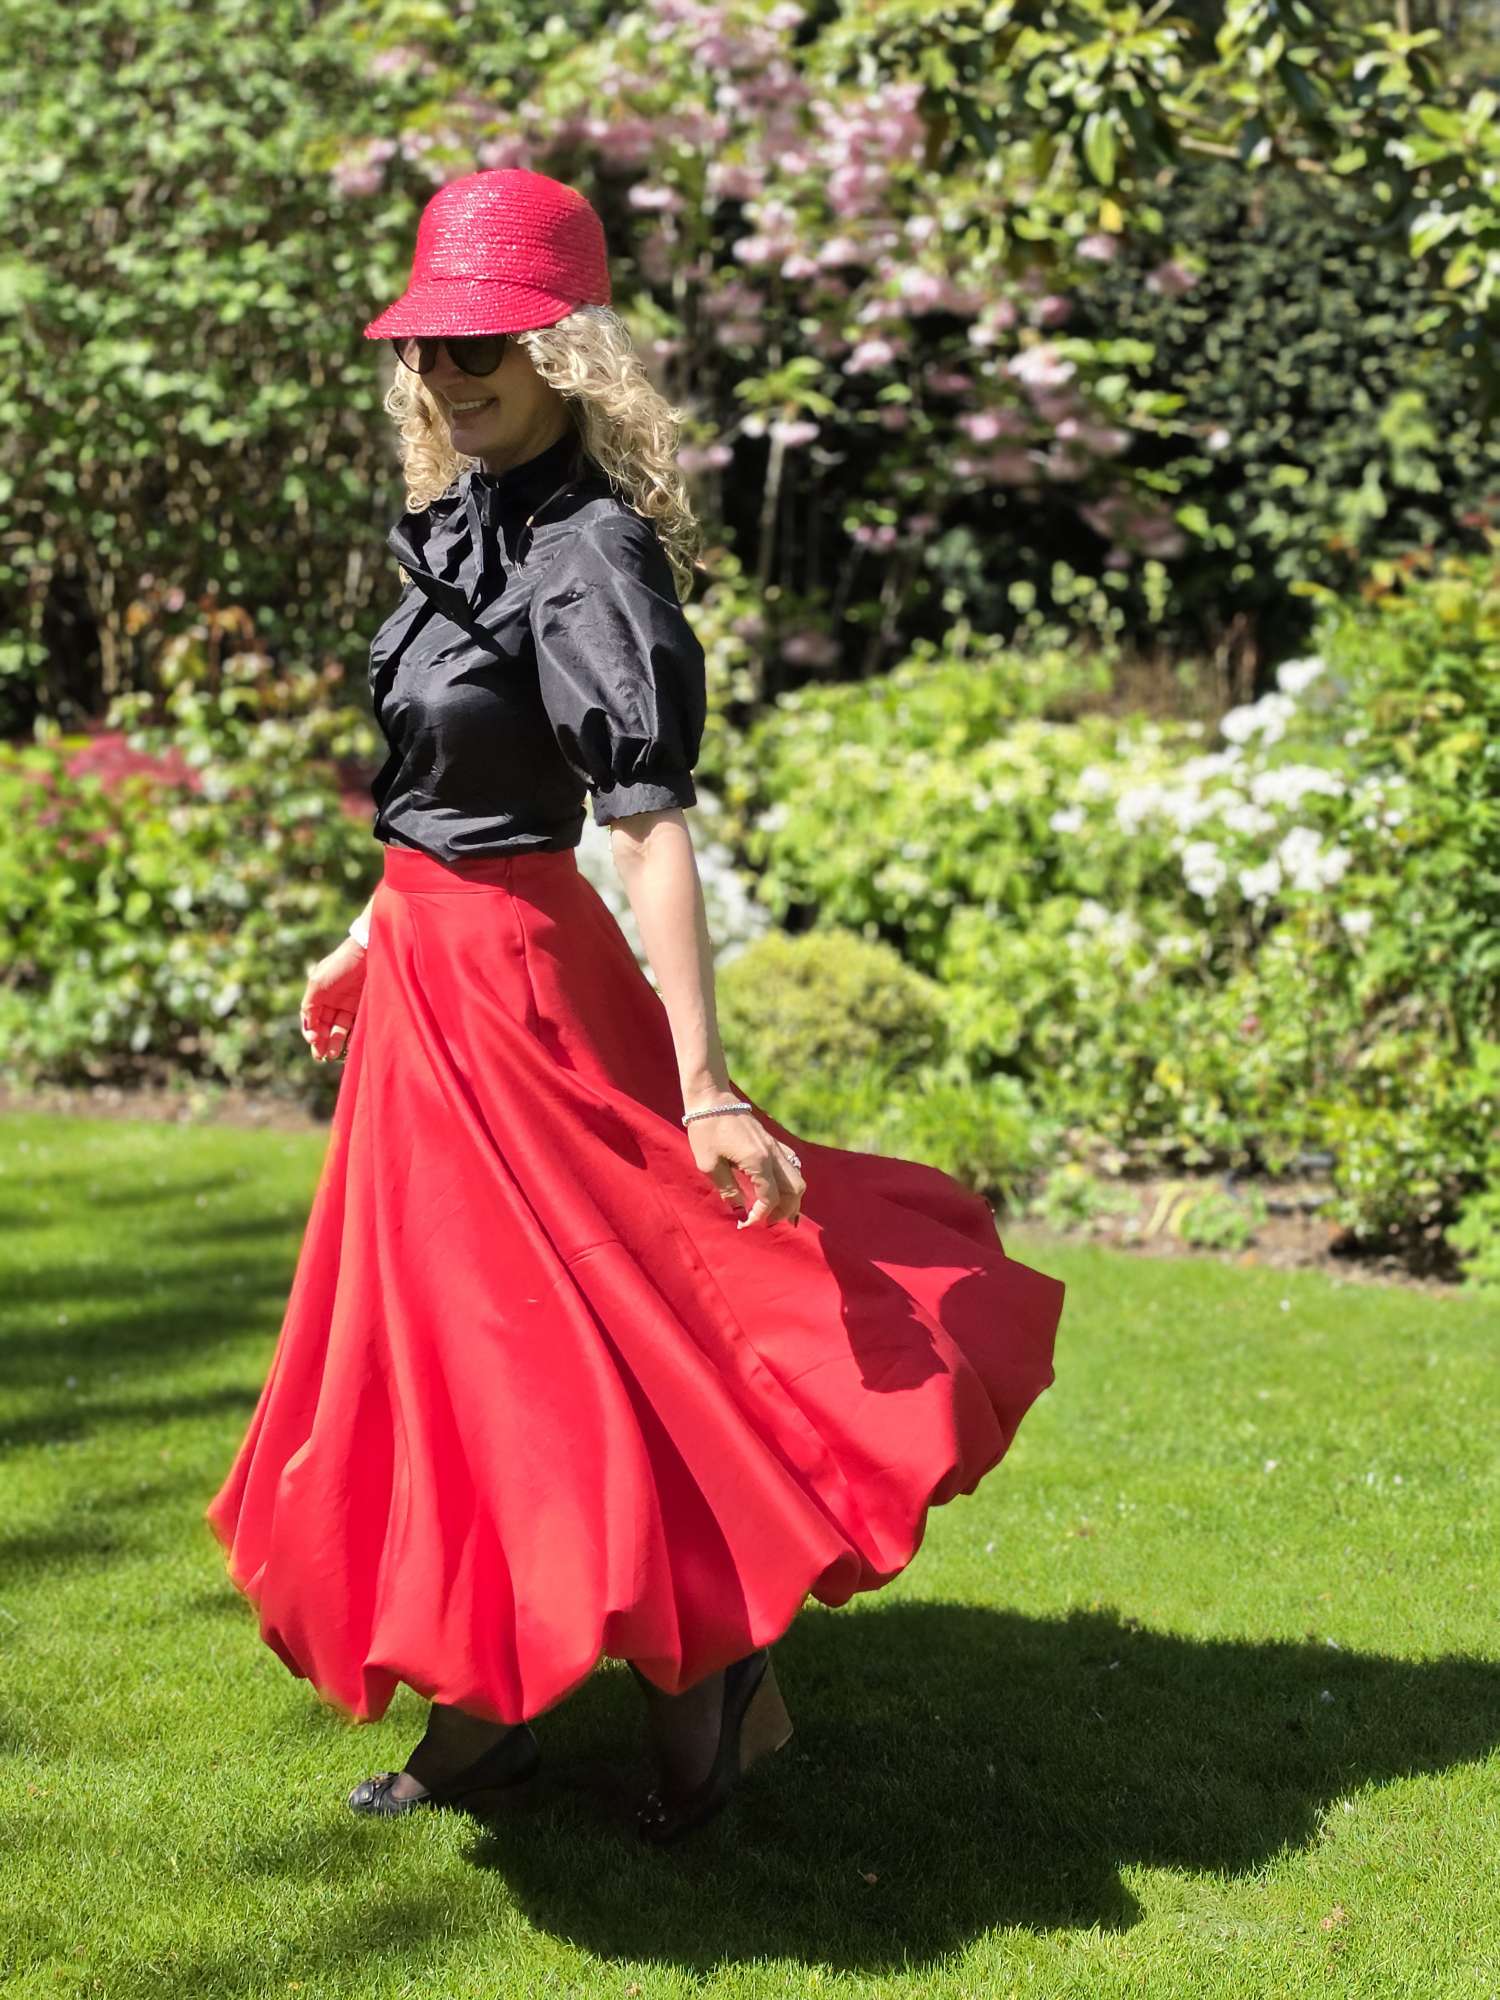
This tutorial is based on the dress shown just below; however I have added indications on how to change to length and remove the ruffles if you’re after something even easier.
Before starting, I suggest you go and have a look at this article, to help you choose the dress variation you’d like. With 9 shirred dresses added to my wardrobe over the summer (!!!), I’ve extensively tested all possible combinations…
SHIRRED DRESS TUTORIAL BY SIX MIGNONS
YOU WILL NEED:
- you usual sewing equipment (sewing machine, scissors, pins, etc)
- 2m of lightweight fabric- cotton voile, swiss dots, satin, from 130cm wide (150cm is better). DO WASH, DRY AND IRON THE FABRIC BEFORE STARTING!!!
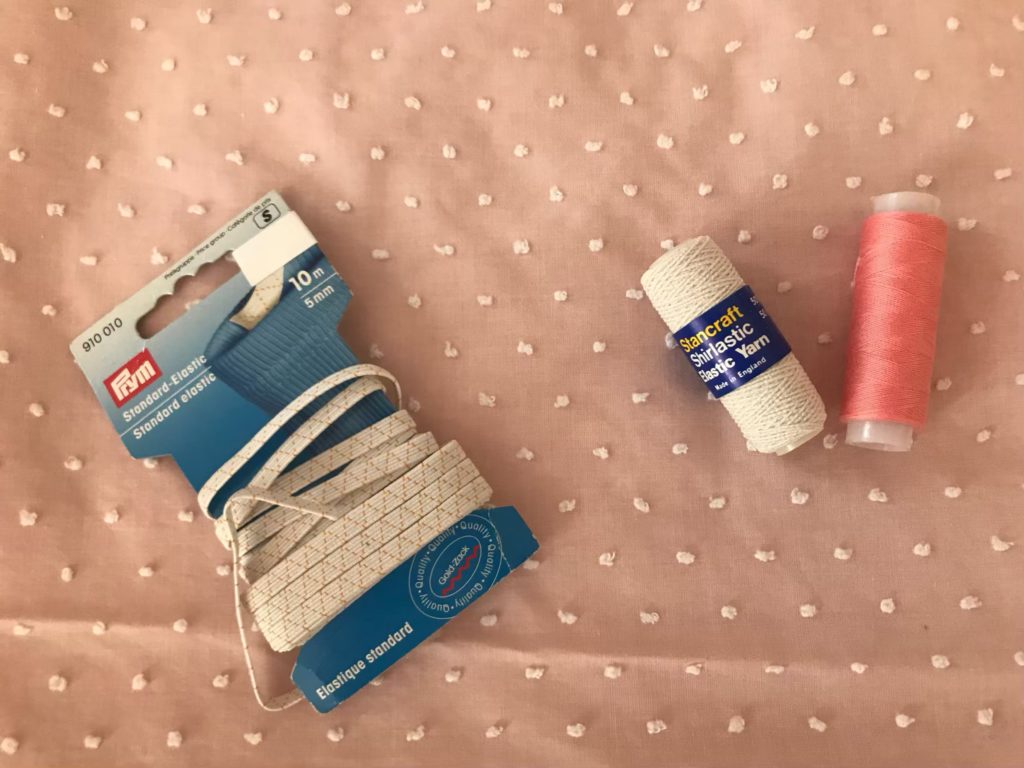
- sewing thread matching your fabric
- elastic thread
- 1m of standard (flat) elastic, 5mm wide
STEP 1: CUT AND OVERCAST YOUR FABRIC
- Over the full width of your fabric, cut 1 60cm-long piece – the dress; and 2 25cm-long pieces – the 2 ruffle pieces. You have 3 fabric pieces in total. (If you prefer a dress without ruffle, just cut a single piece of fabric of 85cm for a mini dress, 95cm for a midi dress and 115cm for a maxi dress)
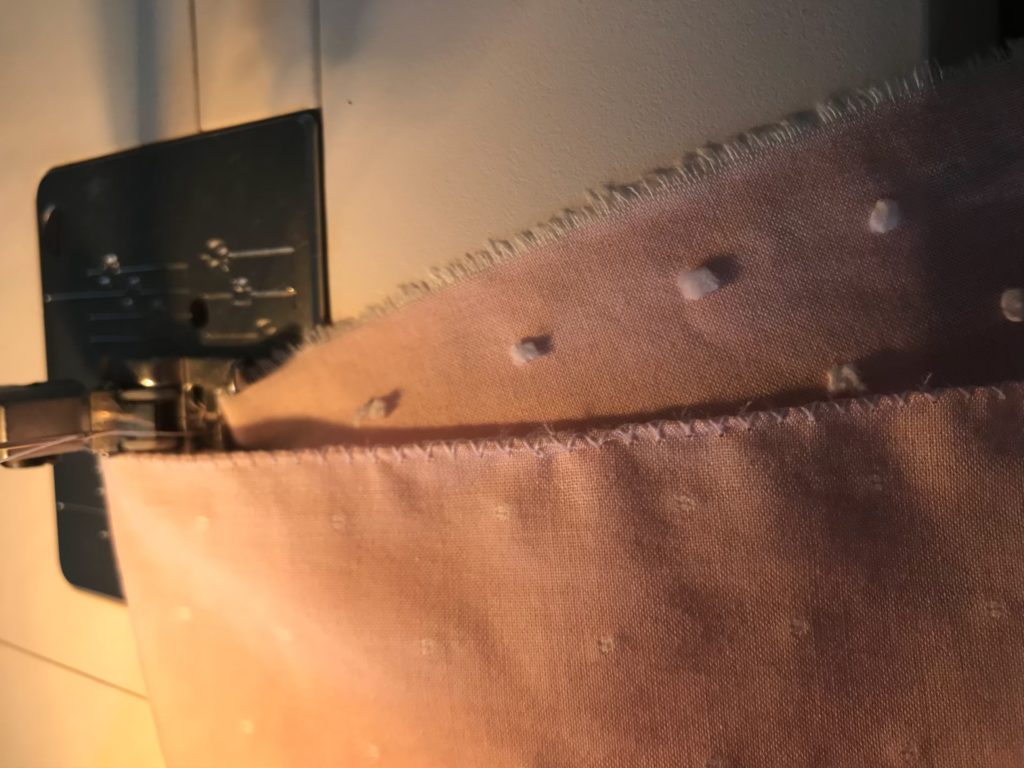
- Overcast all sides of all fabric pieces (to avoid fraying), with a 1.5 zigzag stich on your sewing machine or with an overlocker.
STEP 2: CLOSE YOUR DRESS
- Fold the dress piece in half, right face of fabric over right face of fabric..
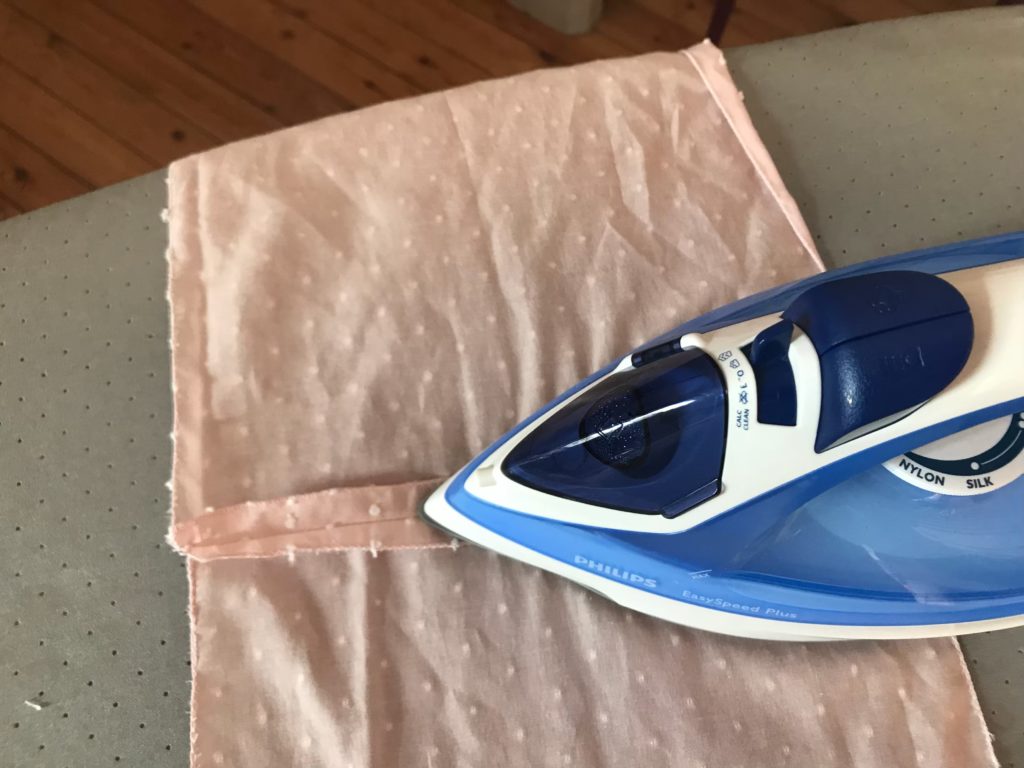
- Pin, sew, iron.
- You end-up with your dress “tube”.
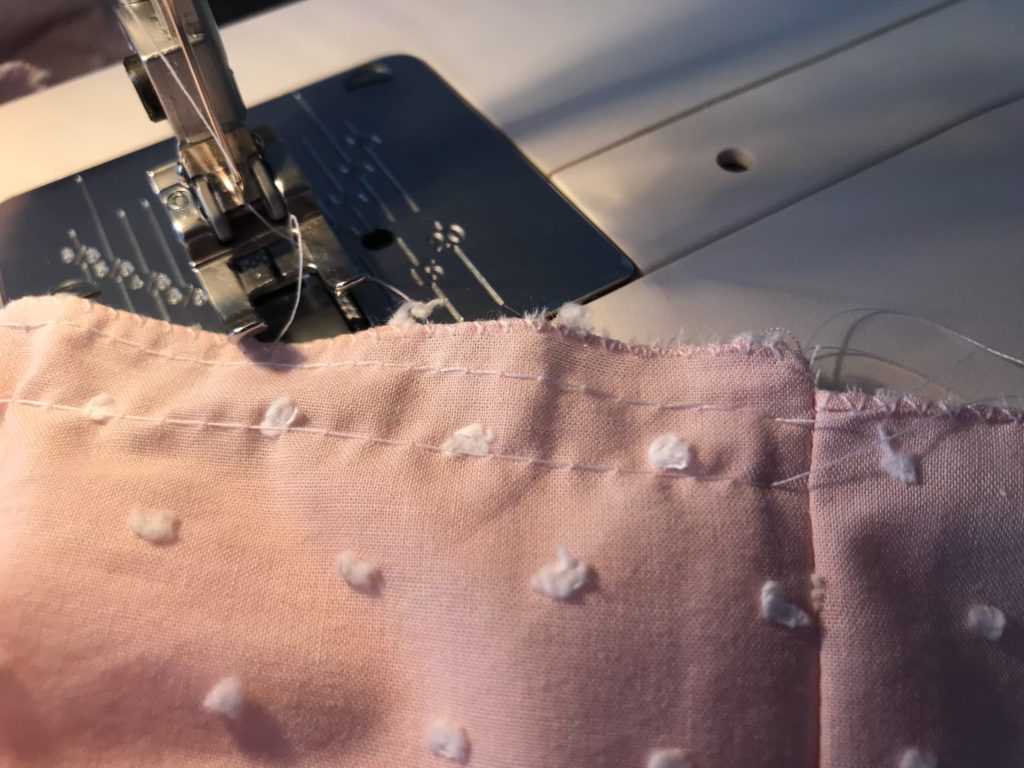
ETAPE 3: CREATE A TUNNEL FOR YOUR ELASTIC AT THE TOP OF THE DRESS TUBE
- At the top of the dress tube, fold you fabric on the inside by 1.5cm and iron in place.
- Sew with a 2.5 straight stitch, 1cm away from the hedge. Do not forget to leave an opening for your elastic, which we will thread in later on.
STEP 4: PUT YOUR ELASTIC THREAD ON YOUR BOBBIN
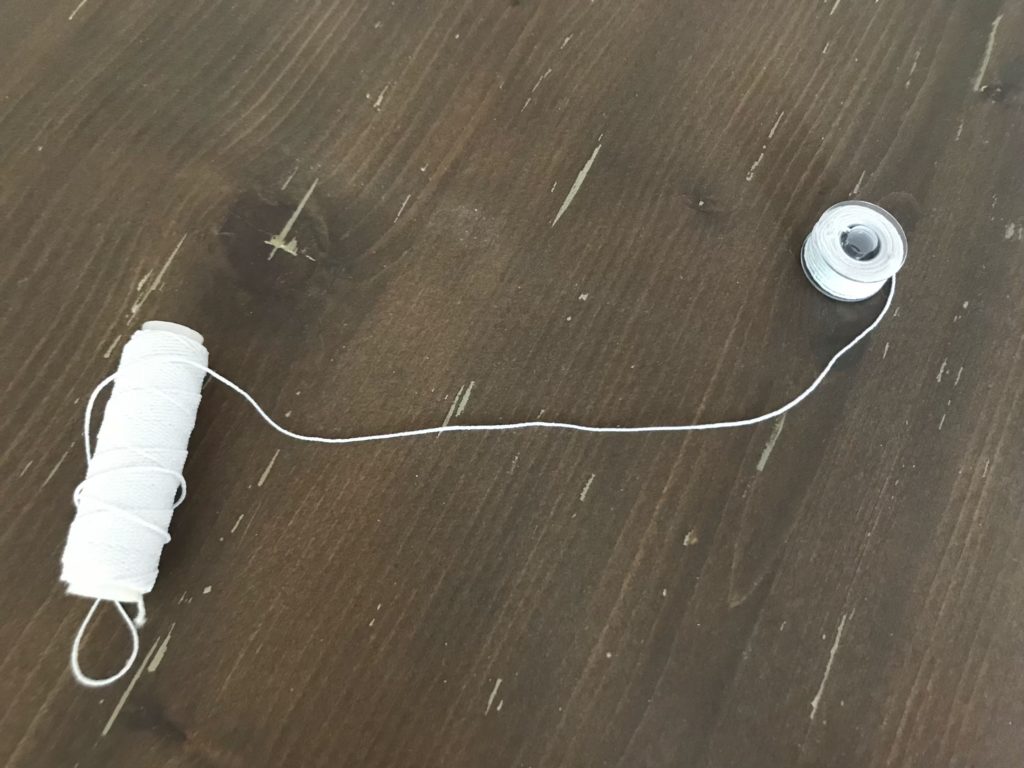
- Put your elastic thread on a bobbin – I prefer to do this by hand, without pulling on the elastic, as this way I don’t have to keep changing my top thread. Insert the bobbin in the machine.
- The top thread remains a normal one, matching your fabric.
- Set the machine on a large straight stich (4/5), while keeping standard tension.
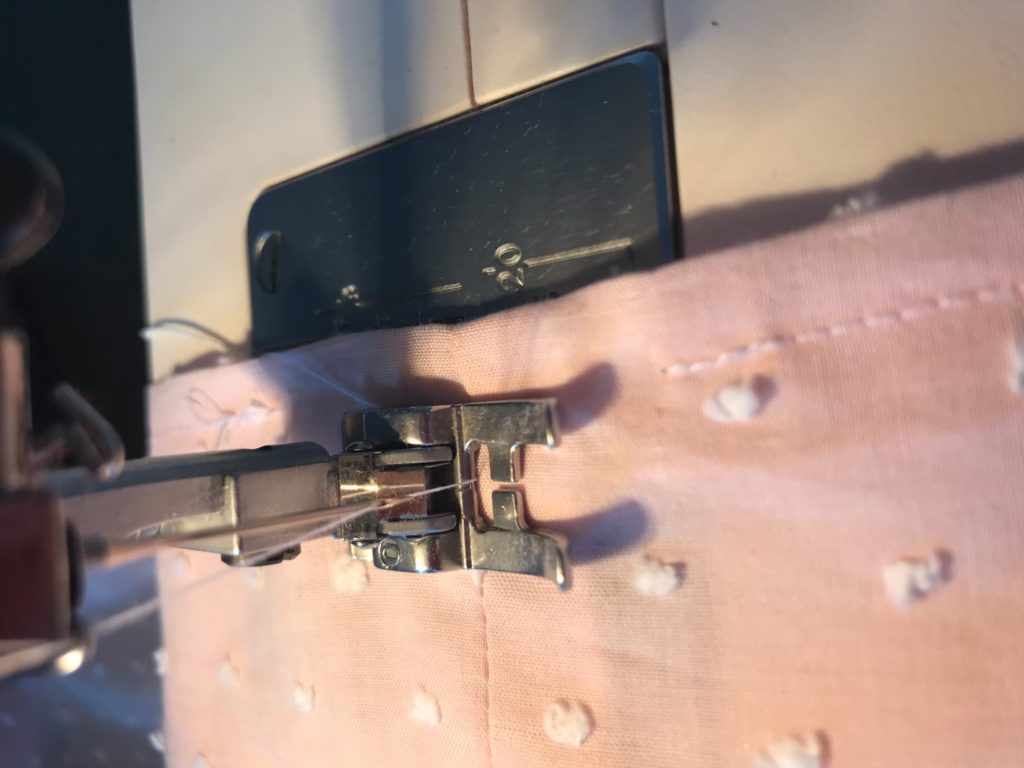
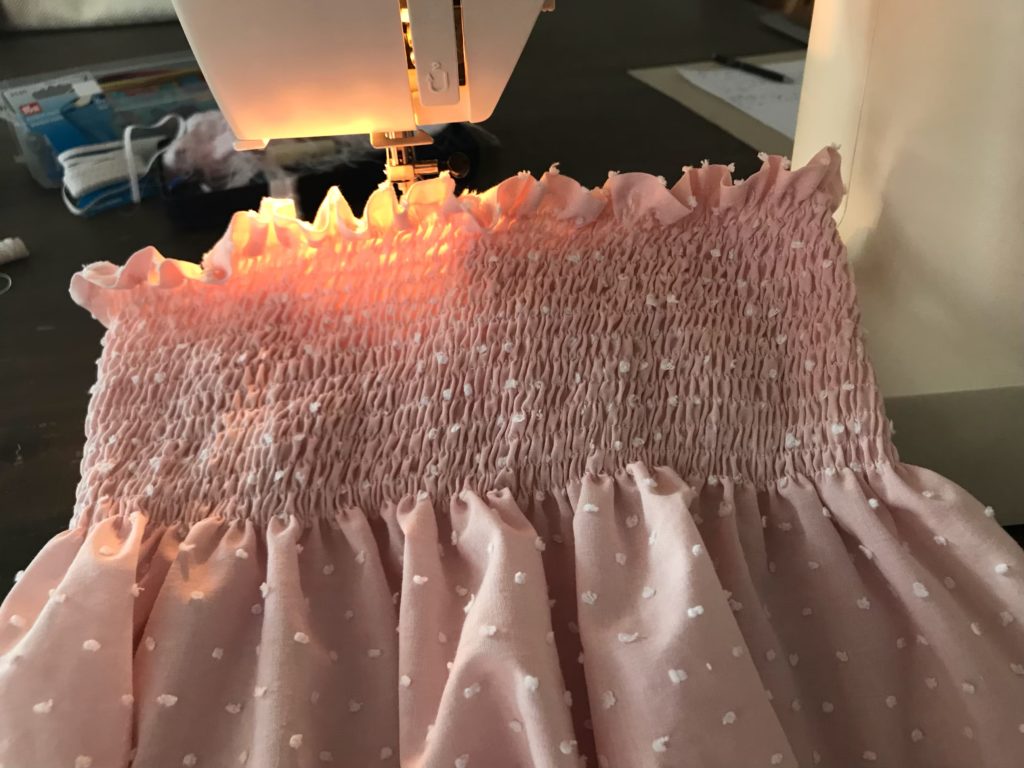
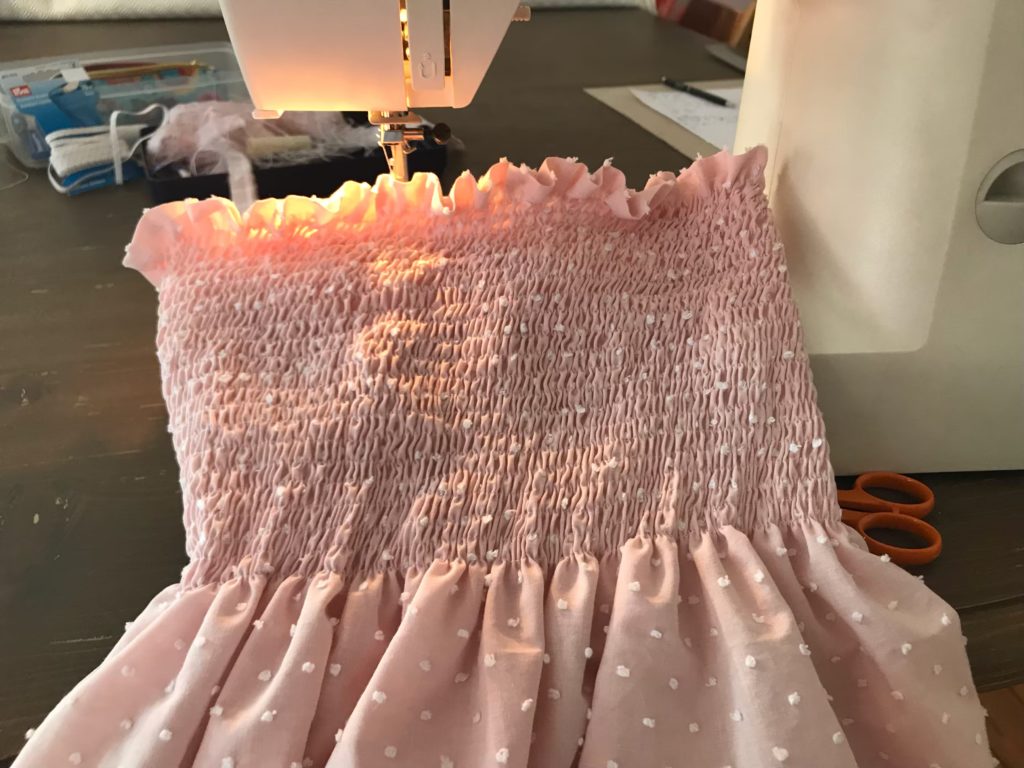
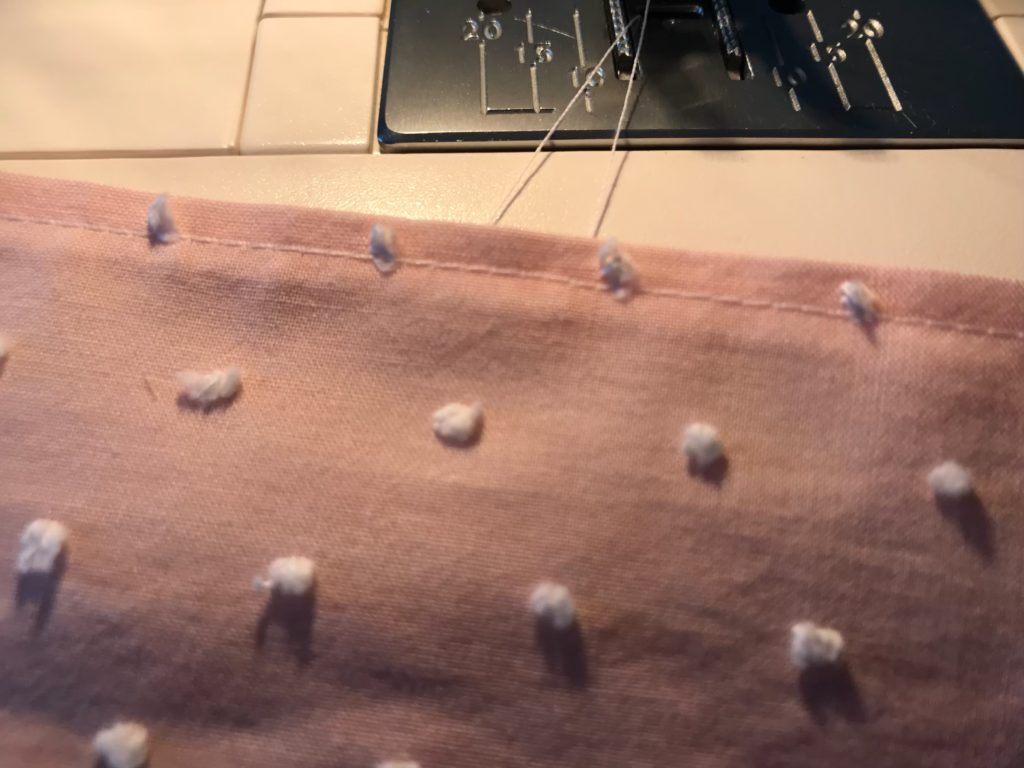
ETAPE 5: START SHIRRING!
- Put the dress fabric under the needle, right face up, 1cm away from the line you sew for the elastic tunnel.
- Back-stich at the beginning, sew in a straight line all along the tube, then back-stich at the end – the elastic thread needs to be well secured into place!
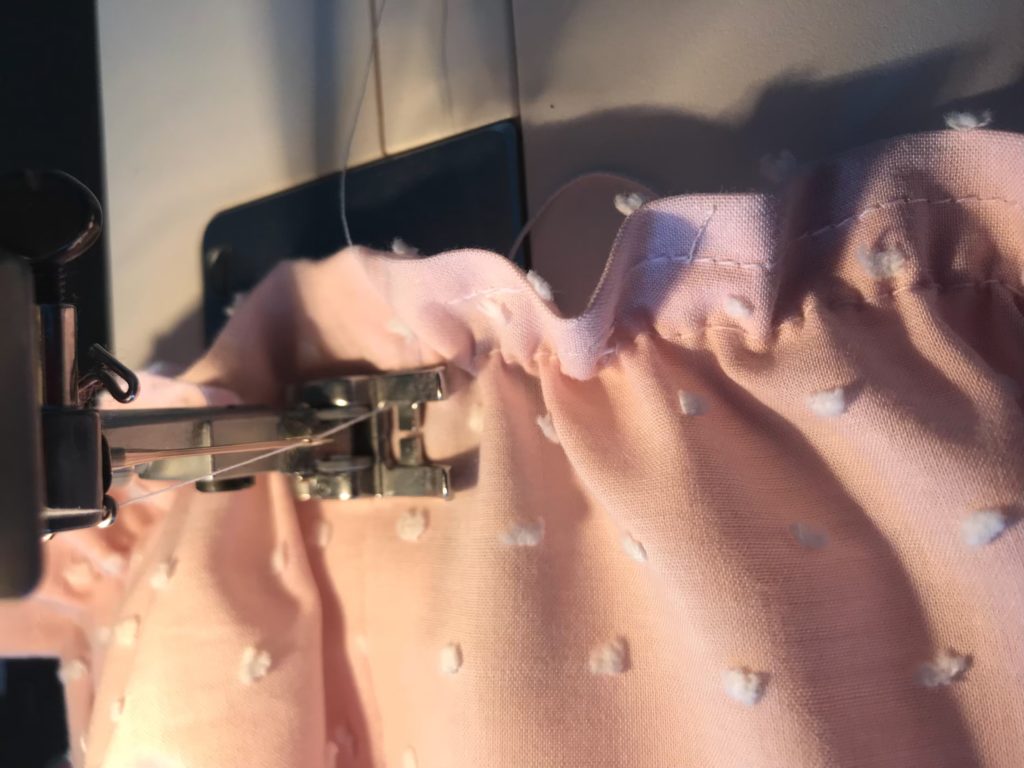
- Raise the needle, move it 1cm below, and then proceed as previously
- One single bobbin should cover 5 to 8 lines, do count as it will make your life easier.
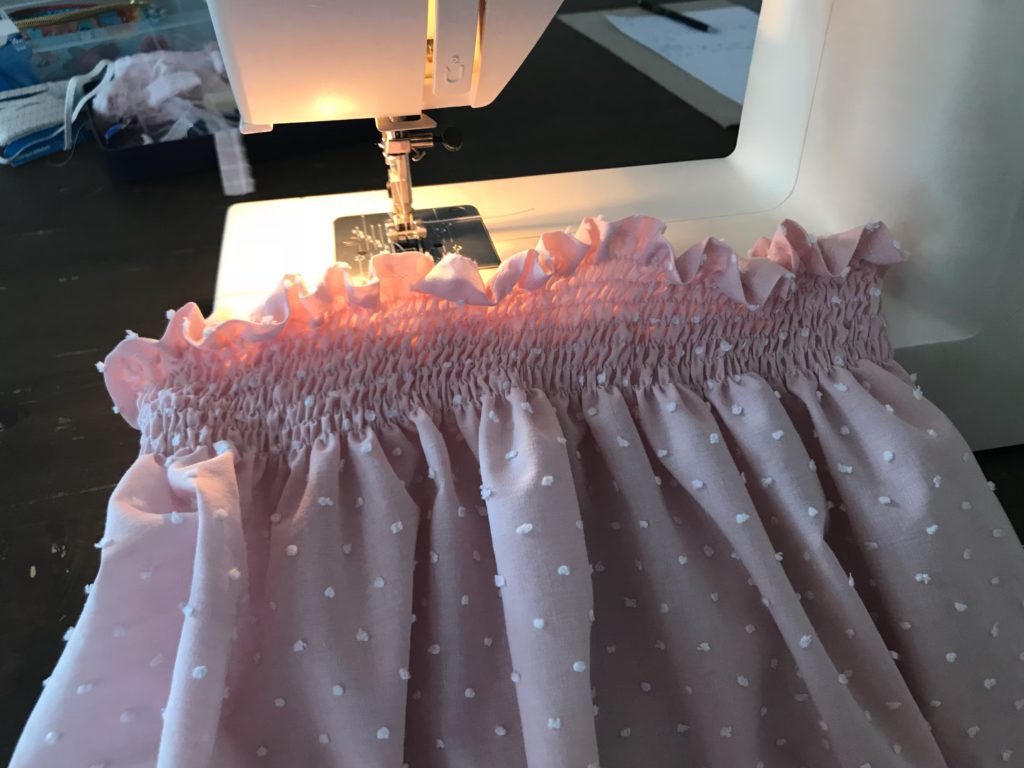
The gathering effect should progress like this. Do try your dress at the end of each bobbin to decide when you want to stop shirring. I like to make 28 rows, so that the gathers sit nicely below the breasts and therefore do not give a pregnant-woman effect (lovely when you are pregnant but never nice when you’re actually not!).
If you have chosen to make a dress without a ruffle, go directly to step 7, lucky you! Otherwise let’s keep going.
STEP 5: GET YOUR RUFFLE READY FOR GATHERING
- Put the 2 pieces of the ruffle together, right side to right side: pin each (small) side together, sew and iron flat.
- Insert gathering lines: set your machine on a large straight stitch (4/5) ans sew two parallel lines, one 0.5cm and the other 1.5cm away from the fabric hedge. Do not forget to leave enough thread at both beginning and end. To make the gathering easier and more regular, I divide my fabric in two (so four sewing lines in total, parallel 2 by 2).
STEP 6: ATTACH THE RUFFLE TO THE DRESS
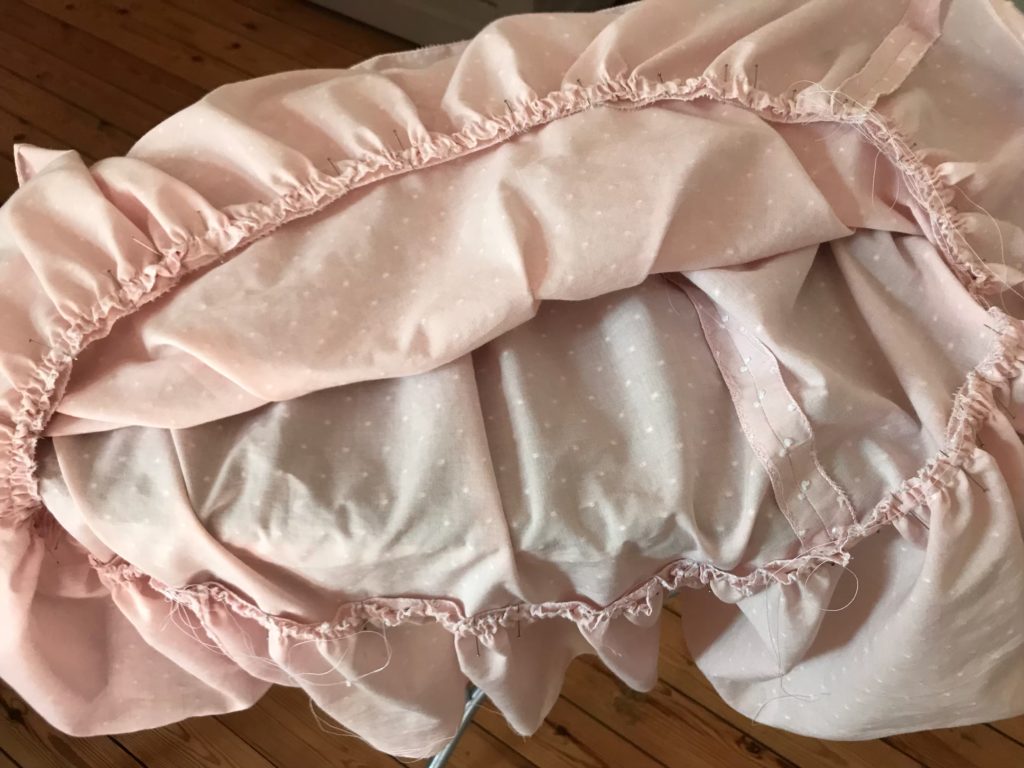
- Split the ruffle in 4 equal parts with pins; do the same for the dress hem.
- Assemble the ruffle and the dress together, matching the pins you’ve just laid. Pull on the threads to create gathers, until the width of the ruffle fabric matches that of the dress. Pin as you go along, being careful to keep your gathers regular.
- Put your sewing machine back to a normal-length stitch (around 2.5), put your fabric under the needle face up, and straight stitch 1cm from the fabric hedge.
- Check that you have caught all of the gathers and only then (calmly) get rid of your (meters of) gathering threads.
ETAPE 7: HEM, INSERT THE ELASTIC AND YOU’RE DONE!
- Hem the bottom of your dress – I just fold the fabric 1cm, iron to keep in place and straight stitch.
- Insert the flat elastic into the tunnel created at step 3, try the dress on to assess how long the elastic should be, cut and backstitch the elastic with a zigzag stick to secure it.
- Close the section left open of your elastic tunnel with a straight stitch ET VOILA, your dress is ready!
7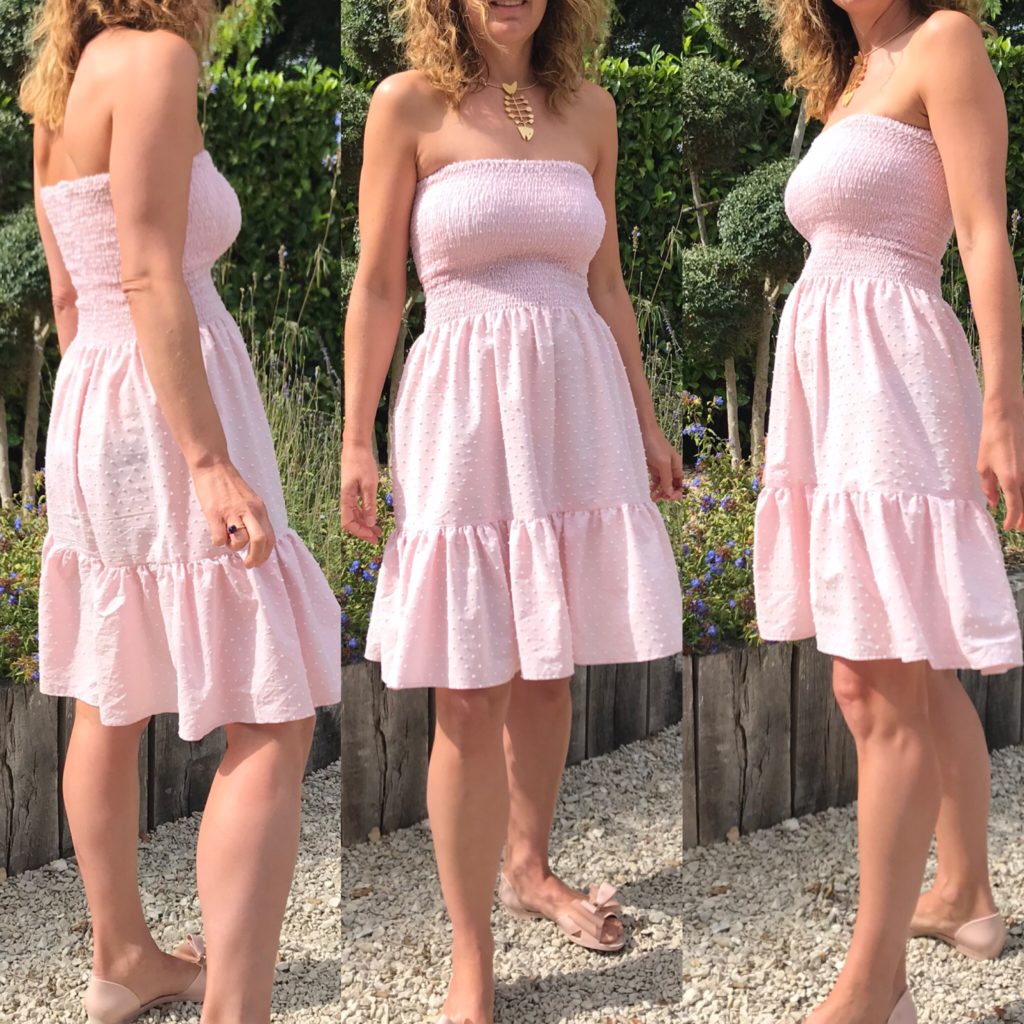
THIS OTHER FREE TUTORIEL MIGHT BE OF INTEREST:
If you make a smocked dress with one of my tutorials, do not hesitate to use the hashtag #smocksmignons so that I can admire and re-gram it!!


Hi. This is such a lovely dress and a very well written tutorial! I was just wondering if you have done a dress with just the back half shirred?
Thank you Jess! I haven’t tried shirring only the back as I have quite big boobs and the shirring at the fronty works quite well for me. If you’re planning to do that, you could use the front of a regular dress, shape it as a square and then just had the back as discussed here.
I am a completely different size to you, any recommendations for a calulation to use to size up.
AKA – Approximately how much %or measurement should I add to my measurements and which measurement is most vital (I’m assuming bust) to so I can possibly attempt this dress for the #fruglefrock2021
Hi Vikki,
I think you should attempt at least 1.5x your bust circumference – using two panels of fabric, or the fabric in the width rather than length direction if you can(do we call that non grain??). In any case check that this measurement is wider than your hips. I hope this helps and best of luck!
Thank you, that does help. So Bust×1.5 either cut as two panels or in one cut with grain running crossways not length ways.
I shall see what I’ve got that might work.
I’m trying to find a similar material to yours but I’m having trouble. Would a 65% polyester 35% viscose material work? It’s the only one I can find with the Swiss dots.
I think it really depends on how sweaty you are in non-natural fibers in summer – personally I do sweat a lot if it is not cotton or silk? Are yo based in the Uk – Fabrics Galore currently stocks all-cotton swiss dots fabric.
Hi Elisenne, I love this dress and am in the process of making it. I too am a size 8 UK. I have followed your instructions carefully and yet I have had to redo the shirring 4 times. However it keeps turning out too narrow each time – I can’t even get it over one shoulder let alone two! I really have no idea what I am doing wrong. The fabric is the same as yours, swiss dots, the width of it is 140 cm so well within your guidelines – I am about to give up and make it into a dress for the 6 year old girl next door who it would probably be the right size for. Any help at all would be gratefully appreciated.
Oh my God Helen I am so sorry! I usually have the opposite problem of not enough shirring…
I think I would advise exploring tension settings of your sewing machine. Take several 10cm/20cm-wide pieces of fabric, and then progressively lower the tension and see how much shirring ration you get to – ideally you should be left with 50% of the fabric.
If this does not work look at the width of your stitch – using the same method and decreasing width progressively.
Lastely checking that your elastic bobbin is not too tight.
Hopefully one of these will work – let me know
Thanks, I’ll give that a try – fingers crossed. I’ll let you know how it goes.
Hi Elisenne,
That seems to have fixed the issue – thank you! Just in case it’s helpful to anyone else, I have a Janome One-Step machine and I had to use a tension 6 and + on the stitch length dial. Thanks again for the advice.