
Sewing & Knitting
Sewing a new 1960’s dress: Style 3172 Vintage
12th May 2026
Read More →

Sewing & Knitting
Sewing a 1960’s dress: S1609 pattern review
1st May 2026
Read More →
Sewing & Knitting
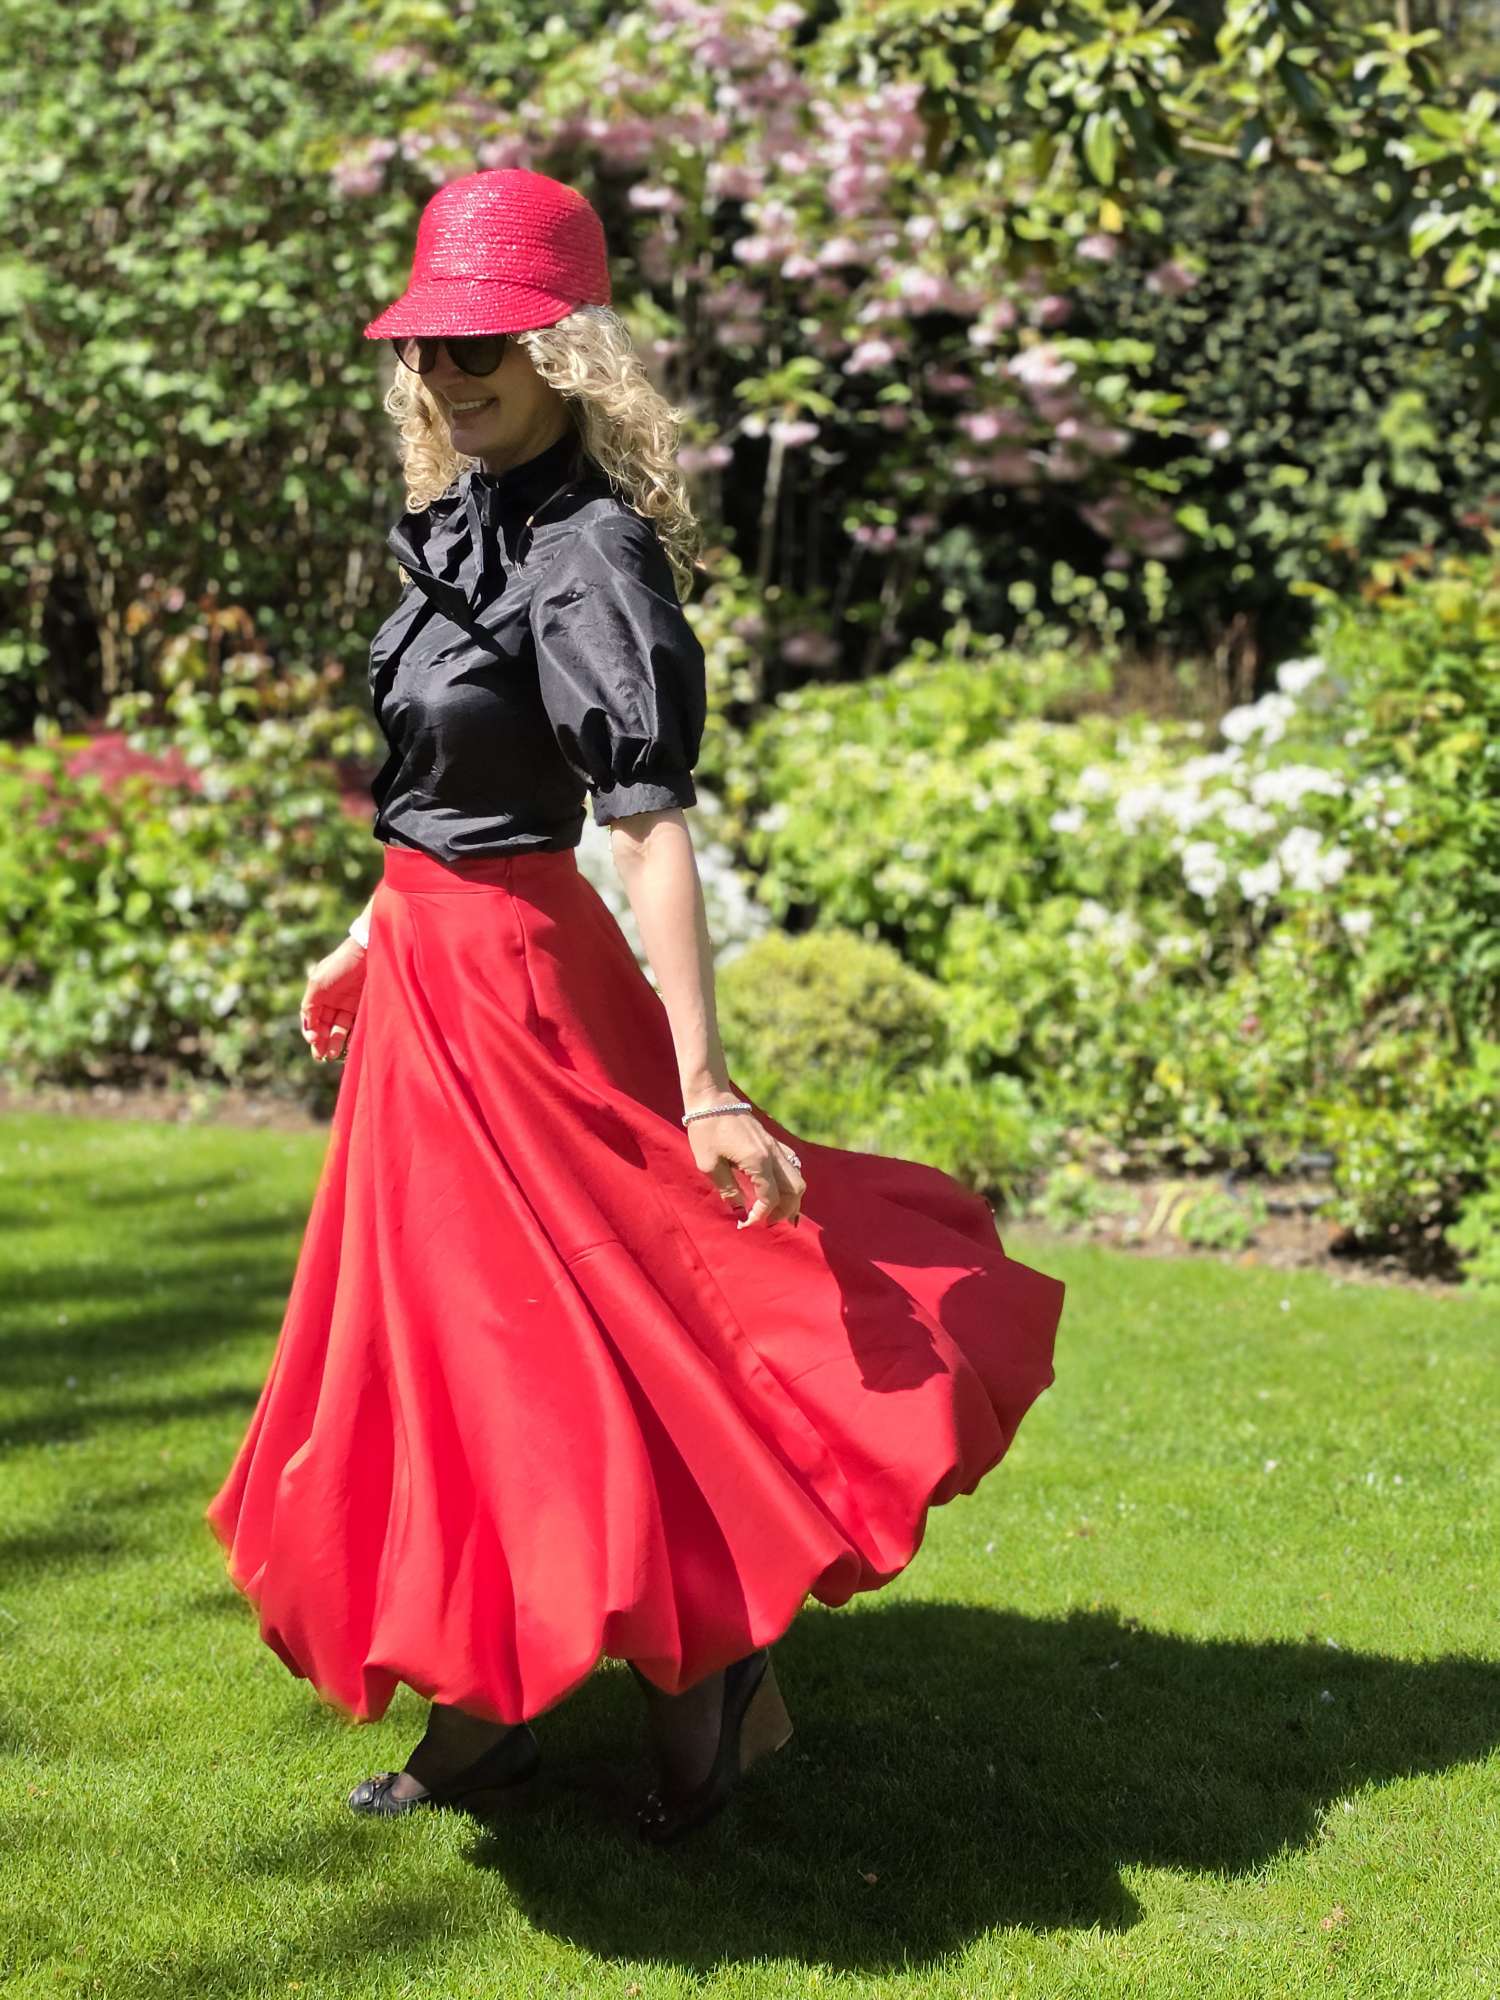
Sewing a maxi bubble skirt
22nd April 2026
Read More →
Sewing & Knitting
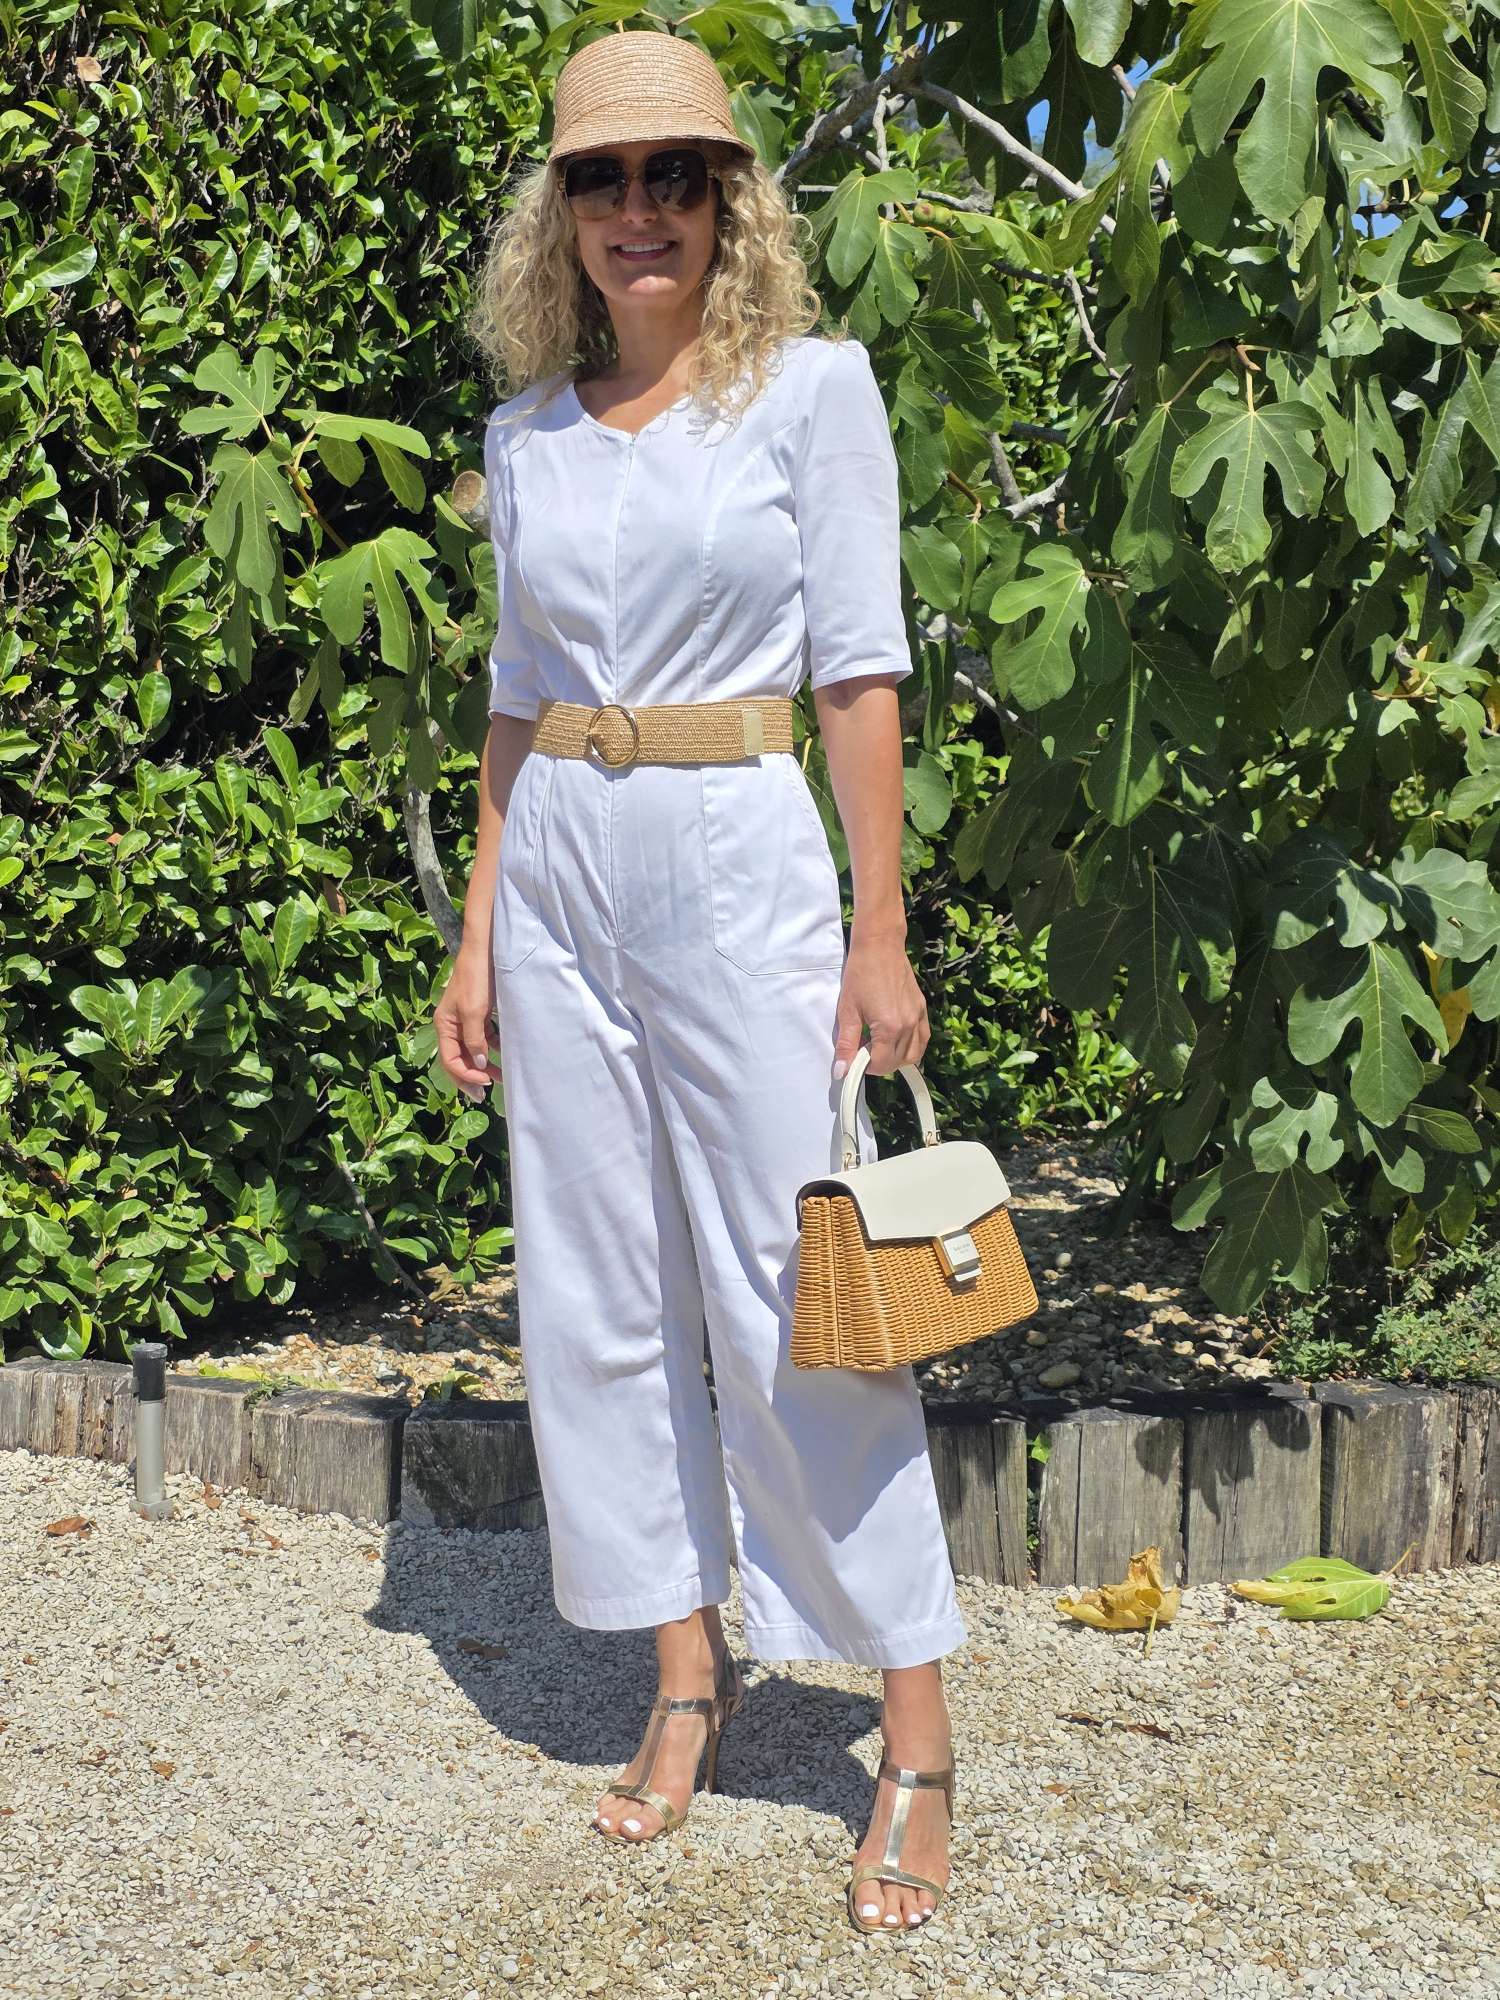
Summer sewing: the white jumpsuit
29th August 2025
Read More →
Sewing & Knitting
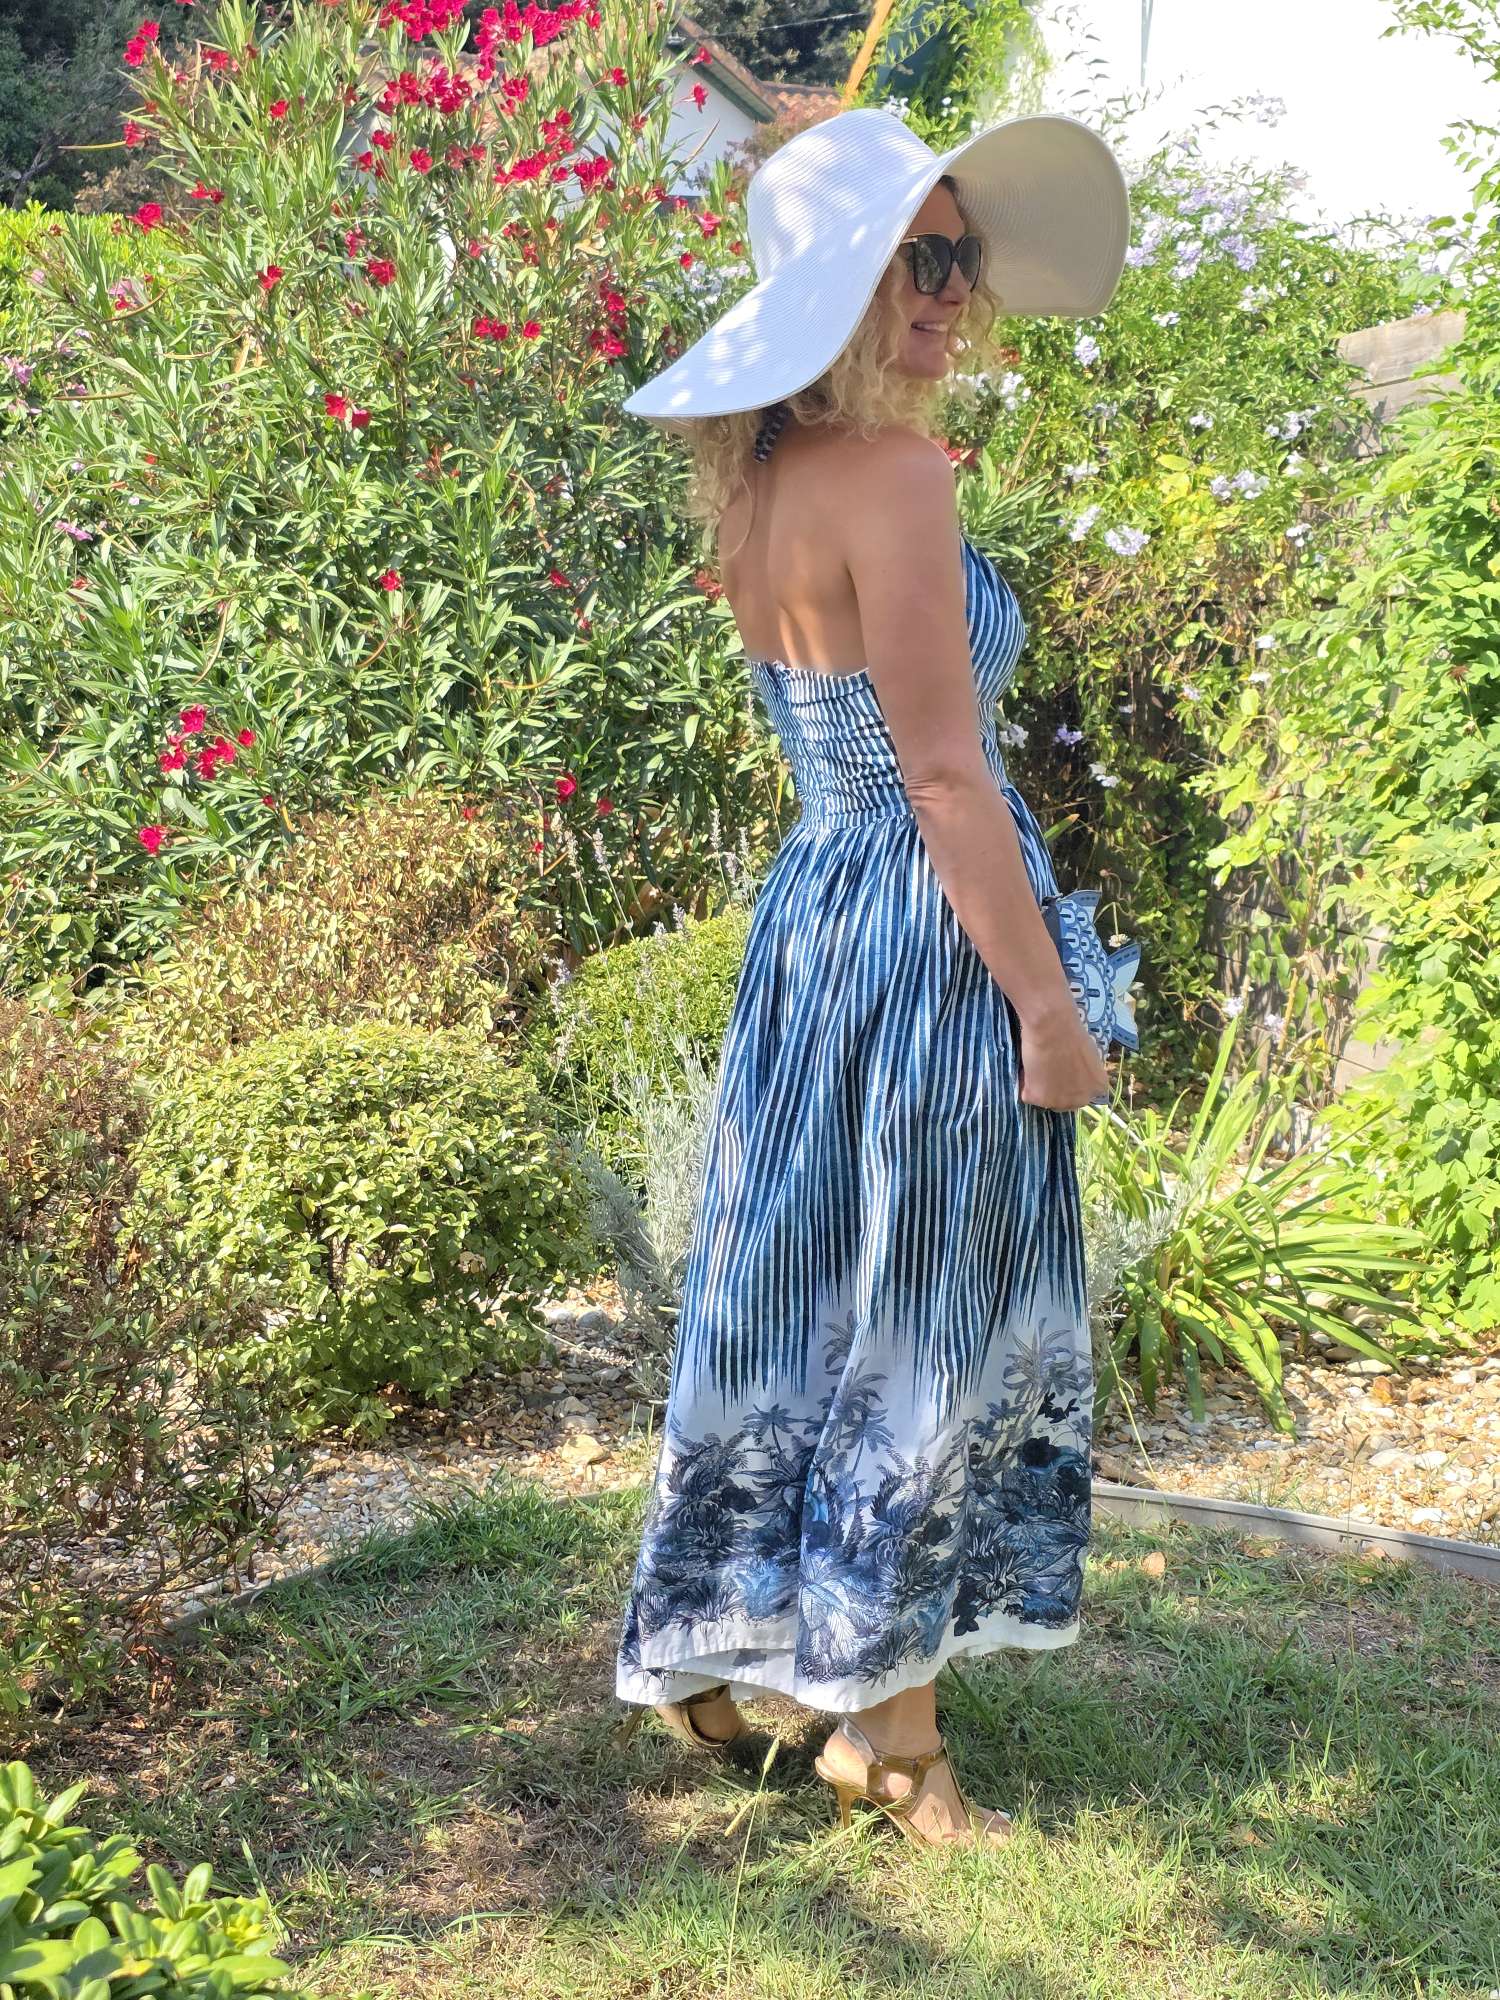
Summer sewing: another day, another palm tree dress
23rd August 2025
Read More →

Sewing & Knitting
Summer sewing: the border print dress
22nd August 2025
Read More →