Sewing & Knitting
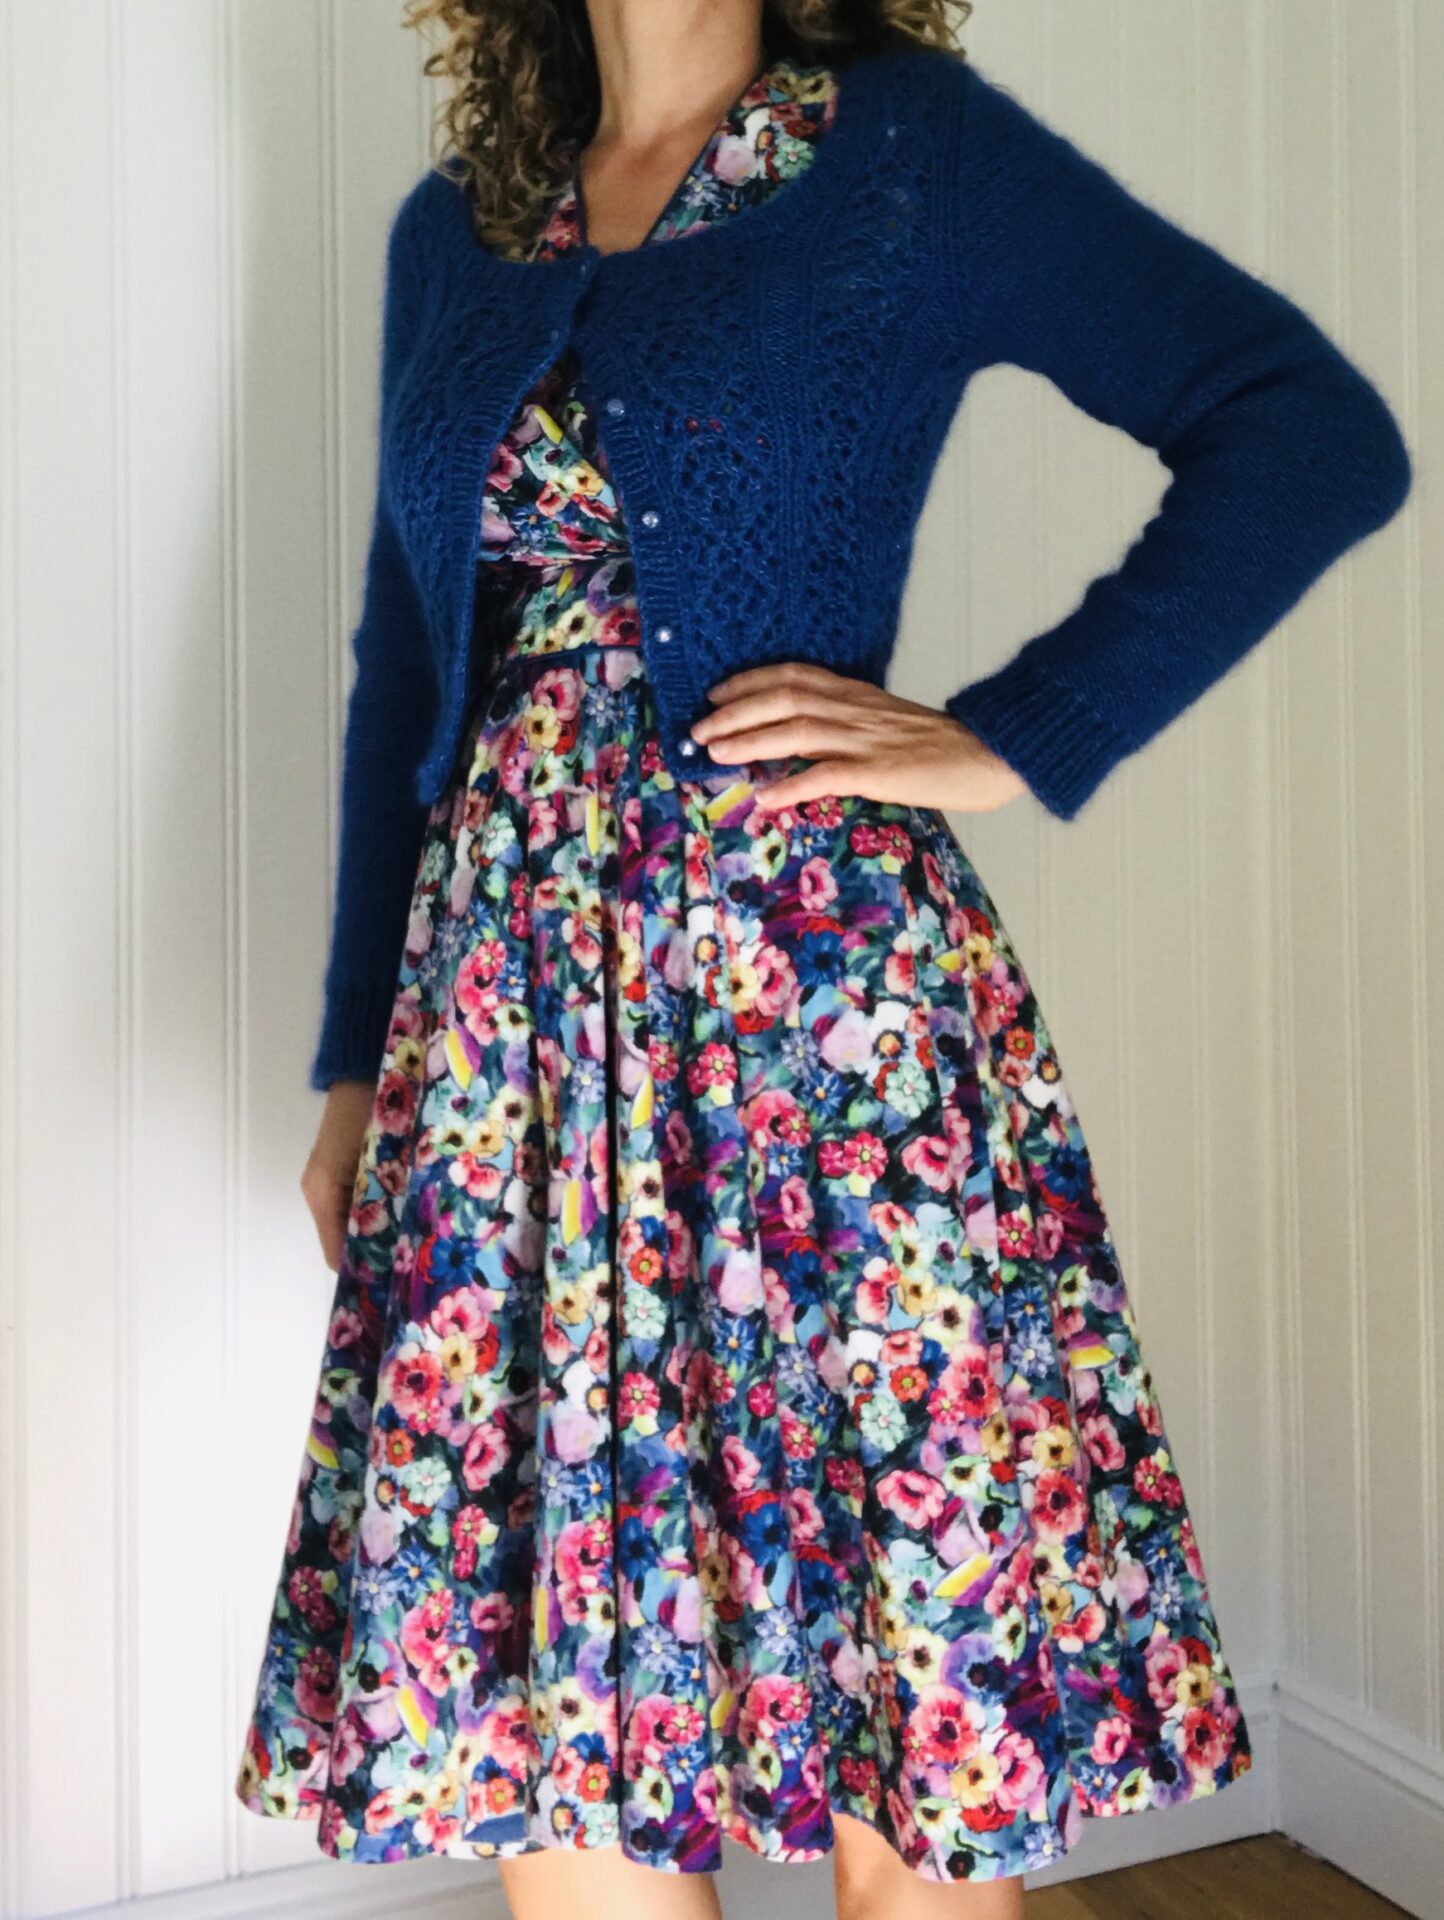
Royal blue sew & knit combo: M7081 + Belladonna
27th September 2020
Read More →
Knitting
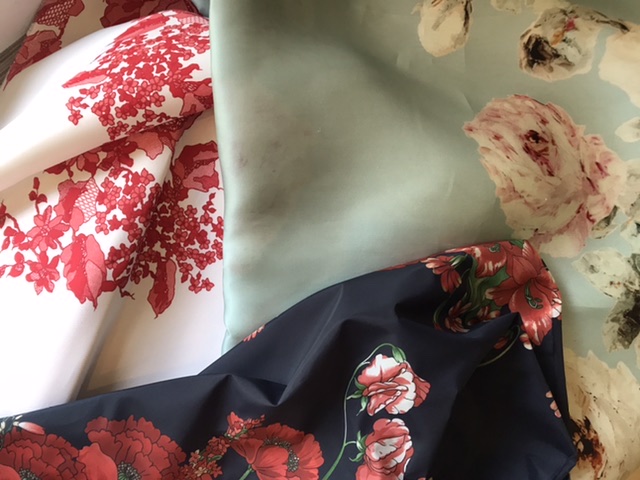
Autumn 2020 sewing and knitting plans
24th September 2020
Read More →

Sewing & Knitting
Summer 2020 sewing review
30th August 2020
Read More →

Sewing & Knitting
My broderie anglaise M7952 dress
17th August 2020
Read More →

Sewing & Knitting
Cassandre dress pattern hacks
4th August 2020
Read More →

Sewing & Knitting
Cassandre, the ultimate summer dress
2nd August 2020
Read More →