Sewing & Knitting
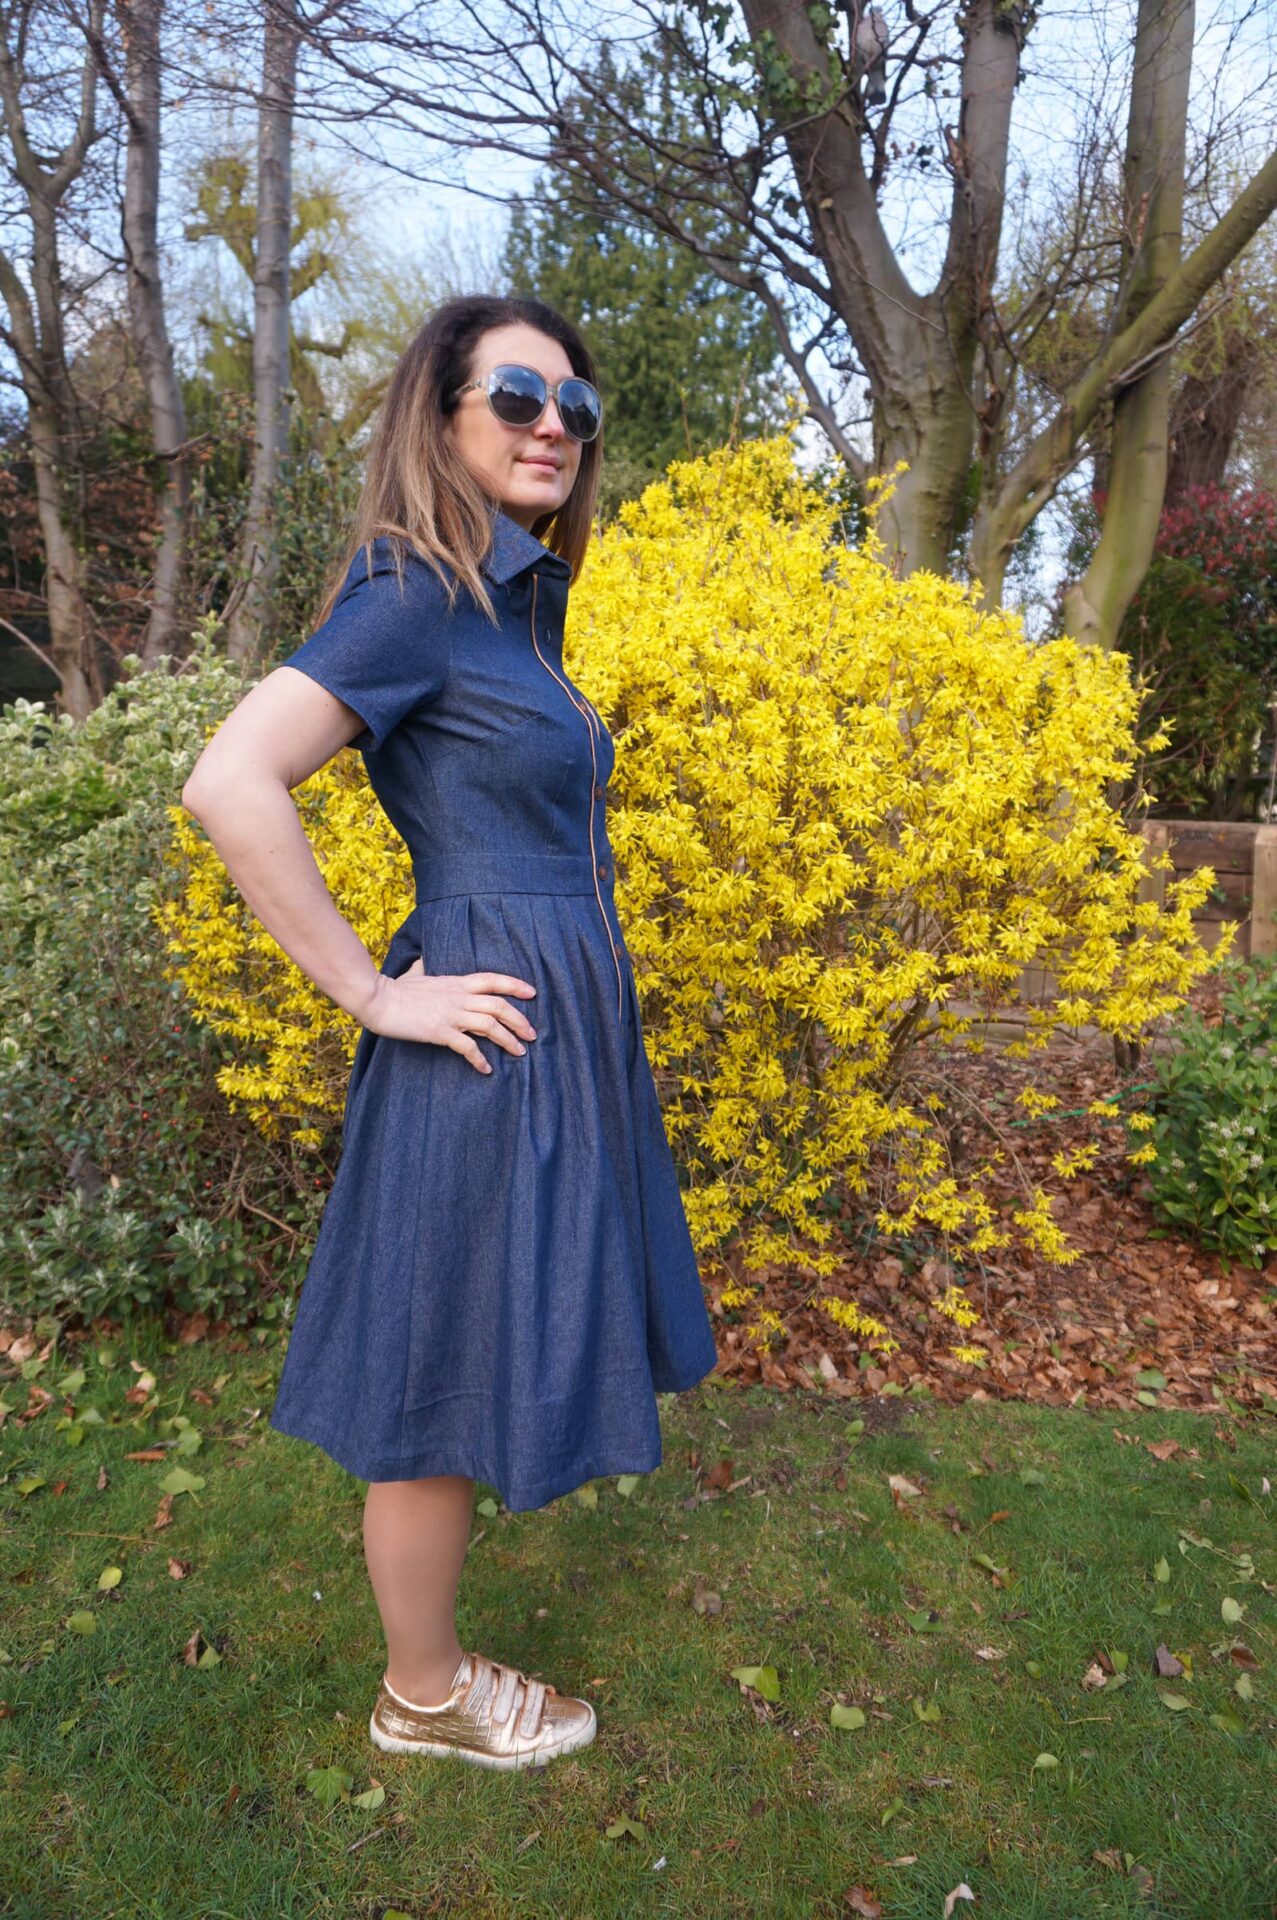
Sewing for Spring: my denim shirt dress
21st April 2021
Read More →

Sewing & Knitting
Sewing for Spring: the improbable trousers
18th April 2021
Read More →

Sewing & Knitting
Sewing for Spring: my Luzerne trench coat
11th April 2021
Read More →
Sewing & Knitting
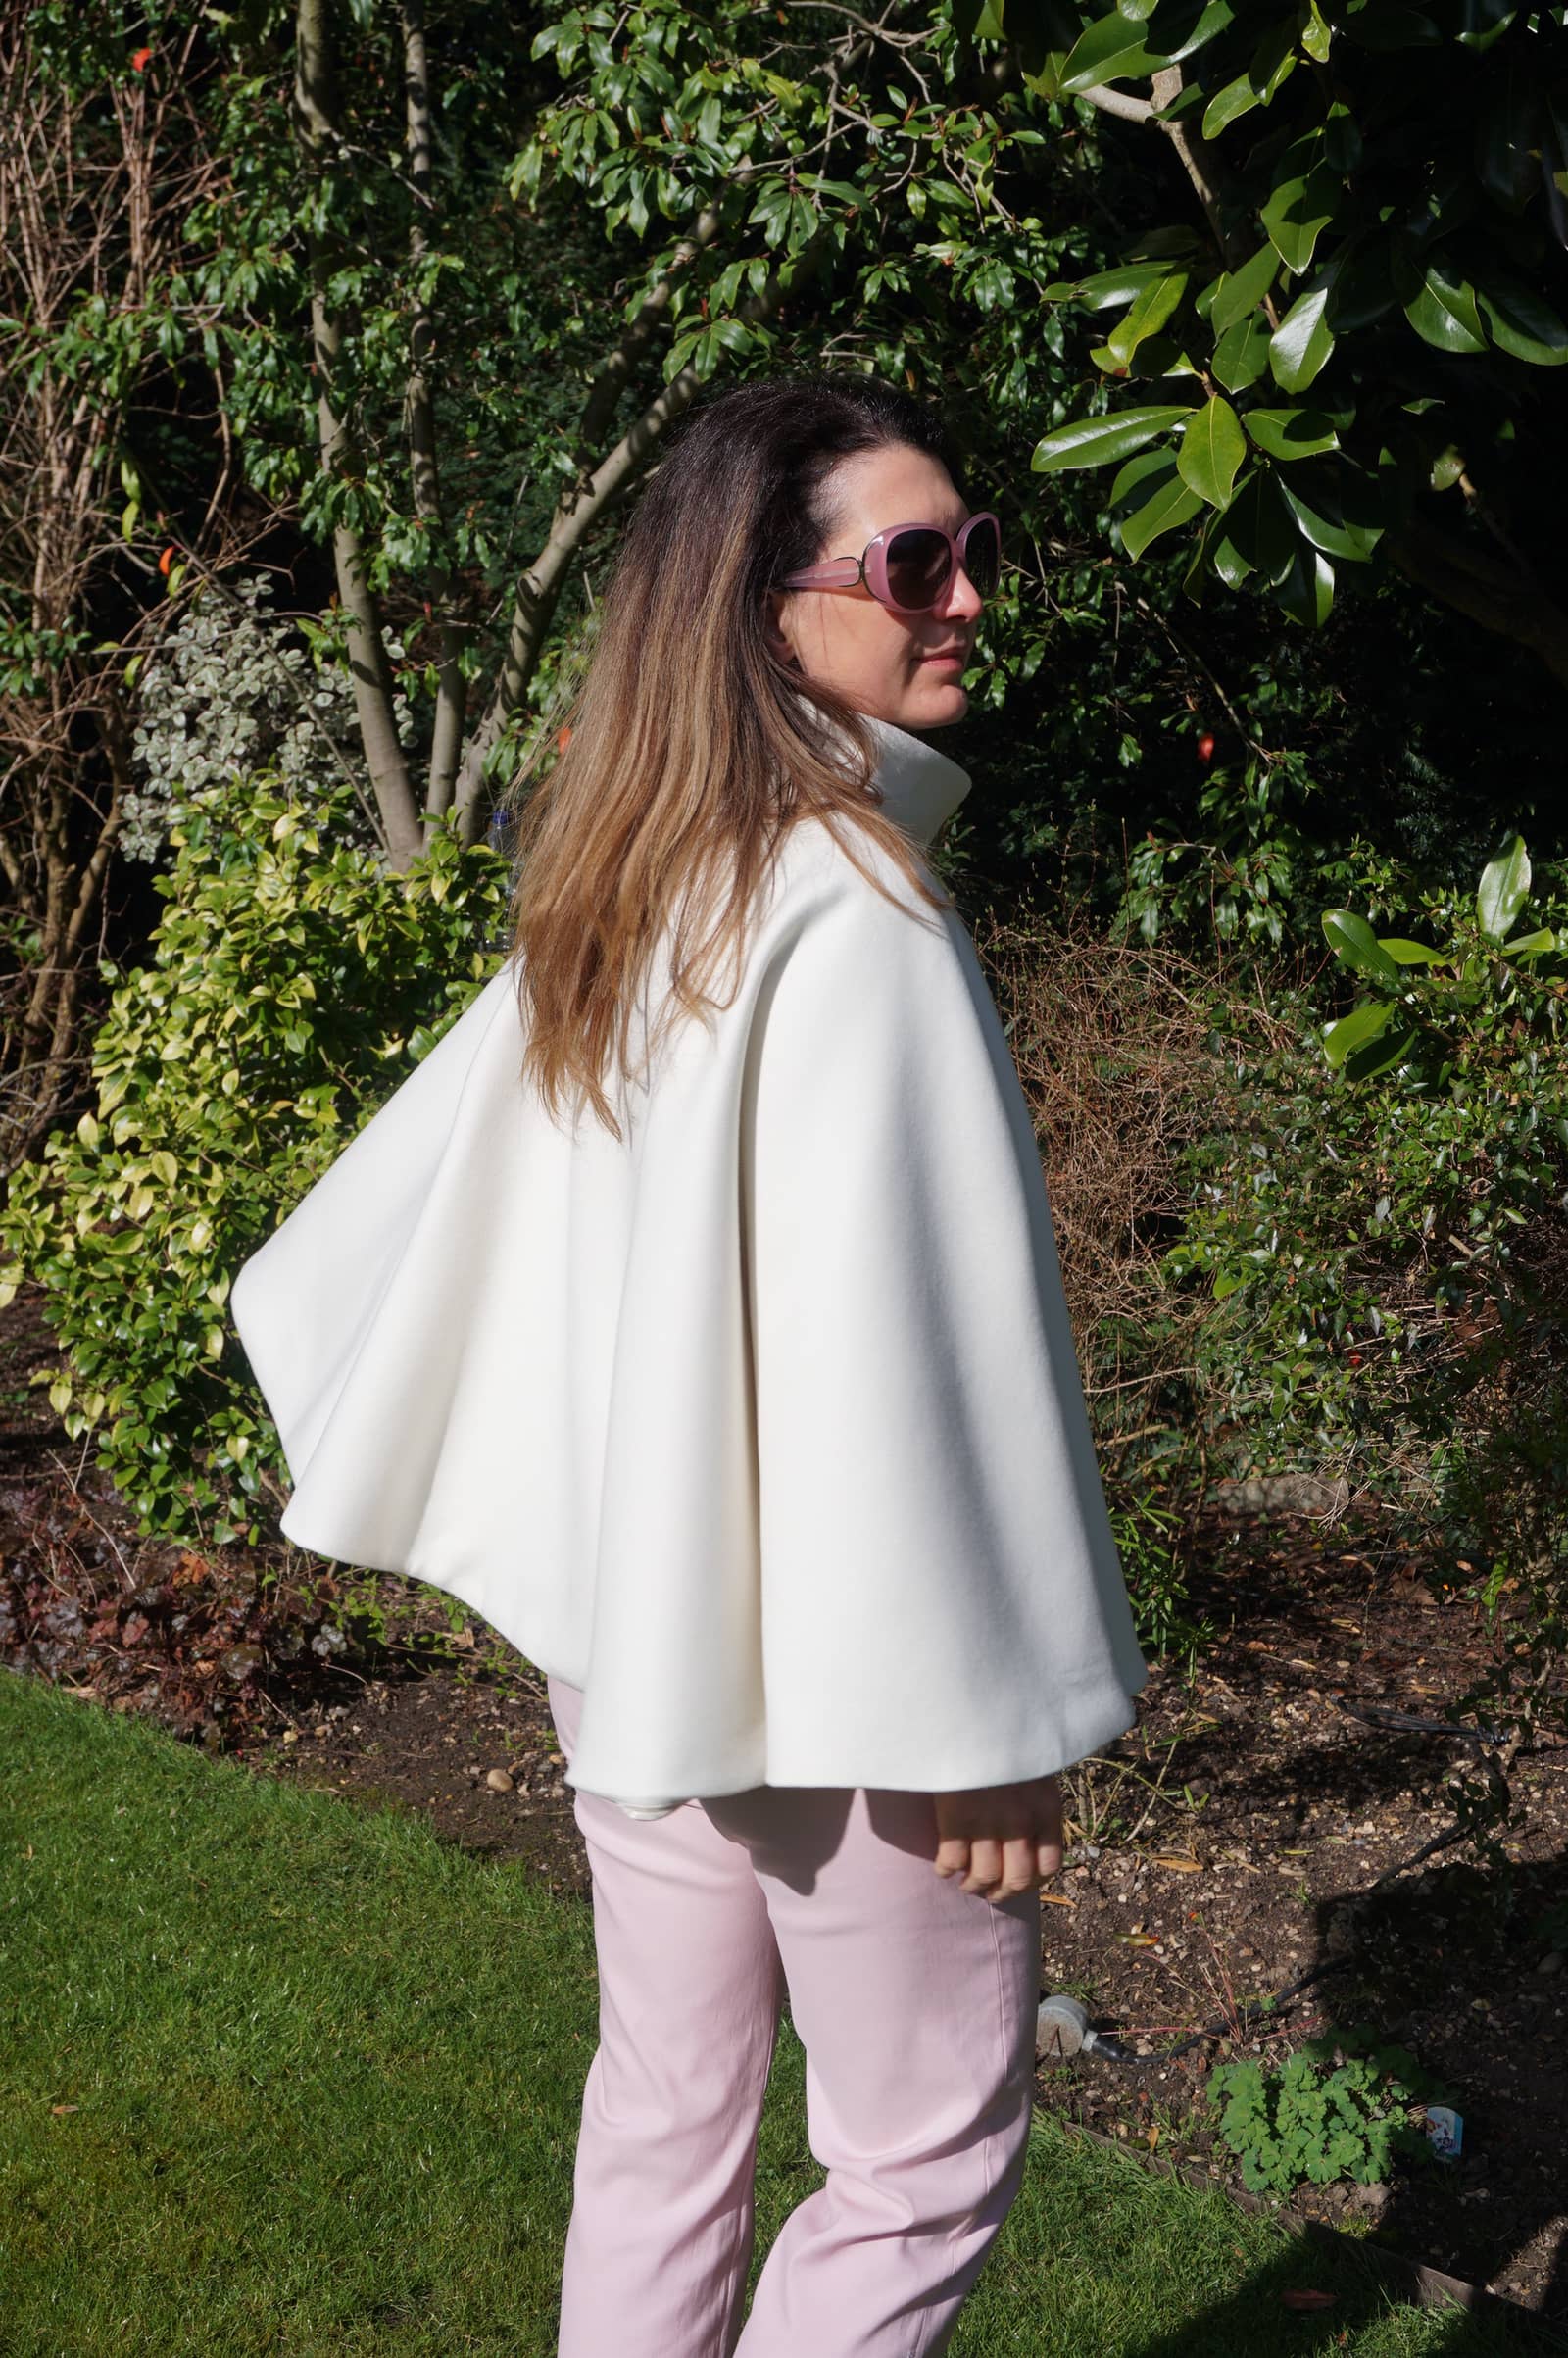
Sewing for Spring: my cashmere cape
6th April 2021
Read More →
Sewing & Knitting
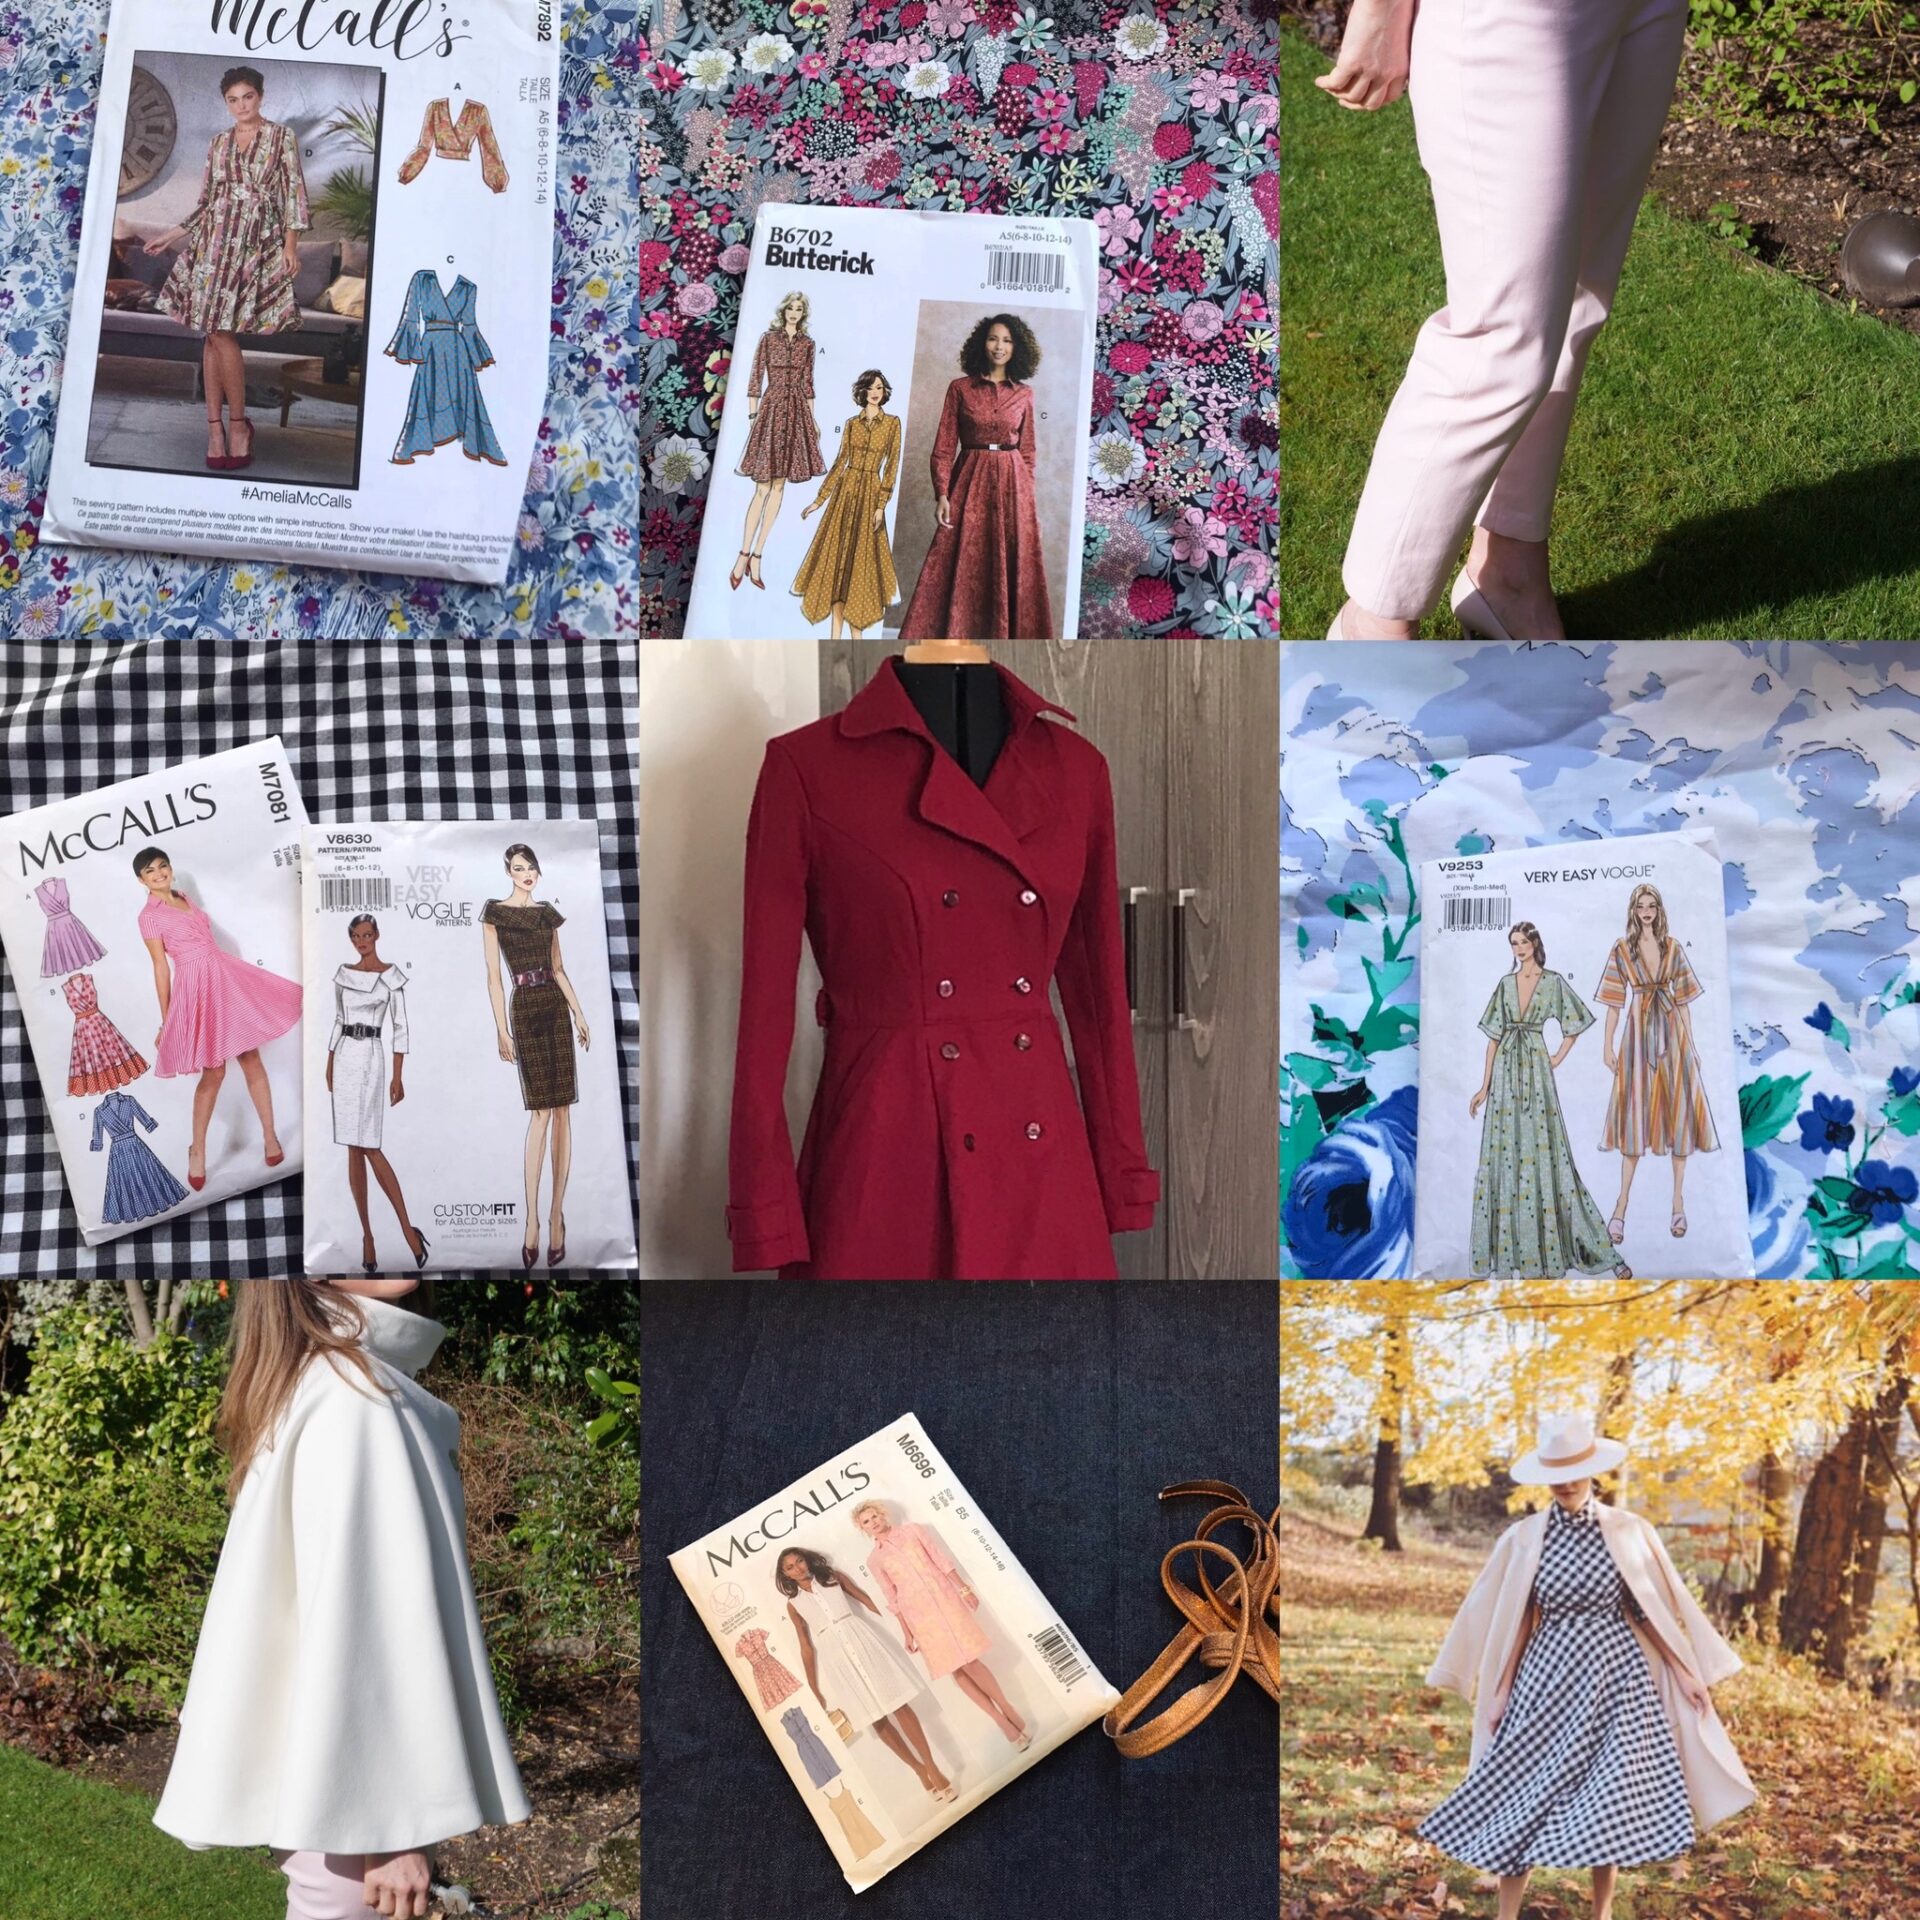
What to sew for Spring?
4th April 2021
Read More →
Knitting
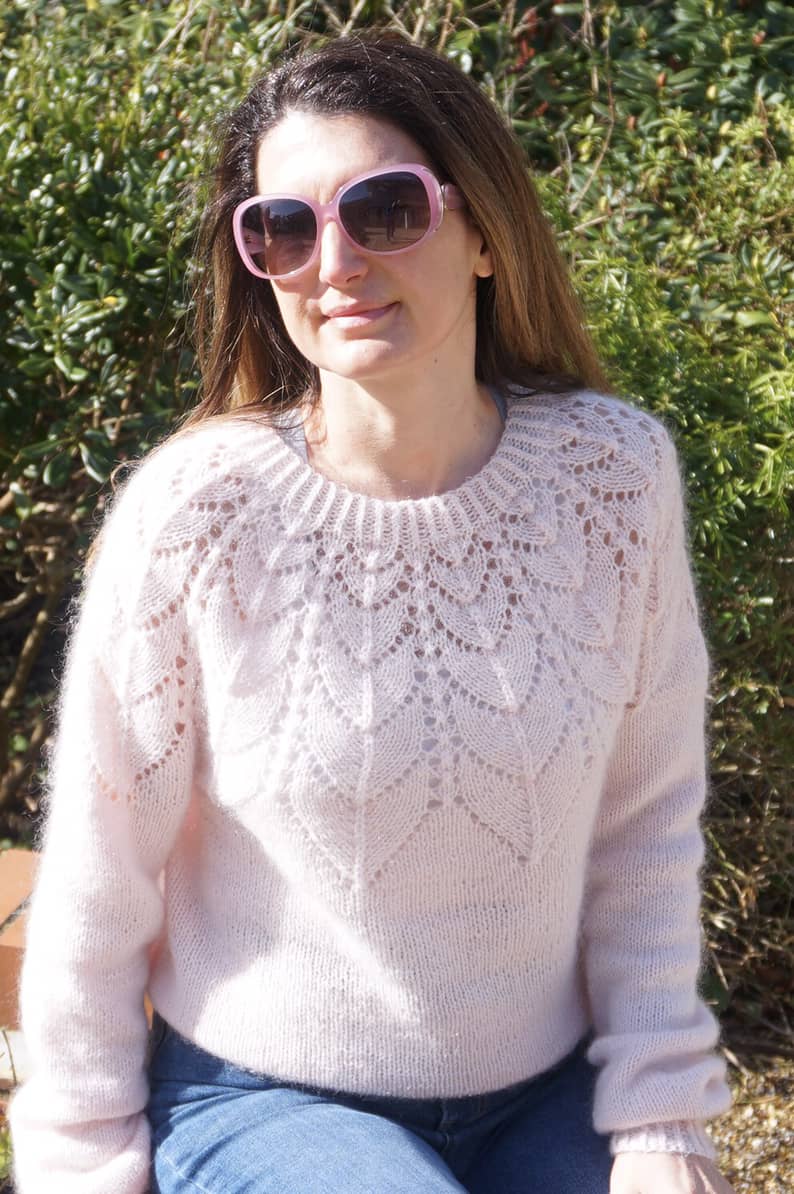
The last winter jumpers
27th March 2021
Read More →