How to Sew with Metallic Brocade
This winter has definitely been for me the season of glittery brocade! I’ve always loved this fabric but feared sewing it. After purchasing an excessive quantity at Bennytex, I had no choice but learn hands-on! The result: two party dresses for my daughter, two everyday dresses for me (not everyday for everyone though!), a top and skirt set, a mini and a midi skirt… And also many lessons on do and don’t of sewing metallic brocade, which I’m very keen to share!
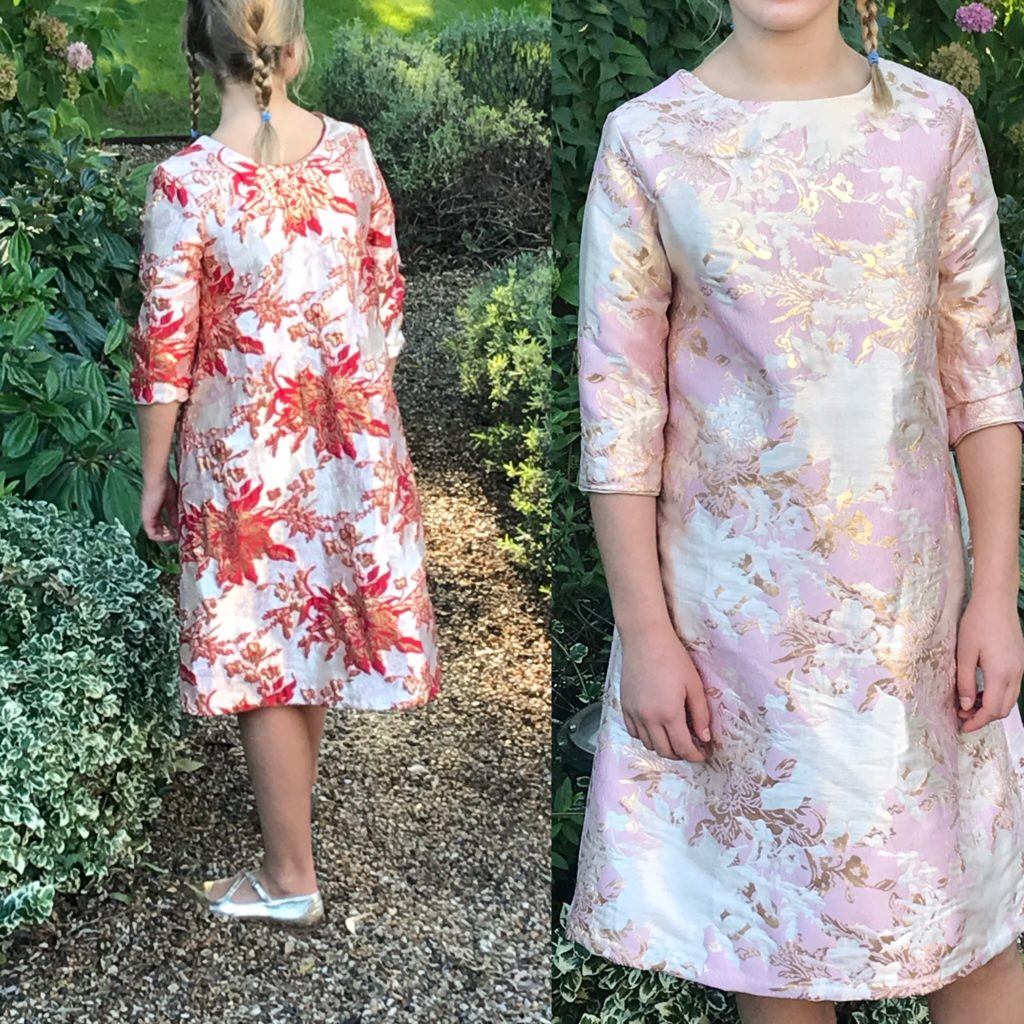
I’ve read many times in sewing blogs and on Instagram that there are no rights or wrongs in sewing, just different ways to do things – which I’m not sure is totally true. Let’s say that when sewing with metallic brocade, there are many things I wish I had been told, and here they are.
I WISH I HAD BEEN TOLD NUMBER 1… BROCADE FRAYS LIKE THERE IS NO TOMORROW!! So as soon as you’ve cut all your piece do overlock them all, fully, even if they are to be fully lined – I suspect that if not overlocked they could fray by use, so personally I would not risk it. Also it will save you a lot of hoovering while sewing!
I WISH I HAD BEEN TOLD NUMBER 2…. METALLIC BROCADE IS EXTREMELY ITCHY and absolutely unbearable on bare skin. This has several implications.
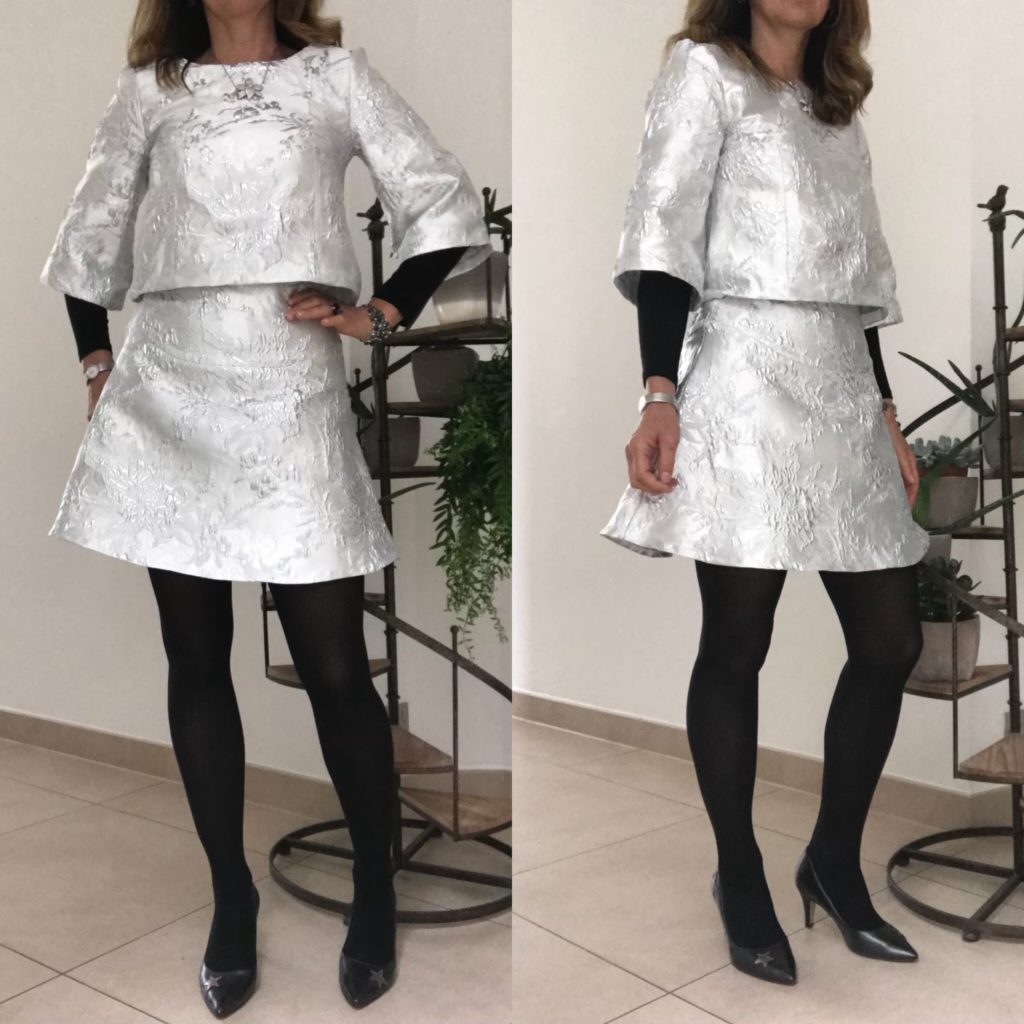
First, all metallic brocade projects need to be fully lined – partial or no lining just won’t do. I did not line the silver top/ skirt set and no matter how beautiful I find it, I just cannot wear it, even with ties and a long-sleeve turtleneck t-shirt underneath. In contrast, both my dresses are fully lined and I put them on bare skin with no problem.
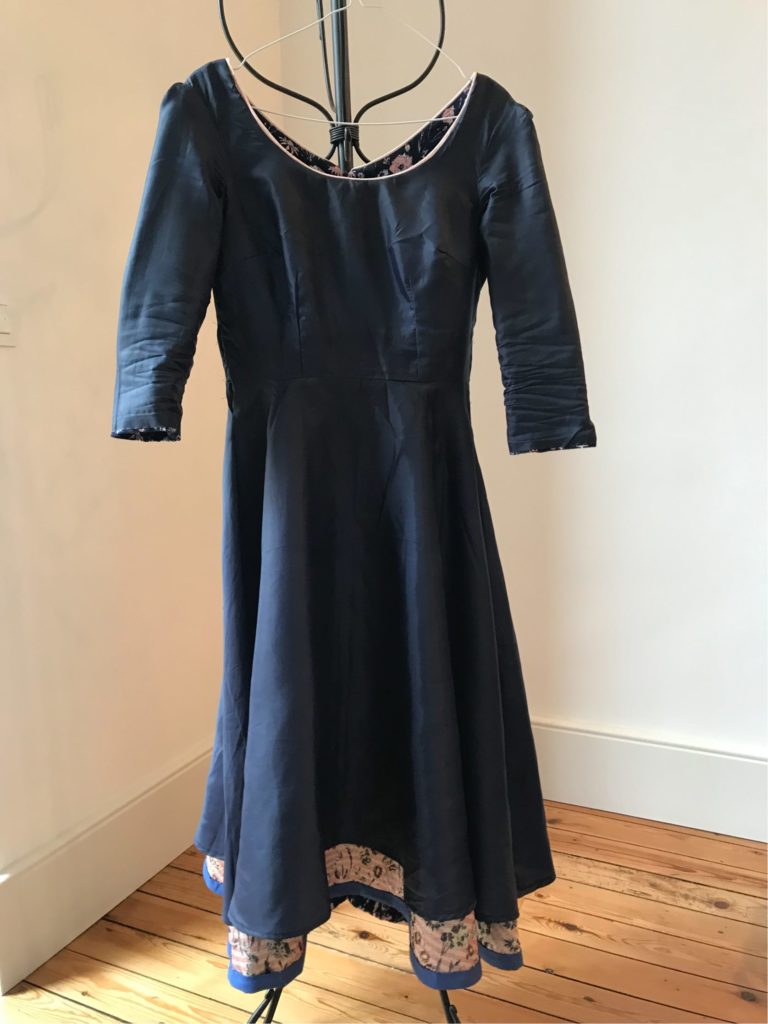
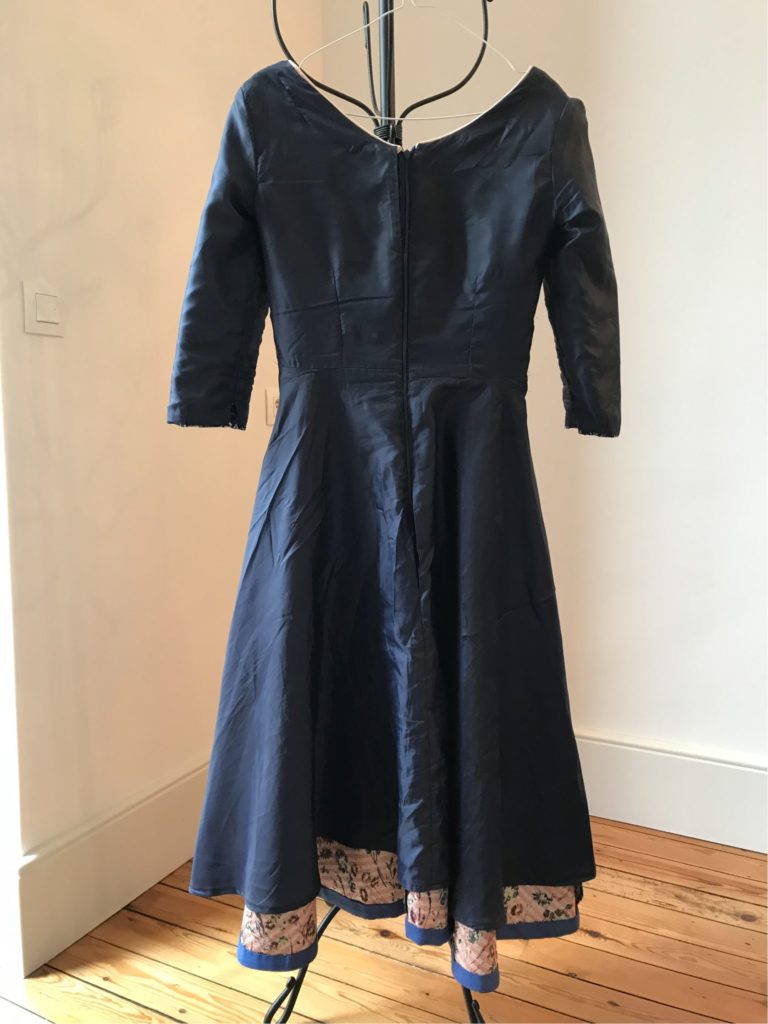
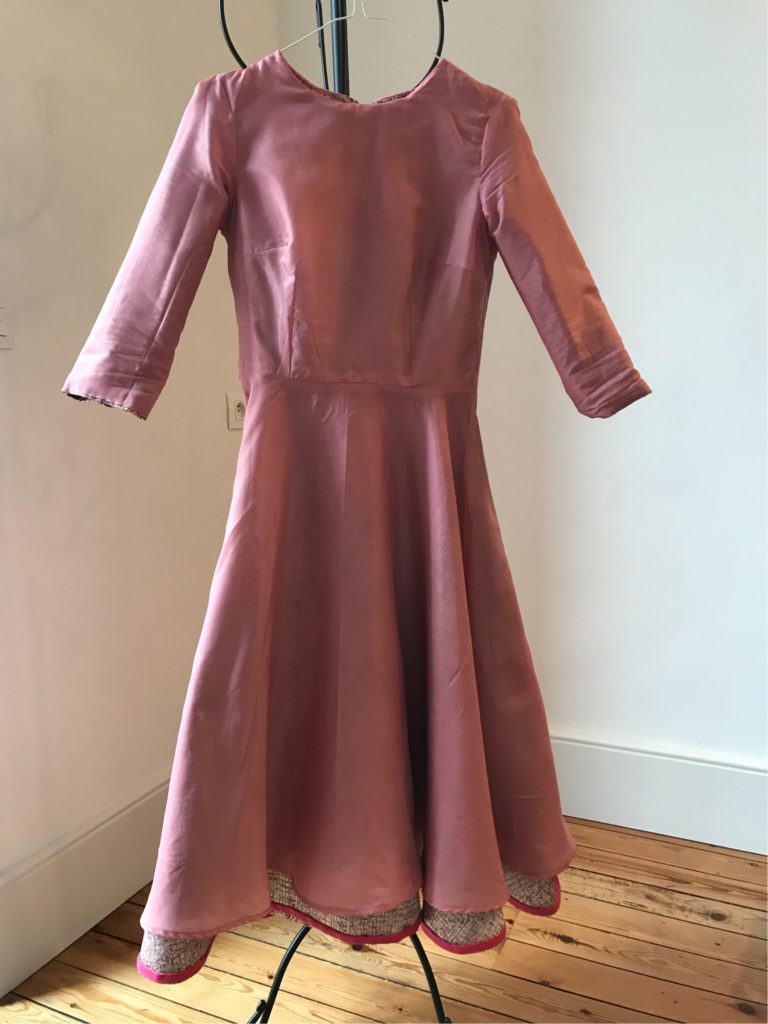
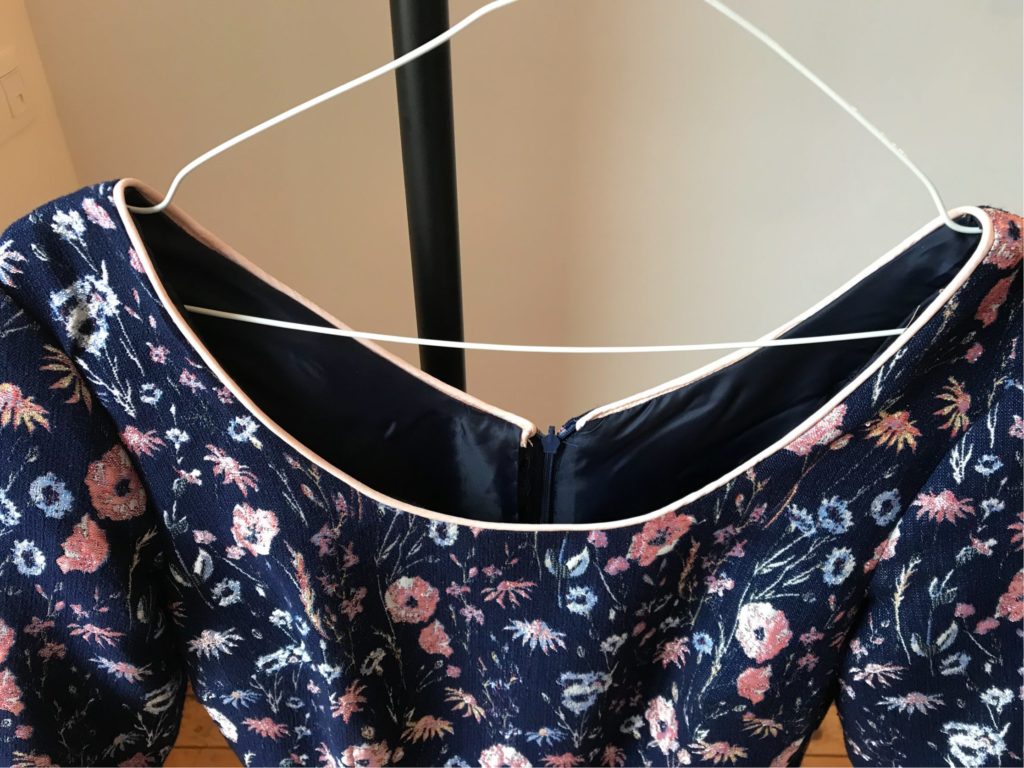
Second, you will need to cleverly think about how you finish your neckline, as this is definitely a very sensitive area. For both my dresses I inserted some piping, in a similar colour for the pink dress and in a contrasting one for the blue dress. To do this I sew the lining to the dress before attaching the lining by the neckline. You can also use a slighly overlapping bias, using the same method. Whatever your preference, you will need to use a different, skin-friendly fabric.
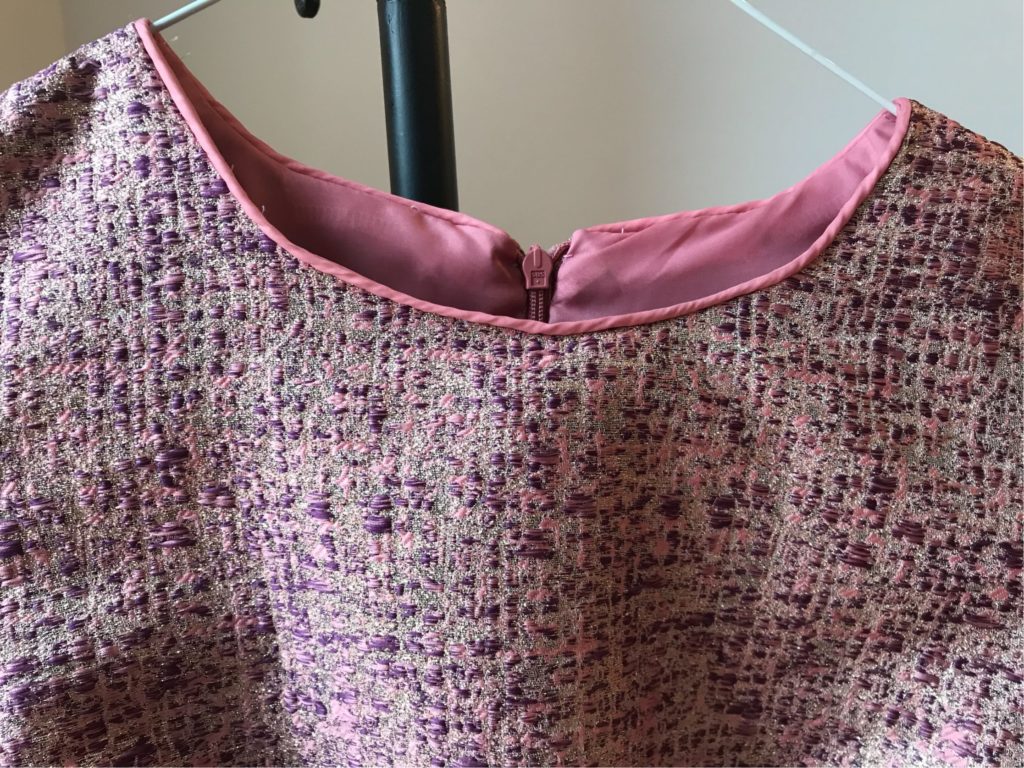
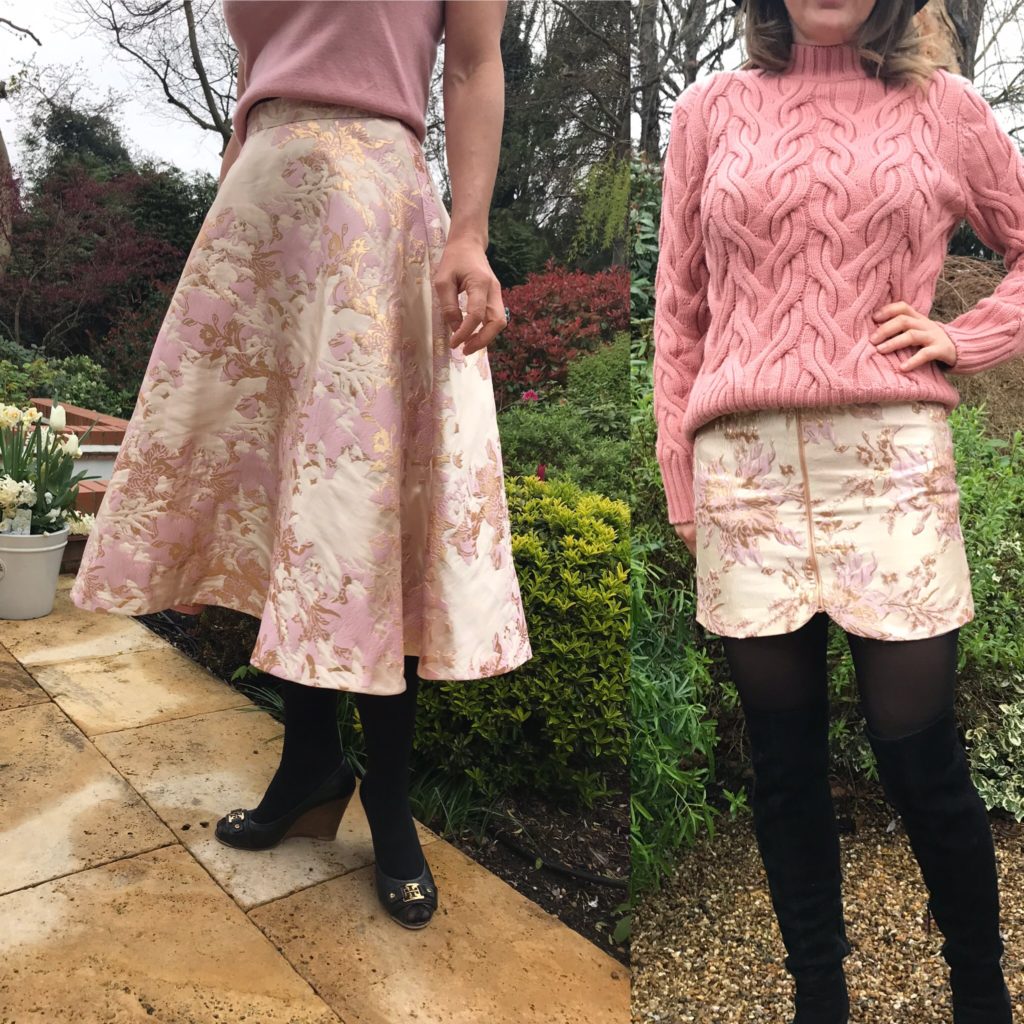
I WISH I HAD BEEN TOLD NUMBER 3… BROCADE IS VERY RIGID. It has no give whatsoever and does not really shape to the body. So I would not recommend using it for very tight fitted garments like my mini skirt, because it is just not comfortable to wear.
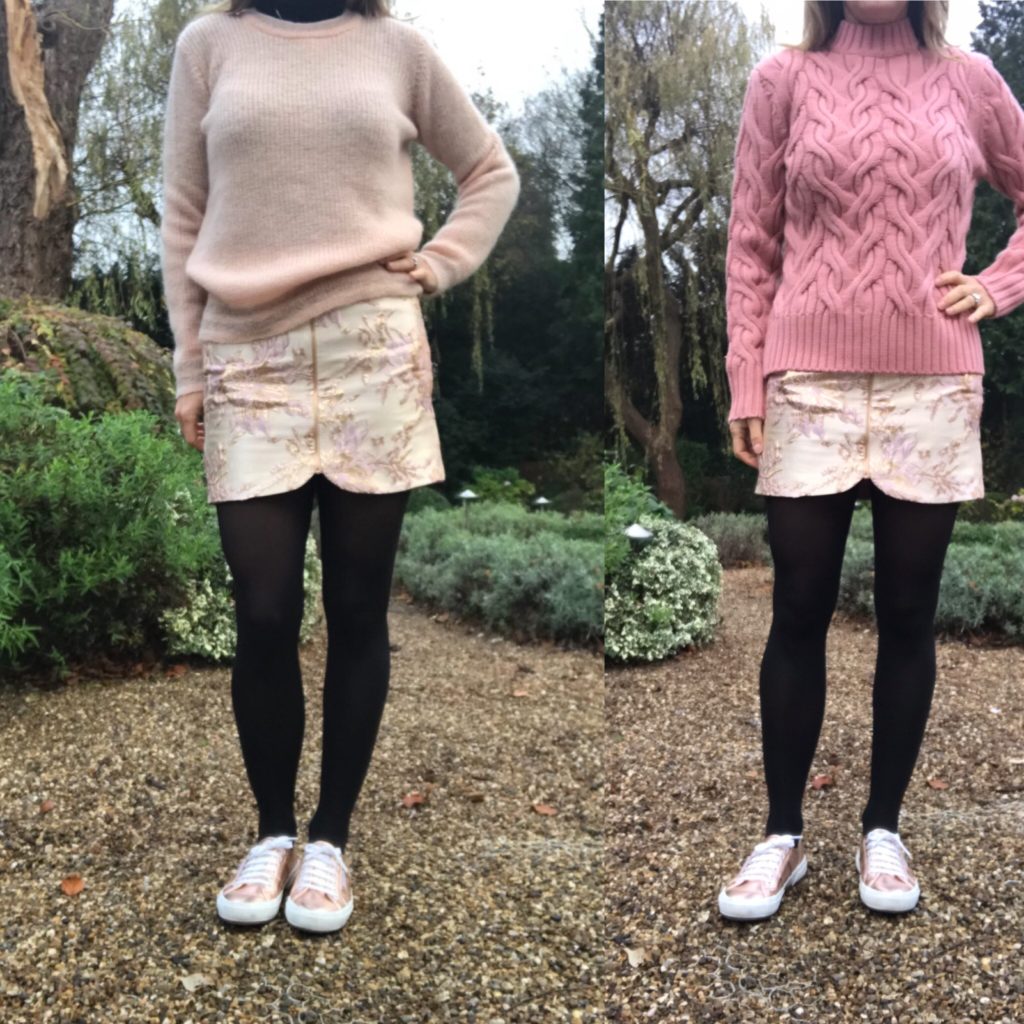
I would not recommend a very puffy gathered or pleated skirt either – I tried the later and it looked terrible. And I would strongly advise having plenty of seam allowance, to be able to enlarge at key areas – I did have to enlarge both my dresses (which are based on a fully tried, tested and perfectly fitted pattern) and my midi skirt at the waist.
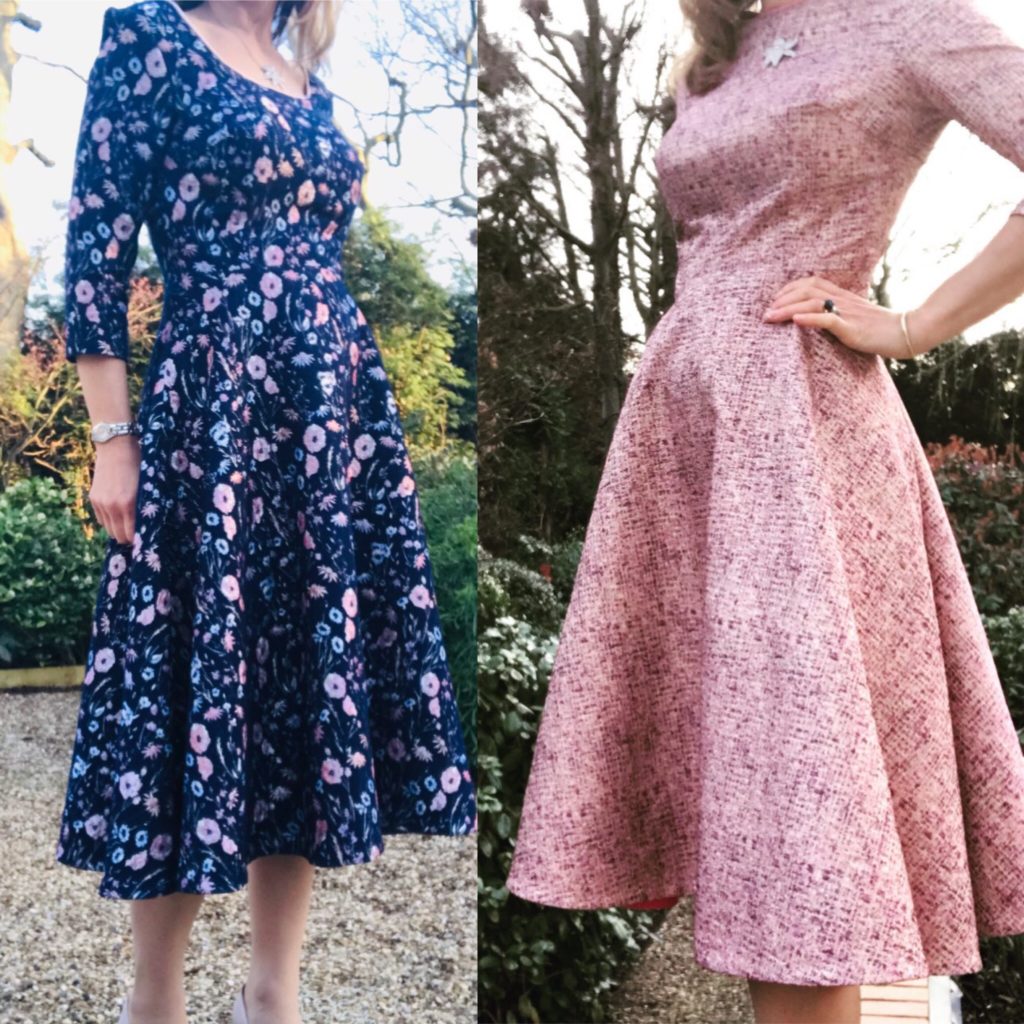
I WISH I HAD BEEN TOLD NUMBER 4… BROCADE AND VISIBLE STITCHES JUST DO NOT WORK WELL TOGETHER. So get ready for a lot of hand-stitching, especially if you chose a circle skirt! Both brocade dresses and my brocade skirt are based on a (self-drafted) semi-circle skirt pattern; and I followed wonderful Emily Hallmann’s advice on how to line them: I sew with my machine a bias tape at the bottom, then fold it and and hand-stitched it inside. The hand-stitching takes absolute ages (90 minutes for a half-circle skirt, I counted!) but it is really worth the effort, the result is flawless. The bias also creates a nice rigid curve at the bottom, which is really pretty in my view.
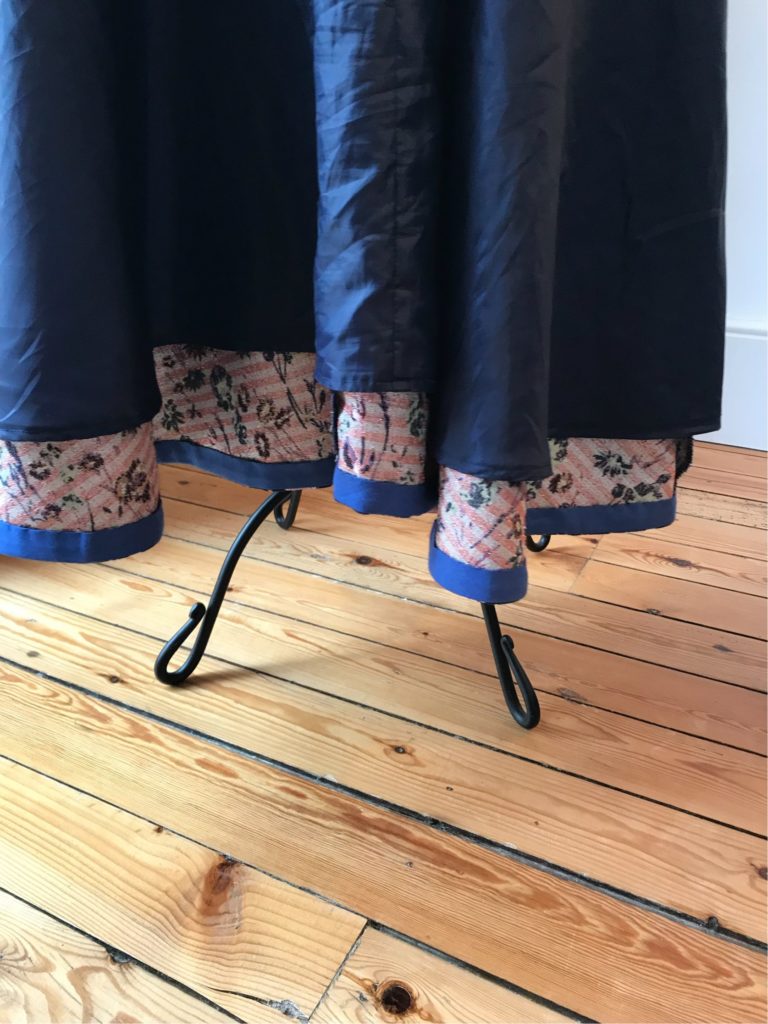
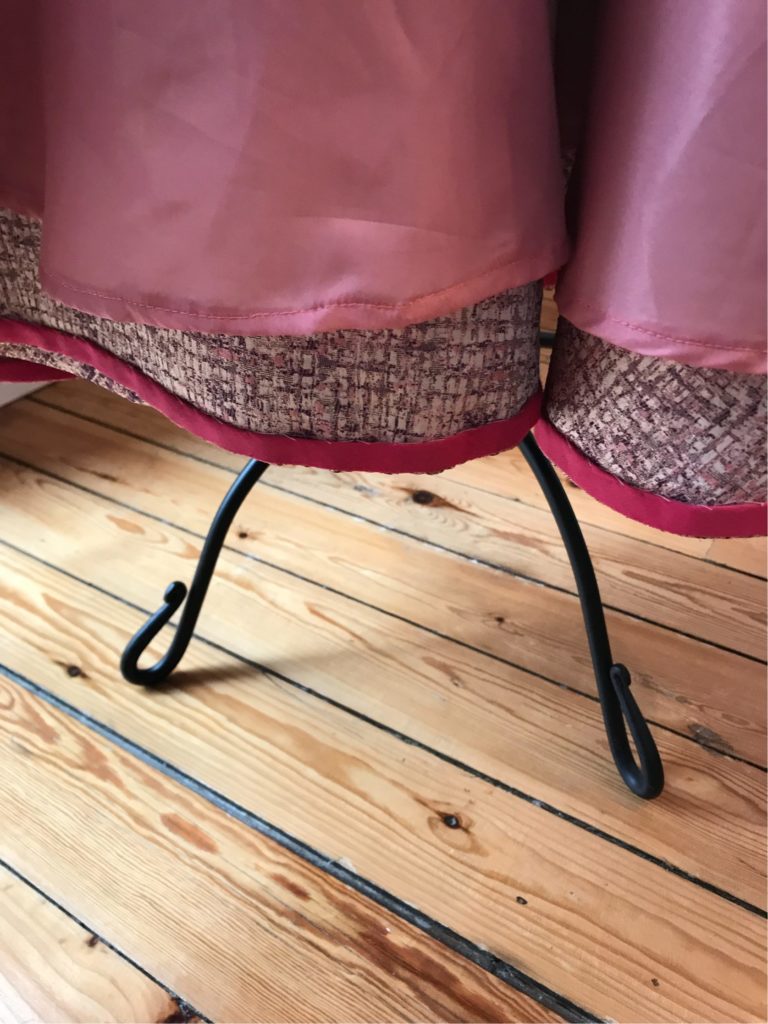
I WISH I HAD BEEN TOLD NUMBER 5 … BROCADE OFTEN HAS A “WRINKLY SIDE”, WHICH IS QUITE DIFFICULT TO WORK WITH. So you have two options: either use the wrinkly side as your right side and be super careful that you don’t create unwanted folds when you sew – this will definitely require more time and attention than with “normal” fabric. Or work on the other side of the fabric, which is perfectly smooth – for illustration my mini skirt is wrinkly-side out, while my midi skirt is smooth side out.
I WISH I HAD BEEN TOLD NUMBER 6… BROCADE IS ABSOLUTELY BEAUTIFUL SO DO GO AHEAD AND USE IT!!! And I hope you will find this article useful to tackle this material.
Sewing a B6446 dress in pink and gold brocade
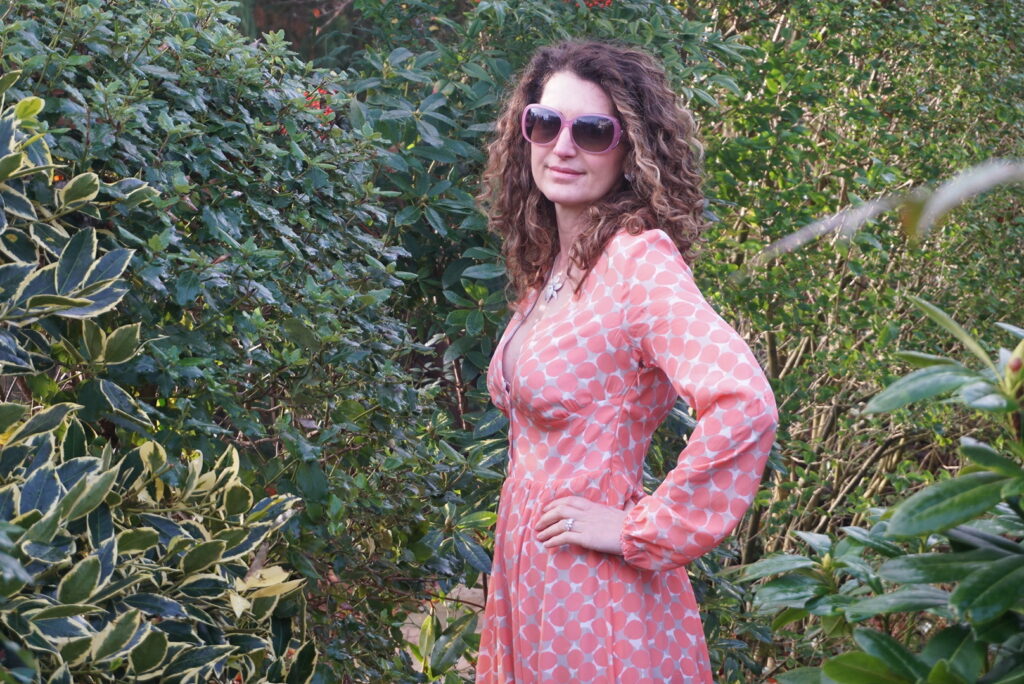
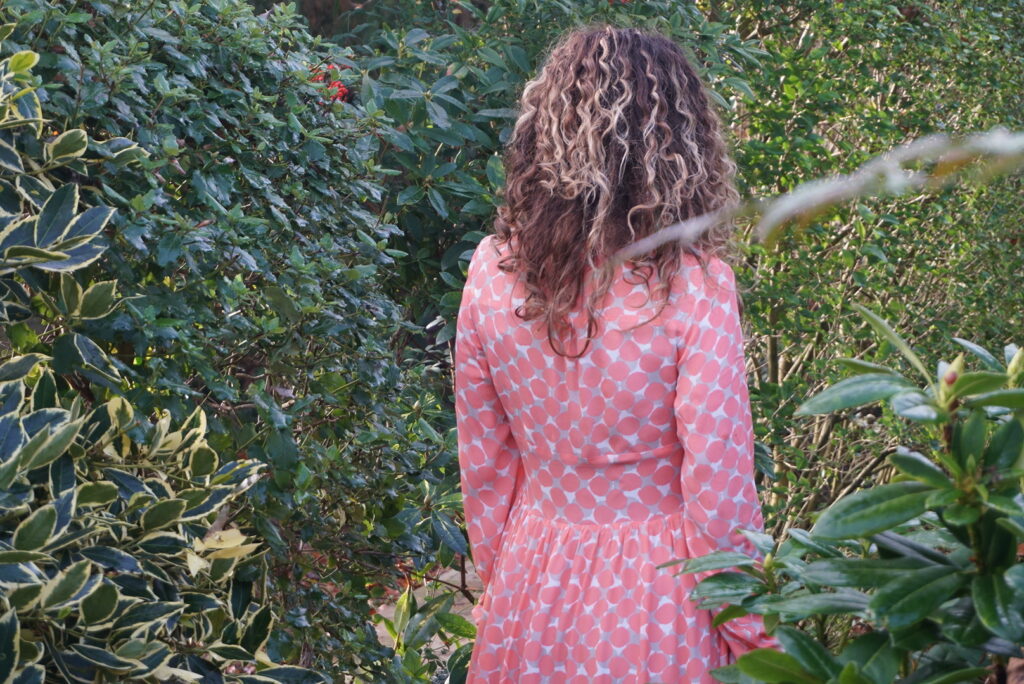
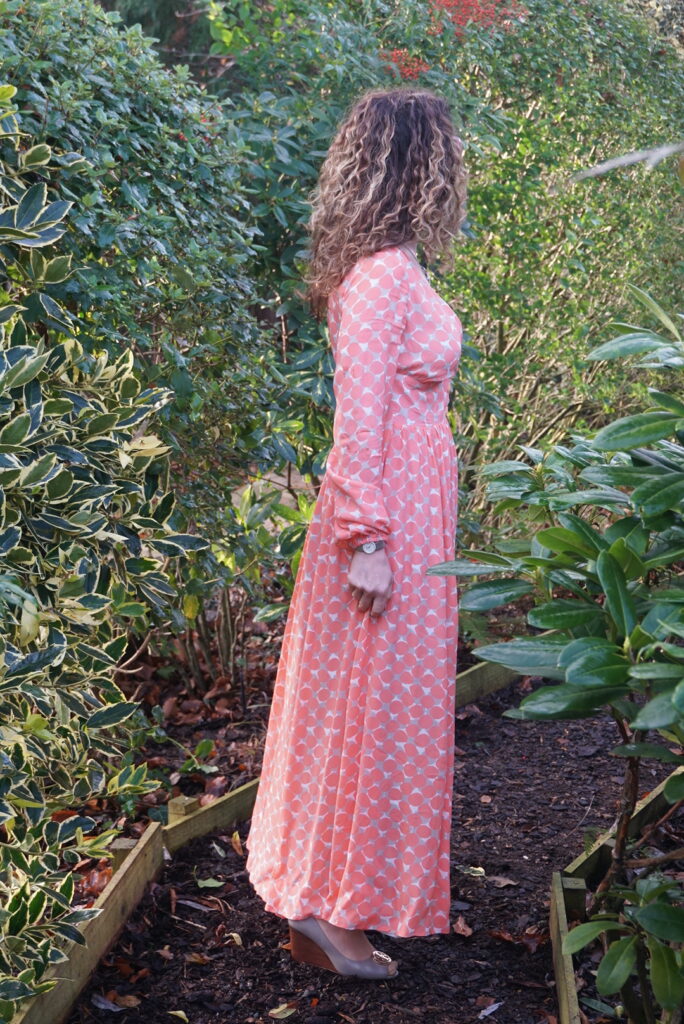
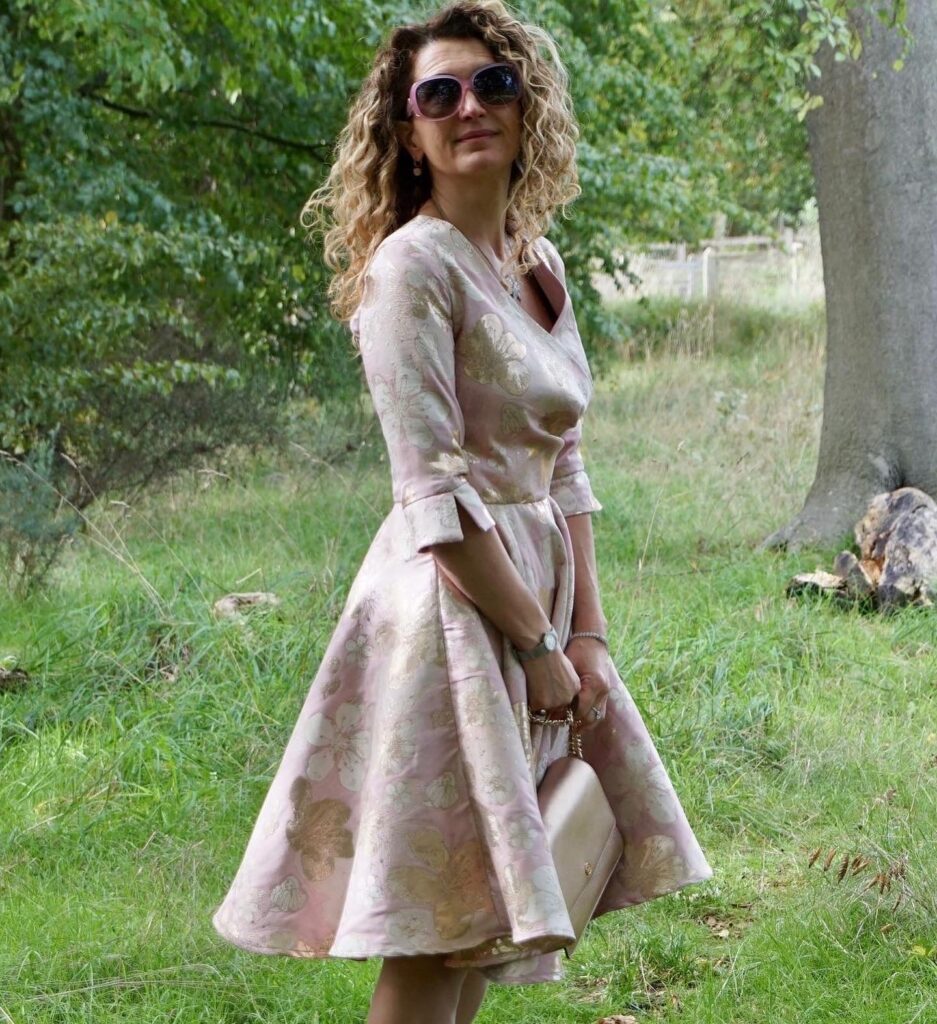
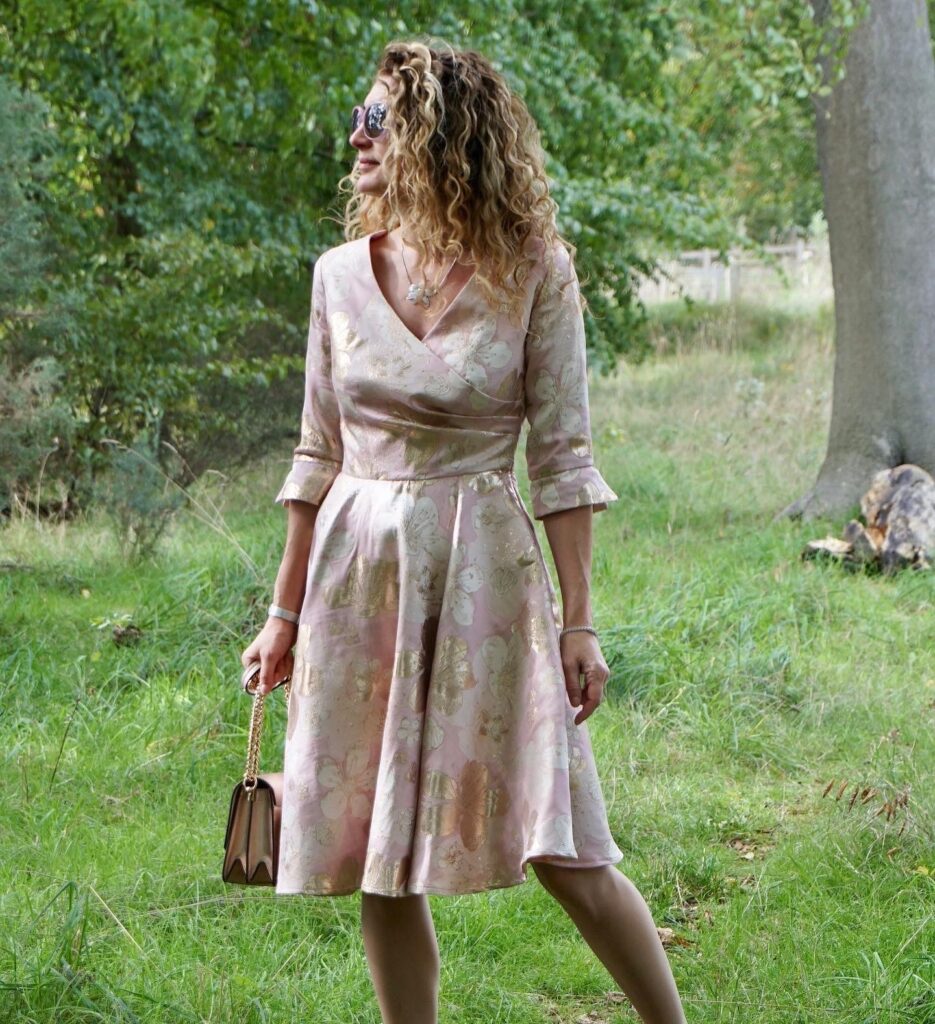
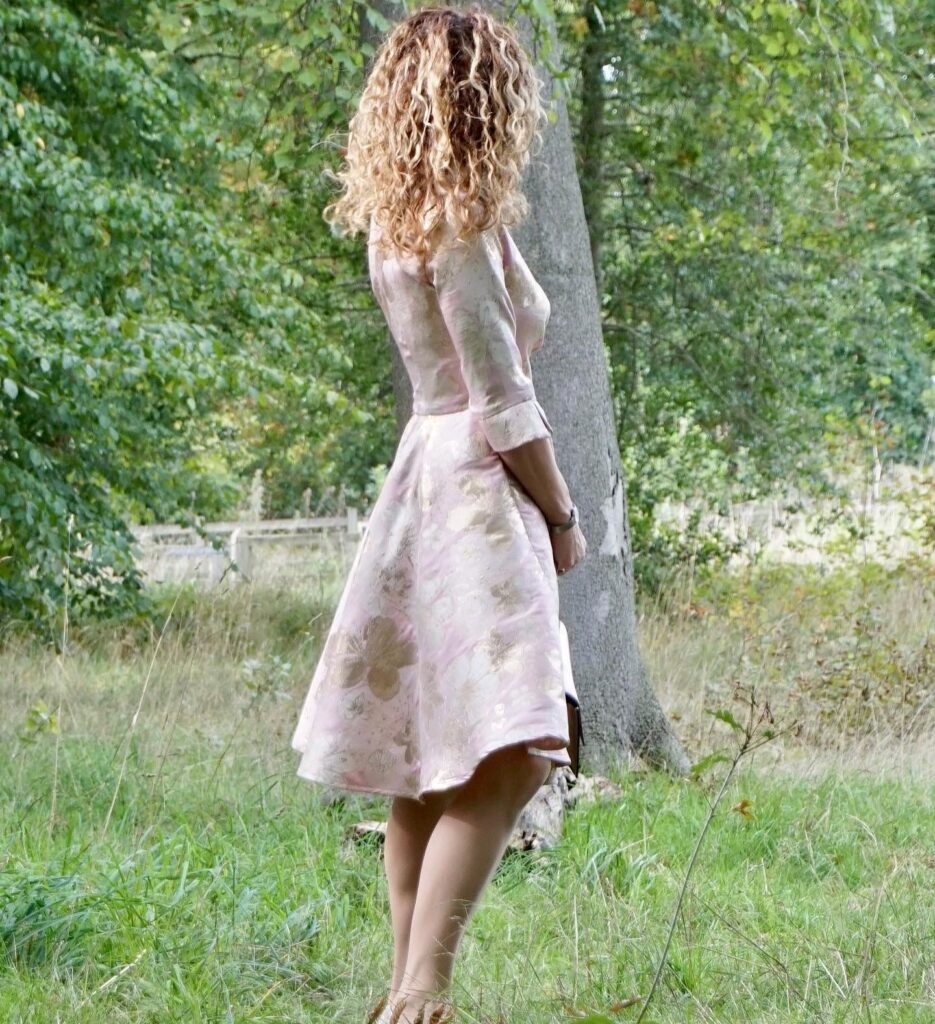
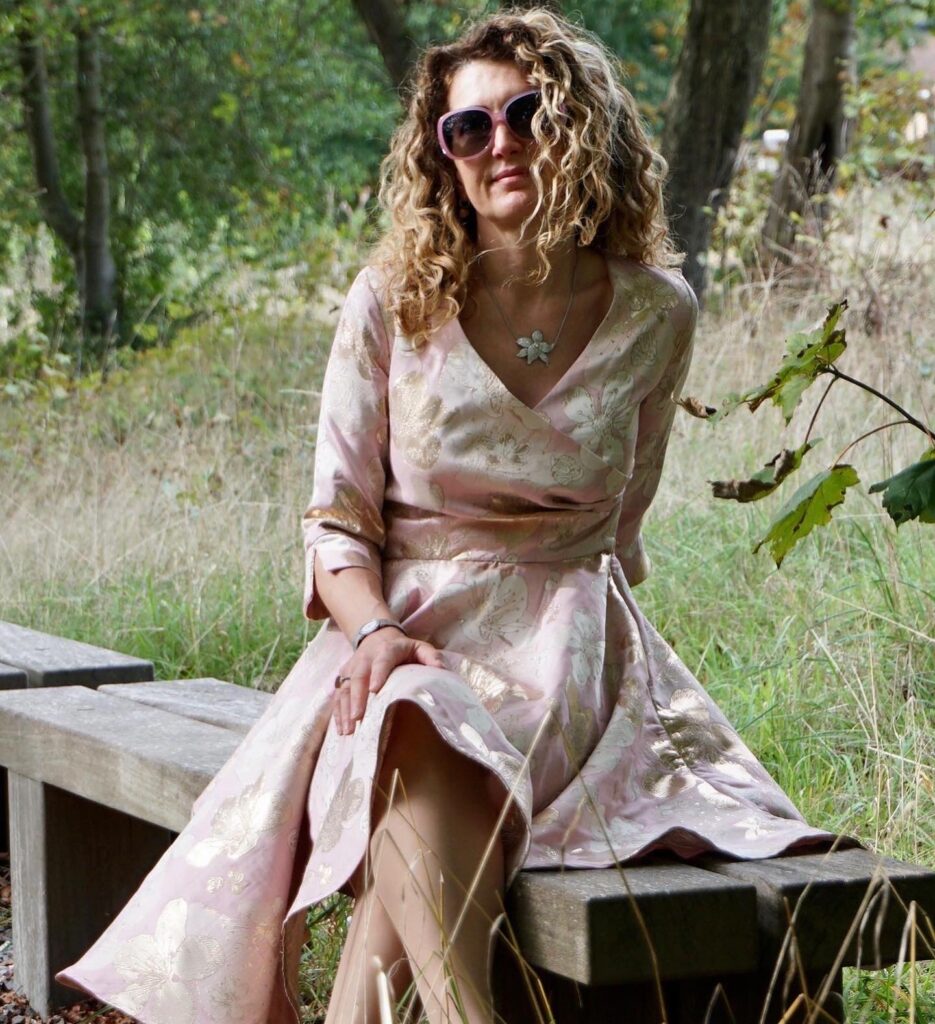
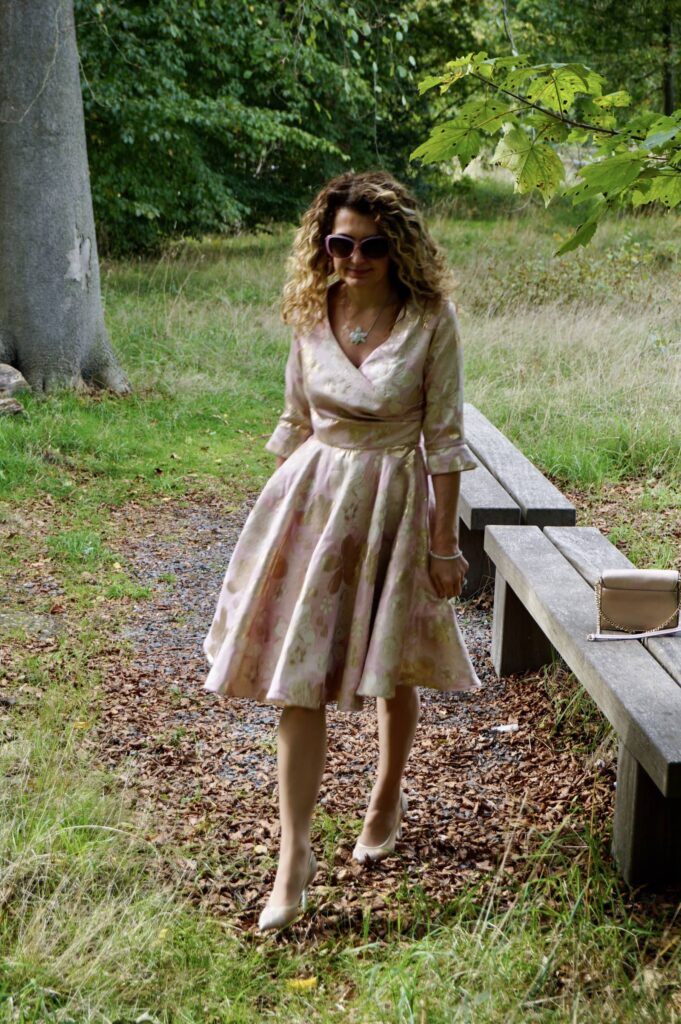
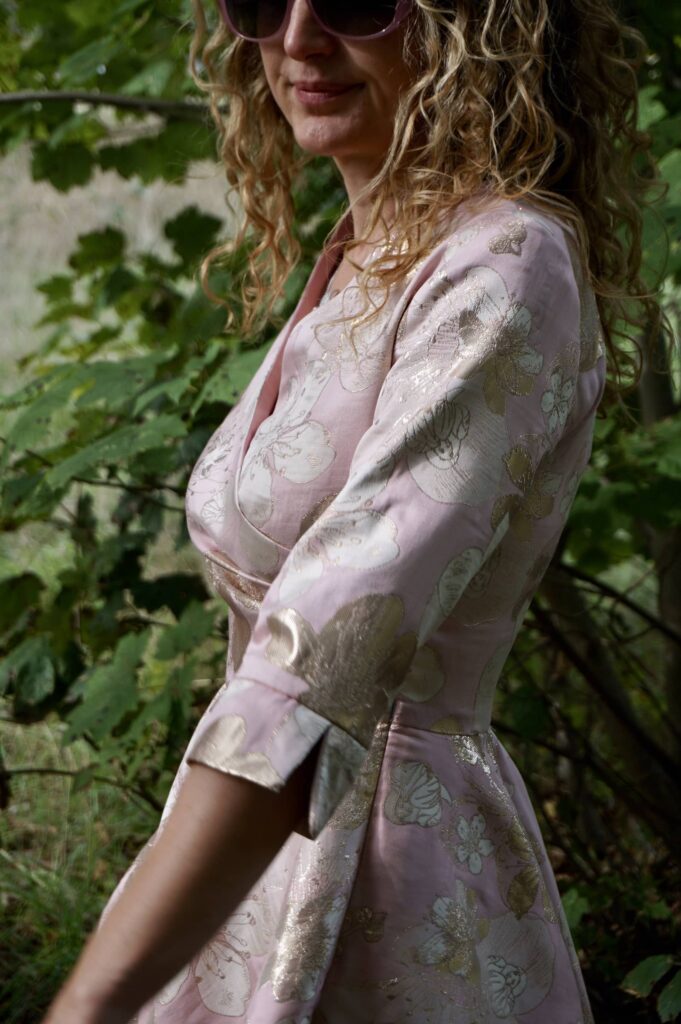
The transition to Autumn sewing has been slow on the blog. Life has been busy, with a very big project finally materialising – we are building a house and the construction is finally happening, hurrah!!! However, I have managed to find time to sew, and here is my latest make: a B6446 dress, in a glorious pink and gold brocade – discreet and understated as ever…
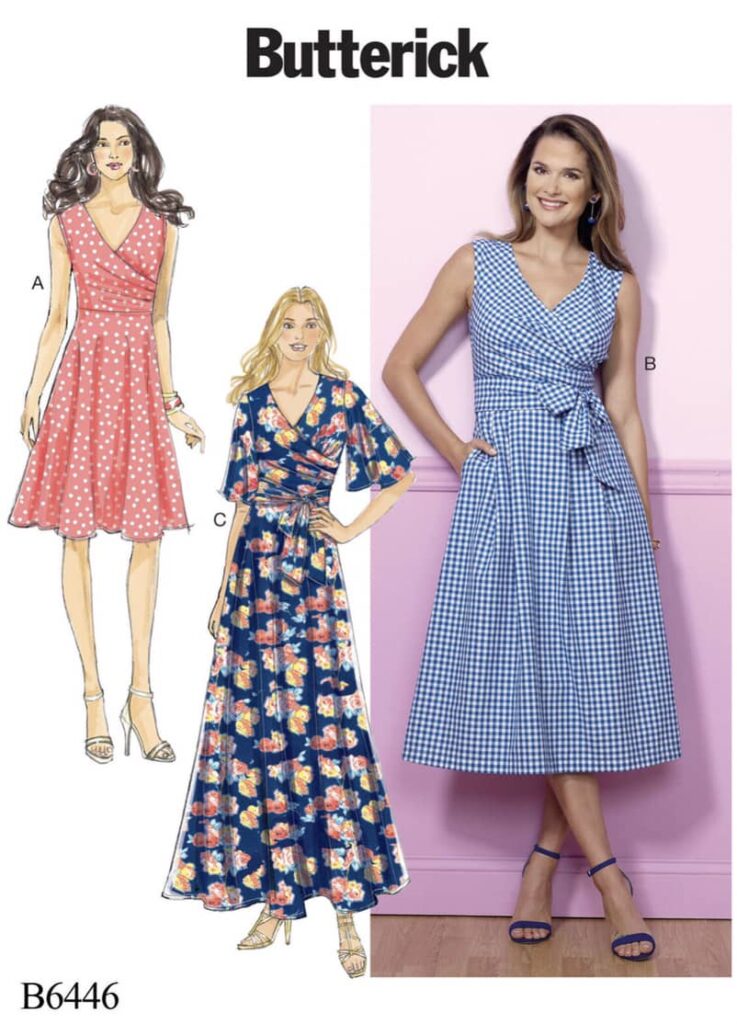
B6446: an all-time favourite pattern
I have now sewn the B6446 dress pattern… well, quite a few time! Enough for it to become well establishes in the “Six Mignons Sewing Hall of Fame”, along with M7081 (8 versions), Magnolia by Deer&Doe (x8), V9253 (x5), M6696 (x4) !
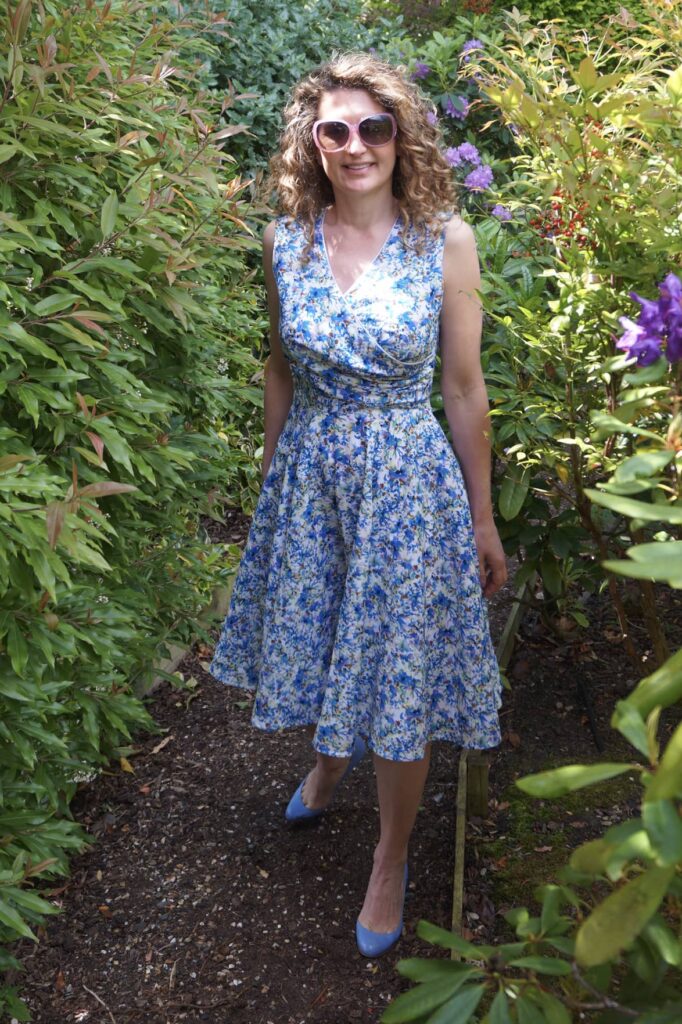
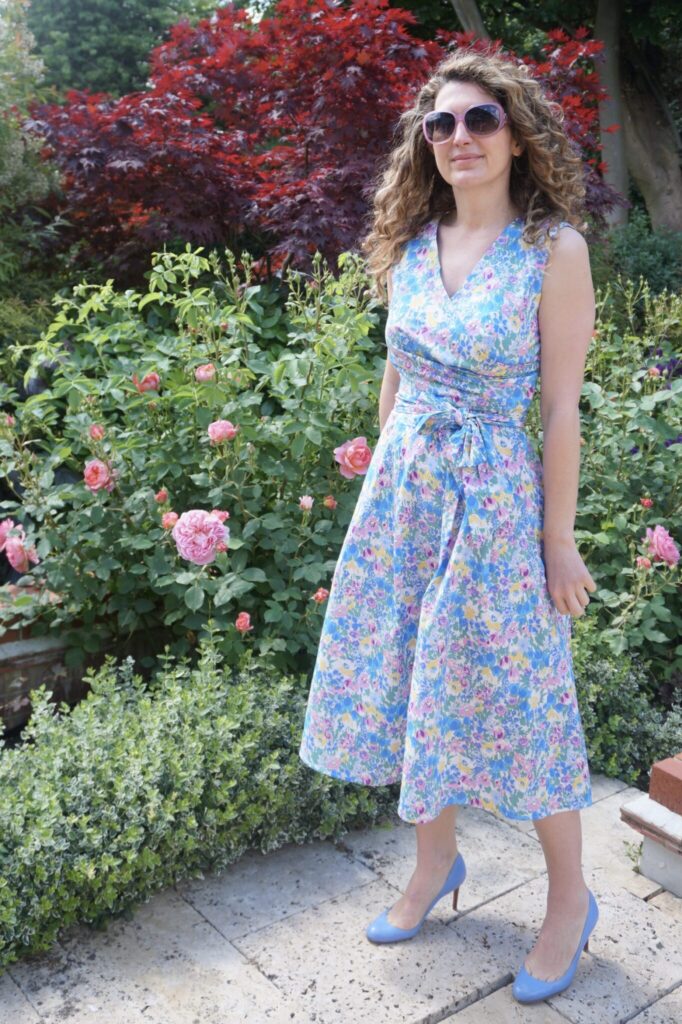
Here are my previous three versions of this pattern (reviewed on the blog here and here).
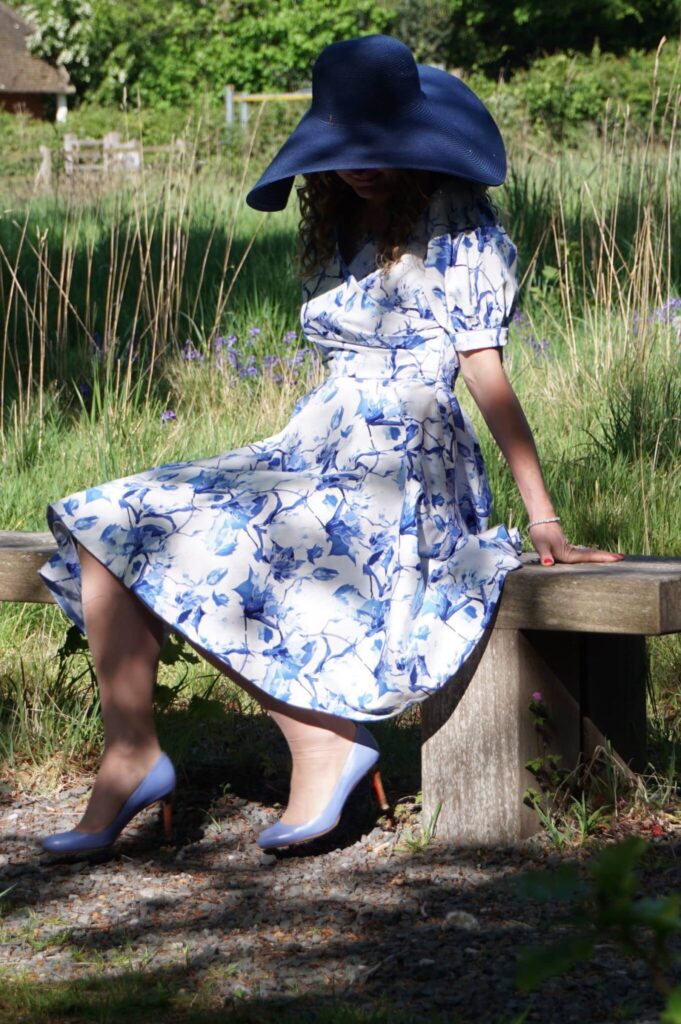
B6446 pattern review: many positives, only one negative
Let’s repeat what I said before. There are many things I like about the B6446 pattern:
- The dress beauty lies in its mock-wrap bodice: the bust ease of the top piece is created by three side pleats, caught in the side seam. These pleats are not replicated on the hidden part of the bodice wrap, to avoid unnecessary bulk.
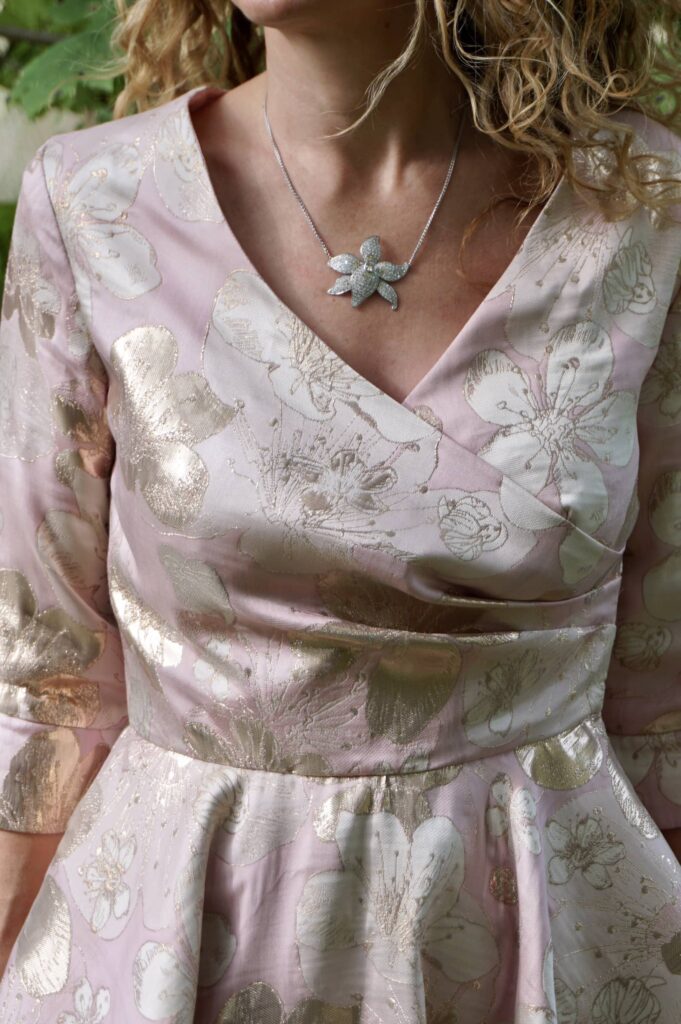
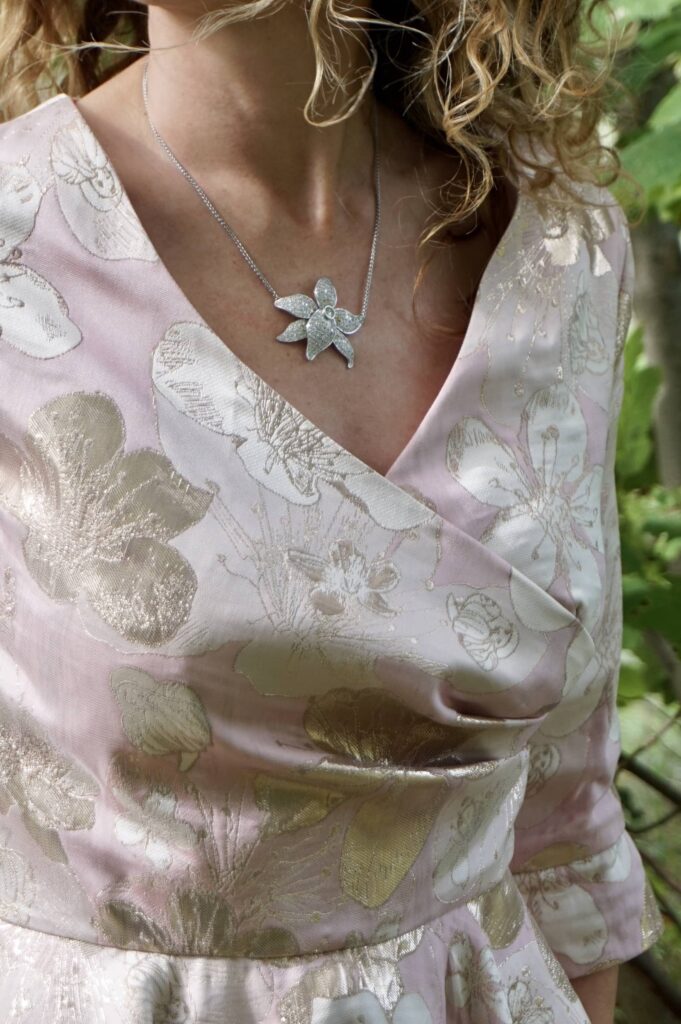
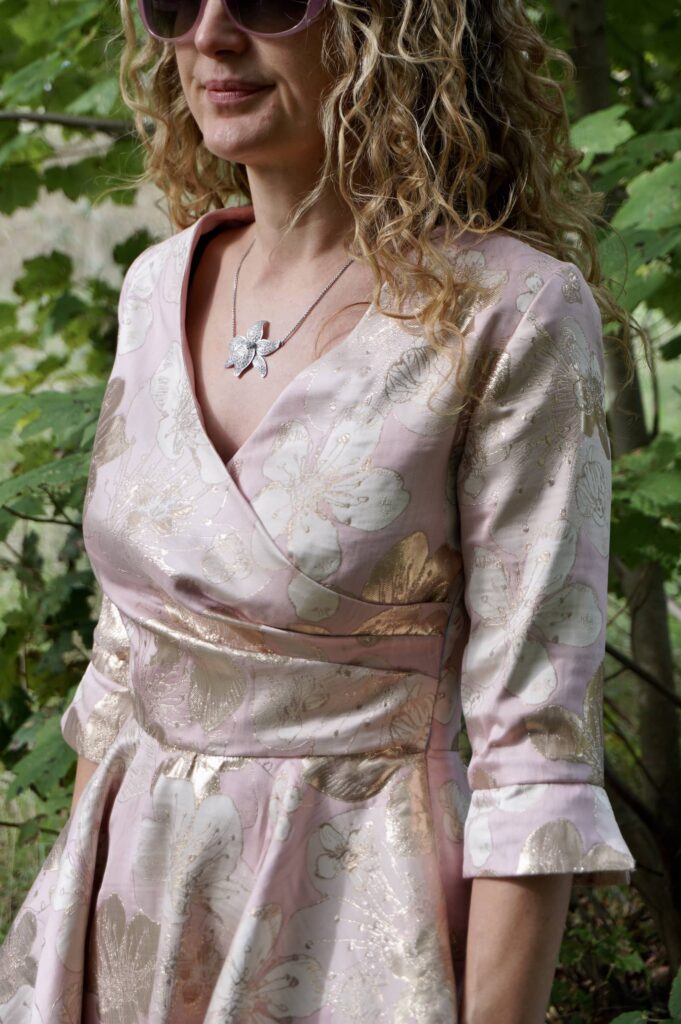
- The dress fits to perfection. As usual with Vogue/ Mc Call’s/ Butterick pattern, I cut a size 10 for my UK 8/ FR 36 / US 2. After making a bodice muslin, I did add 0.5cm at the waist to have a tiny bit more ease; but I made absolutely no other changes. In particular, there is plenty of bust room and I did not need an FBA for my E cup – hurrah!
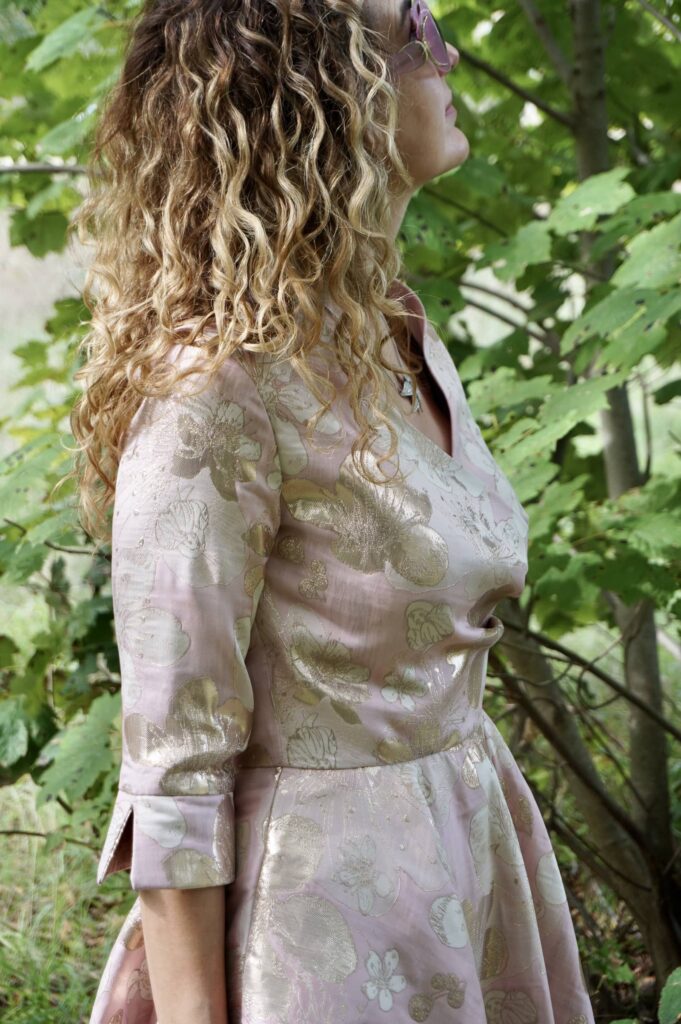
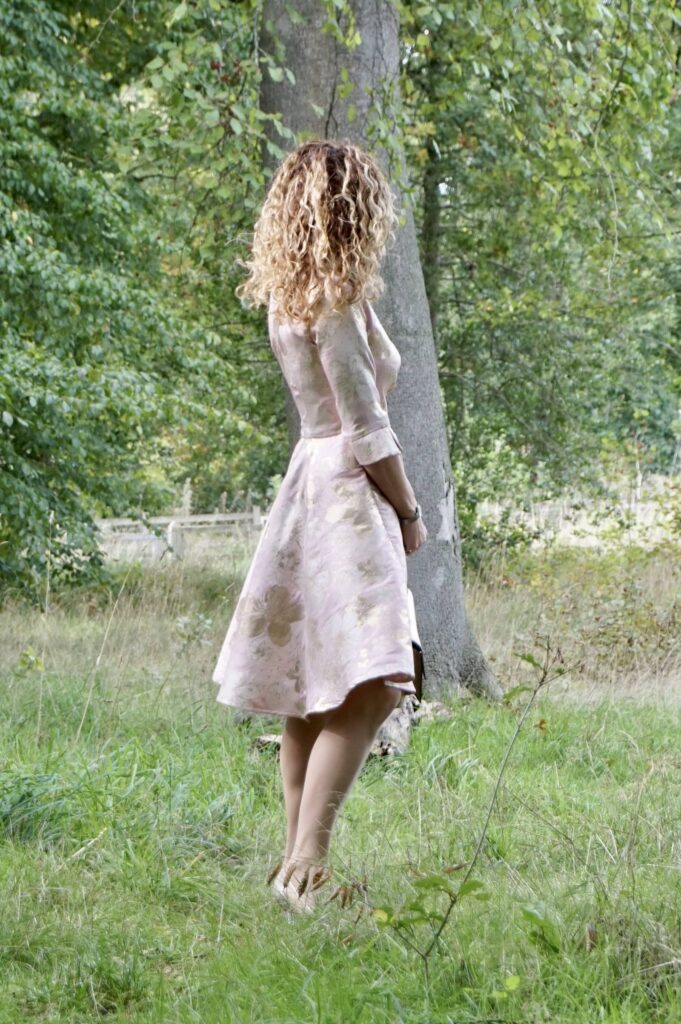
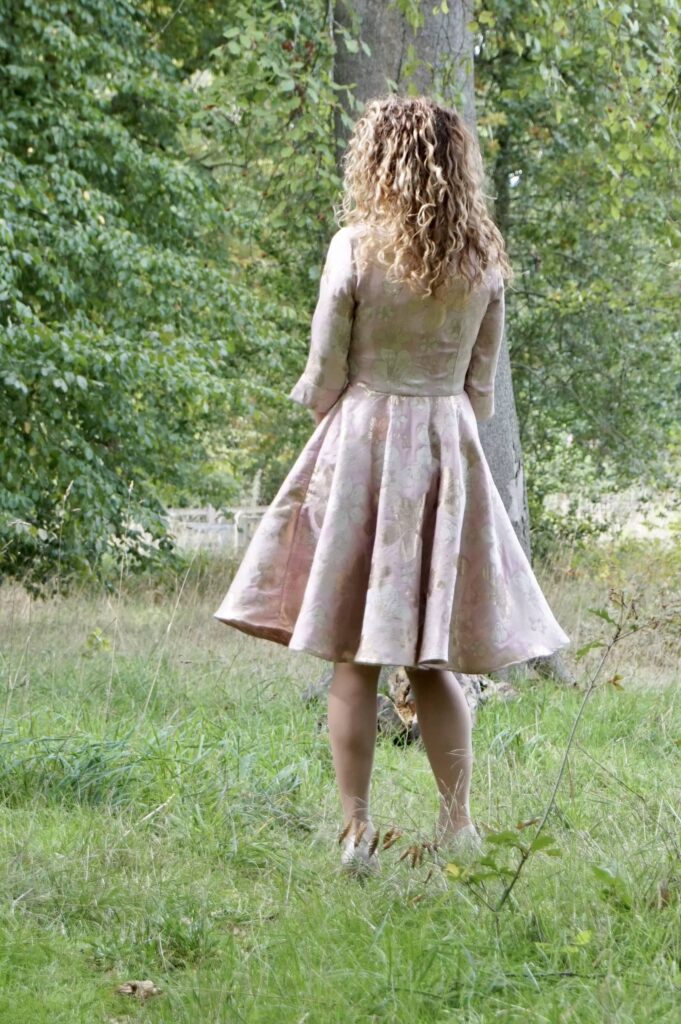
- With a fully lined bodice, the inside finish is absolutely impeccable. I fully line my dress bodices most of the time anyway but it is usually not included in the pattern instructions – here it is.
- The pattern instructions are crystal clear, as they usually are for Butterick, Vogue and McCall’s. If you are not used to lining bodices, they will help you immensely.
The major negative of this pattern is the bottom. The skirts on offer are frankly uninteresting in comparison to the bodice. I would strongly advise you go for much more volume with a full circle skirt, as I did.
Changes I made to the pattern
I made two main changes to the pattern, using pattern pieces from my beloved M7081:
- As just mentioned, I swapped the skirt for a full circle, so much more appropriate to the style of this dress in my view. Please note that I am note wearing a petticoat under my skirt, all the volume comes from the skirt itself – this is the reason why I like full circle skirts so much!
- As I really dislike the sleeve option offered by the pattern, I used the sleeves from M7081.
Fabric choice: advice for sewing metallic brocade
The fabric is used for this dress is a gorgeous pink and gold brocade from Croftmill (still a tiny stock left here at the time of writing). This is a fabric I enjoy wearing a lot in colder months, in a colour combination I absolutely adore.
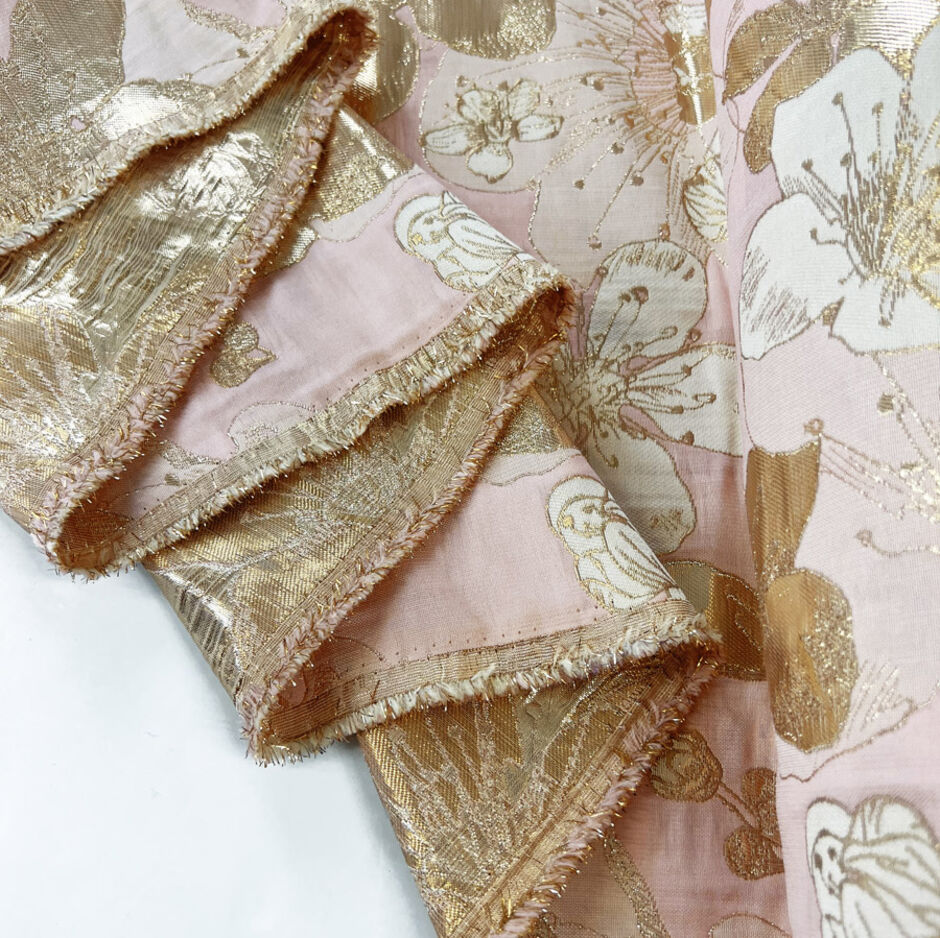
Croftmill had a large arrival of these brocades early September and I really had to refrain myself from purchasing the entire stock… They have two very big advantages: they are very affordable, at £12/metre (brocade usually costs £30 +); and most are soft brocades, which are perfect for dresses – did you not know I sew mostly dresses? Here are two other options I am about to purchase:
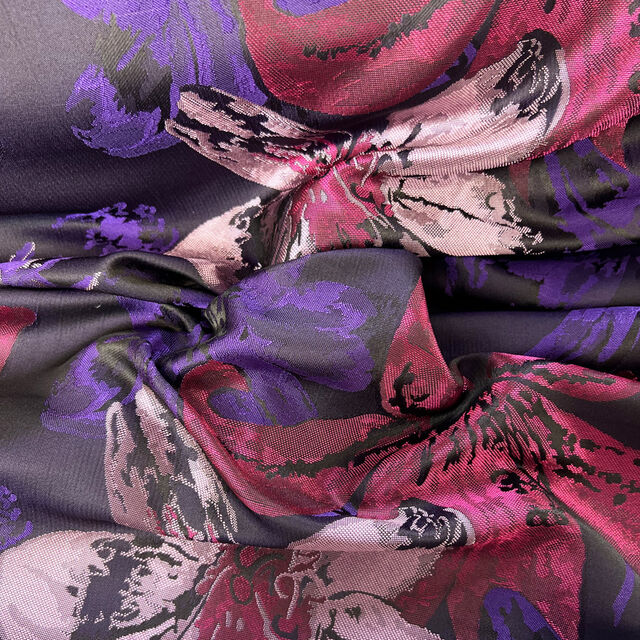
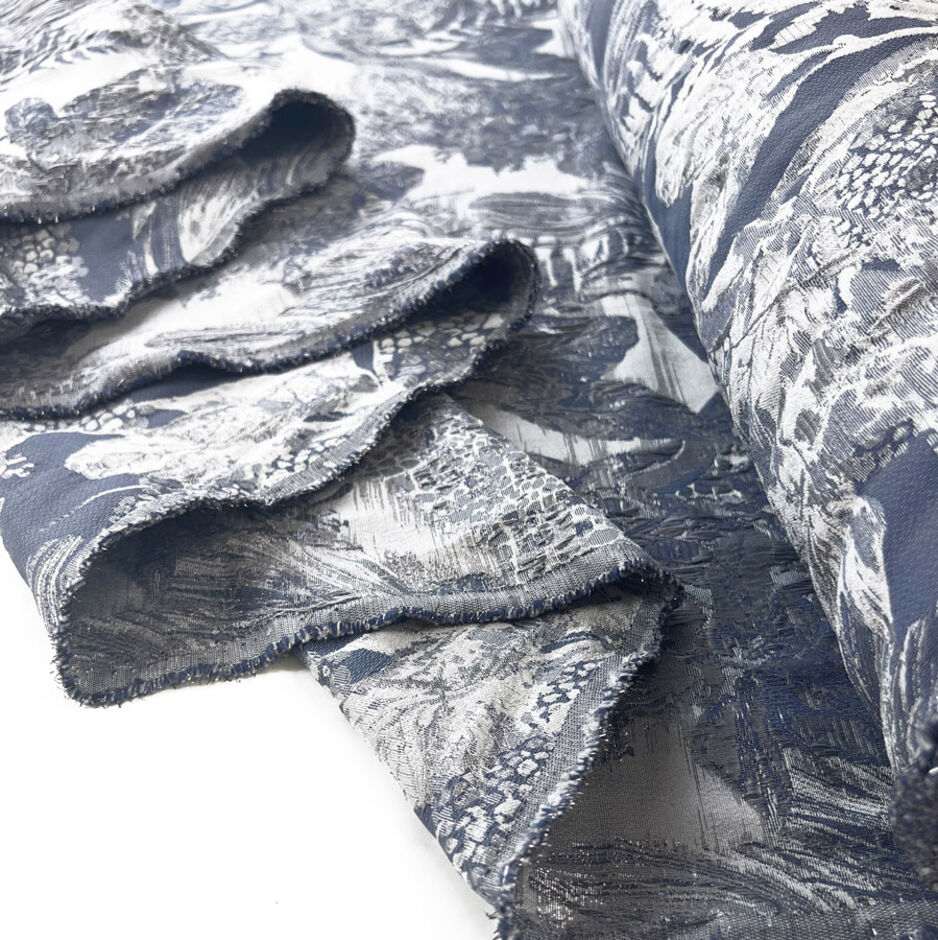
The problem with metallic brocade is that it creates several challenges to sew. I wrote a full article about how to sew metallic brocade a few years ago, here is a summary:
- Brocade frays like there is no tomorrow so make sure you overlock absolutely all raw edges, even if they are covered with lining.
- Metallic brocade is extremely itchy and absolutely intolerable on bare skin, so make sure to entirely line your garment and to finish your neckline so that the brocade fabric in not in contact with your neck (piping is a good option).
- Brocade has very little give, so I would not recommend it on extremely fitted garments; and I would allow a bit more ease than usual.
- Visible stitches are a no-go on brocade, so all hems will need to be invisible!
Once you’re aware of these points, the sewing is quite easy, because brocade is very stable hence easy to sew.
Conclusion
Another dress I am entirely satisfied with! I am now working frantically on a collection of mid-season cropped jackets to match my fit-and-flare dresses, more to follow soon…

Sewing for Spring: my denim shirt dress
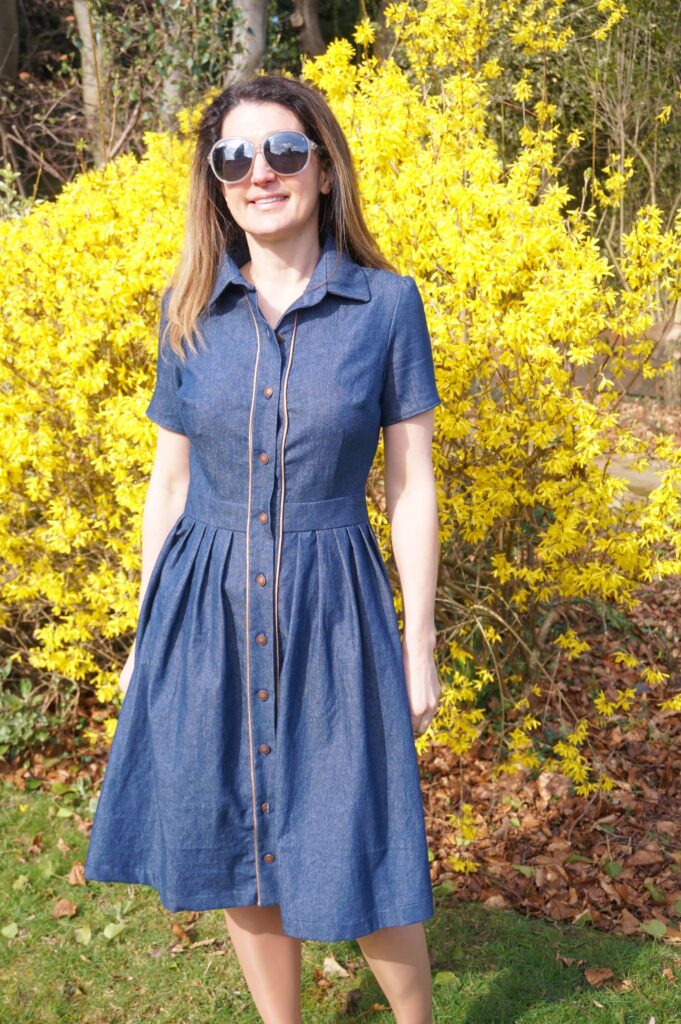
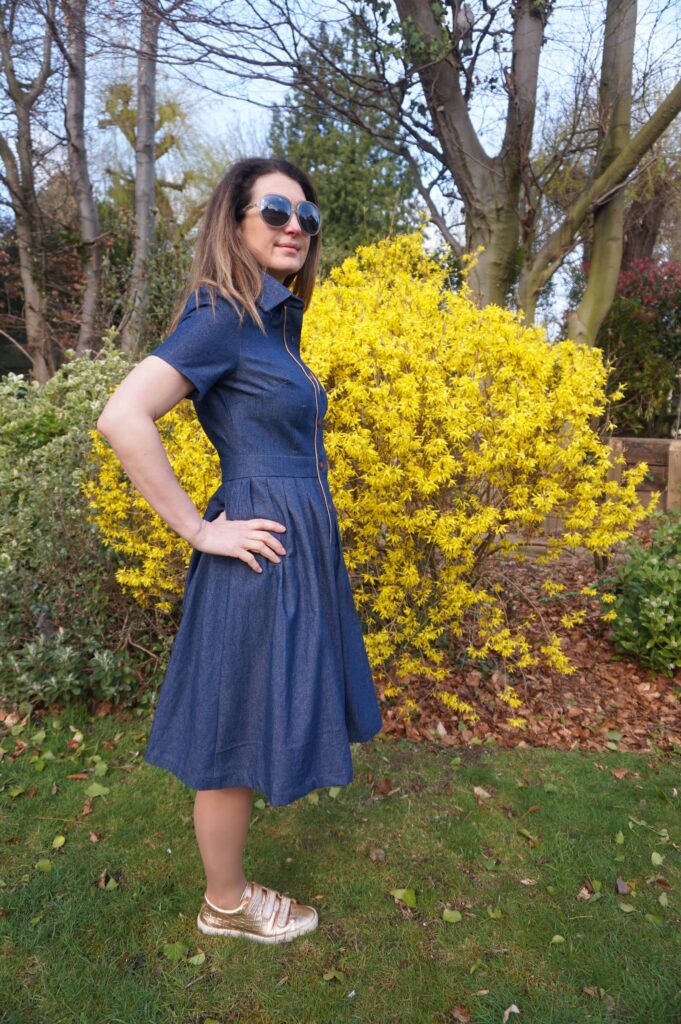
While I was putting my Spring sewing plans together a few weeks ago, I got a sudden and irrepressible desire for a denim shirt dress. Thankfully I had a tried and tested pattern in stock and I easily found the perfect fabric online, so here it is – waiting for the buttons was the longer part of the process here!
Another favourite shape
You may (or may not) have recognised McCall’s M6696, another McCall pattern I adore.
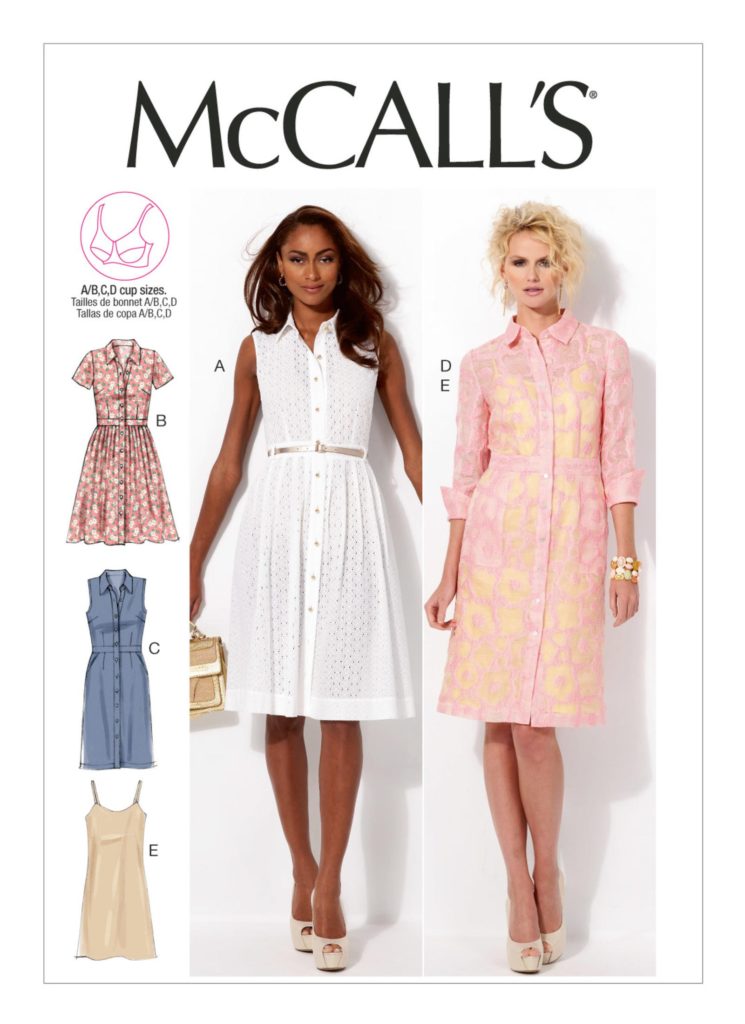
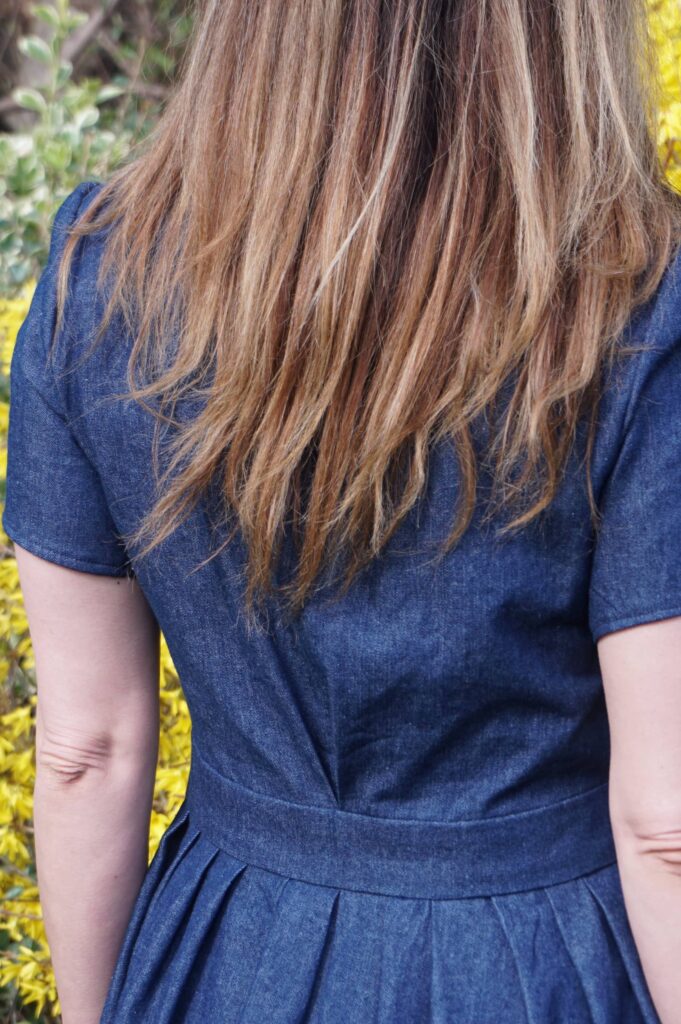
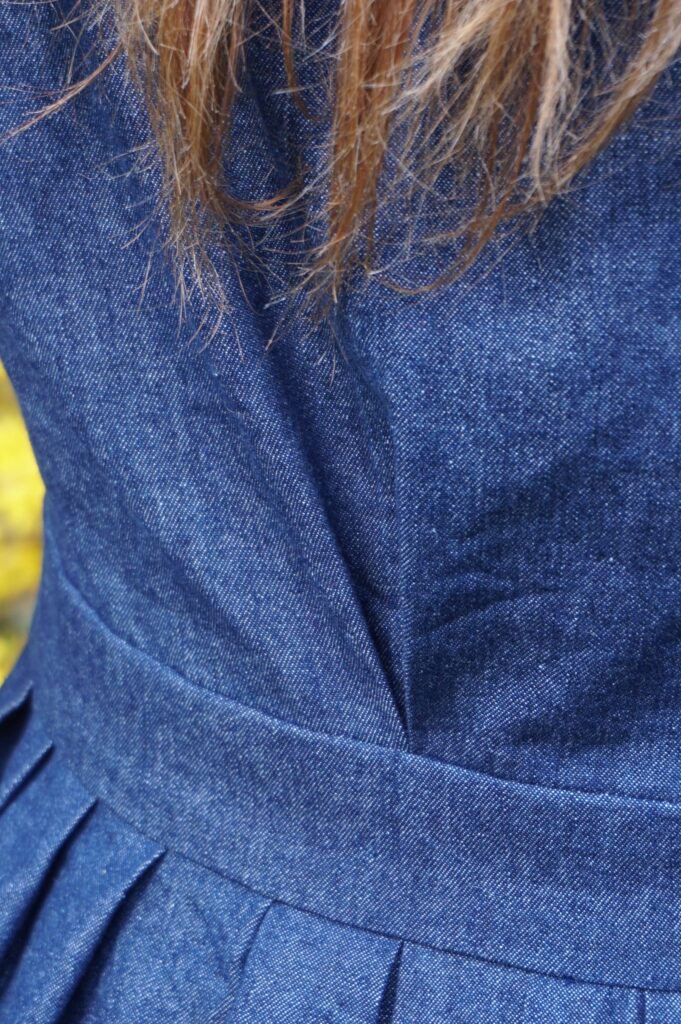
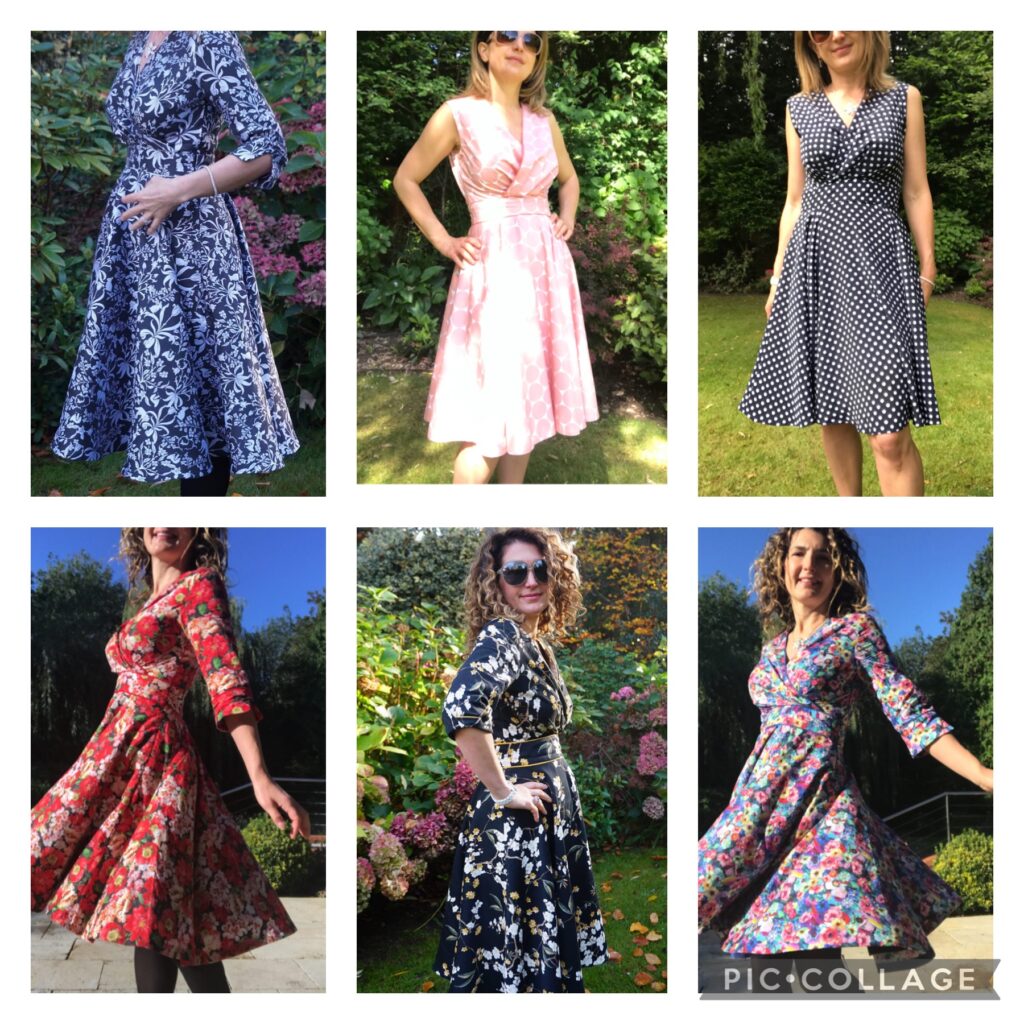
This dress has a fitted bodice and a pleated, knee-length skirt which are joined by a middle belt. This middle belt is a feature I really like in fitted dresses, as it accentuates the waist and avoids the skirt pulling on the bodice – M7081, another favourite of mine, has the same – just a few of my versions below…
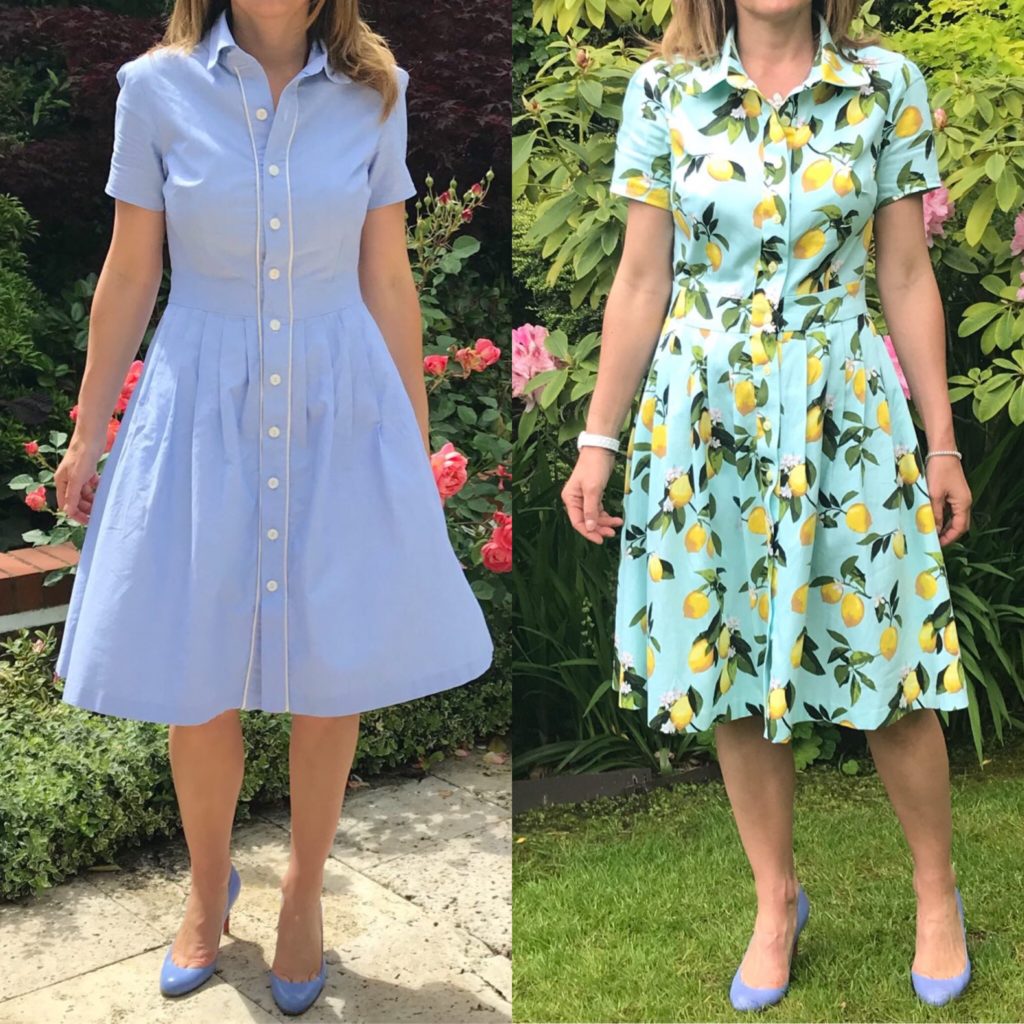
Anyway, back to M6696! I already made two versions in Spring 2019 and was itching to make another one as soon as the weather would be appropriate (I still haven’t worked out how to fully line it, otherwise I would have made a number of wool versions too). Here are my previous dresses, still featuring high in my Spring wardrobe – and I even managed to write blog articles about them, here for the blue chambray version and here for the lemon version.
M6696 pattern review
I really have only positive comments about this pattern so… let’s start:
- Perfect shape, as I discussed above.
- Perfect fit. This is definitely a very important point for me, as I like dresses with fitted bodices. McCall and Vogue patterns rarely disappoint me on this front. This pattern has the added advantage of offering custom bust cups, which mean perfect bust fit without an FBA, even for my E cup, hurrah! I am a 36 FR/ 8 UK/ 2 US, I cut a size 10 with C cup and did not have to make any fit adjustment whatsoever.
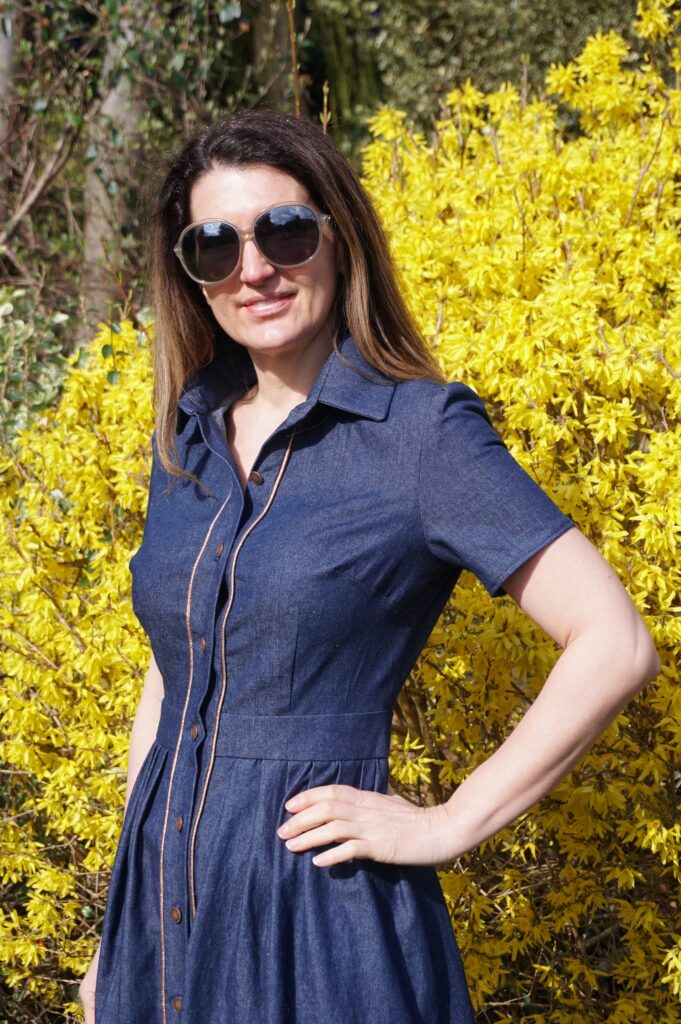
- Crystal clear instruction. The shirt style makes this dress a bit more complex than a basic fit and flare, due to the collar and the button placket. However the instructions are so clear that the pattern is completely accessible to everyone – as long as you know how to use the buttonhole function of your sewing machine! (it took me several years to master I admit…)
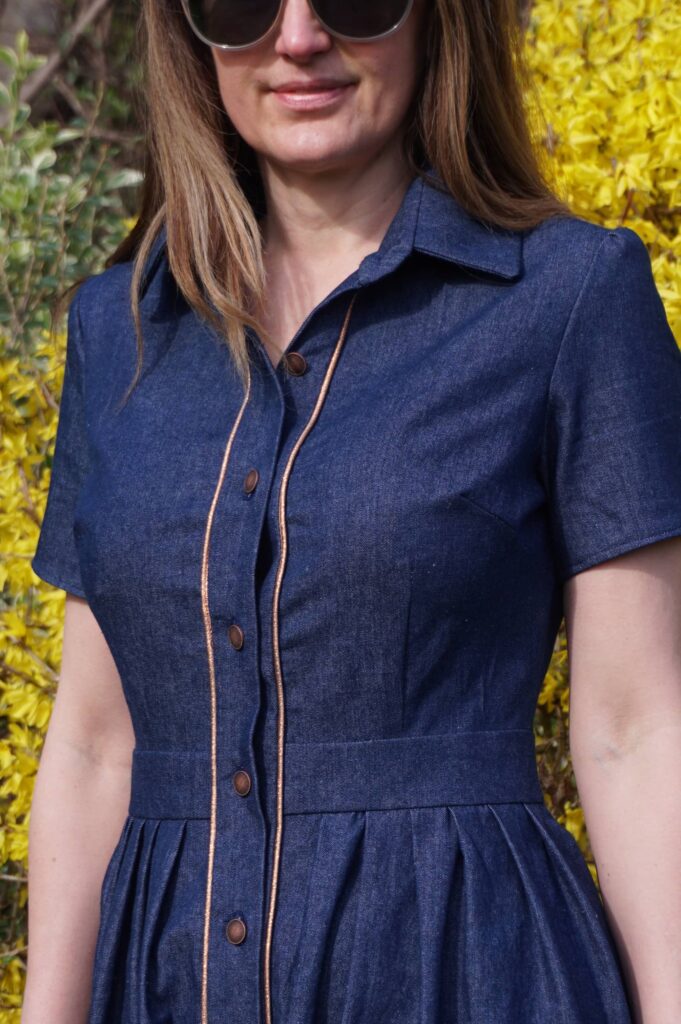
I made only two changes to the initial pattern:
- I added some metallic bronze piping on each side of the button placket – very easy to insert while you join each side of the placket to the dress. I had done the same thing with my chambray dresses and really liked the effect.
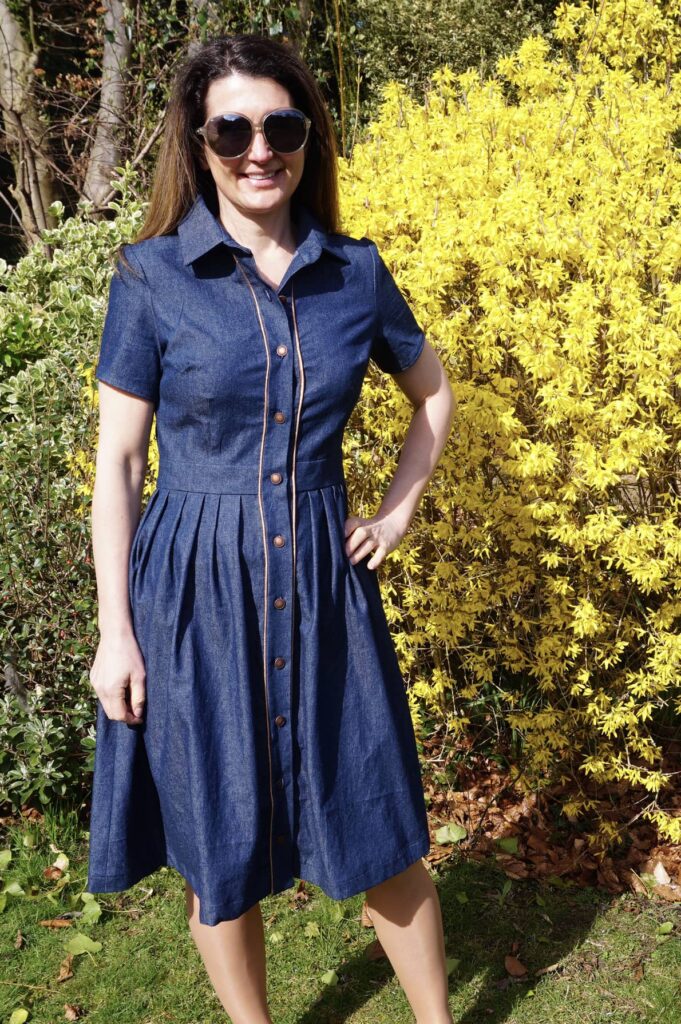
- I replaced the gathers of the back bodice by a pleat – much neater in my view, especially with slightly thicker fabric like denim.
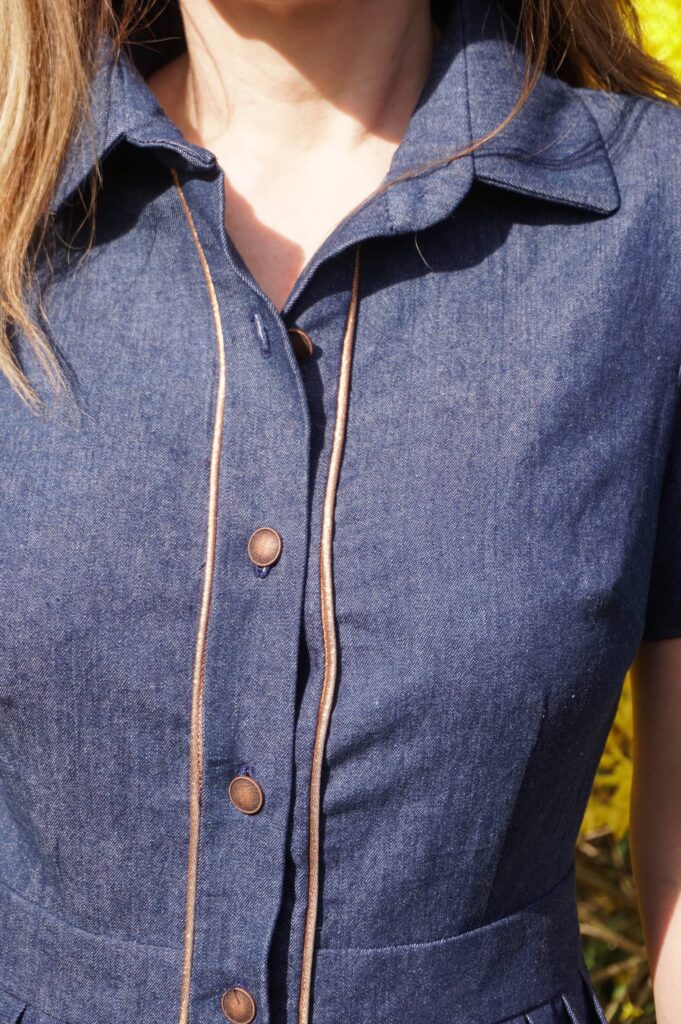
The only minor negative of this pattern is that it does not have a waist-stay, i.e. an inside closure which avoids the buttons pulling out, particularly at the waist level. I will definitely experiment with my next shirt dress. To make matters worse, I sew my buttons a bit too far on the outside. I did rectify this since these pictures, so now the placket sits better. But I did not have an volunteer to take new pictures, sorry!
Fabric used: 6oz is the perfect weight for a denim dress
I usually struggle to buy denim, even more so online. I got lucky this time : I ordered this 6oz denim from Fabrics Galore and it was both the perfect colour and weight.
The piping had been in my stock for years, bought in France when it was difficult to get metallic piping in the UK (plenty on E-Bay now). And I found the buttons on Etsy, after a long search for bronze buttons that would match the piping.
Conclusion: shirt dress frenzy
I recently brought my sewing machine for repair, after damaging it by sewing over a pin (I know….). Since then, the automatic buttonhole function has been working perfectly – although for 10 buttons, you still need to turn the machine on and off a few times, otherwise at some stage the function goes crazy…. Oh well…
I am very pleased with this dress, which reminded me how much I like shirt dresses. With the buttonhole situation now under control, do expect more shirt dresses on the blog soon!
Sewing with silk: a new M7974 dress
In my 2020 sewing review, I mentioned that one of the 2020 achievements I was proudest of was to have mastered sewing a silk dress. But the dress was actually never posted on this blog. So here it finally is, in all its silky beauty!
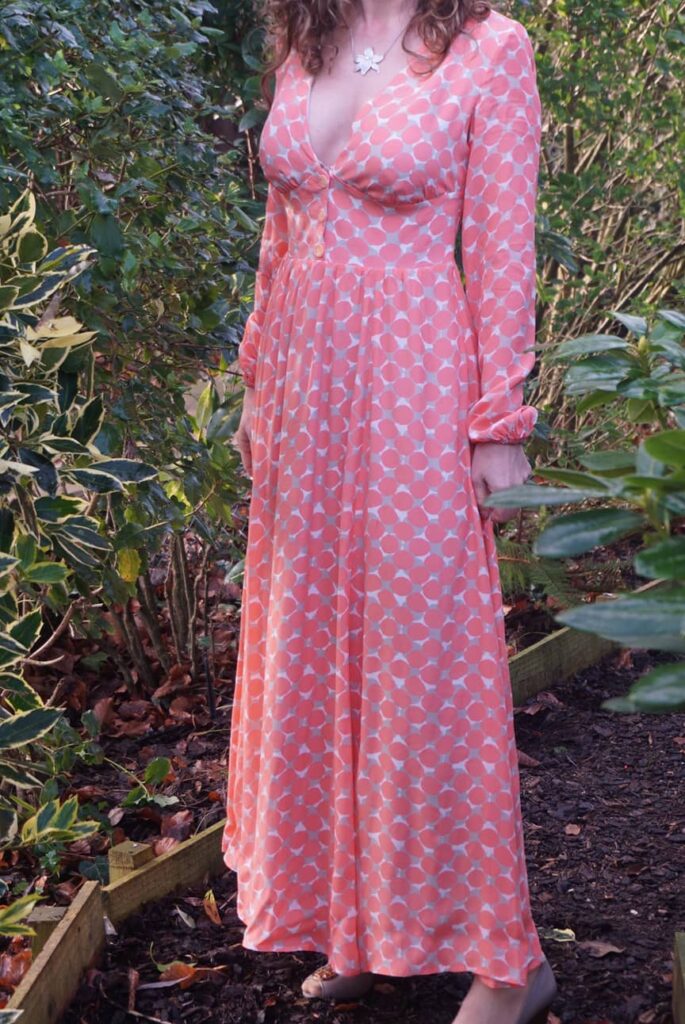
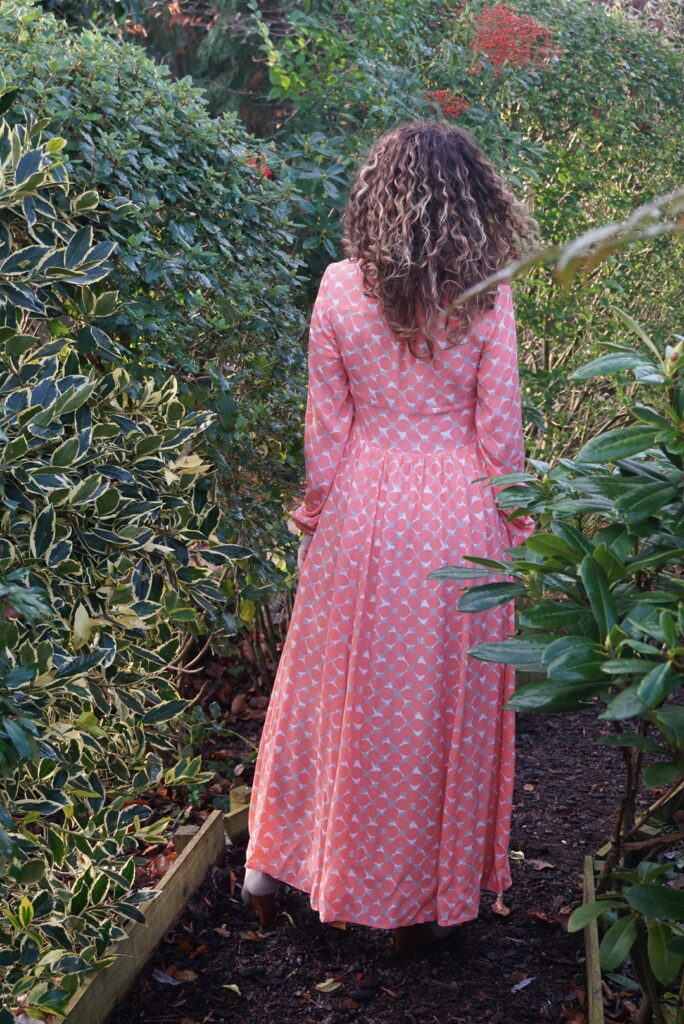

I am all the happiest that I have recently managed to accumulate a substantial silk fabric stock. I was until recently terrified to sew it but not anymore, ha ha!!!
Key advice for sewing silk
This dress was a great learning experience for me. So here are the tips I would give you if you are keen to start sewing silk:
- Don’t overspend on the fabric. The more you spend on silk, the more terrified you will be to use it. So for your first silk piece, I would recommend not spending more that GBP15/EUR18/USD18 per meter. My best source for reasonably-priced silk of good quality is Bennytex. Looking for deadstock is also a good option – I regularly browse through Amotreads‘ stock.
- Pre-wash and iron you fabric as you normally would, except if you are planning to have your dress professionally cleaned in the future. I personally only sew and knit clothes I can machine-wash… but I am the woman who puts all of her husband suits in her Miele washing machine! Wool program, no temperature, 600 spin, it works a wonder for wool, silk, cashmere…
- Go for silk that is slightly thicker or that has texture. I find that silk crepe and silk dupion are easier to work with, as they are less slippery that silk satin for instance. In any case look at the material weight, the heavier the easier.
- USE A MICROTEX NEEDLE, absolutely, even if you can’t find it on Amazon. Using a super-thin (60) general needle will not work a well, with some silks it may pull off strings and damage your fabric for good. And also use thin pins, not standard ones.
- Use a pattern you have already sewn, to reduce the risk of mistakes. Having to unpick stitches is particularly dangerous with silk.
- Line silk with silk if you can afford it, it would be such a pity to lose the softness and floatiness of silk because of a synthetic lining.
- Go SLOW – no need to rush, you are unlikely to want tens of silk dresses in your cupboard (except if you are me), so you have all the time in the world!
Details of my dress
As for my new dress, you may or may not have recognised M7974, which I already sew last Autumn in a pretty polyester fabric with metallic yarn.
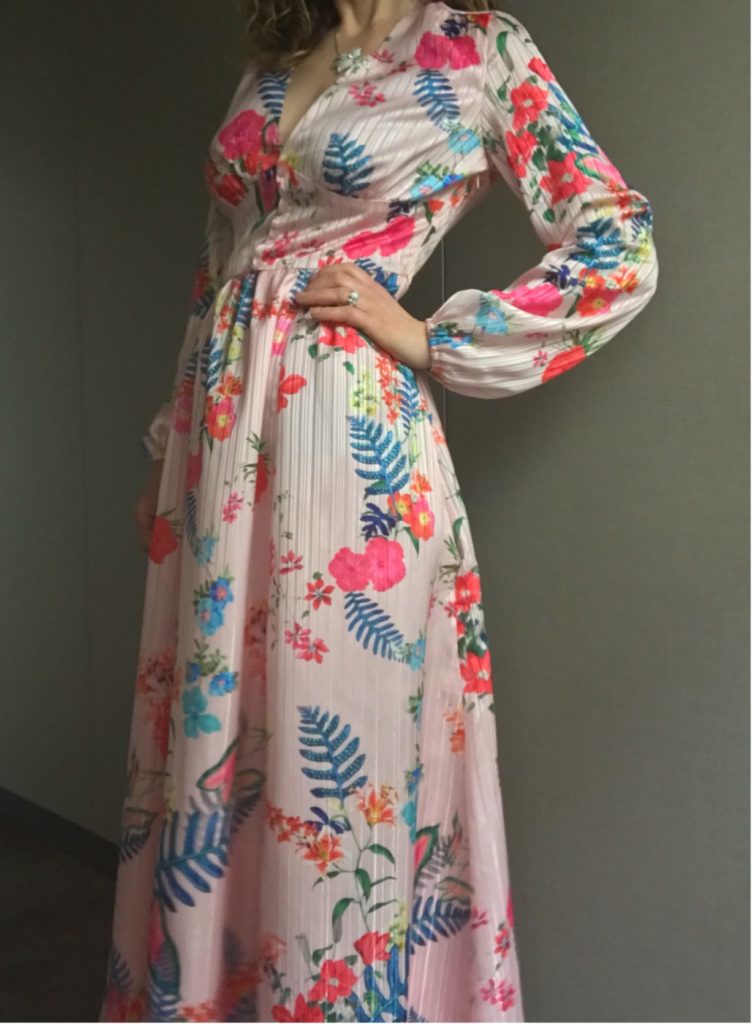
I had made an FBA at the time, but it turned out to be insufficient – so I followed the same methodology but made it even bigger.
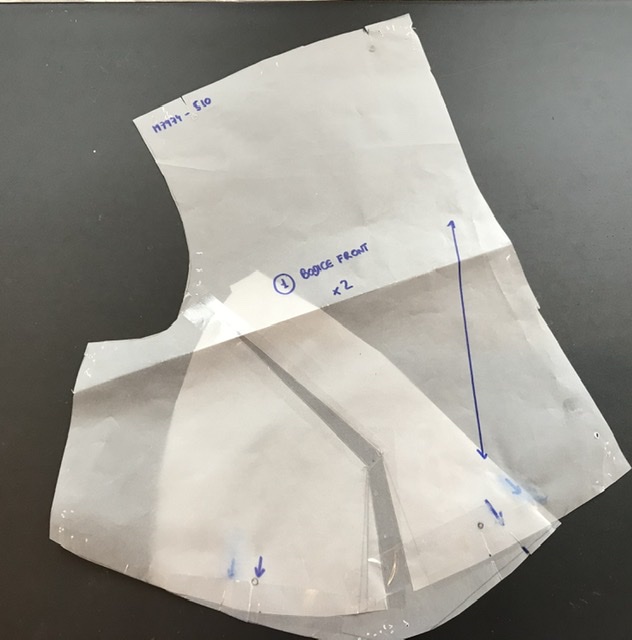
As for the other changes I made to the pattern, they are exactly the same as those I had made previously:
- no buttons along the skirt front but a side zipper to open the dress;
- longer sleeves elasticated at the bottom to make them more puffy;
- fully underlined bodice and fully lined skirt (with silk lining of course) – because you know I am a lining addict…
And that’s it. Next time I will try and up the neckline, as it is truly too low as it is, even with a very very low bra (forgive the creases, this dress had been worn quite a bit pre pictures).
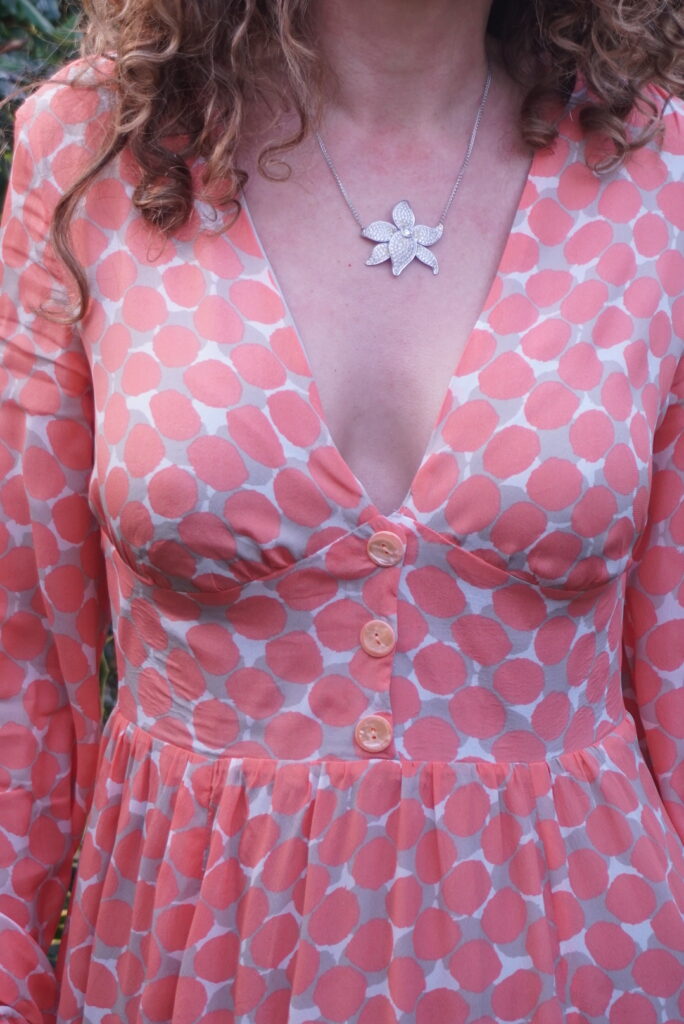
Apart from this, I am very happy with this dress, but the winter has been so cold that I haven’t had much chance to wear it – looking forward to spring…
