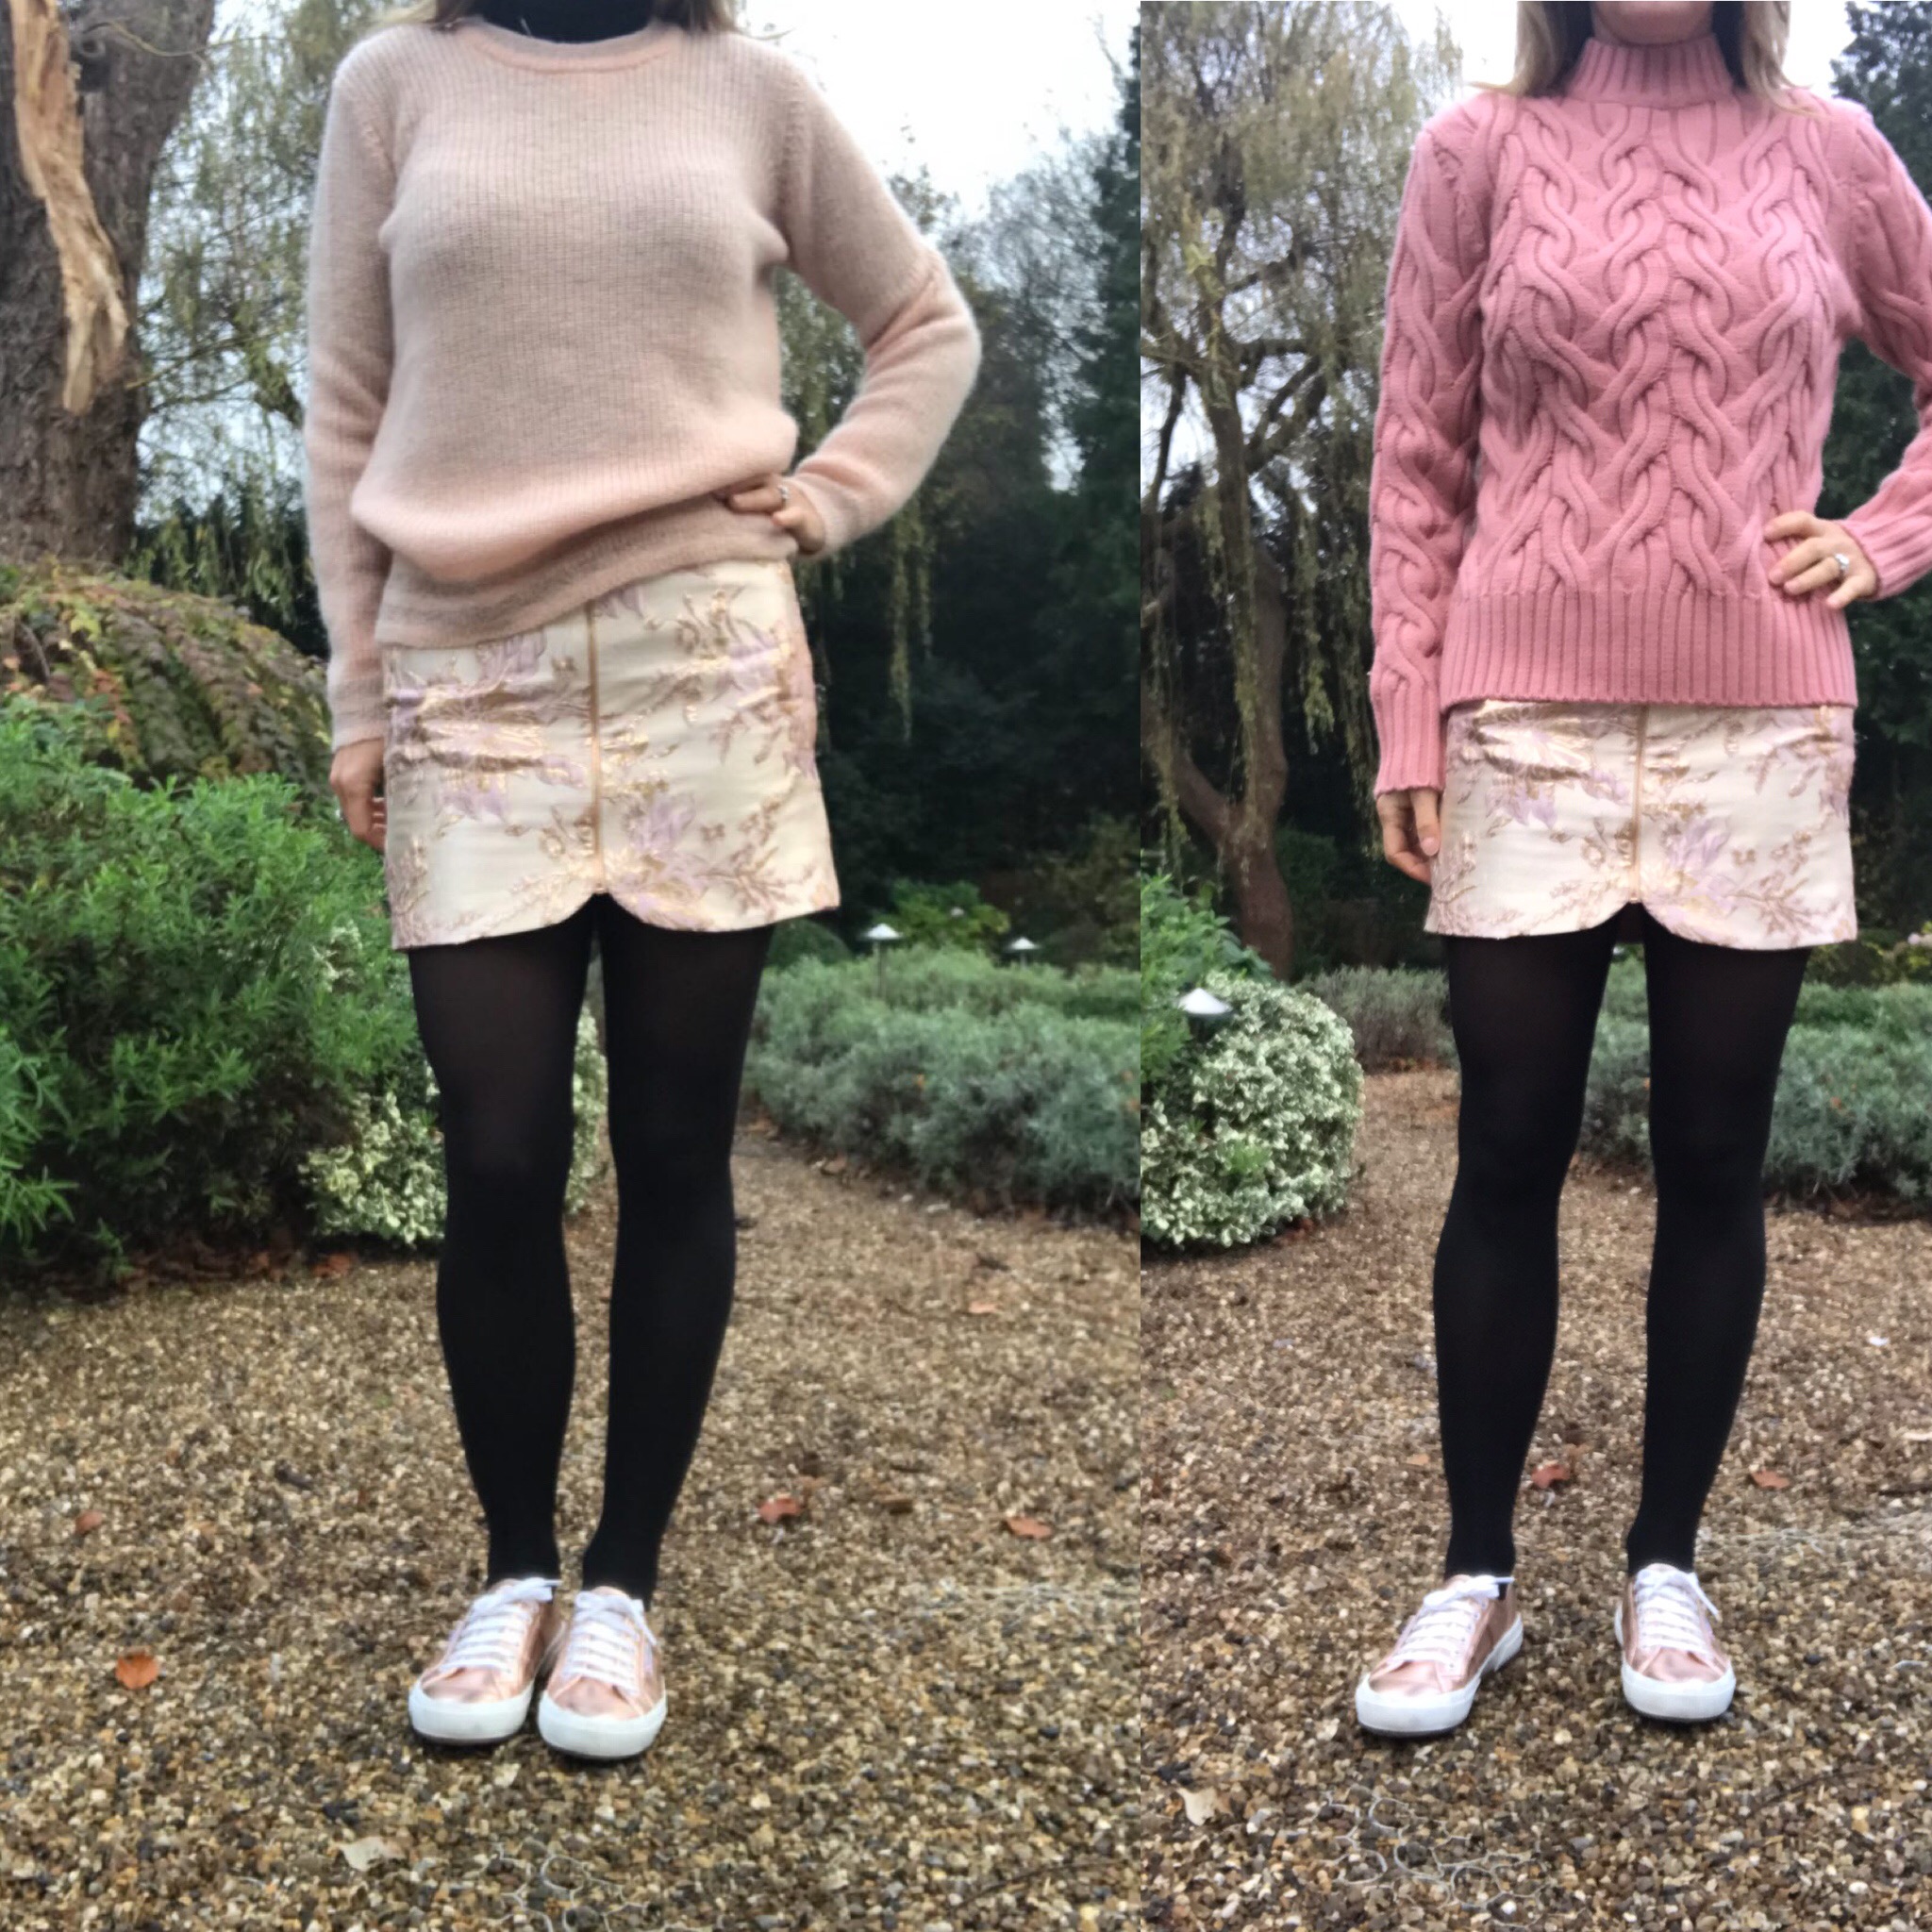
Sewing & Knitting
Mini Skirt, Maxi Joy
27th November 2018
Read More →

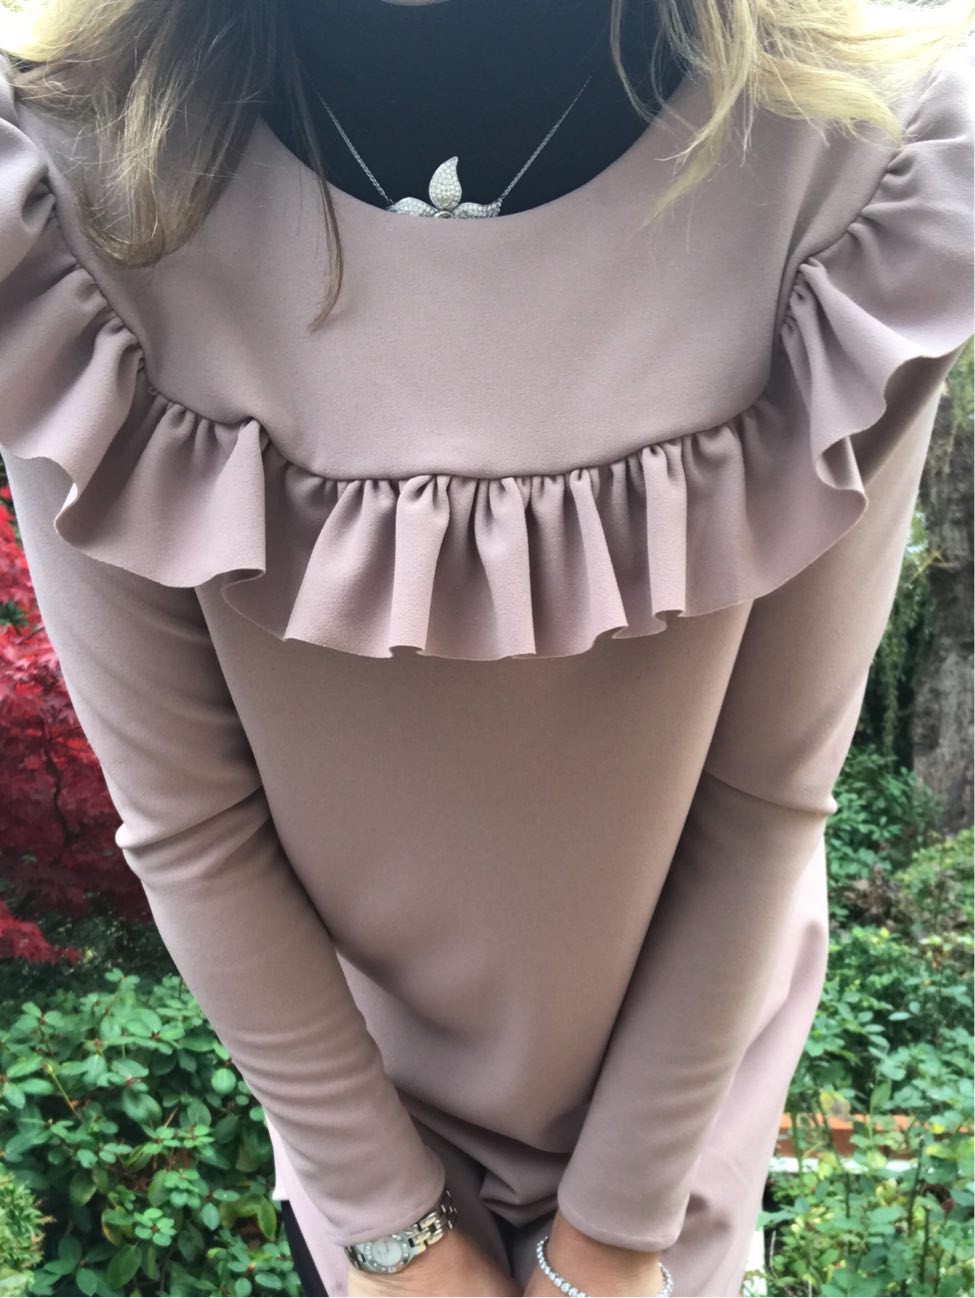
Sewing & Knitting
The Comfiest of Winter Dresses
13th November 2018
Read More →
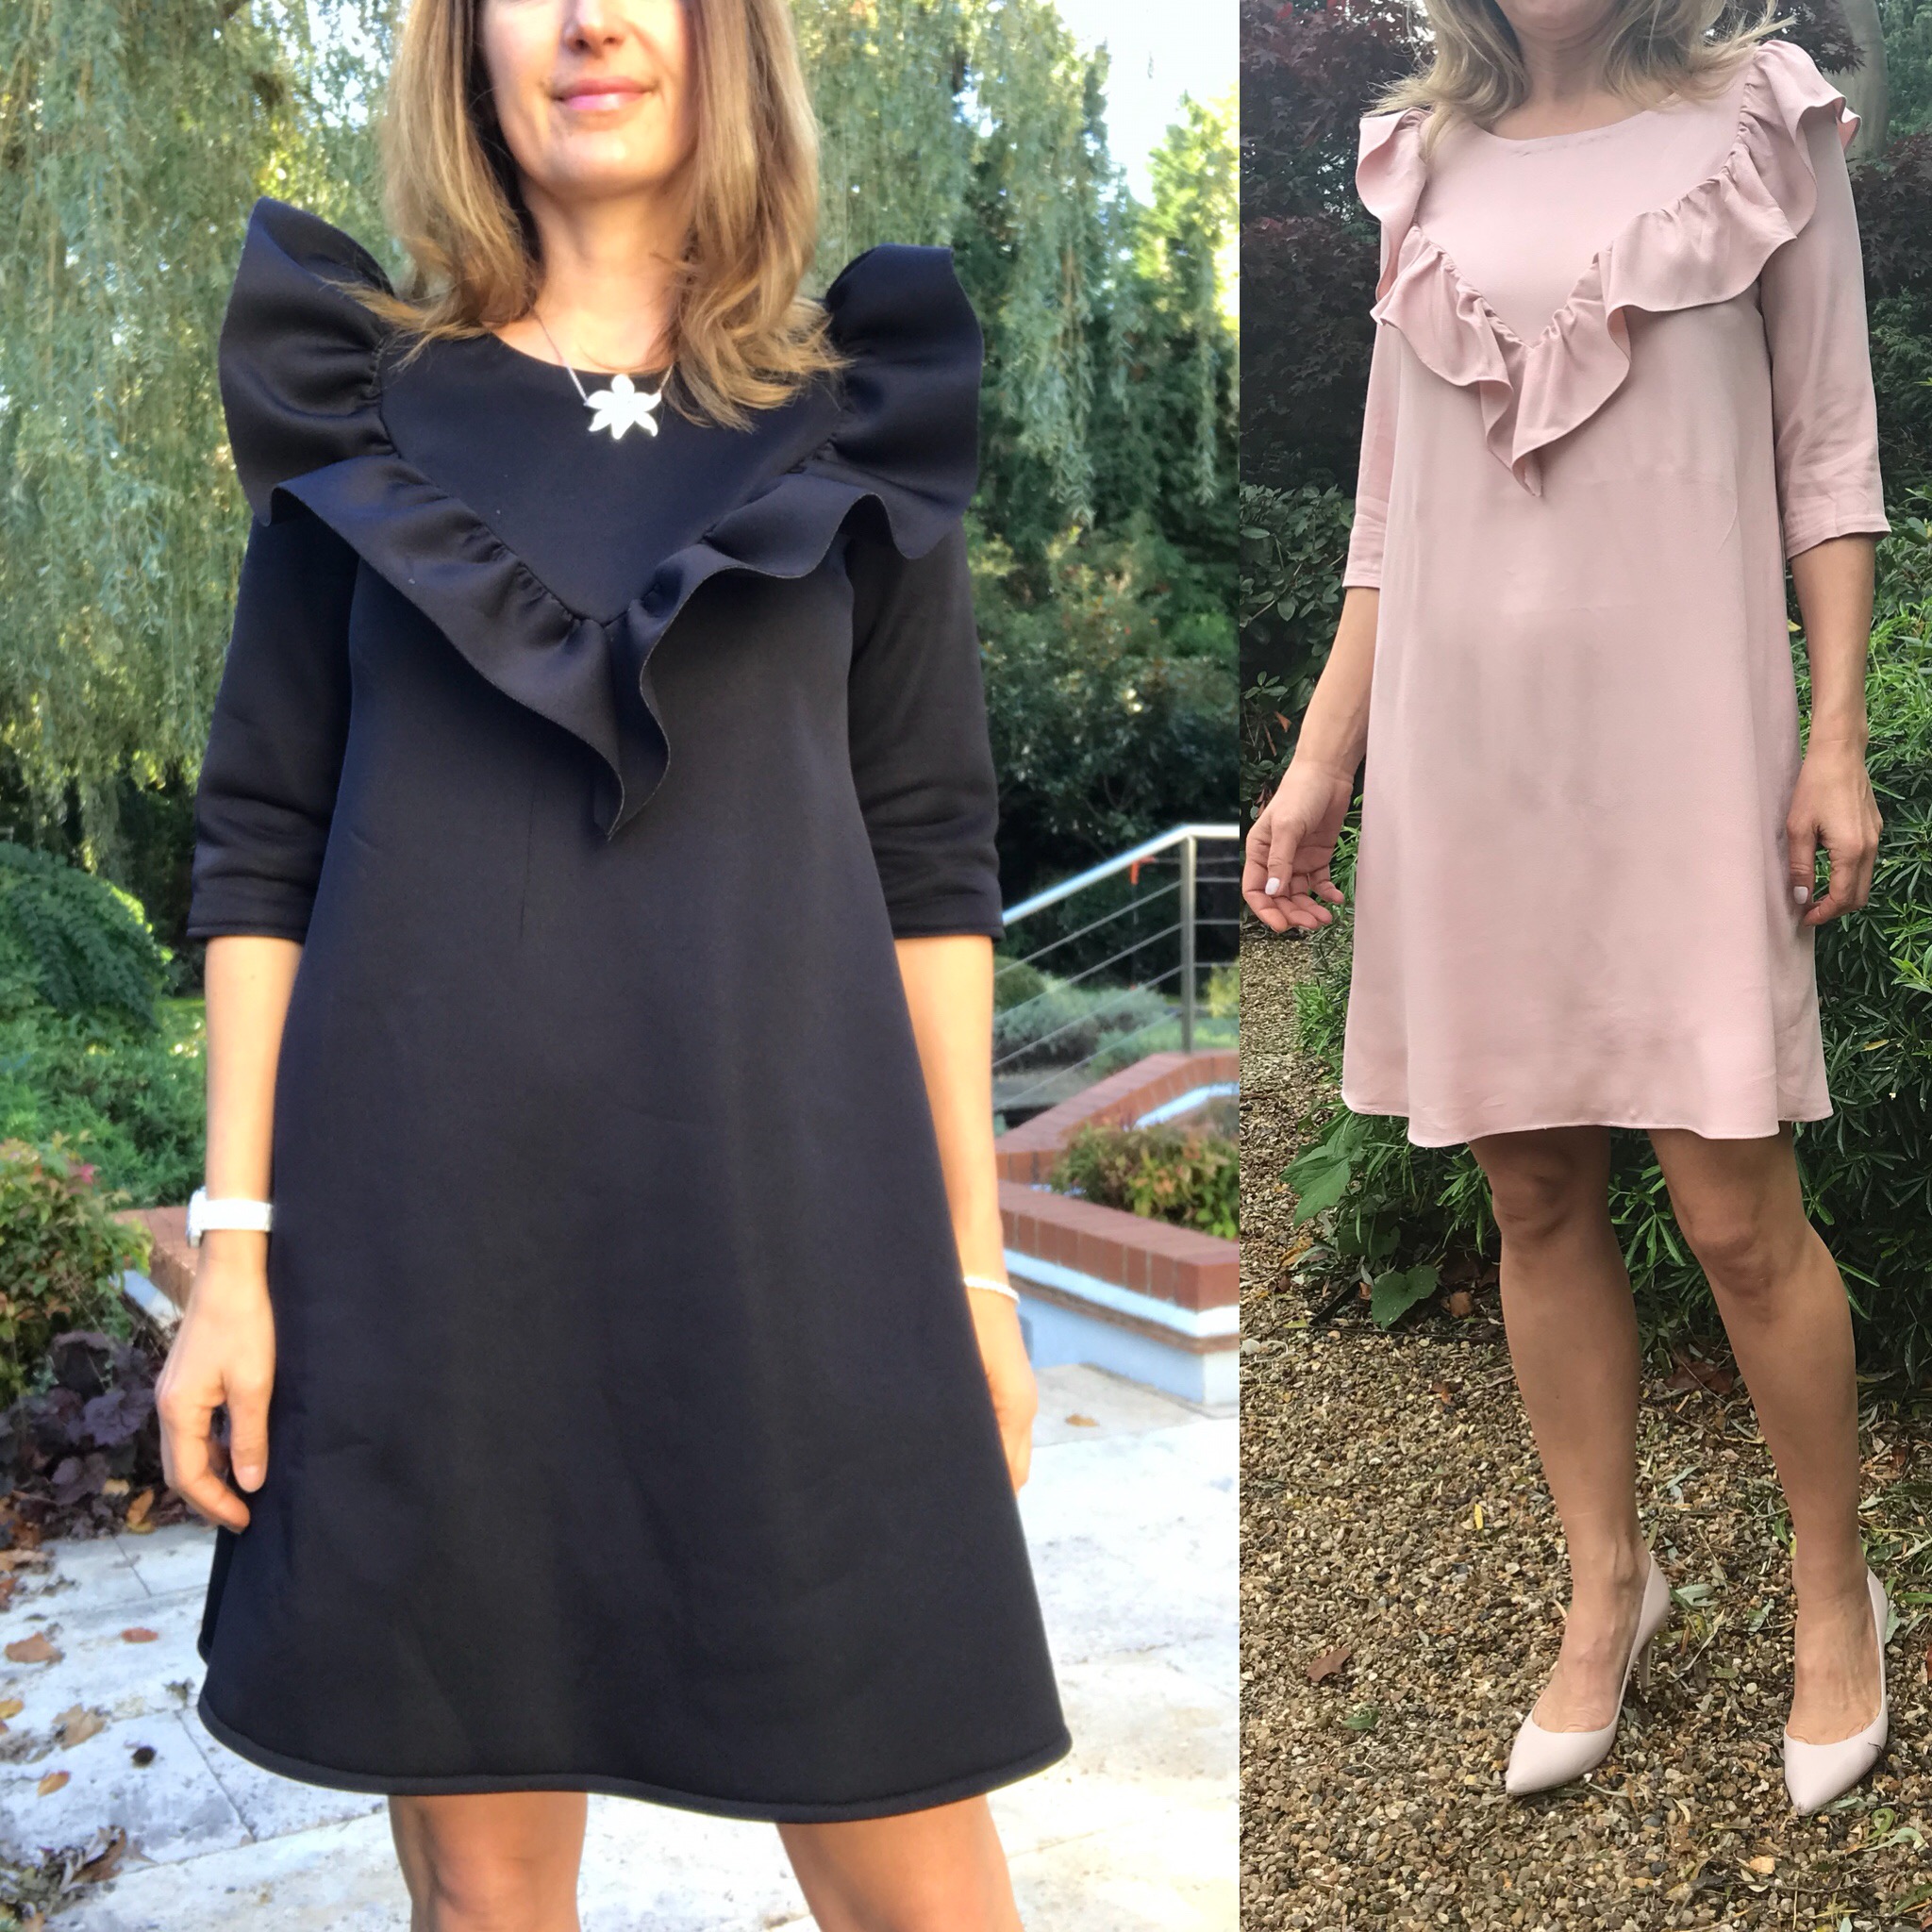
Sewing & Knitting
Ruffles Addiction
6th November 2018
Read More →
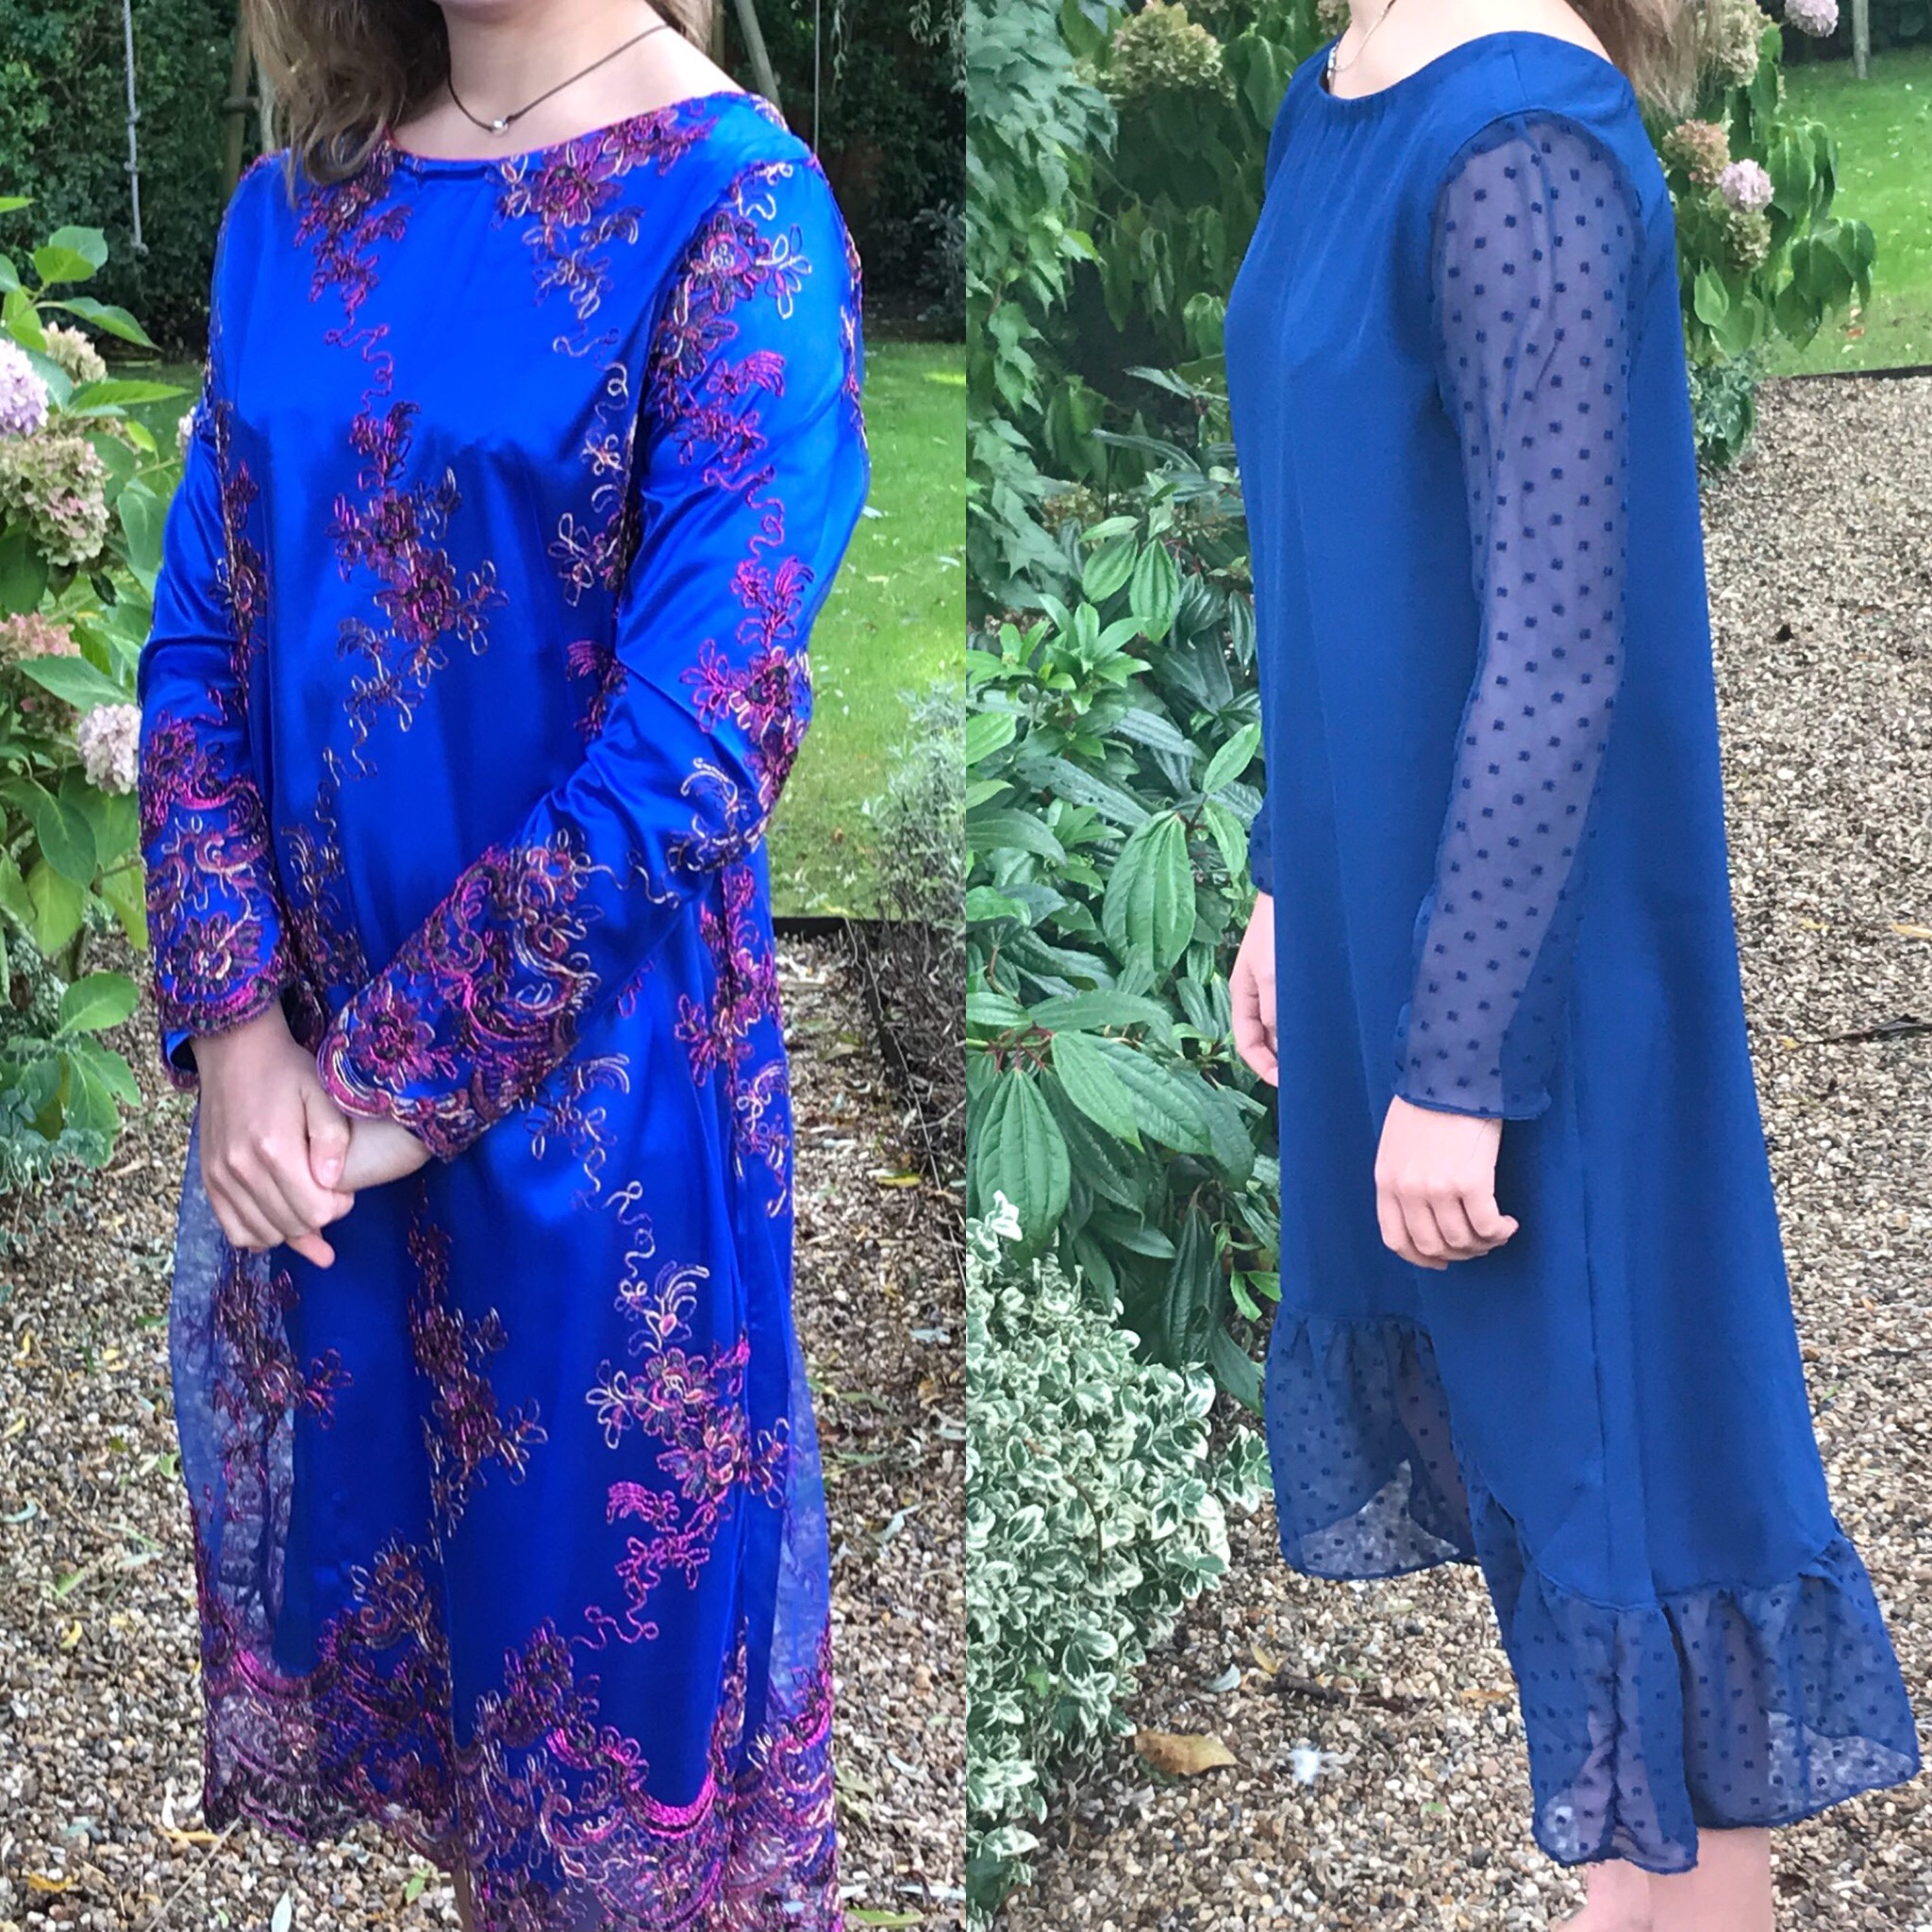
Sewing & Knitting
The Long-Awaited-For V-Ruffled Dress
25th October 2018
Read More →
Sewing & Knitting
Wedding Outfit for Young Lady, Number 2
11th October 2018
Read More →
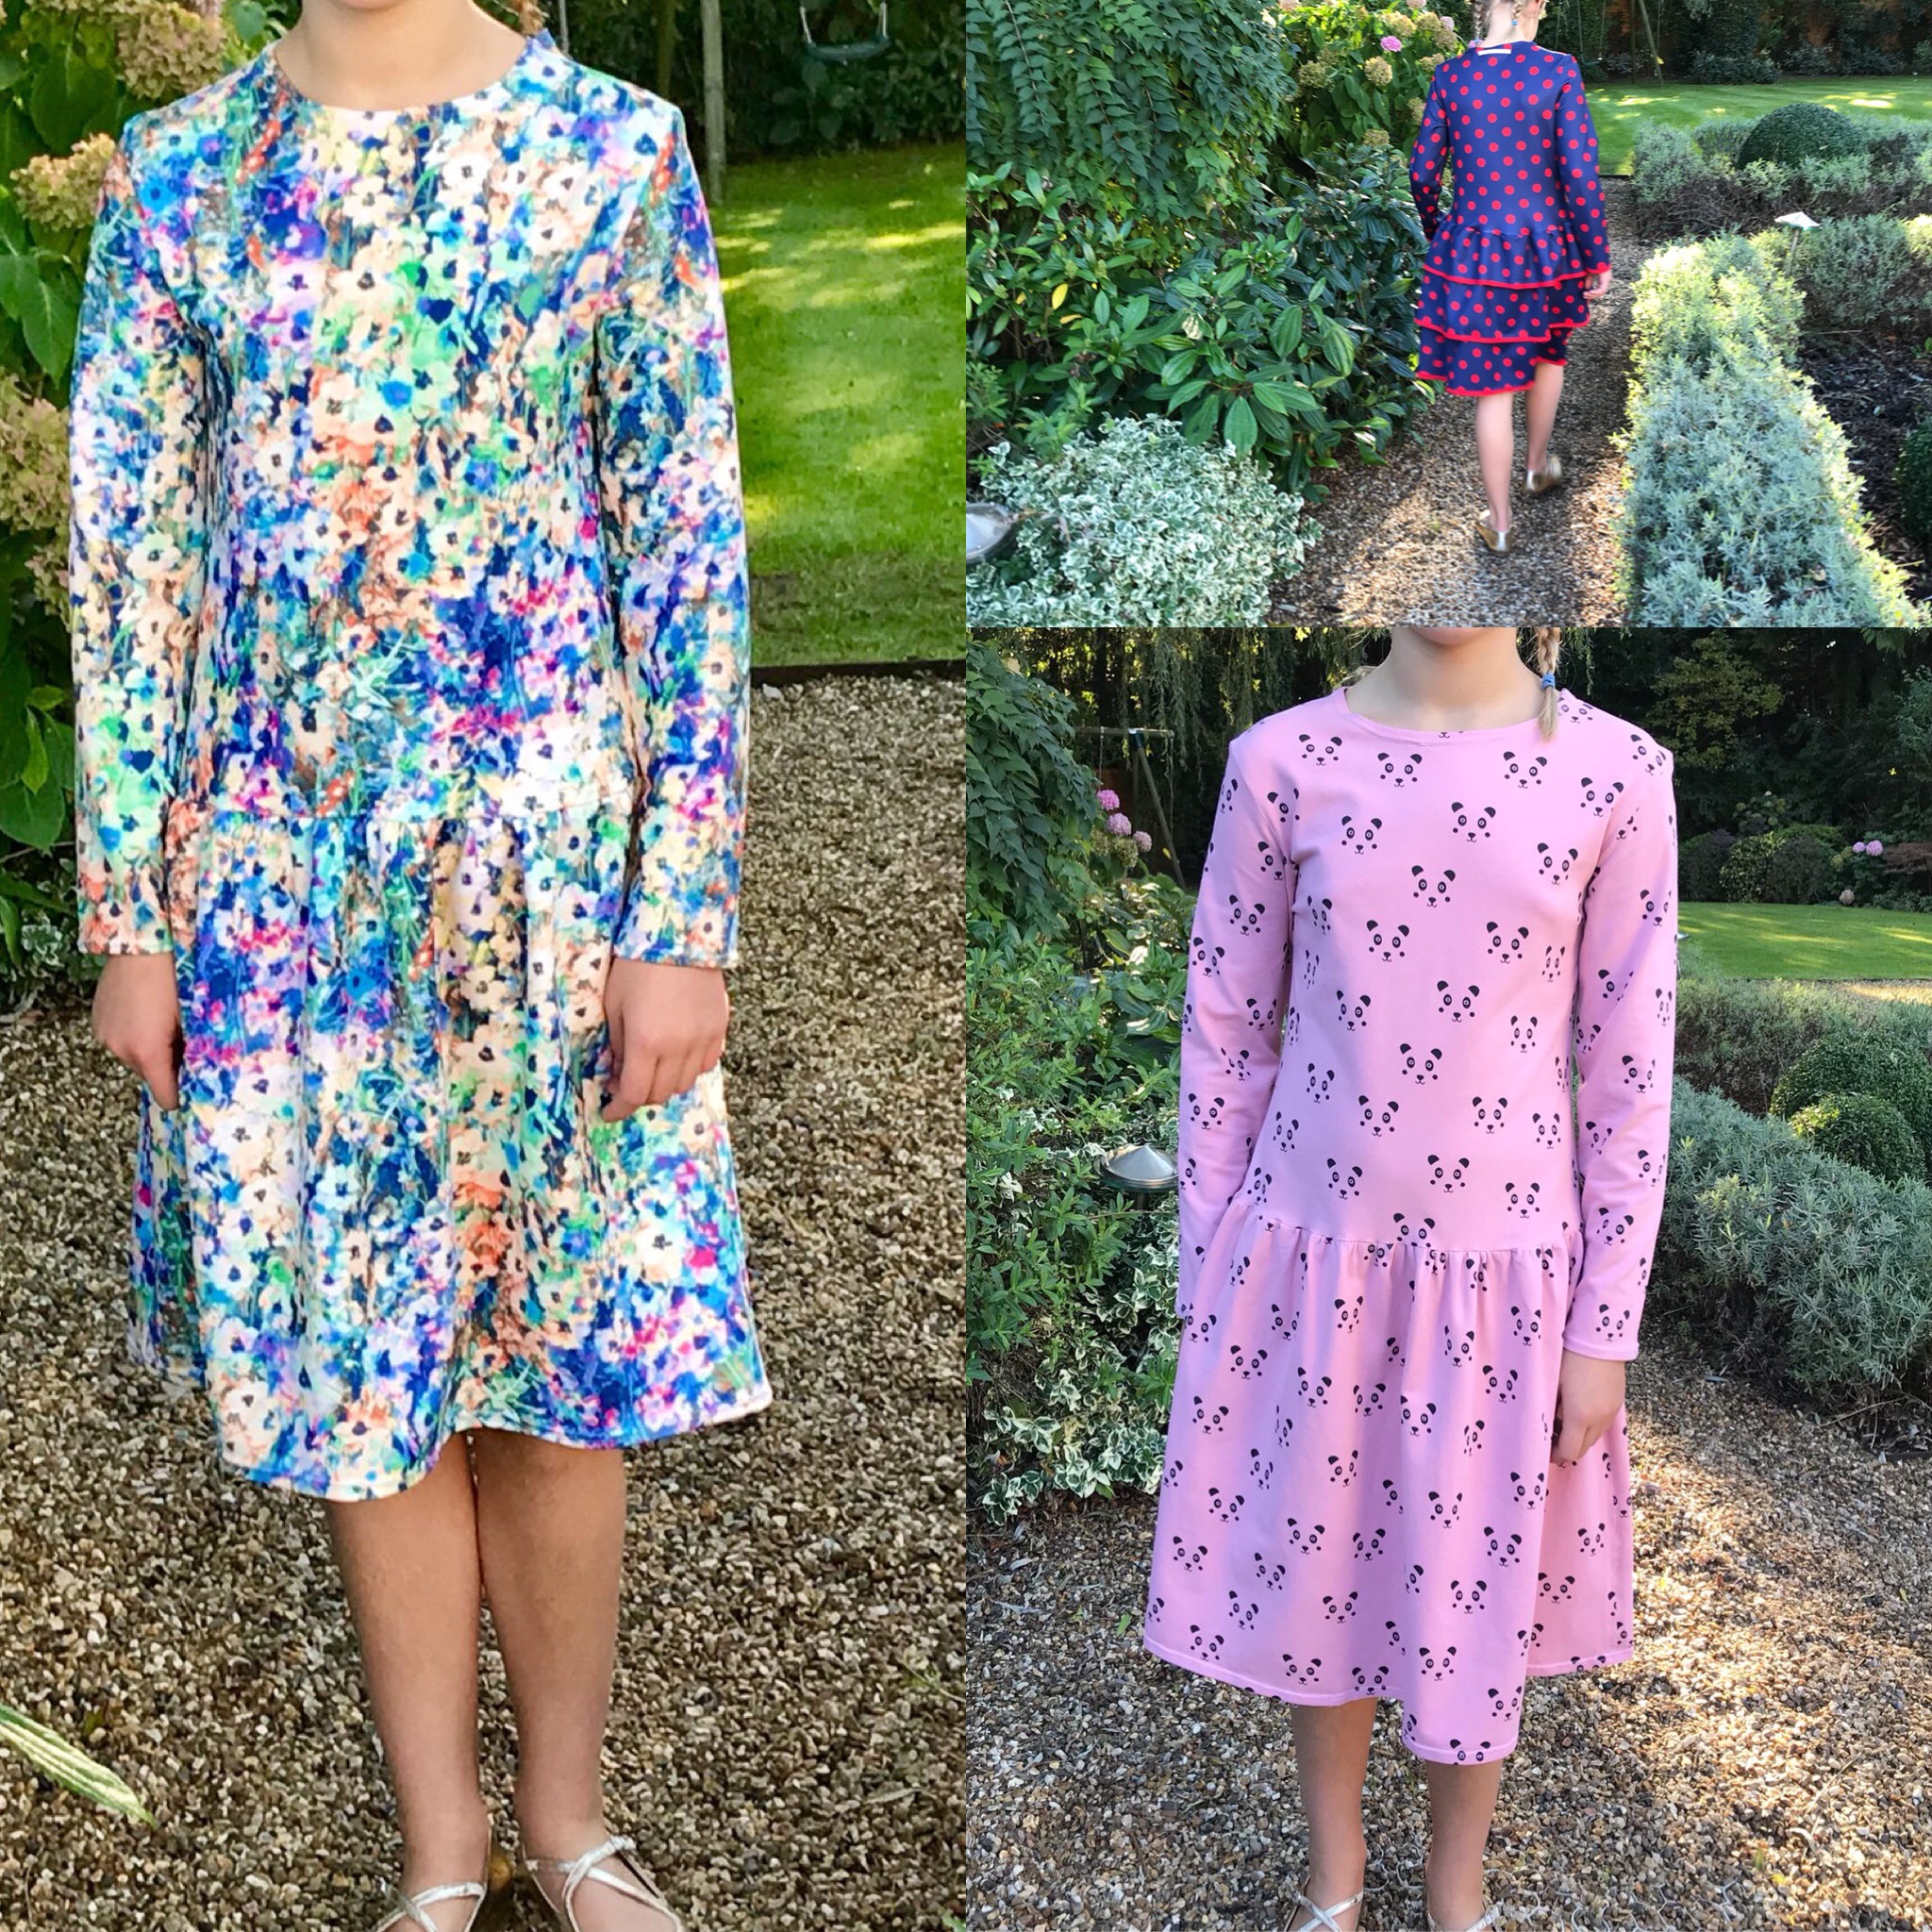
Sewing & Knitting
Babydoll Dress Variations
1st October 2018
Read More →