
Sewing for Me
My first silk shirred dress
21st July 2020
Read More →
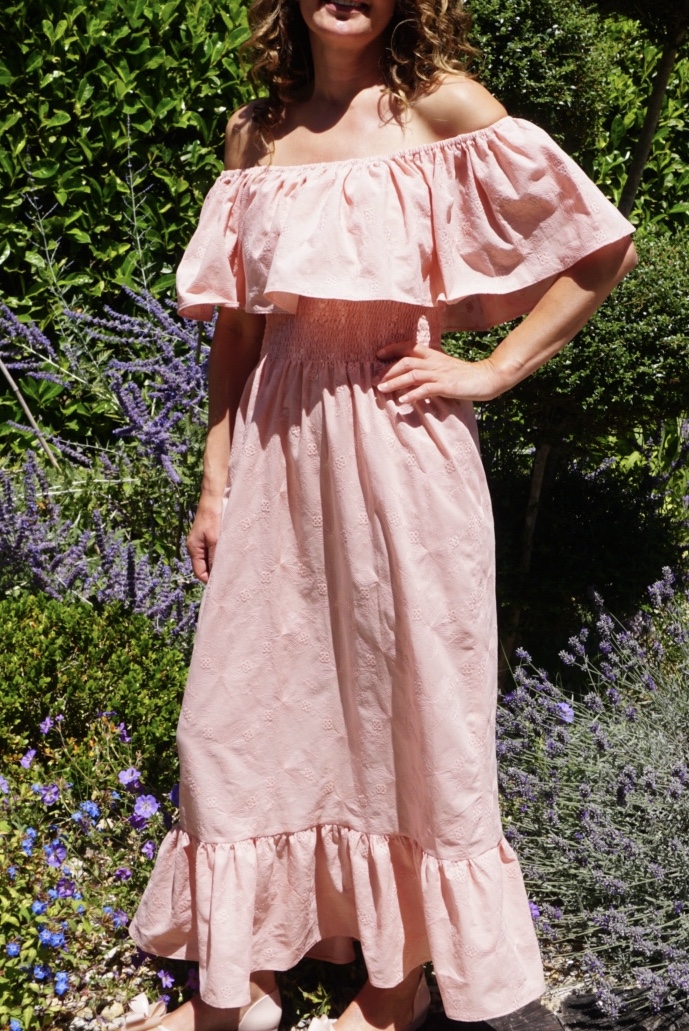
Sewing for Me
Tutorial: off-the-shoulder ruffle dress
8th July 2020
Read More →
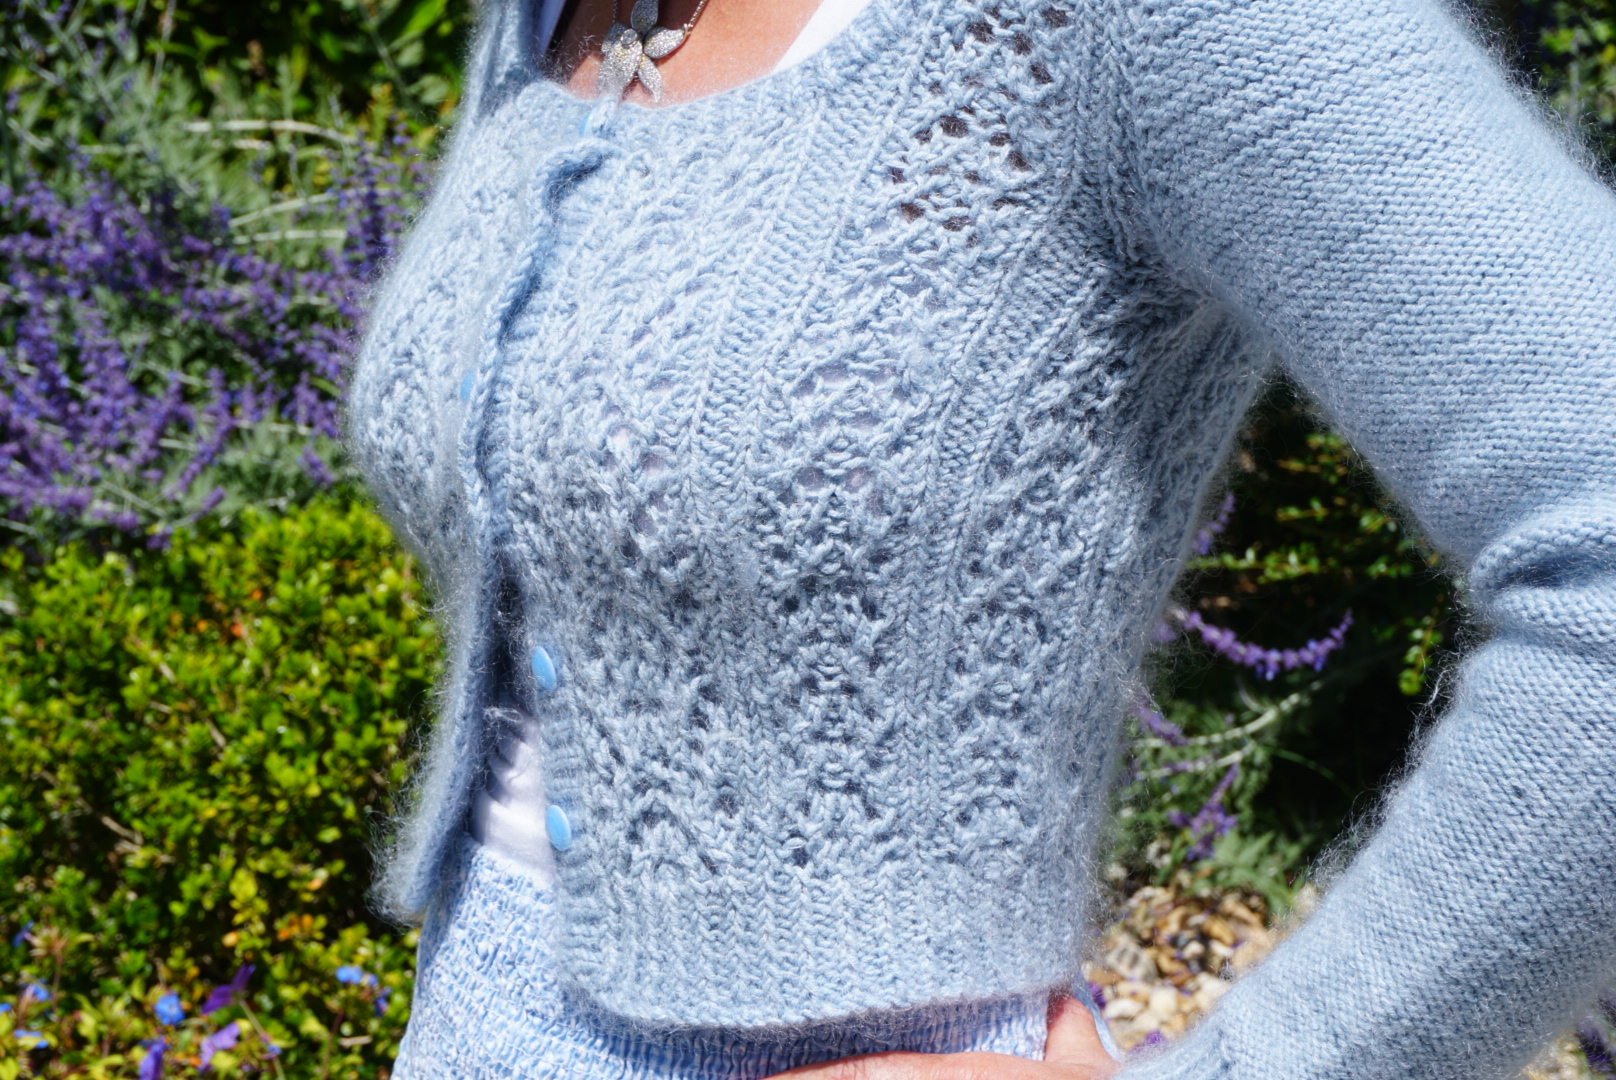
Knitting
No such thing as too much lace: my Belladonna cardi
23rd June 2020
Read More →
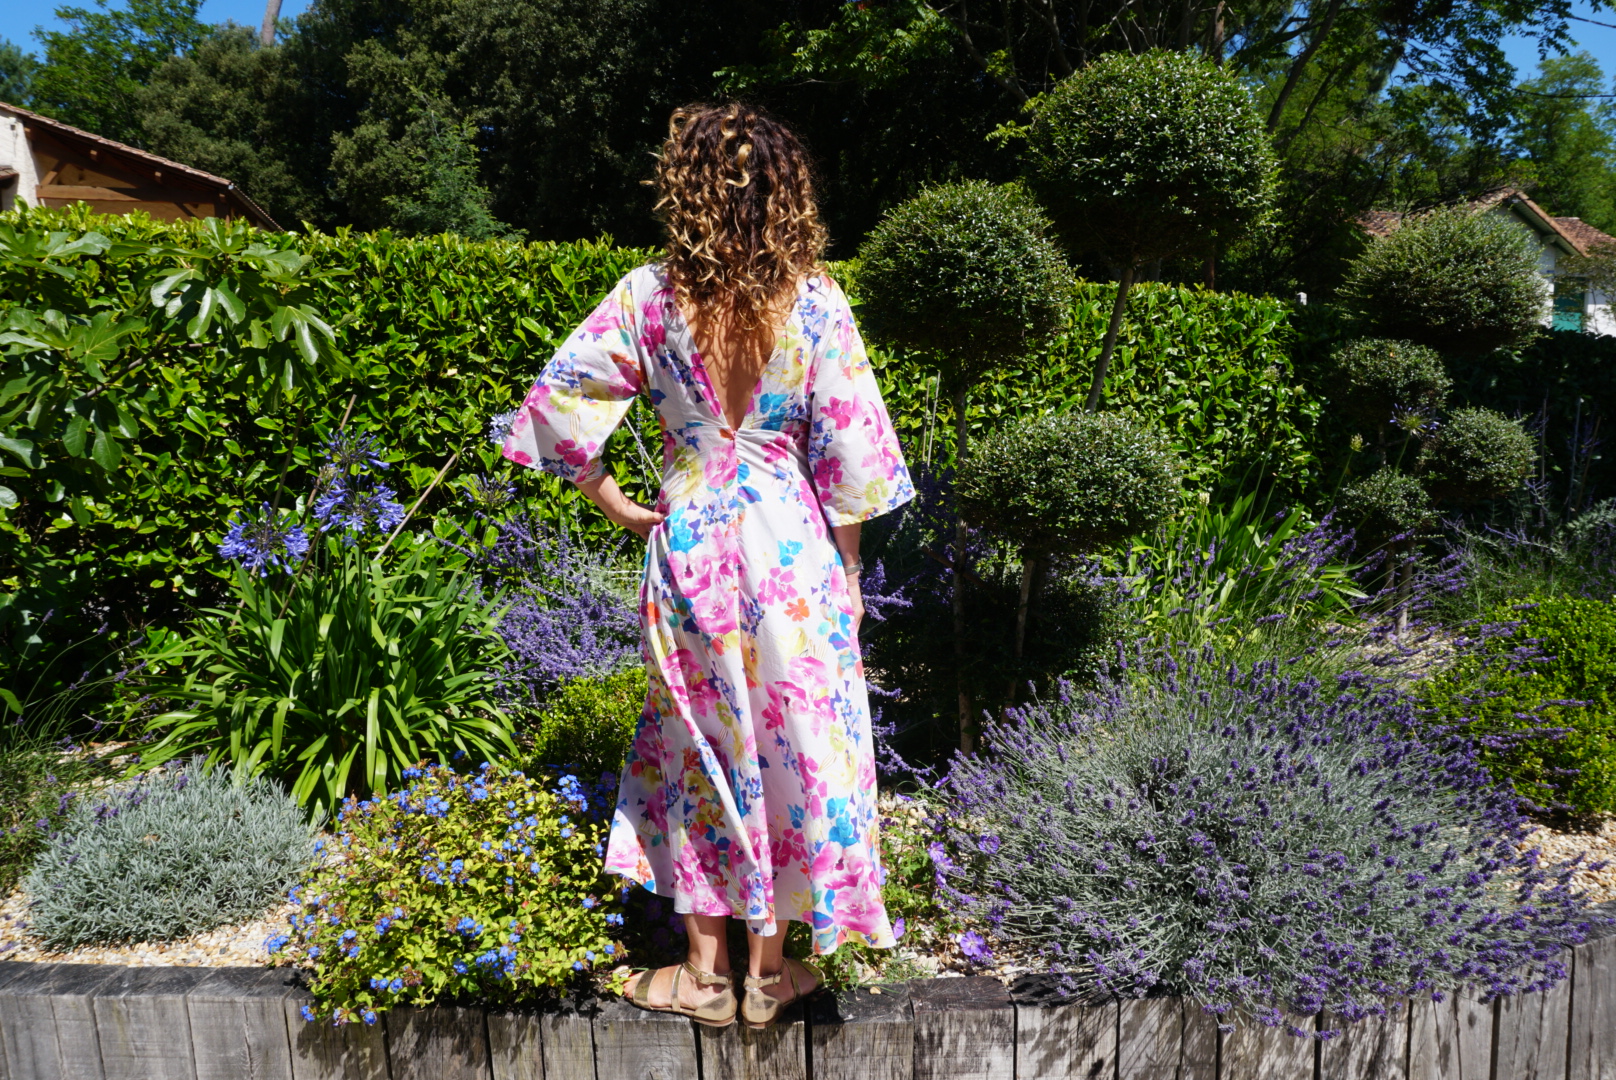
Sewing for Me
Why stop with one? My second V9253 dress
22nd June 2020
Read More →
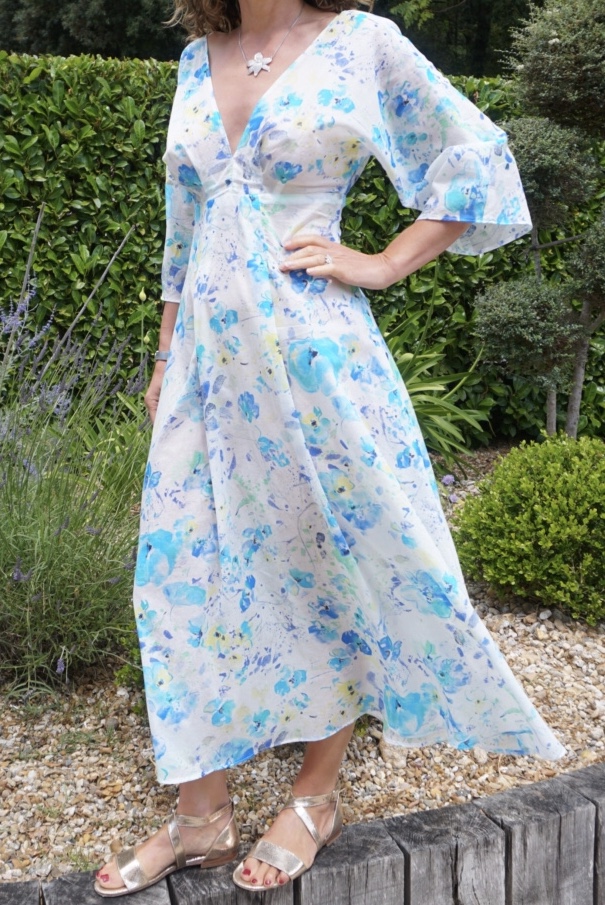
Sewing for Me
A new favourite pattern: the V9253 dress
20th June 2020
Read More →
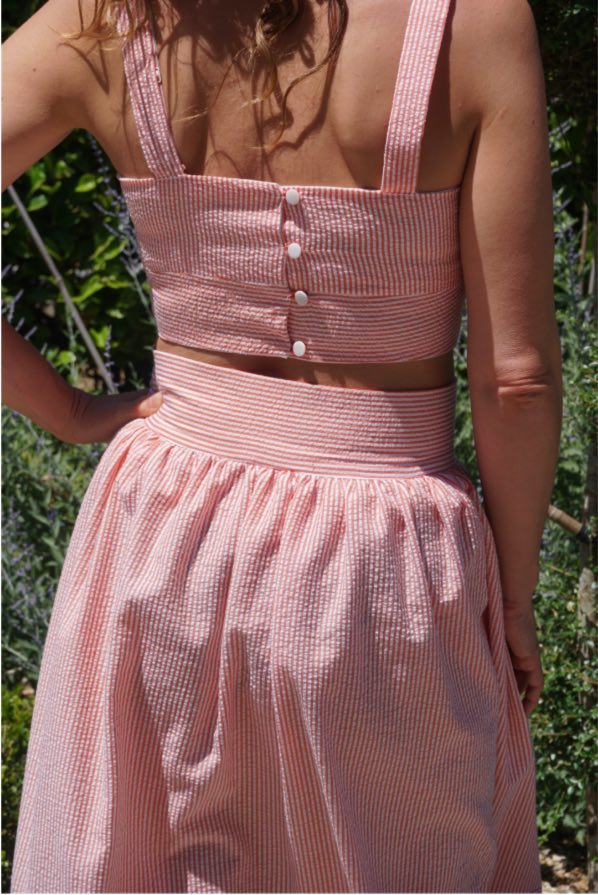
Sewing & Knitting
More stripes for Summer: my cropped top and midi skirt set
9th June 2020
Read More →