Sewing & Knitting
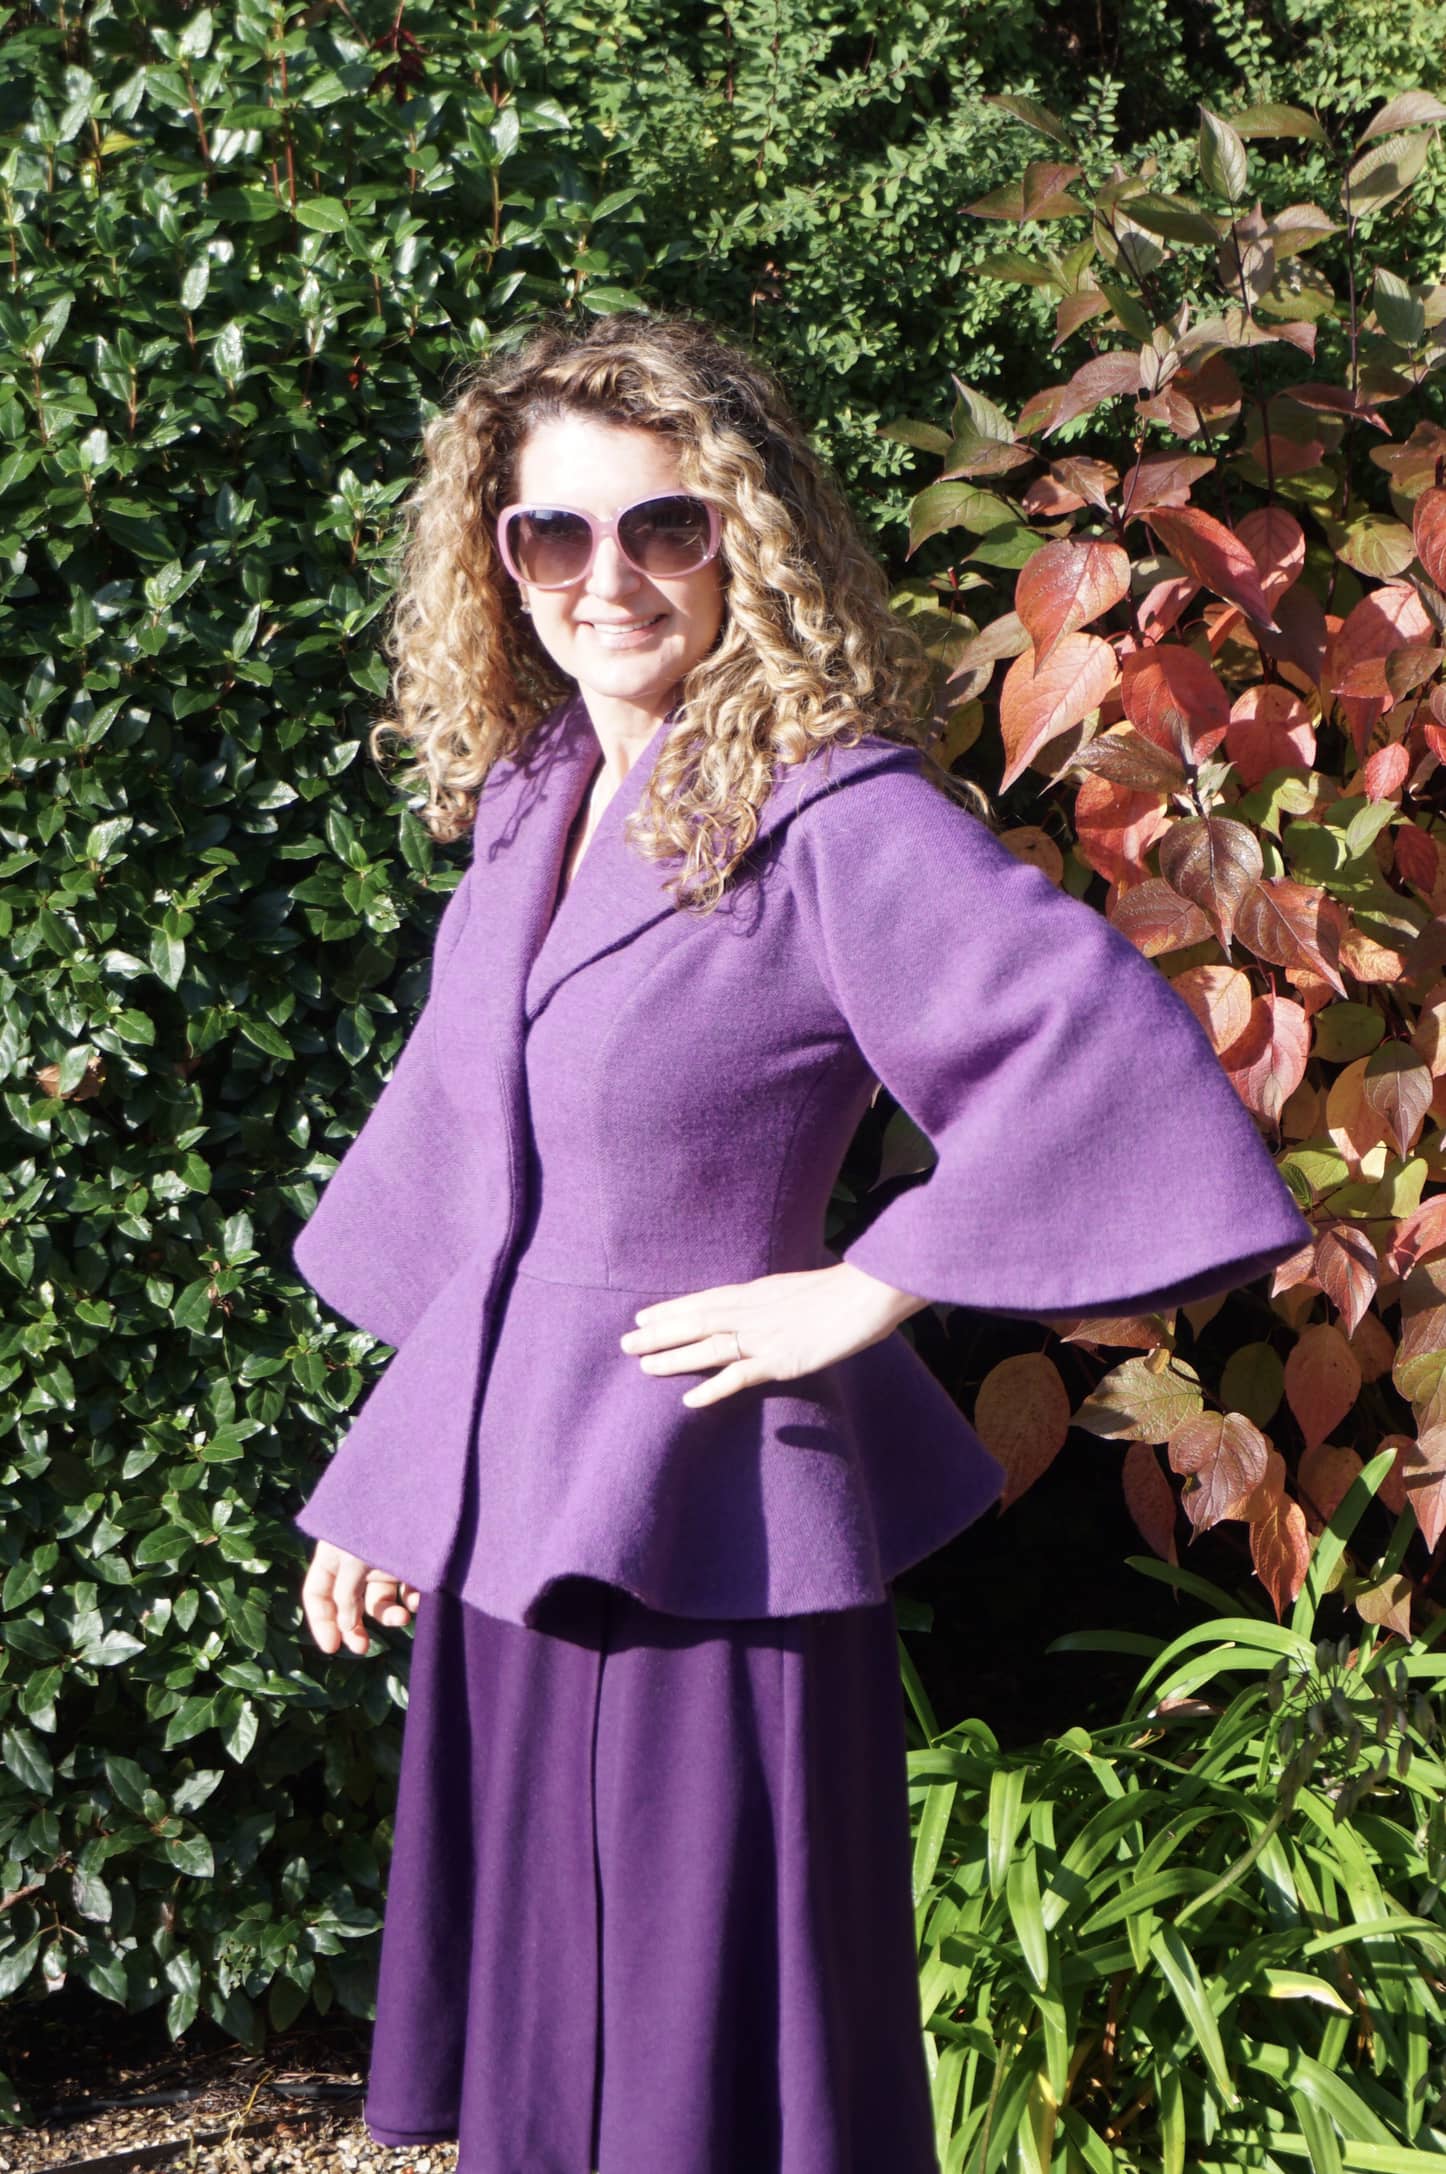
Sewing the Princess Coat by Charm Patterns
14th October 2021
Read More →

Sewing & Knitting
Sewing Plans for Autumn 2021
18th September 2021
Read More →

Sewing & Knitting
Late summer dress: a pink and red M7081
10th September 2021
Read More →

Sewing & Knitting
Wrap dress passion: sewing the B6446 pattern
24th June 2021
Read More →
Sewing for Me
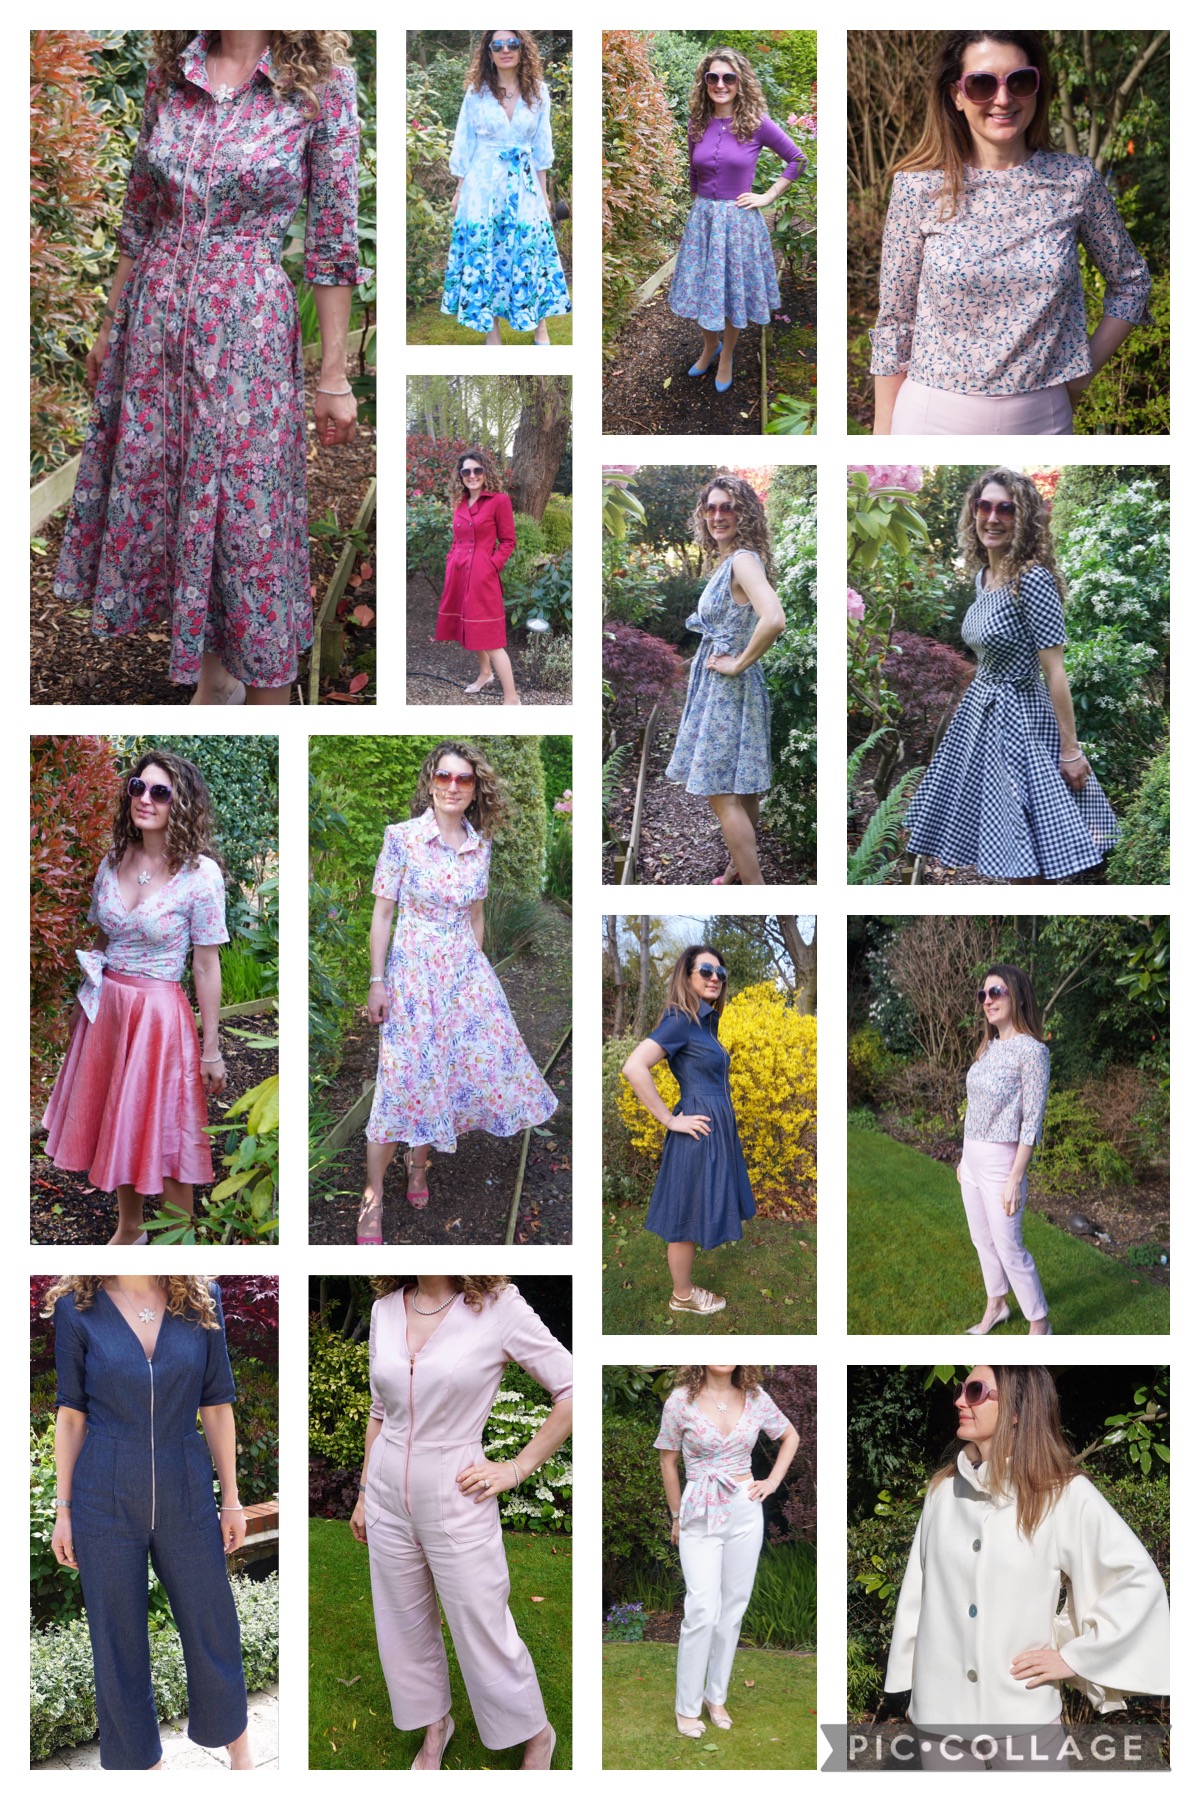
Spring sewing wrap-up
18th June 2021
Read More →

Sewing & Knitting
And a third shirt dress for Spring 2021!
13th June 2021
Read More →