Autumn Sewing: Lexi Top+ Mini Skirt
Filled with enthusisam after my last article (and the high expectations it generated in the sewing community I’m sure…), I finally started sewing my autumn wardrobe. First on my list: a mini skirt/ Lexi Top set, in a silver brocart fabric from Bennytex.
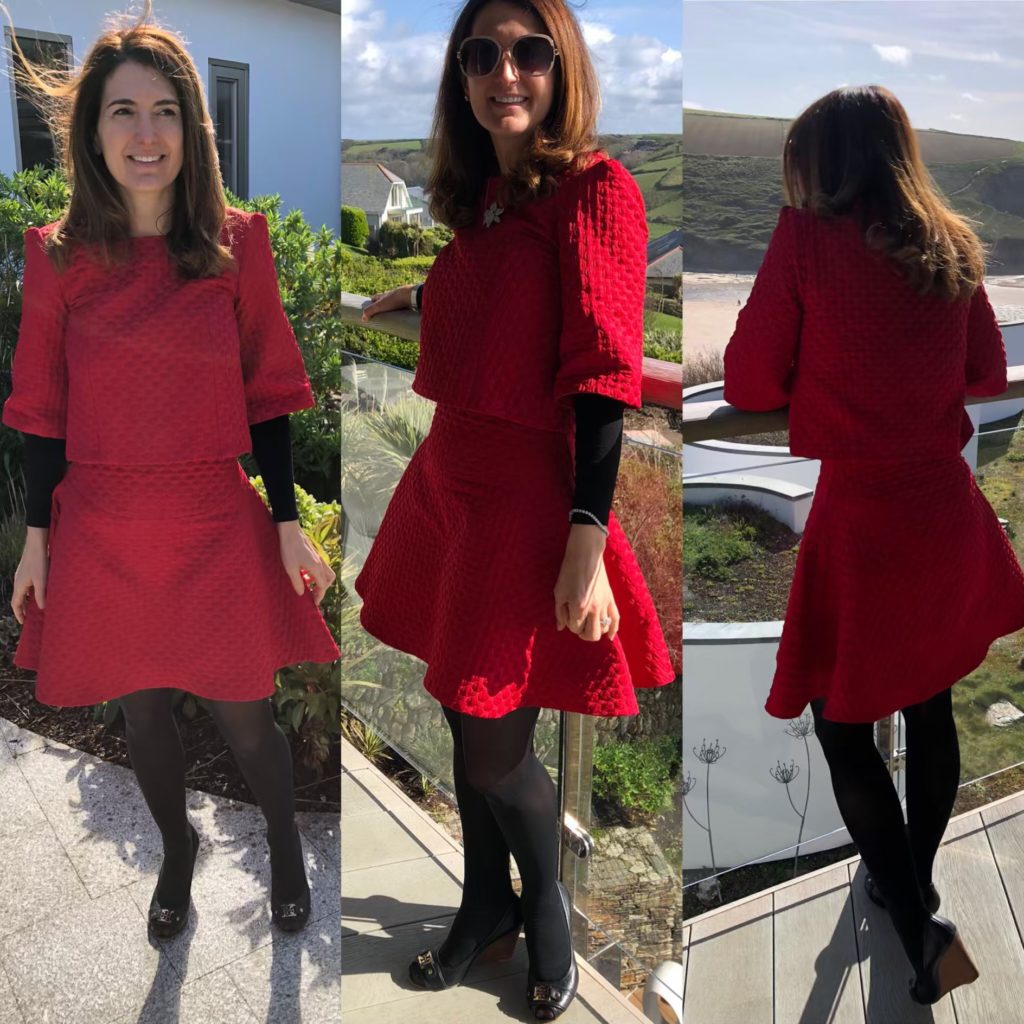
I already sew a similar set last year, also in a brocart fabric by Bennytex, but red! – so a completely different look. I loved it and wore it a lot, despite its… well, high visibility!
Therefore, I without hesitation sew exactly the same thing again – only in a different fabric! Within a few hours, it was a job done!

The Lexi Top de Named is so easy to sew: four pieces of fabric, no zipper, no buttons, no lining, no FBA needed! But beware: it is extremely short! I am only 1m68 (5ft6) and I had to lenghten the body ad the sleeves by 3cm, following BMade’s wise words.
As for the skirt, I copied it from a Sandro (far too short) one I bought last winter. It was my first successful attempt to copy a garment I had bought, and I was so pleased with myself that I reused the pattern a few times. It is a pretty straightforward model to make, except (maybe) for the invisible zipper – I put it on the side in case it was not so invisible after all, but it’s all fine and could have been at the back.
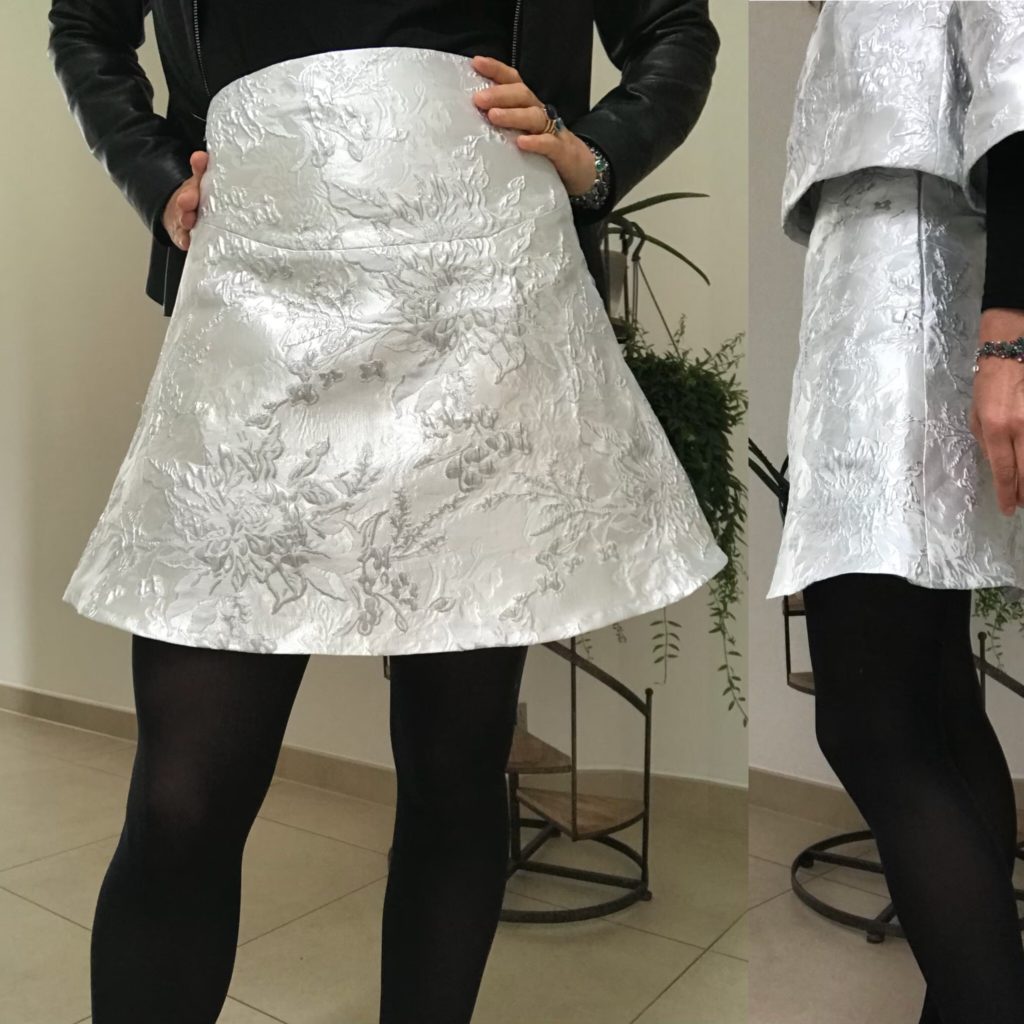
In case you were wondering, this set is definitely for everyday wear – Mr Mignon initially thought I had just sewn evening wear but definitely not! I wear a lot of black in the winter so a bit of bling will be very welcome. Also, the set does not look so dressy when worn with black tights and a long-sleeves black (thermal) body. The skirt is also perfect on its own, worn with a black top and a leather jacket.

Overall, I am delighted! My next project for myself is a mid-season coat, but I’m afraid my selfish sewing is going to get interrupted by the necessity of making new dresses for my girls, who have both largely outgrown their existing wardrobe… as they do every year!
My Autumn Sewing Projects
After two months spent in the sun sewing and wearing solely shirred dress, it is about time to start thinking about my autumn wardrobe! Ideas and patterns are all but lacking, I just need to get a bit organised – and find time to sit down at my sewing desk!!
My summer and winter wardrobes are highly differentiated, so much so that one stays in a box while the other one is out. In the spring and summer, I waer mostly short sleeve or sleeveless dresses, in cotton or other light fabric; while in the autumn and winter, I get cold so easily that I need warm fabrics: wool, scuba, ponte roma…
On the fabric front, I took the opportunity of two months in France to order online a huge amount of wintery fabric from Bennytex and Les Coupons Saint Pierre, two favorites of French sewing bloggers. Not that they don’t deliver in the UK but any excuse is good…
On this basis, here are my sewing projects for the winter – we’ll see what gets done…
1/ A Lexi Top / mini skirt matching set, in a silver jacquard fabric from Bennytex
Last winter I combined the Lexi Top by Named with a self-drafted mini skirt, in a red dotted jacquard fabric from Bennytex. The stifness of the fabric makes the skirt really stand out; and I love being coordinated! So I wore this set a lot. I am very tempted to replicate it in this stunning silver jacquard, from Bennytex too.

2/ A (wearable) black and white jacquard Emery dress robe Emery en jacquard animaux noir et blanc Ben
The Emery dress by Christiane Haynes is one of my favourite long-sleeved dress patterns, even more so with a circle or a pleated skirt. I alread sew view B in this funky black and white jacquard from Bennytex. But big mistake: I sew the zipper on the side, which make the dress very difficult to put on and nearly impossible to taker off… So the next version with a zipper at the back, as instructed by wise(r than me) Christiane Haynes…

3/ A light 3/4 coat with a shawl collar, in a white and black wool
I bought this wool online from Coupons Saint Piere, with nothing precise in mind. When I received it, its soft textre made me think of making a Madawan Cardigan – and then why not transform it into a mid-lenght coat with a belt!

4/ A sweater dress in a wool sweater fabric
I love sweater fabric and I adore wool for the winter, so I just could not miss this opportunity of getting this one from Coupons Saint Pierre. I definitely will make a dress out of it but I still hesitate between reproducing one of my old dresses, which has become to short; or transforming the Granite Sweater by Dessine Moi Un Patron into a dress, reducing its width and putting a belt. Thinking in progress…

5/ More accessories in artificial leather
I just adore those artificial leather fabrics – the silver one in particular reminds me of Issey Miyake handbags. I already saw two small pouches for my girls in the summer and got over-excited by the speed of these projects and how good they looked!! So more of these to come!

And that’s about it for my autumn sewing projects for myself. What about yours?
My Girls’ Citronille Handmade Wardrobe
As my regular readers will by now have understood, I am a complete Citronille addict! As a result, my girls have been amply supplied with Citronille summer dresses, mainly in Liberty fabric, over the past few years. Here is a review of what they’ve been wearing this year (probably our last year of Liberty outfits, as they enter teenagerhood… bouhouhouh…).
Among the wide Citronille pattern selection, I mostly sew girls’ dresses (oups, let’s just not mention my Balthazar addiction here…). I find the Citronille dress patterns particularly appropriate for pre-teenager girls, as they are classical but not overly so, adjusted but not too much for a changing body, confortable for active kids. What more to say?
I have intensively used the book “Les Nouveaux Intemporels pour Enfants ”. All patterns are very straightforward technically and the size fit is perfect (I use the same sizes that I would buy in shops). So from this book, the girls’ (extensive) wardrobe includes:
the little dress with ruffled sleeves, #1

the little dress with ruffled sleeves, #2

the little dress with a ruffled collar, #1

the little dress with a ruffled collar, #2

and not in pictures unfortunatley, many shirt versions of each! Oh, and this one is not a dress but I do have pictures so let’s indulge!
the little lady’s bag, bananas and japanese versions

Of course, I have also been sewing from individual Citronille patterns – why not? From these, we have:
the Albertine dress, hacked to make it sleeveless, as explained here

the Solange dress, quite disappointing size-wise (I had to sew a size 16yo for my 12yo, unheard of!)

and the Primerose dress, perfectly sized and straightforward, and so pretty with it buttonned collar!

So now it’s time to start sewing the girlls’ handmade automn wardrobe! (along with mine of course…)
Shirred Dress Tutorial, So Easy!
If you make a smocked dress with one of my tutorials, do not hesitate to use the hashtag #smocksmignons so that I can admire and re-gram it!!
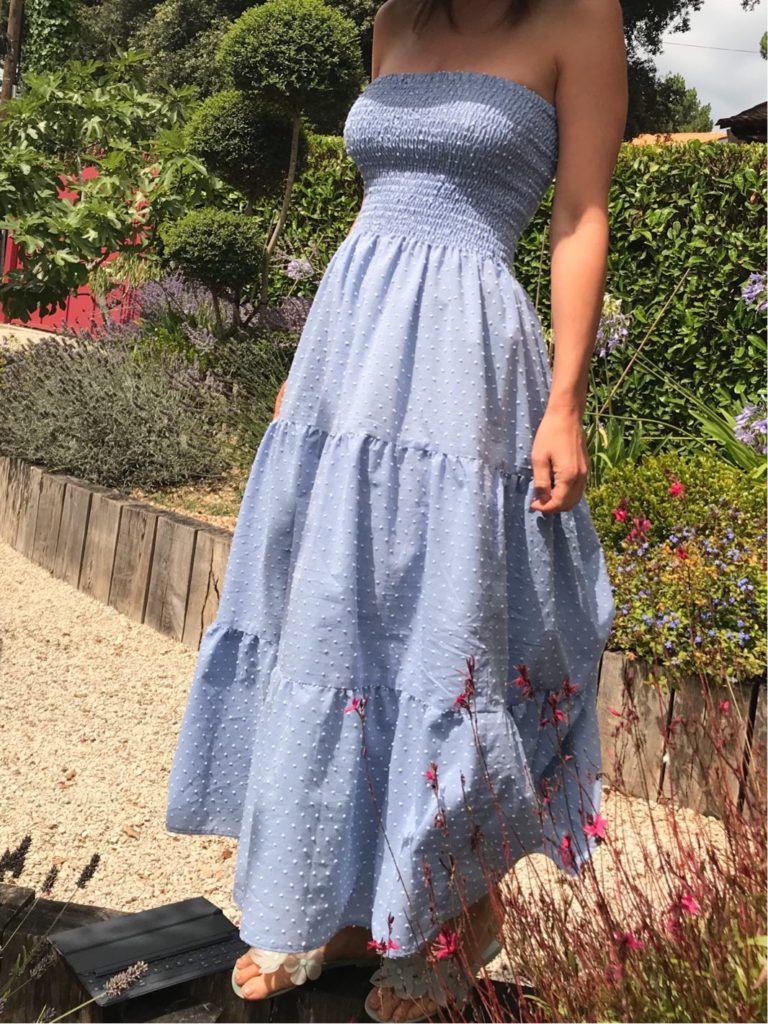
I have finally come around to writing the long-promised shirred dress sewing tutorial! – utterly timely on 25th August, oh well… Anyway, this tutorial is not only easy and free but it should allow you to make endless variations of the shirred dress – maxi dress, midi dress, mini dress; dress with or without ruffles; dress with a symmetrical or asymmetrical hem…
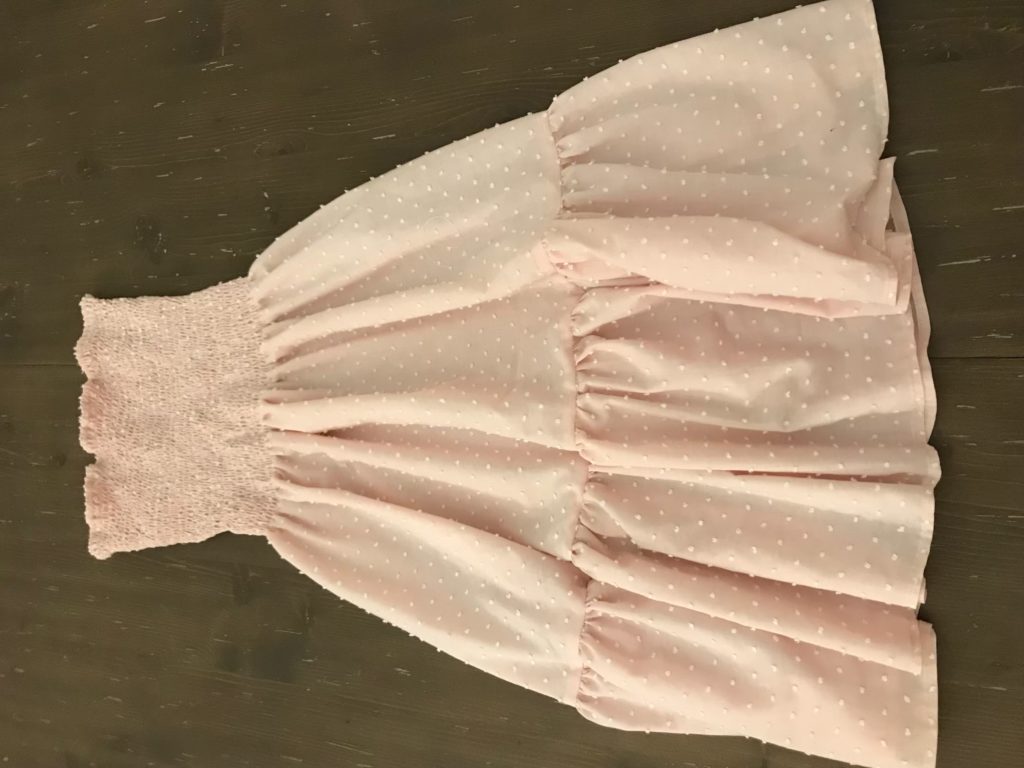
This tutorial is based on the dress shown just below; however I have added indications on how to change to length and remove the ruffles if you’re after something even easier.
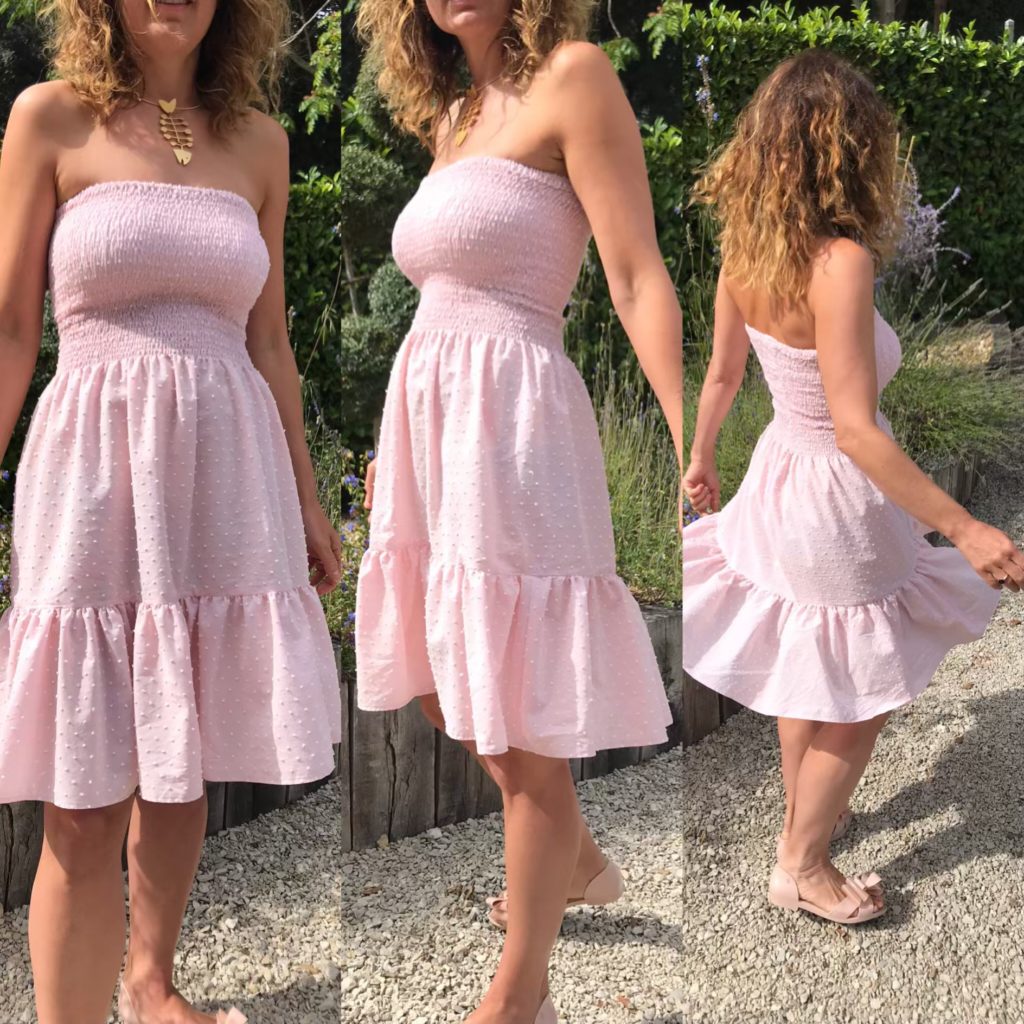
Before starting, I suggest you go and have a look at this article, to help you choose the dress variation you’d like. With 9 shirred dresses added to my wardrobe over the summer (!!!), I’ve extensively tested all possible combinations…
SHIRRED DRESS TUTORIAL BY SIX MIGNONS
YOU WILL NEED:
- you usual sewing equipment (sewing machine, scissors, pins, etc)
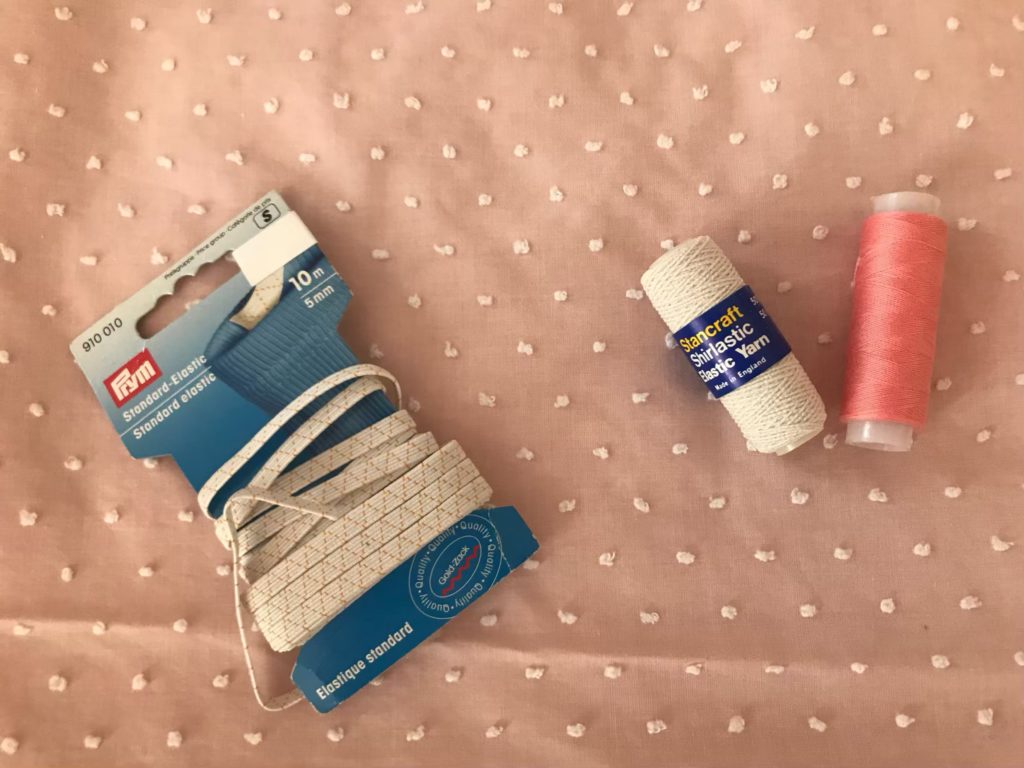
- 2m of lightweight fabric- cotton voile, swiss dots, satin, from 130cm wide (150cm is better). DO WASH, DRY AND IRON THE FABRIC BEFORE STARTING!!!
- sewing thread matching your fabric
- elastic thread
- 1m of standard (flat) elastic, 5mm wide
STEP 1: CUT AND OVERCAST YOUR FABRIC
- Over the full width of your fabric, cut 1 60cm-long piece – the dress; and 2 25cm-long pieces – the 2 ruffle pieces. You have 3 fabric pieces in total. (If you prefer a dress without ruffle, just cut a single piece of fabric of 85cm for a mini dress, 95cm for a midi dress and 115cm for a maxi dress)
- Overcast all sides of all fabric pieces (to avoid fraying), with a 1.5 zigzag stich on your sewing machine or with an overlocker.
STEP 2: CLOSE YOUR DRESS
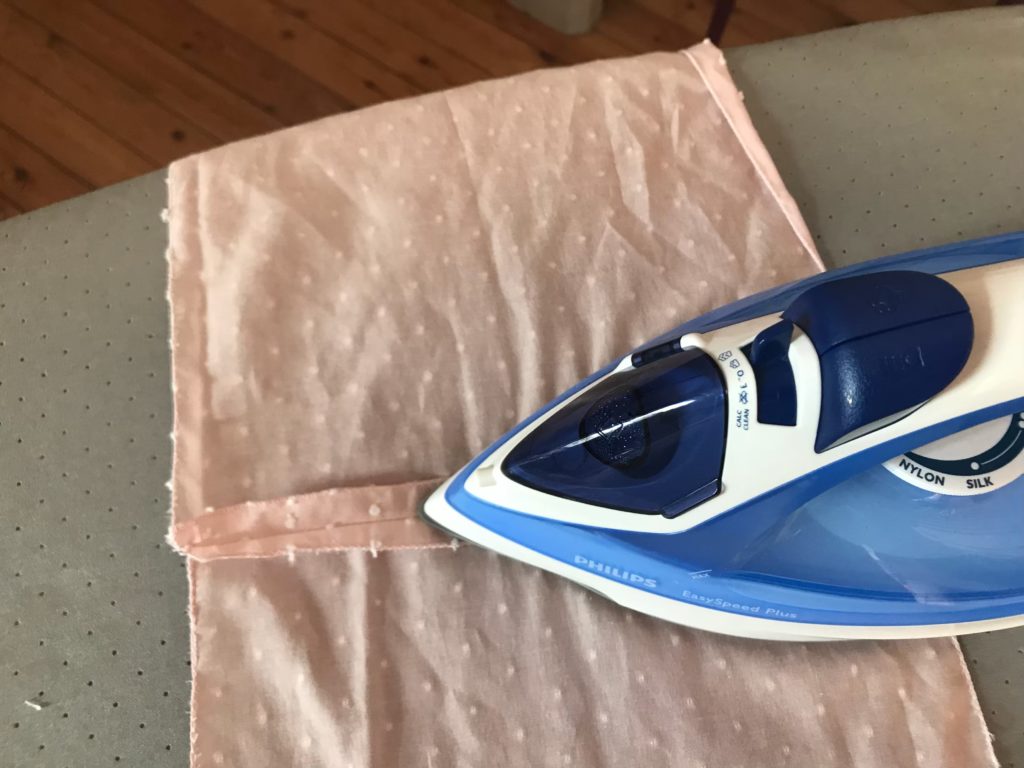
- Fold the dress piece in half, right face of fabric over right face of fabric..
- Pin, sew, iron.
- You end-up with your dress “tube”.
ETAPE 3: CREATE A TUNNEL FOR YOUR ELASTIC AT THE TOP OF THE DRESS TUBE
- At the top of the dress tube, fold you fabric on the inside by 1.5cm and iron in place.
- Sew with a 2.5 straight stitch, 1cm away from the hedge. Do not forget to leave an opening for your elastic, which we will thread in later on.
STEP 4: PUT YOUR ELASTIC THREAD ON YOUR BOBBIN
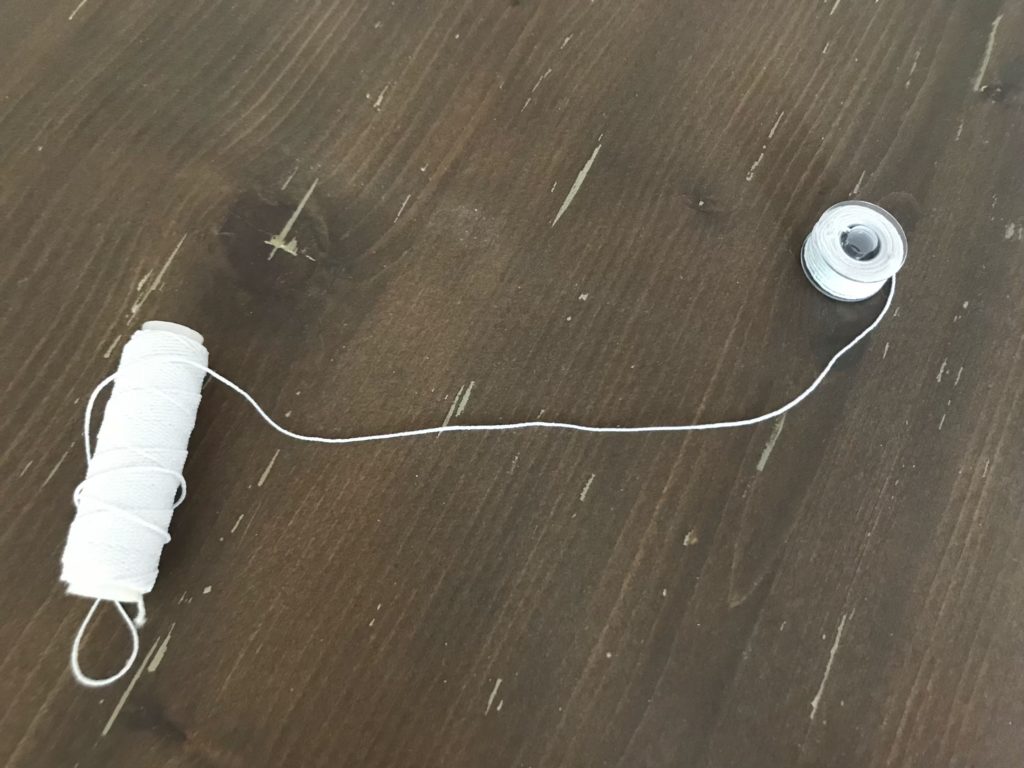
- Put your elastic thread on a bobbin – I prefer to do this by hand, without pulling on the elastic, as this way I don’t have to keep changing my top thread. Insert the bobbin in the machine.
- The top thread remains a normal one, matching your fabric.
- Set the machine on a large straight stich (4/5), while keeping standard tension.
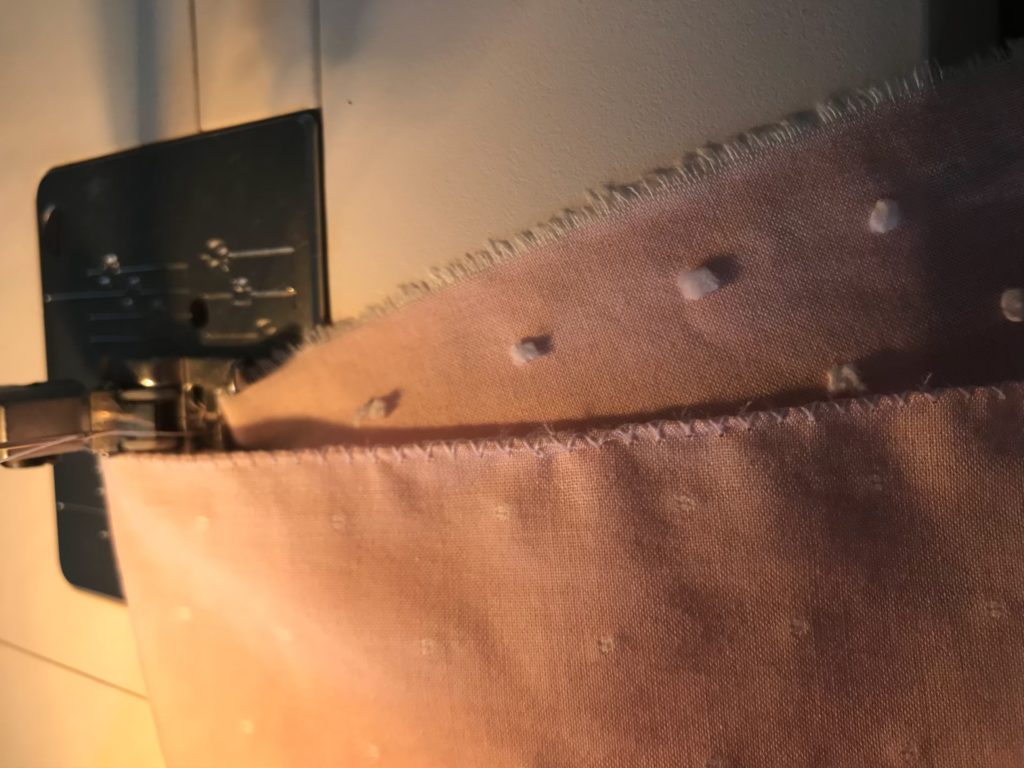
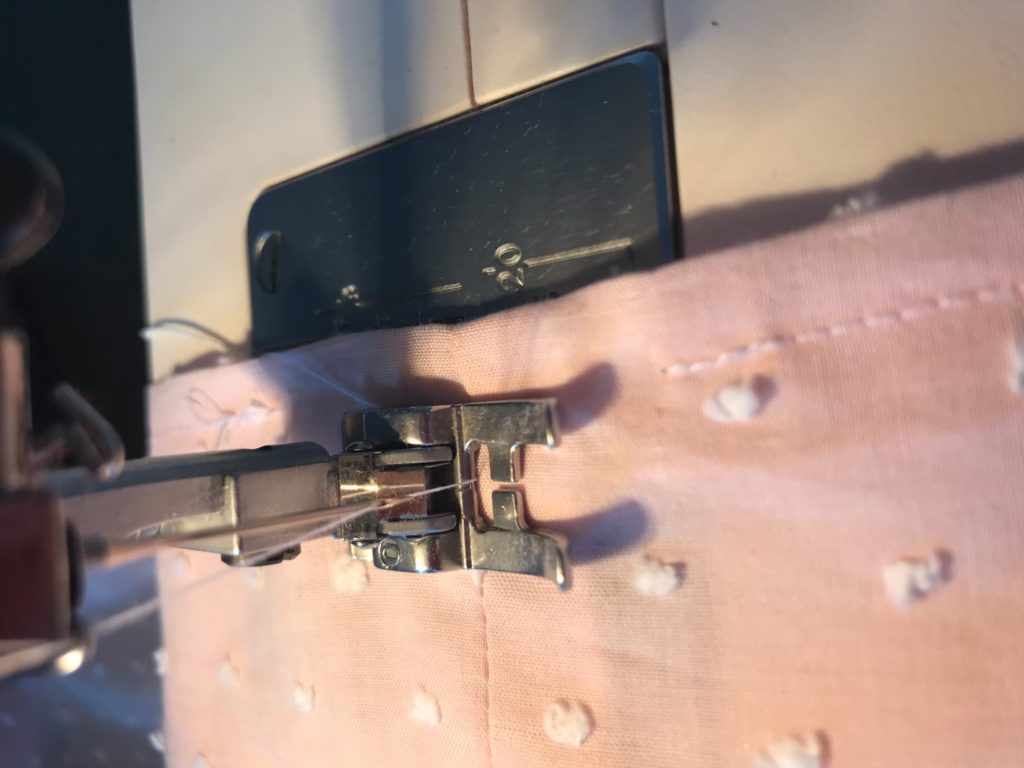
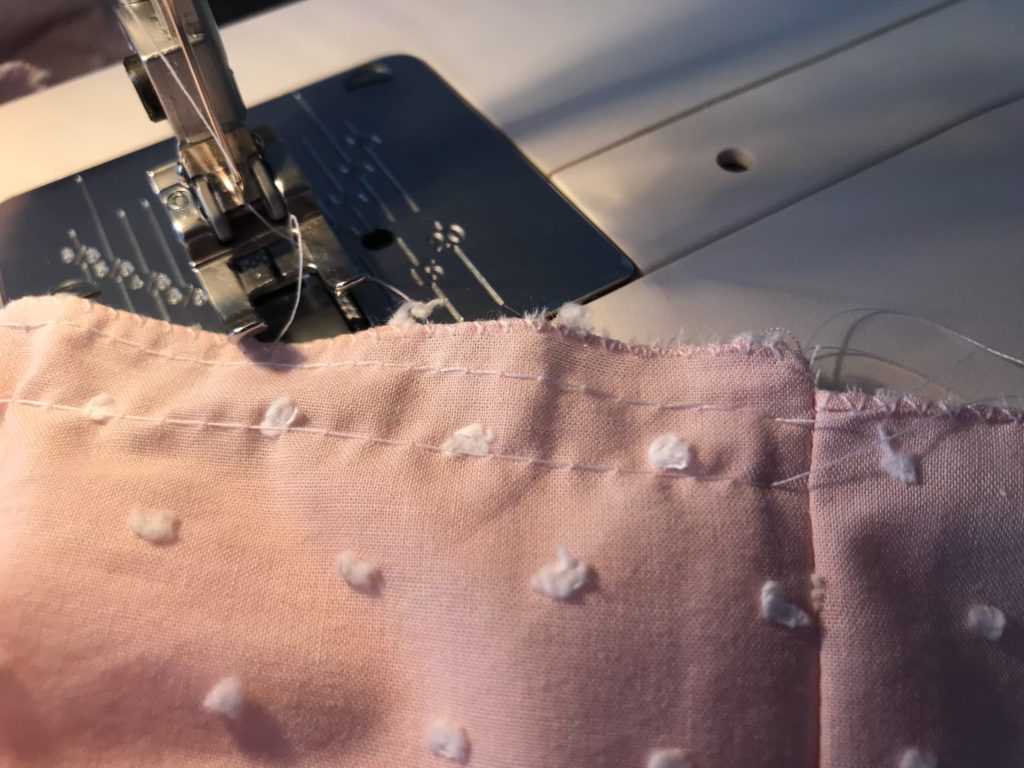
ETAPE 5: START SHIRRING!
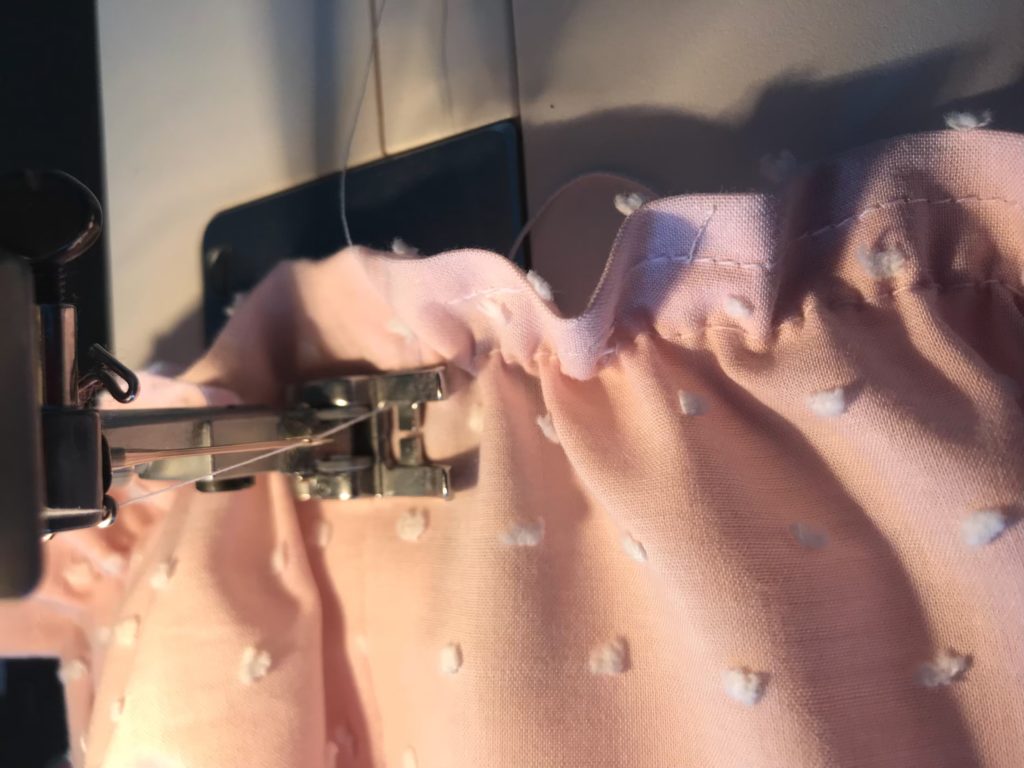
- Put the dress fabric under the needle, right face up, 1cm away from the line you sew for the elastic tunnel.
- Back-stich at the beginning, sew in a straight line all along the tube, then back-stich at the end – the elastic thread needs to be well secured into place!
- Raise the needle, move it 1cm below, and then proceed as previously
- One single bobbin should cover 5 to 8 lines, do count as it will make your life easier.
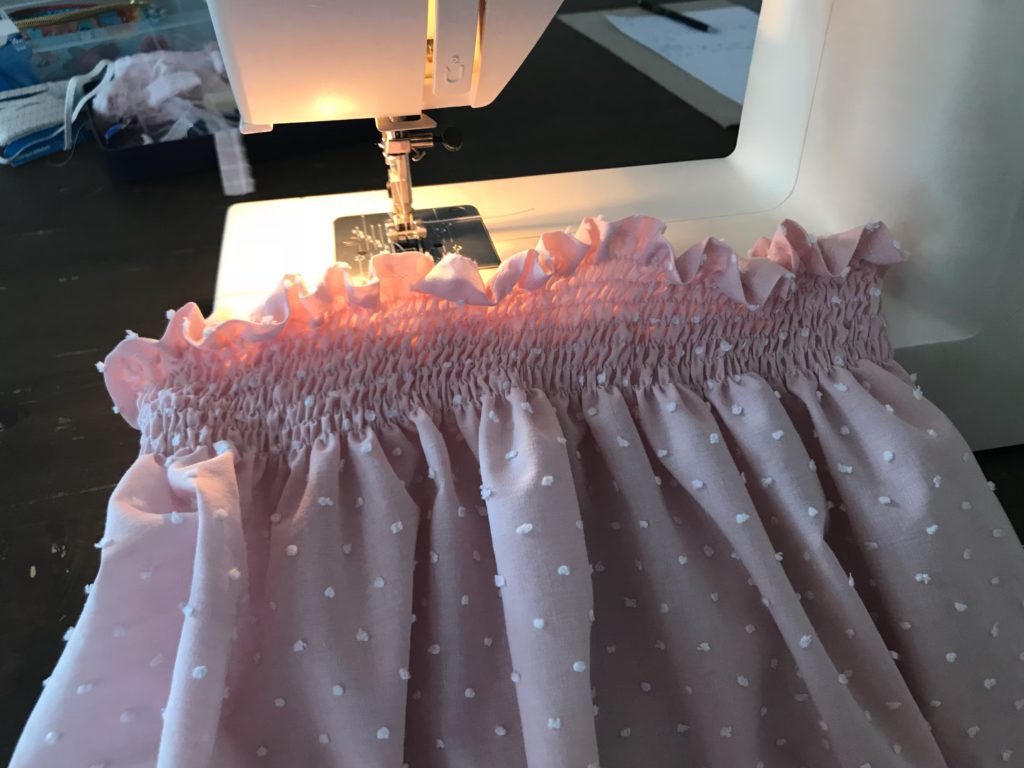
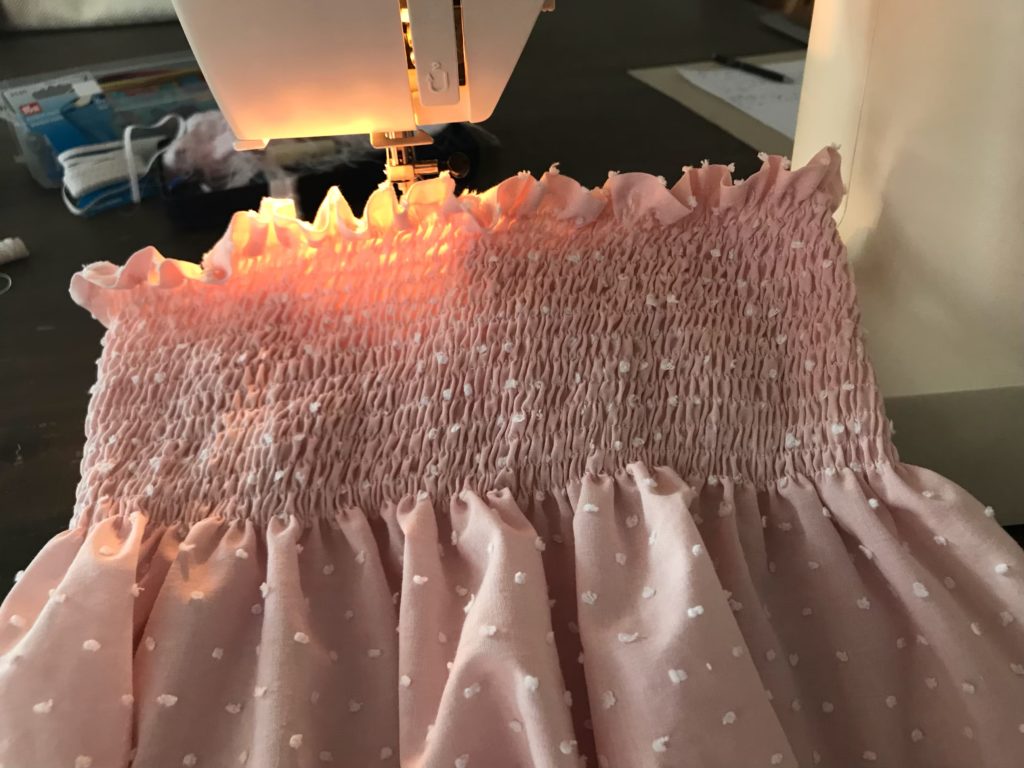
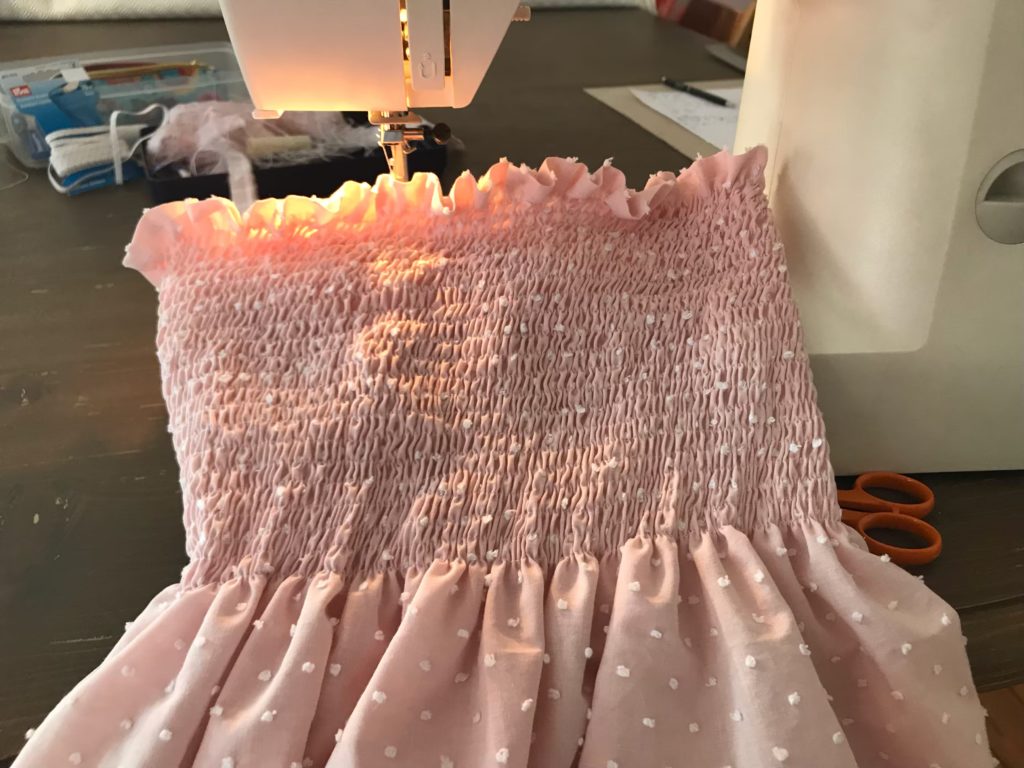
The gathering effect should progress like this. Do try your dress at the end of each bobbin to decide when you want to stop shirring. I like to make 28 rows, so that the gathers sit nicely below the breasts and therefore do not give a pregnant-woman effect (lovely when you are pregnant but never nice when you’re actually not!).
If you have chosen to make a dress without a ruffle, go directly to step 7, lucky you! Otherwise let’s keep going.
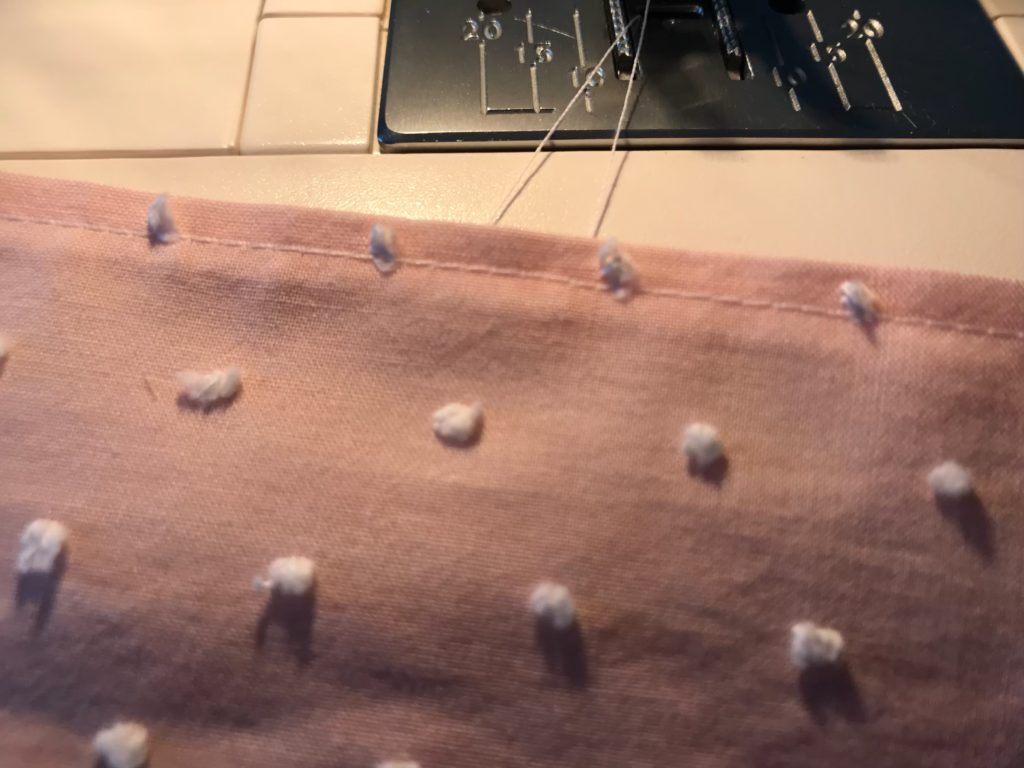
STEP 5: GET YOUR RUFFLE READY FOR GATHERING
- Put the 2 pieces of the ruffle together, right side to right side: pin each (small) side together, sew and iron flat.
- Insert gathering lines: set your machine on a large straight stitch (4/5) ans sew two parallel lines, one 0.5cm and the other 1.5cm away from the fabric hedge. Do not forget to leave enough thread at both beginning and end. To make the gathering easier and more regular, I divide my fabric in two (so four sewing lines in total, parallel 2 by 2).
STEP 6: ATTACH THE RUFFLE TO THE DRESS
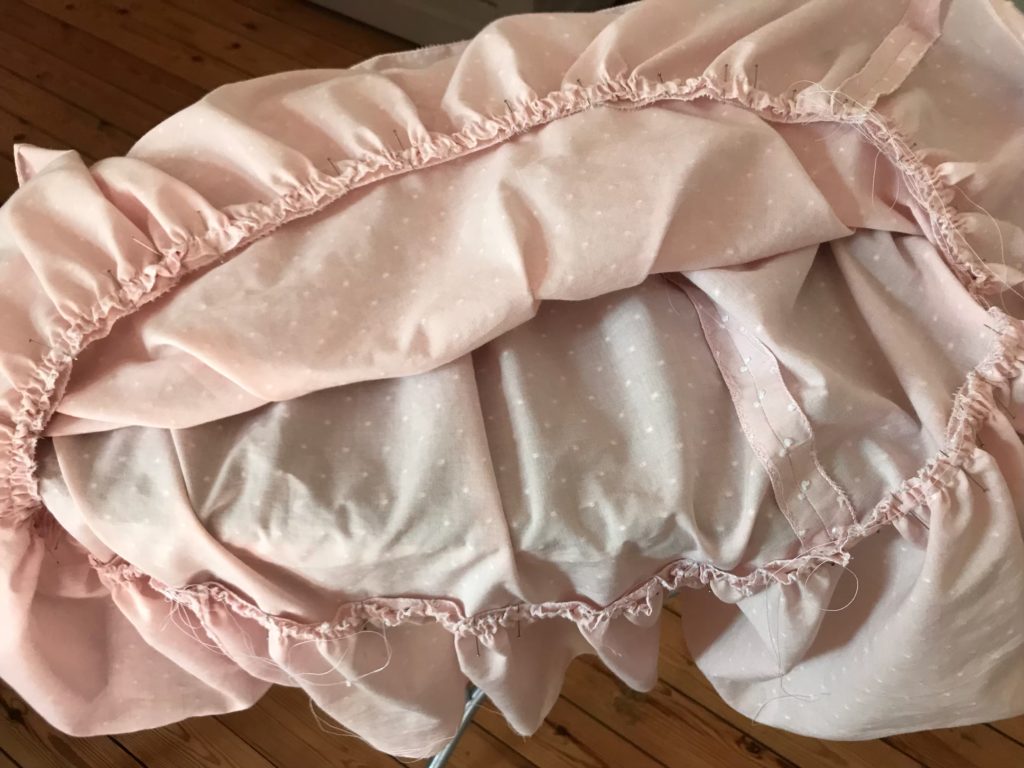
- Split the ruffle in 4 equal parts with pins; do the same for the dress hem.
- Assemble the ruffle and the dress together, matching the pins you’ve just laid. Pull on the threads to create gathers, until the width of the ruffle fabric matches that of the dress. Pin as you go along, being careful to keep your gathers regular.
- Put your sewing machine back to a normal-length stitch (around 2.5), put your fabric under the needle face up, and straight stitch 1cm from the fabric hedge.
- Check that you have caught all of the gathers and only then (calmly) get rid of your (meters of) gathering threads.
ETAPE 7: HEM, INSERT THE ELASTIC AND YOU’RE DONE!
- Hem the bottom of your dress – I just fold the fabric 1cm, iron to keep in place and straight stitch.
- Insert the flat elastic into the tunnel created at step 3, try the dress on to assess how long the elastic should be, cut and backstitch the elastic with a zigzag stick to secure it.
- Close the section left open of your elastic tunnel with a straight stitch ET VOILA, your dress is ready!
7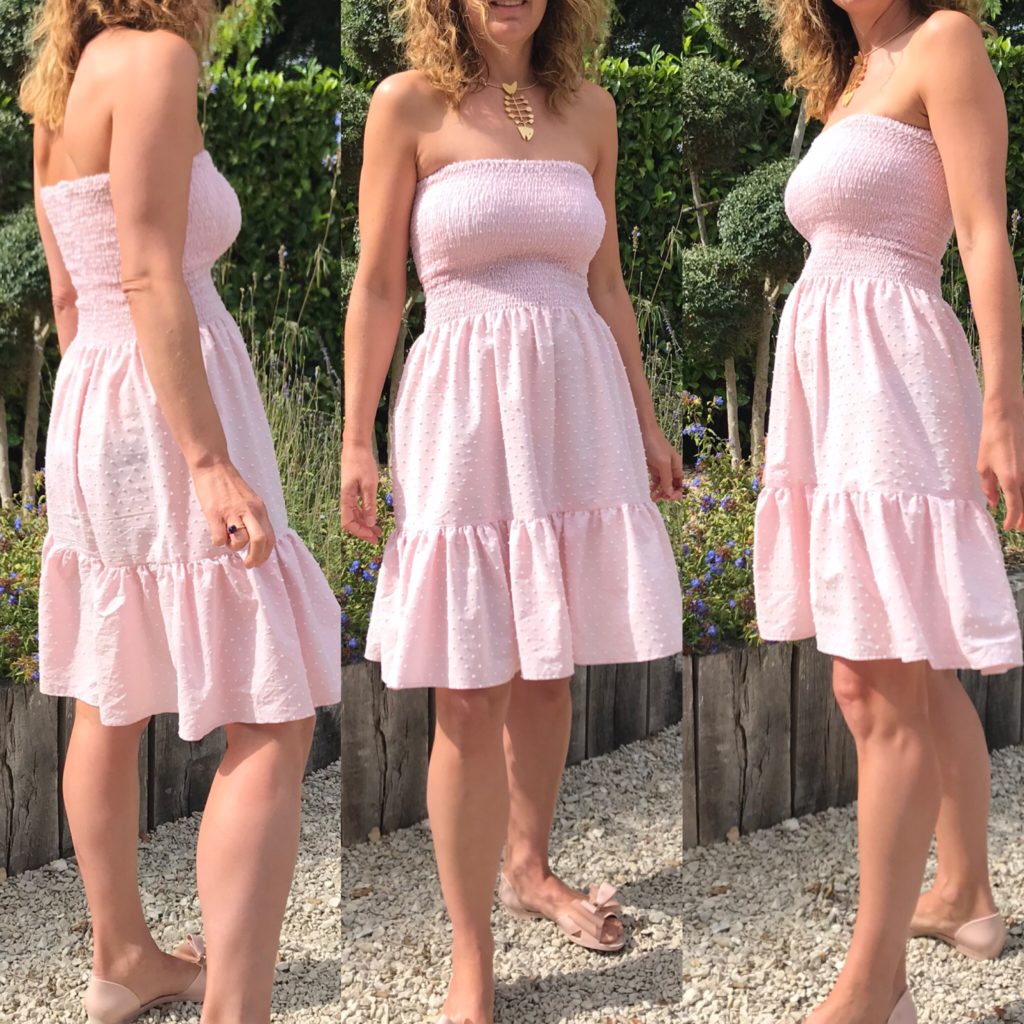
THIS OTHER FREE TUTORIEL MIGHT BE OF INTEREST:
If you make a smocked dress with one of my tutorials, do not hesitate to use the hashtag #smocksmignons so that I can admire and re-gram it!!