Sewing a 1960’s dress: S1609 pattern review
Lately and very surprisingly, I’ve had a 1960’s revival obsession. Bye bye adjusted bodices and circle skirts, all I want is shift dresses. Here is the first of a (long) series.
A 1960’s shift dress, why?
If you’ve been reading this blog for a while, you’ll know I’m a 1950’s girl at heart. Give me a very adjusted bodice, a very voluminous skirt and a Dior Bar jacket and I’m happy! Today’s outfit, all sewn by yours truly, could not be more to the point…

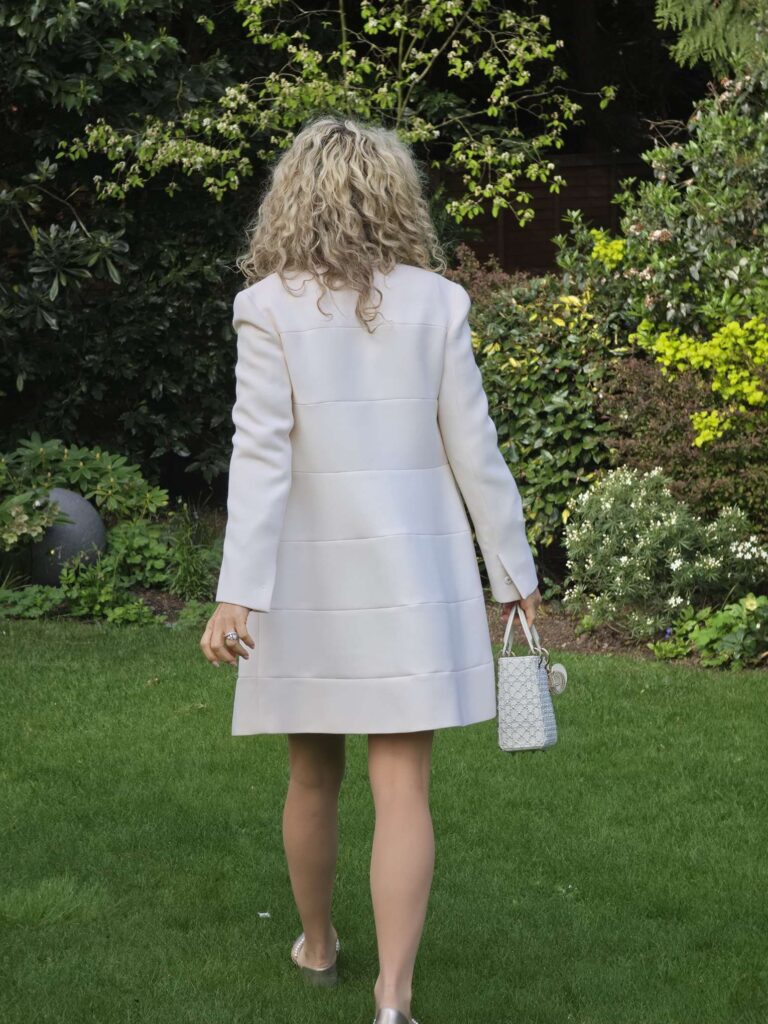
So why a 1960’s shift then? In all honesty, solely for matching purposes. My BFF recently started working in a second-hand designer clothes shop, and thanks to her talents I purchased this absolute beauty of a coat – Prada, wool, so comfy, so perfect for the British spring.


But nothing in my wardrobe to match it, can you believe? Obviously I had to remedy this!
Simplicity 1609 pattern review
I now LOVE buying patterns on Vinted
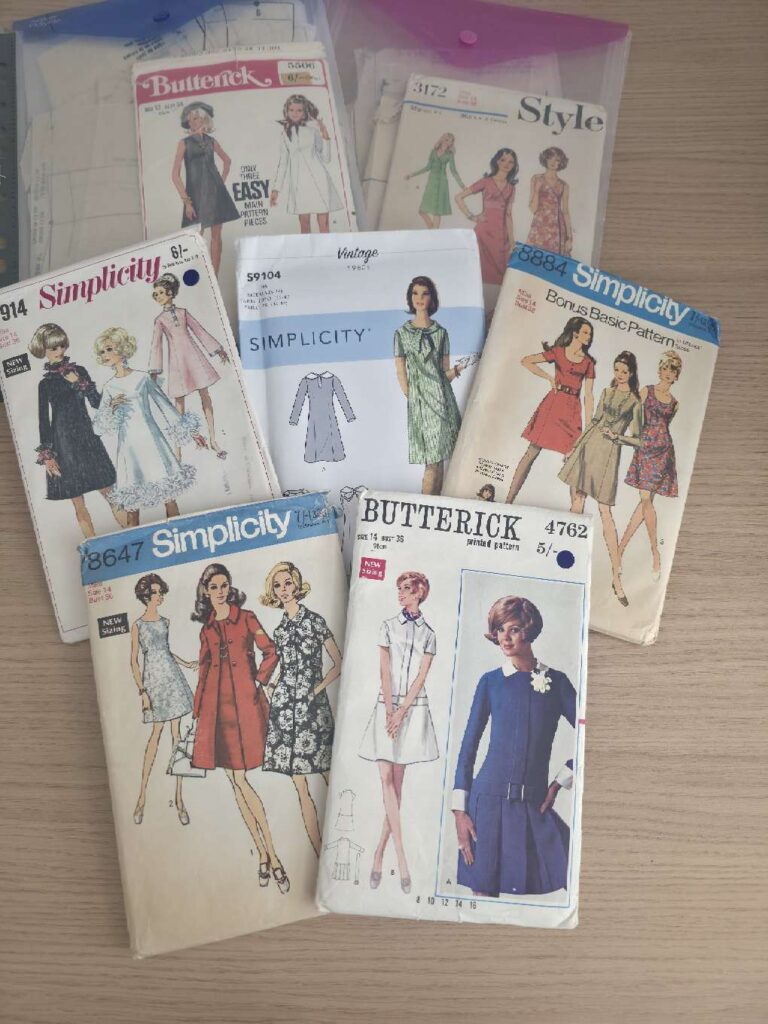
My other new obsession is buying sewing pattern on Vinted. You can find loads of vintage (and also non vintage) patterns, at very affordable price, and most often unused. So before sewing this dress, I had already amassed quite an extensive collection of 1960’s vintage patterns…
But I actually chickened out of sewing vintage, as I know from the experience of this shirt that sizing can be a bit unpredictable. So I opted for re-edited vintage (also bought for a bargain on Vinted, widely reviewed and highly praised on SewingPatternReview.com.
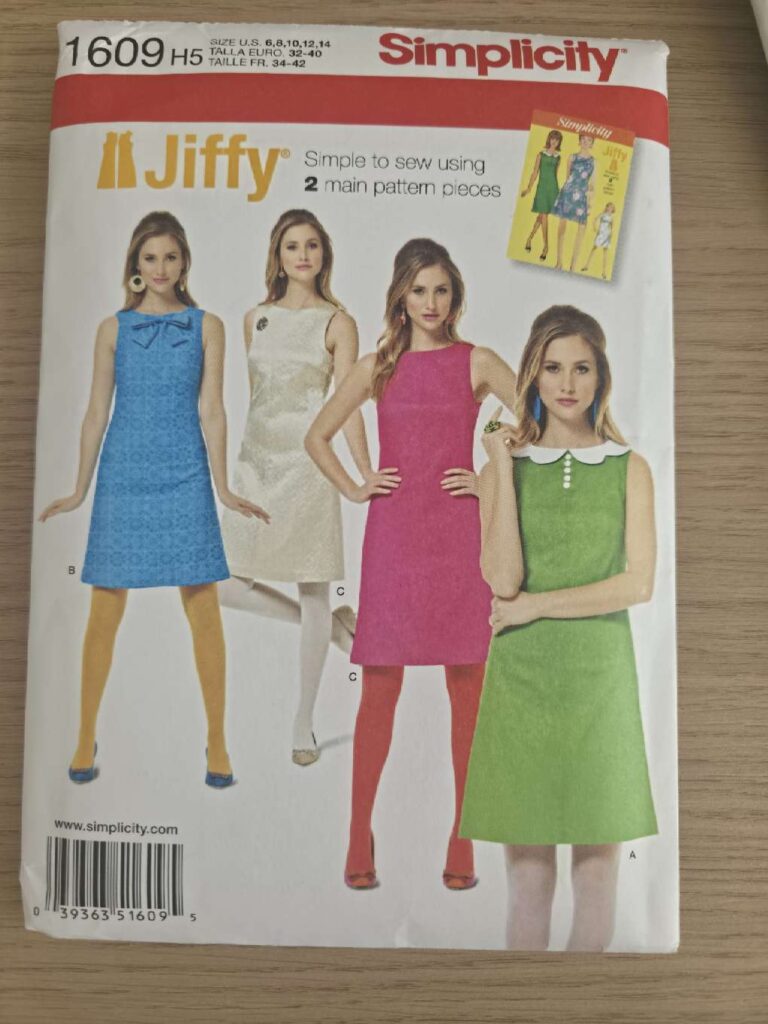
What are Simplicity Jiffy patterns?
S1609 is part of the Simplicity Jiffy range, which according to my very extensive research on Vinted (hum hum) has been around for ages. These patterns are basically supposed to be easy-peasy, with minimal pattern pieces, as few as possible technical points and limited need for fitting.
And S1609 definitely fitted these criteria: two main pattern pieces (one front, on back – then obviously you need to use sleeve and neck facings); an invisible zip to fit at the back; and just bust fitting – which meant a FBA (full bust adjustment) for me.
FBA my main challenge
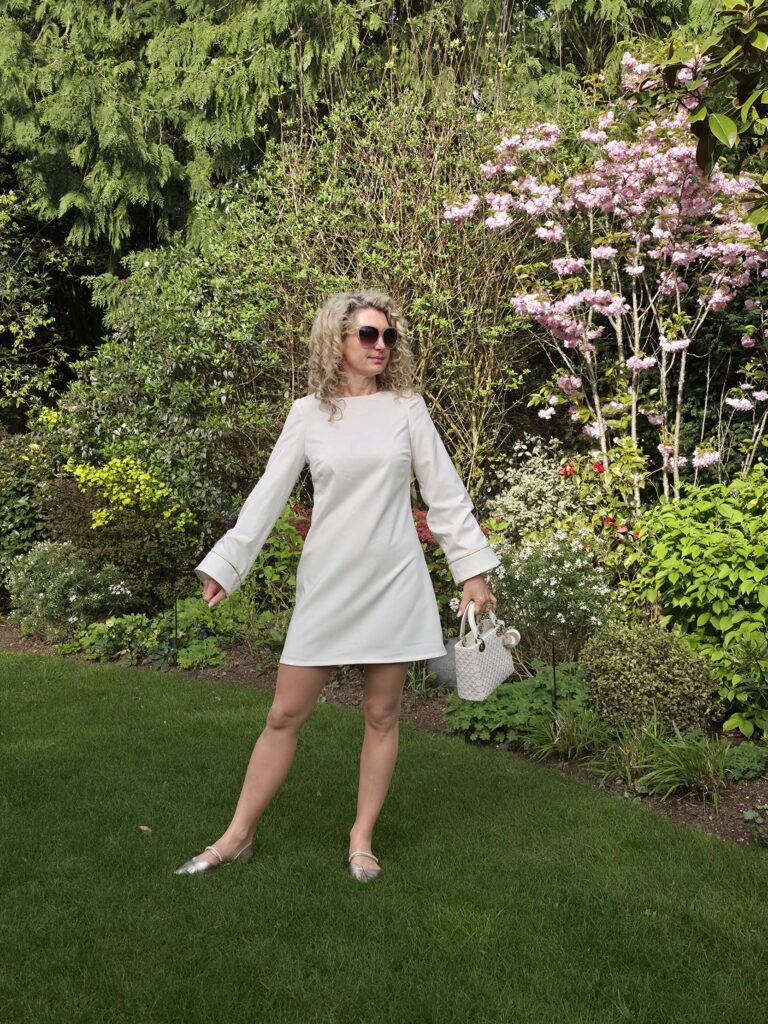
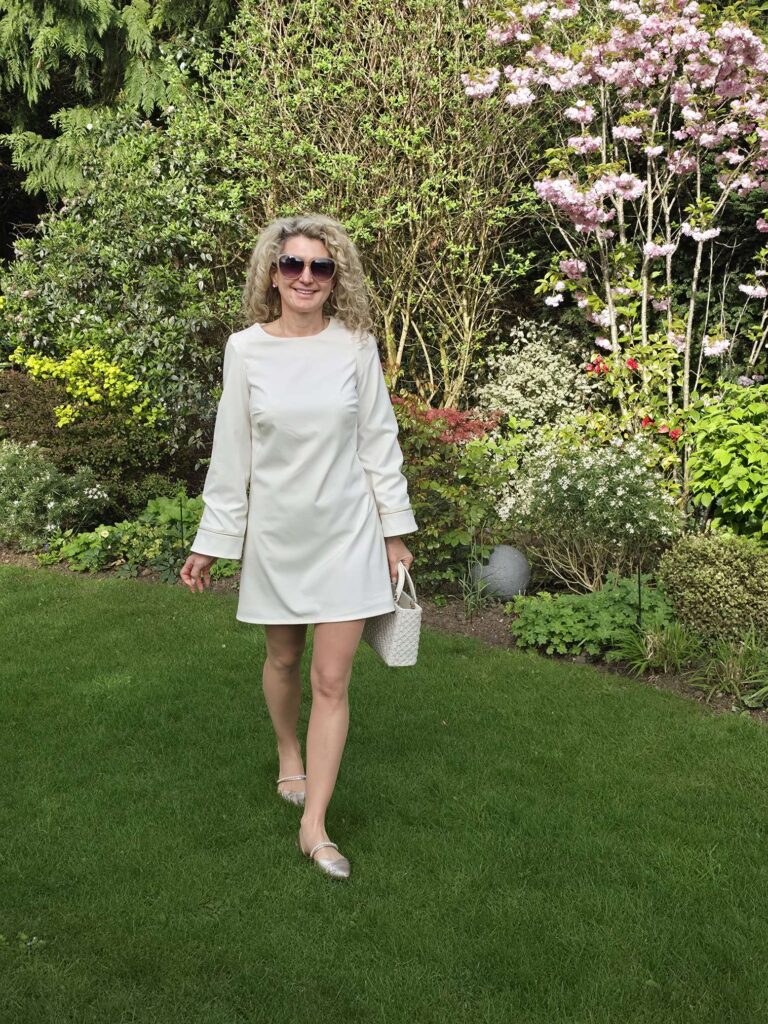
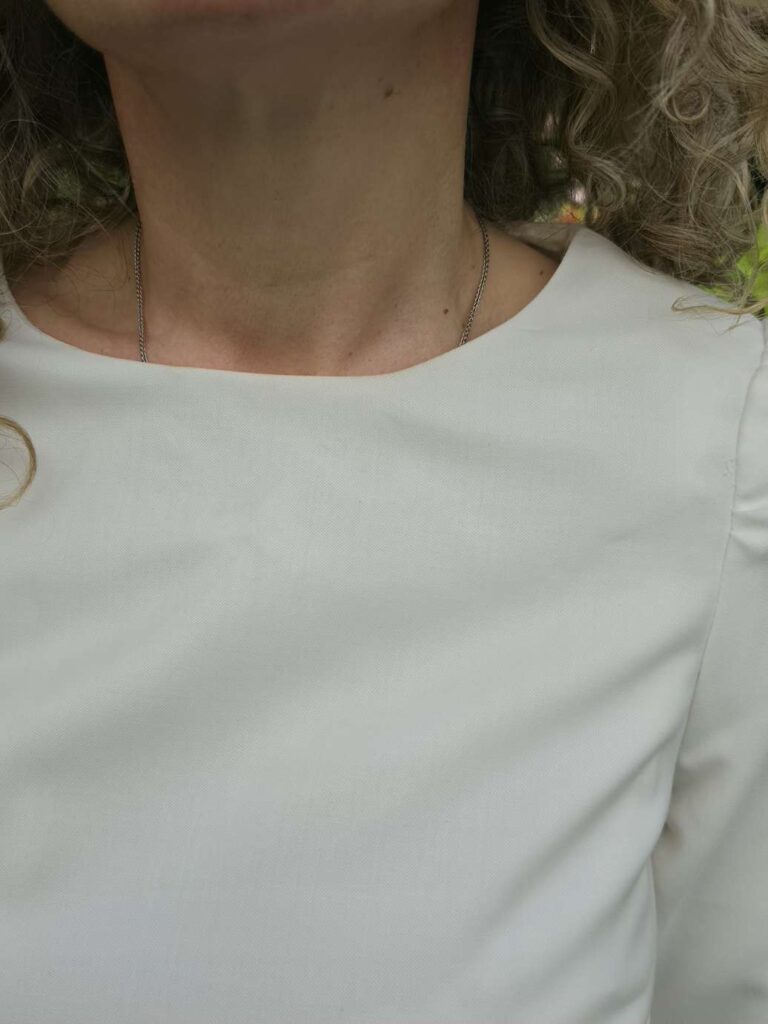
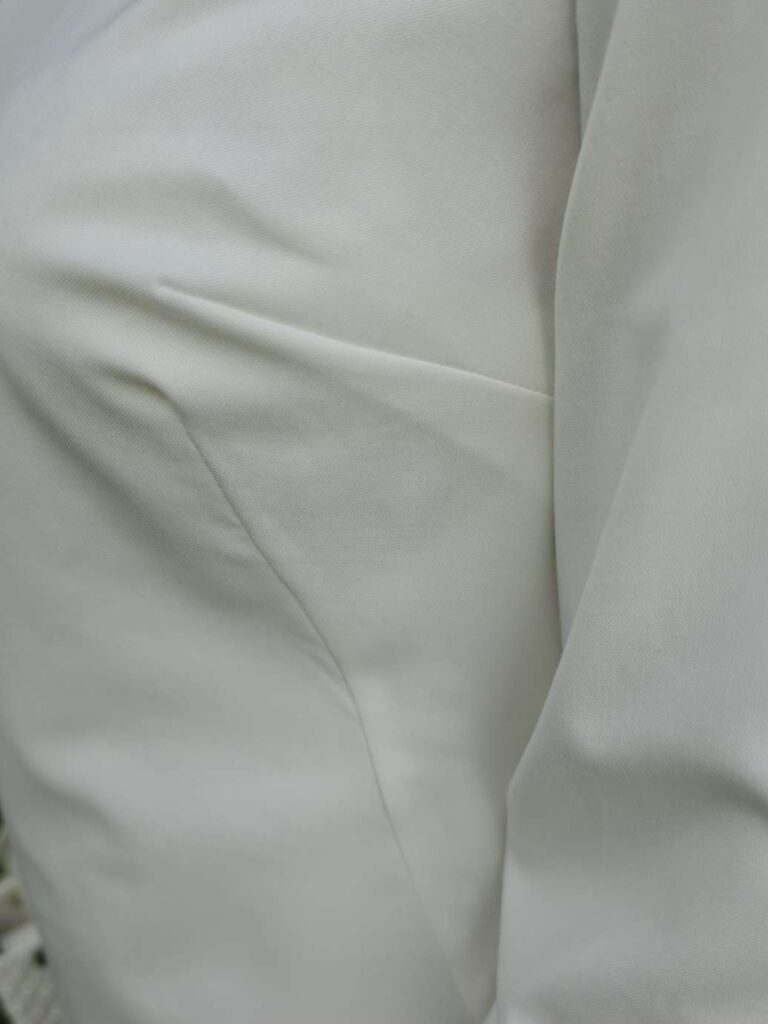
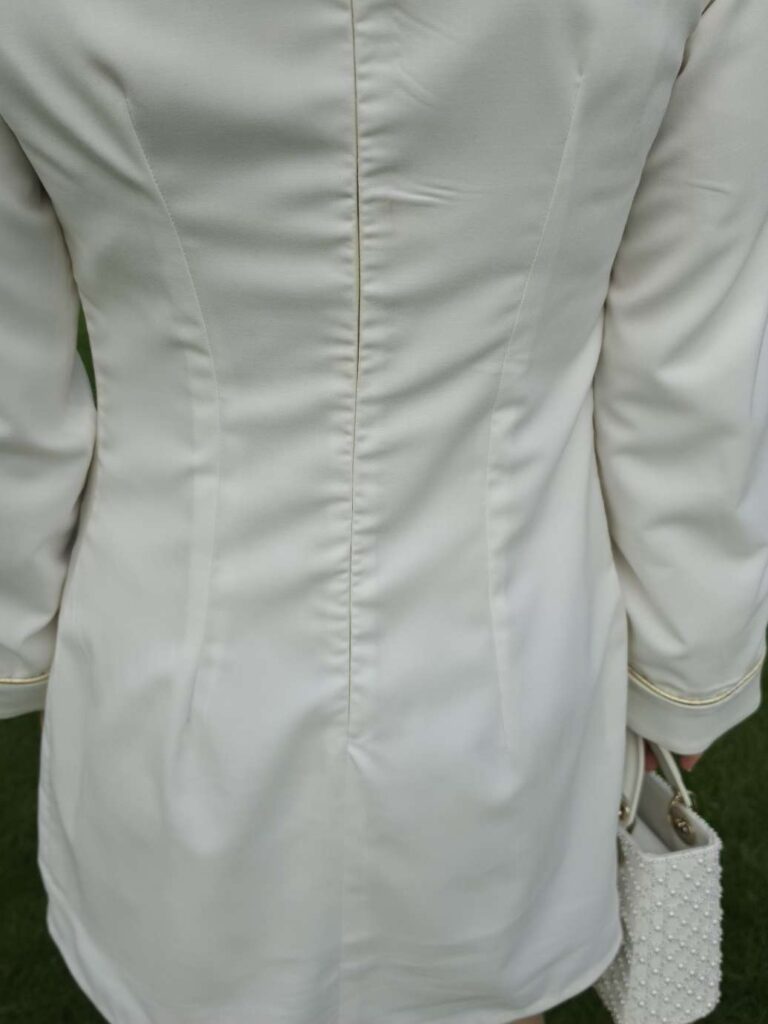
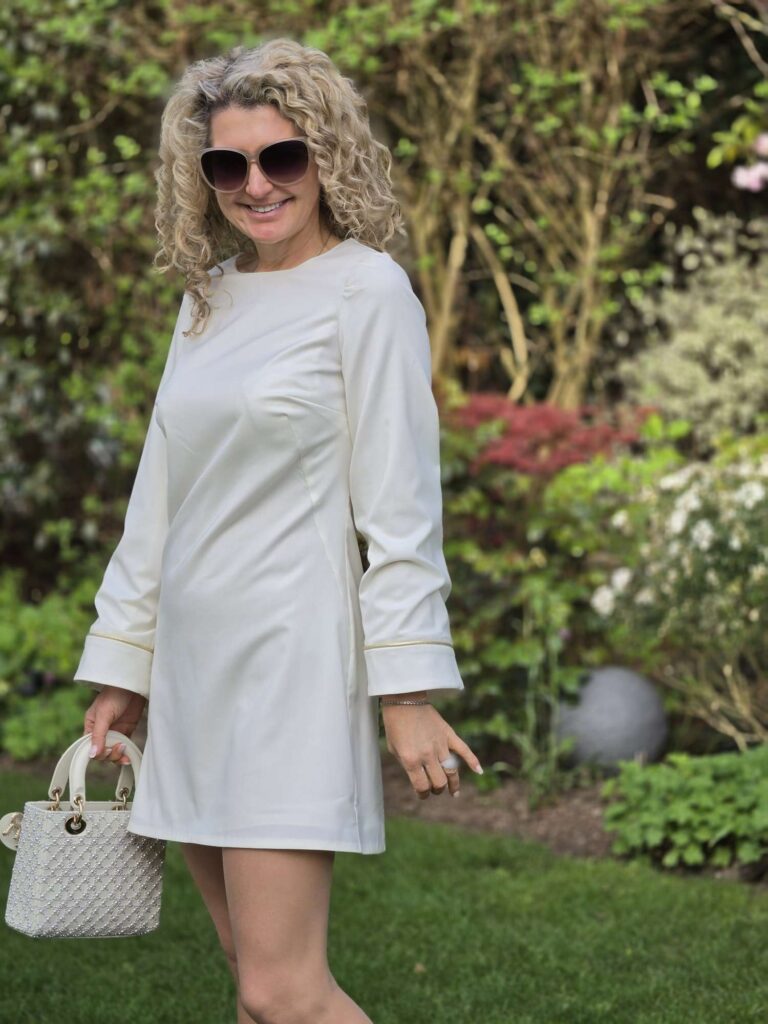
This dress was an absolute delight to sew and the fit is truly very good – just loose enough at the front to create a trapeze shape, but well fitted at the back so that it does not look like a potato bag…
I used a size 10, as I always do for Vogue/ McCall/ Butterick/ Simplicity and it fitted perfectly… except for the bust! I am a 32E/ 85E and I always, always need a FBA. I basically needed to add 2.5cm, which I put all in the side bust dart (no way I was touching the waist dart), here is a picture of the resulting front pattern piece.
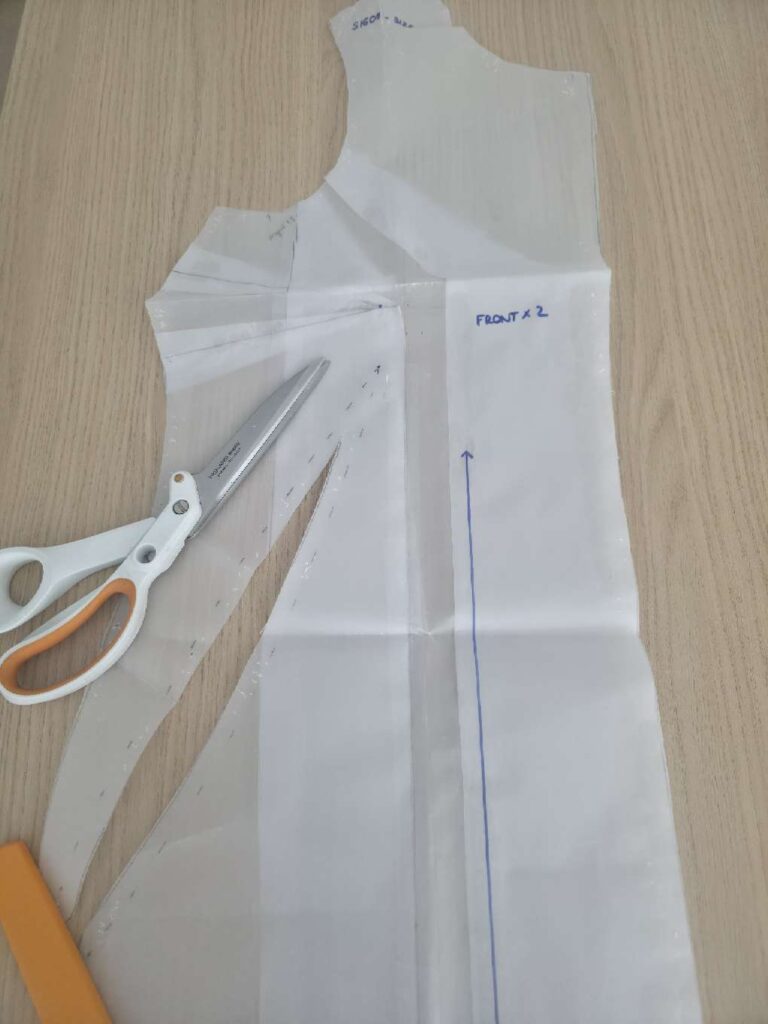
I recently found this very detailed guide for bust adjustments and it has been a God-send, I strongly recommend it to anybody who has to fight this battle.
Other changes to the pattern
Other than the FBA, I made a few other changes to the pattern:
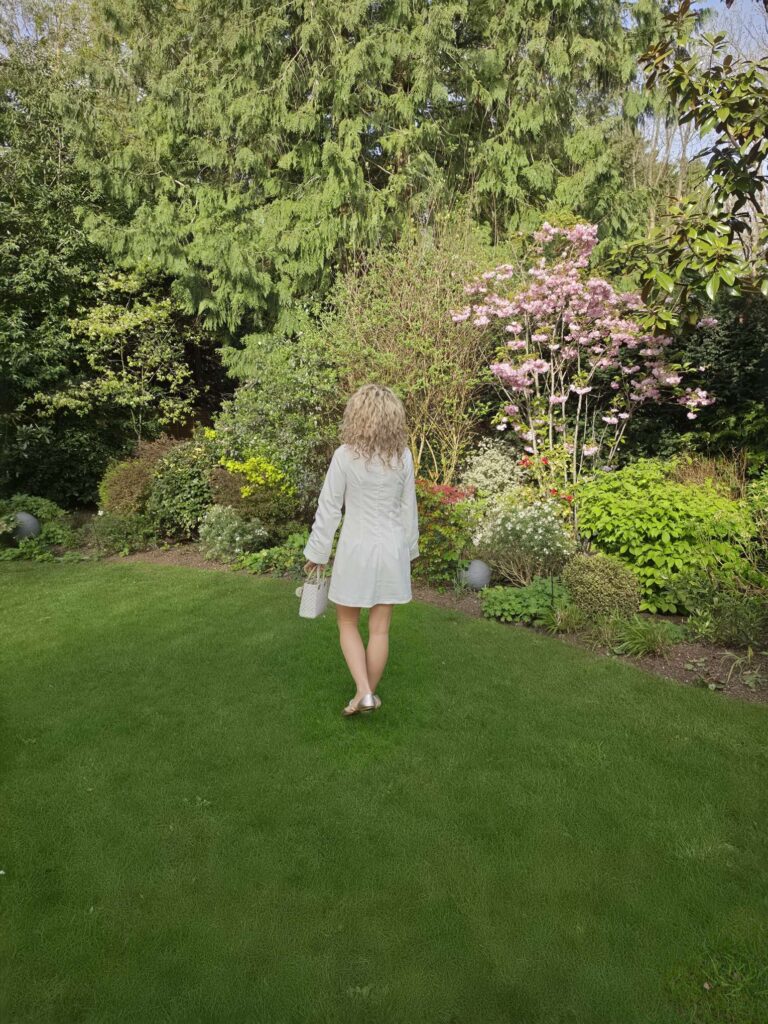
- I shortened substantially the dress to make it a mini, the initial length was terribly unflattering for me.
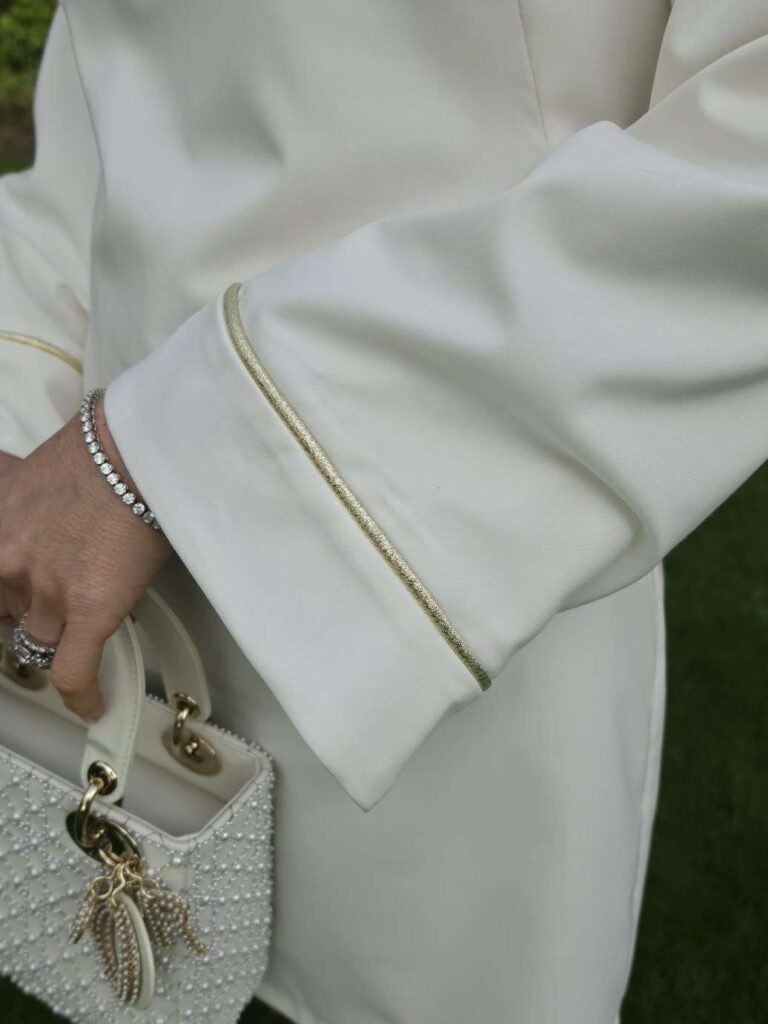
- I added trapeze-shaped sleeves, using the ones from a vintage pattern photographed above (Simplicity 7914). I also added cuffs and a gold piping – let be wild!

- I entirely lined the dress, as my fabric (a beautiful light wool crepe) was slightly see-true. And wool in any case, which I cannot stand on bare skin.
Conclusion
This is a great basic pattern for a shift dress, which I will definitely re-use widely. And it is perfect to wear with my new coat so all boxes ticked. I am delighted!

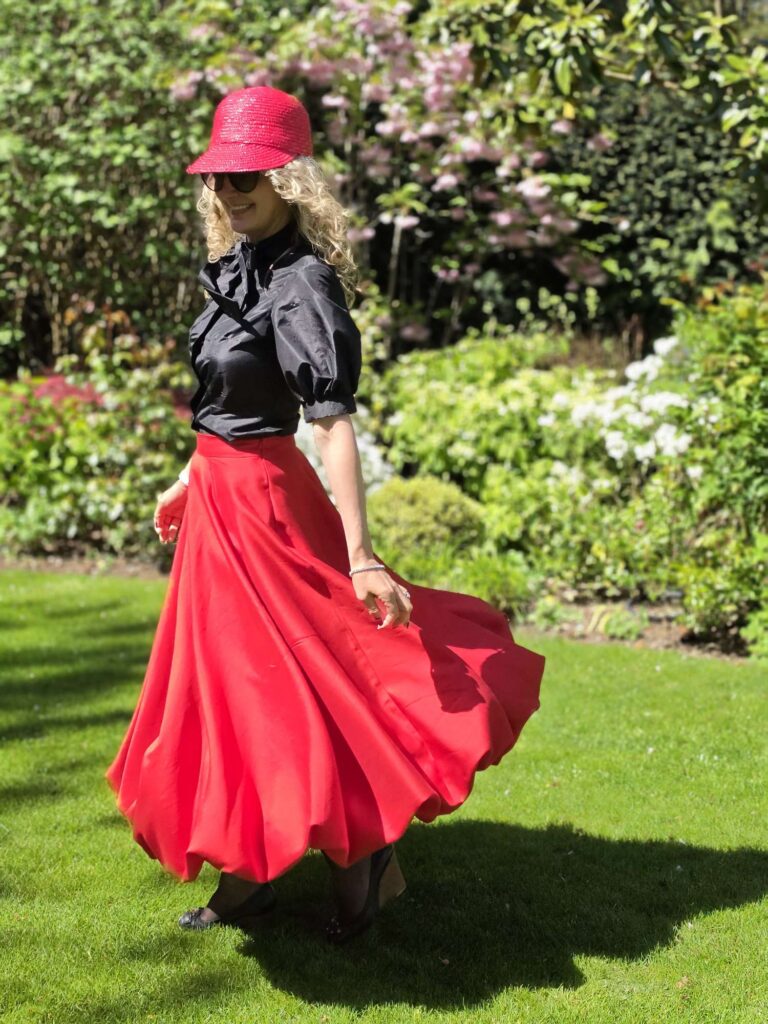
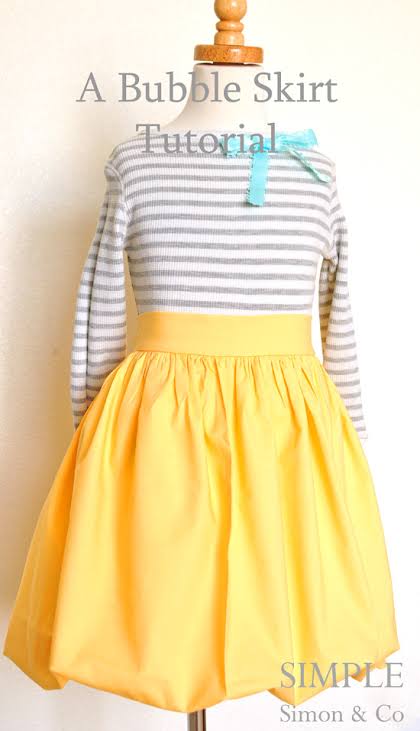
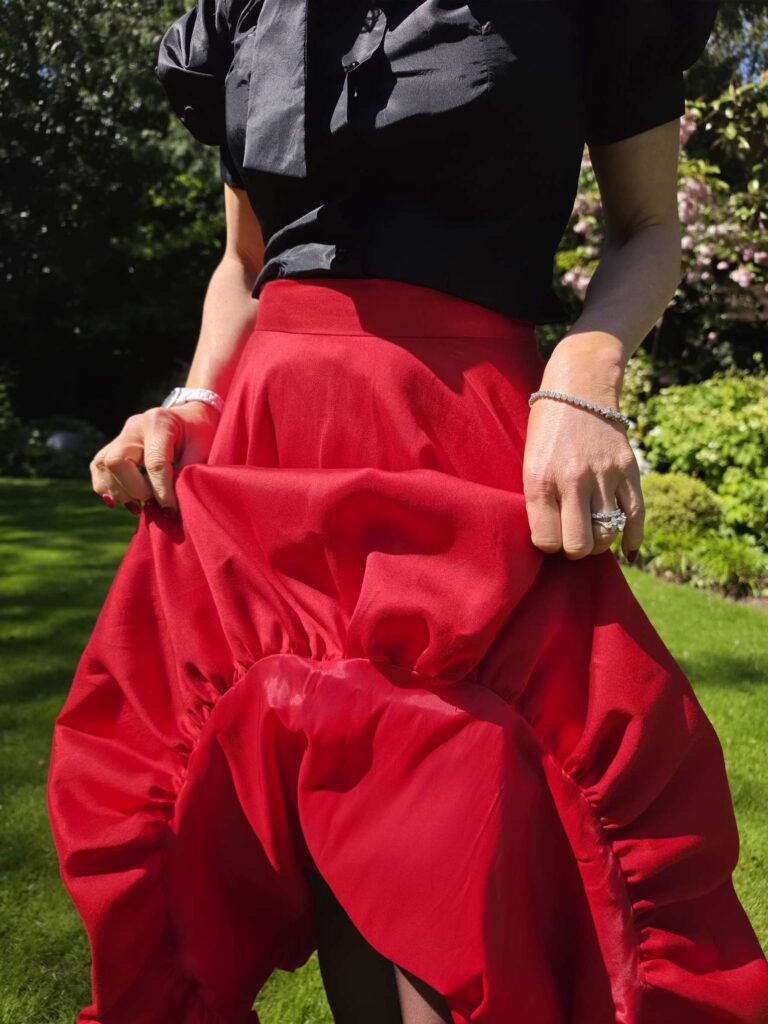
Sewing a maxi bubble skirt
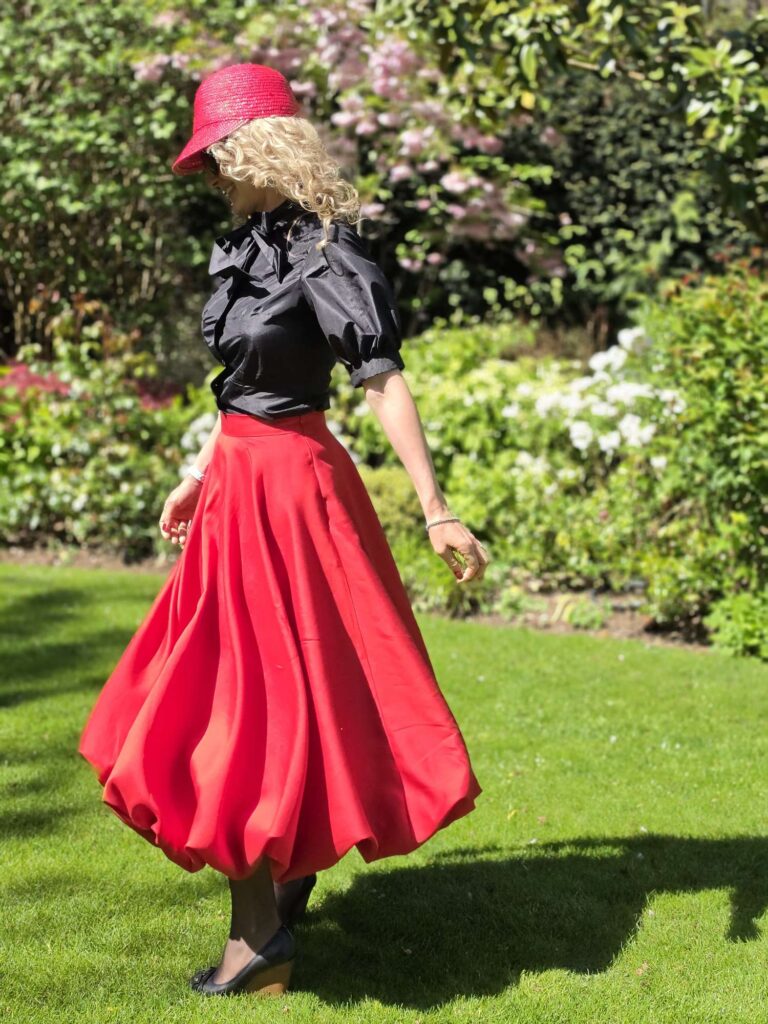
After many months of looking for the perfect pattern, here is my self drafted maxi bubble skirt! Exactly the way I wanted it to be so well worth the wait…
The (unsuccessful) search for the perfect pattern
I have been wanting a bubble skirt for myself for a very long while – probably years rather than months to be honest… I am like that: I get fixated on an idea and I will not relent or compromise until I get exactly what I want (ask the company that built our house, they know…).
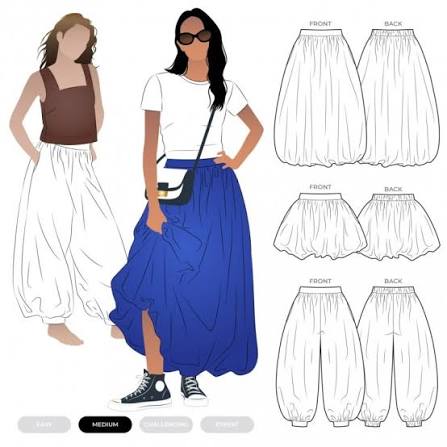
If you google “bubble skirt pattern” online, the only things that come out are very bubbly at the bottom – which is what we want… but also very bubbly at the top – definitely NOT what we want. The golden rule of any pear shape girl like me is DO NOT ADD ANY VOLUME AT THE WAIST.
Anyway what I found were things like these (no offense to the pattern makers, just not fit for my body type)…
Sadly I am not good at self-drafting, I can tell you. I have a very precise idea in my head but I always seem to get either the measurements or the proportions wrong. So it is with great reluctance I decided to self-draft my maxi bubble skirt… and this time was a success!
How to self-draft a maxi bubble skirt
Word of warning: I used skirt patterns I have from previous dresses, namely B6446 and V9327. I have used these skirt patterns so many times that they are full or holes and tears, but I fear changing them by even a millimetre as they work so well. But you can use the circle skirt calculator from By Hand London, which is completely free.
Anyway, here are the steps I followed – sorry I took no progress pictures…
- Cut a full circle skirt of the length you desire + 12.5cm + sewing allowance (1.5cm for me). Mine is based on a 90cm long skirt in total, so it requires about 5m of fabric cut crosswise (perpendicular rather than parallel to the selvedge) to get no middle front or back seam.
- Cut a quarter circle skirt, 12.5cm shorter than the full skirt + sewing allowance. Here there is far less fabric needed (2m) and you can cut as you usually do if the fabric is 145cm wide or more.
- Overlock and sew side seams for both skirts, allowing space on one side for the zipper.
- Sew two gathering rows at the bottom of the full skirt. There is a lot of gathering ahead of you, so I would strongly advise you mark the quarters of both skirts before proceeding, so that your gathers are evenly spread.
- Progressively gather the bottom of the full skirt and pin it to the quarter skirt, right side to right side. I advise you proceed quarter by quarter. It takes forever but never mind…
- Sew bottoms of skirt together, check for potential puckers/ holes and sort them out.
- Remove the gathering threads and turn the skirts inside out so they are now wrong side to wrong side (how you will wear the skirt) and the gathering is enclosed.
- Attach the waistband at the top. Mine is a rectangle of fabric, INTERFACED and overlocked on small side. Width is: waist + 4cm ease + 1.5cmx2 sewing allowance. Height is 4cmx2 + 1.5cmx2 sewing allowance.
- Insert invisible zipper on the side, catching both skirts. You can have a nicer finish here by not catching the underskirt in the zipper and attaching it afterwards, but lets keep it simple.
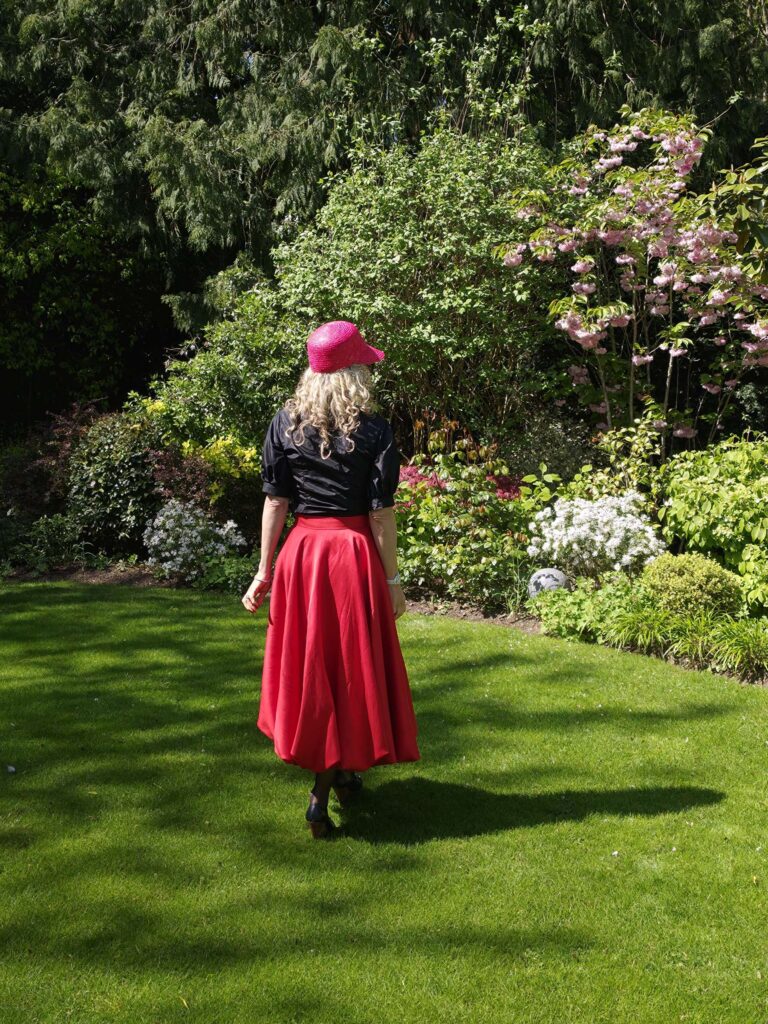
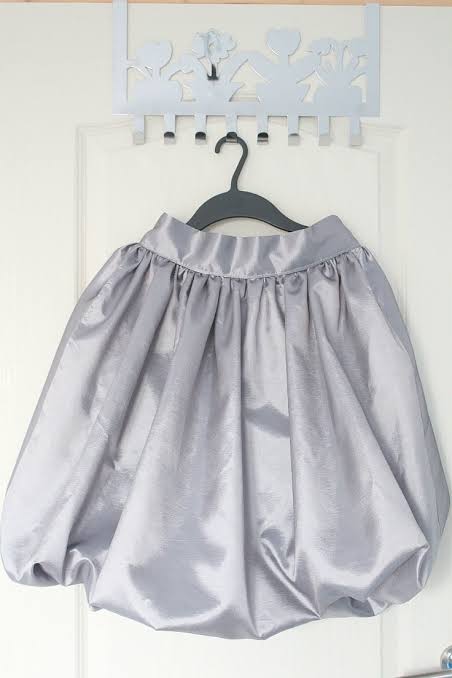
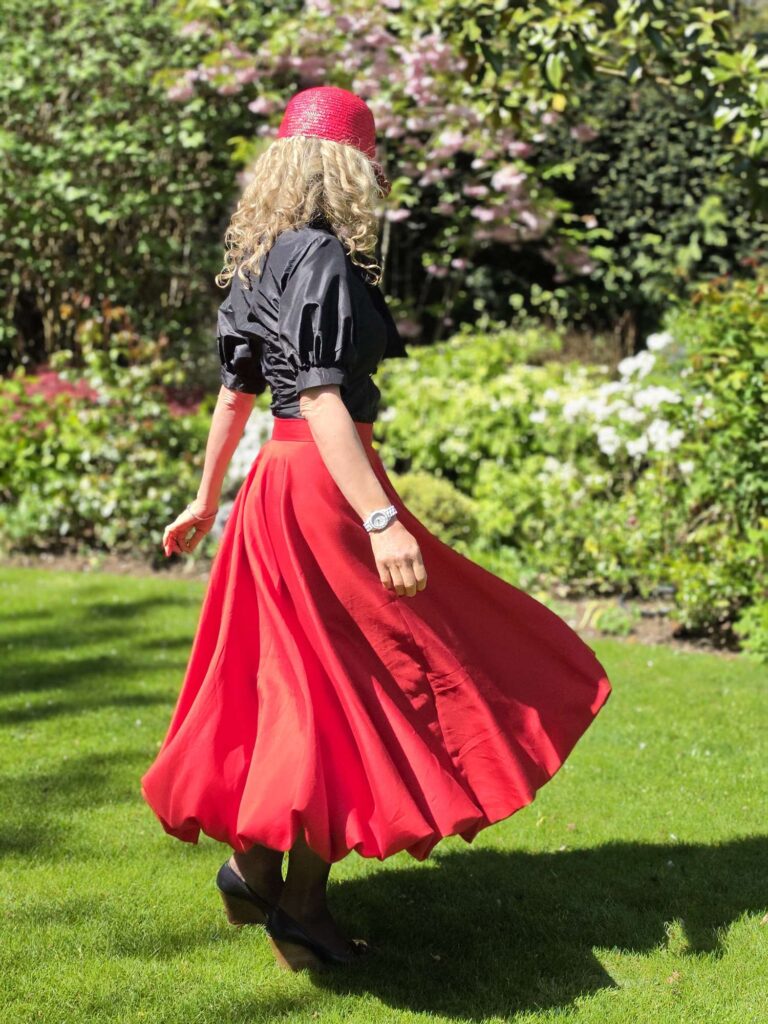
AND YOU ARE DONE! Nice puff at the bottom…

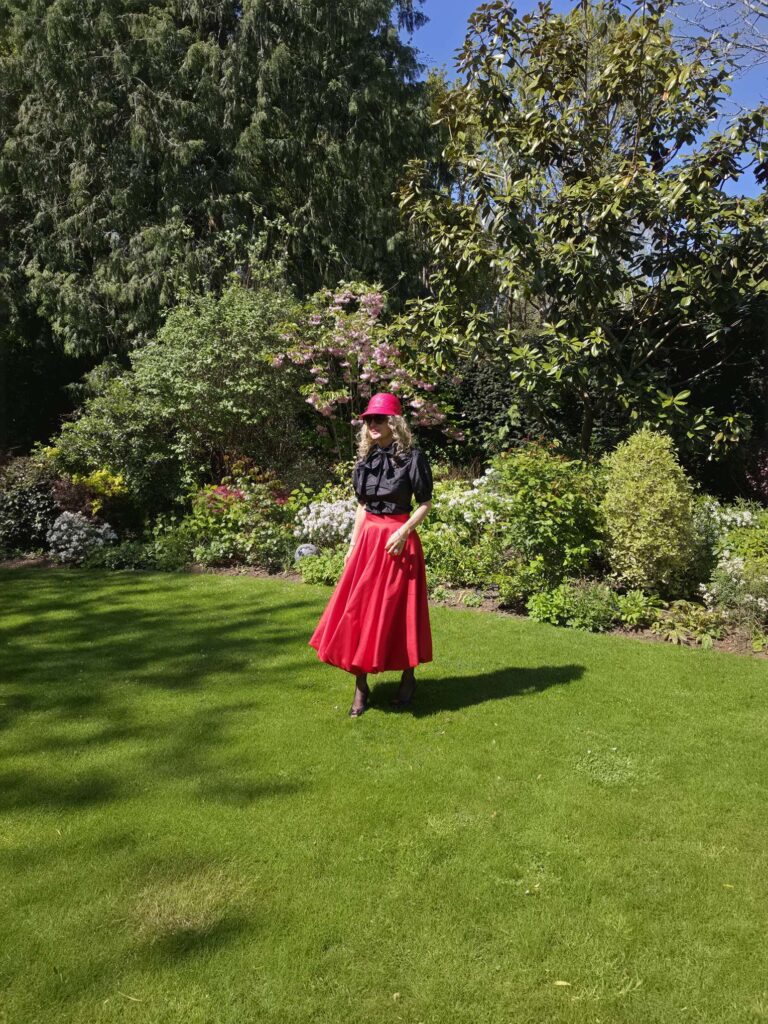
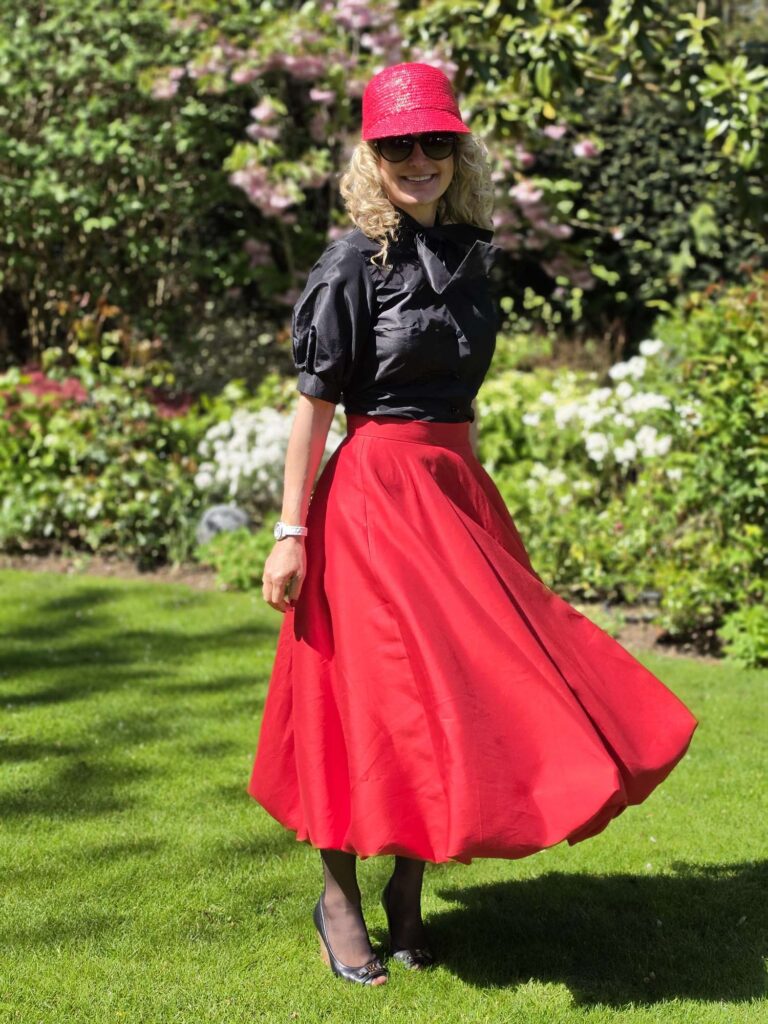
… but no puff at the top and a nice slim waist:
Conclusion
Super happy with this one although I am not sure how it will iron… Thankfully the fabric is a gorgeous silk/wool blend so it does not crease too badly/
Let me know if you would like a full tutorial, it may motivate me to make another of these beauties!
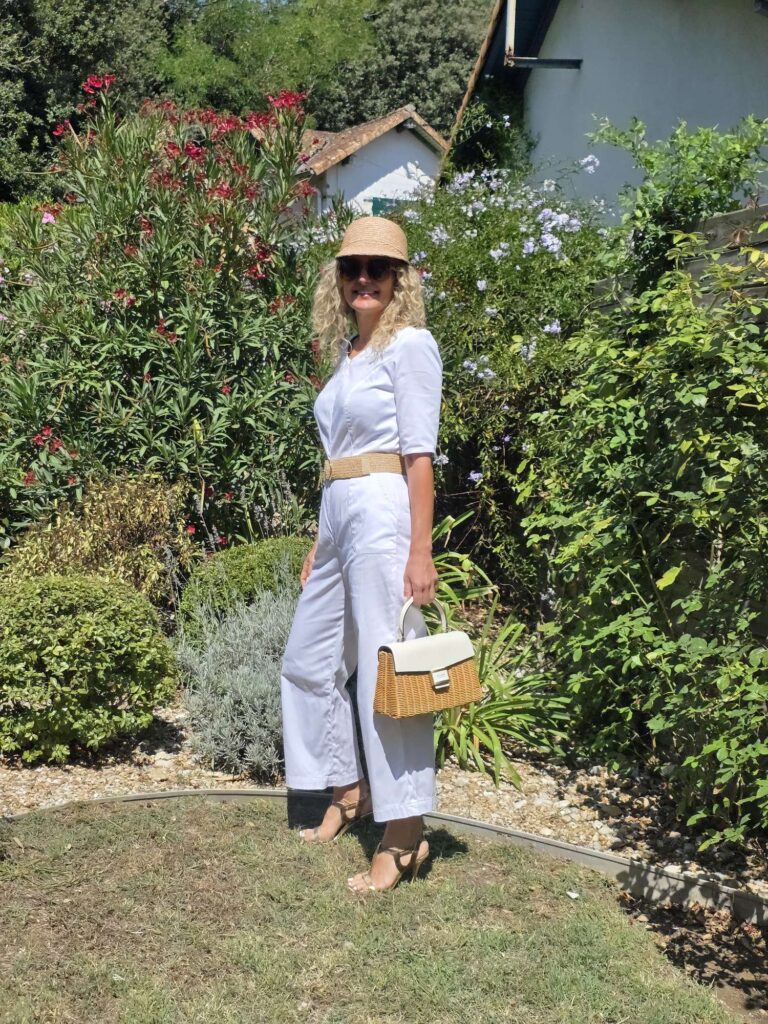
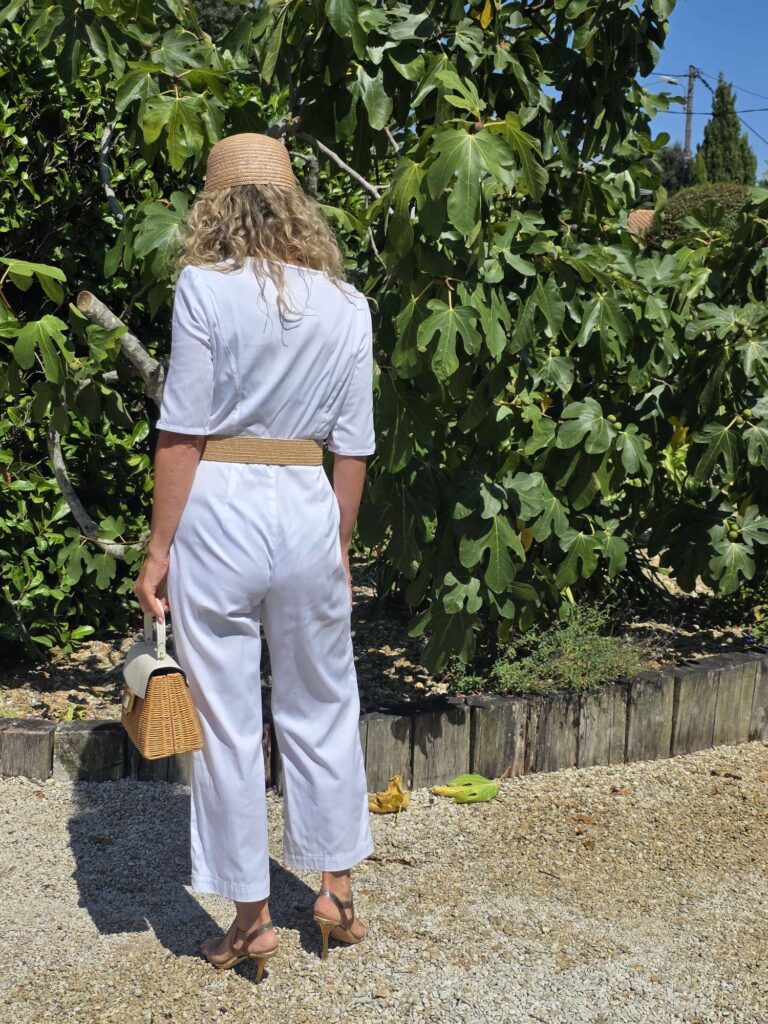
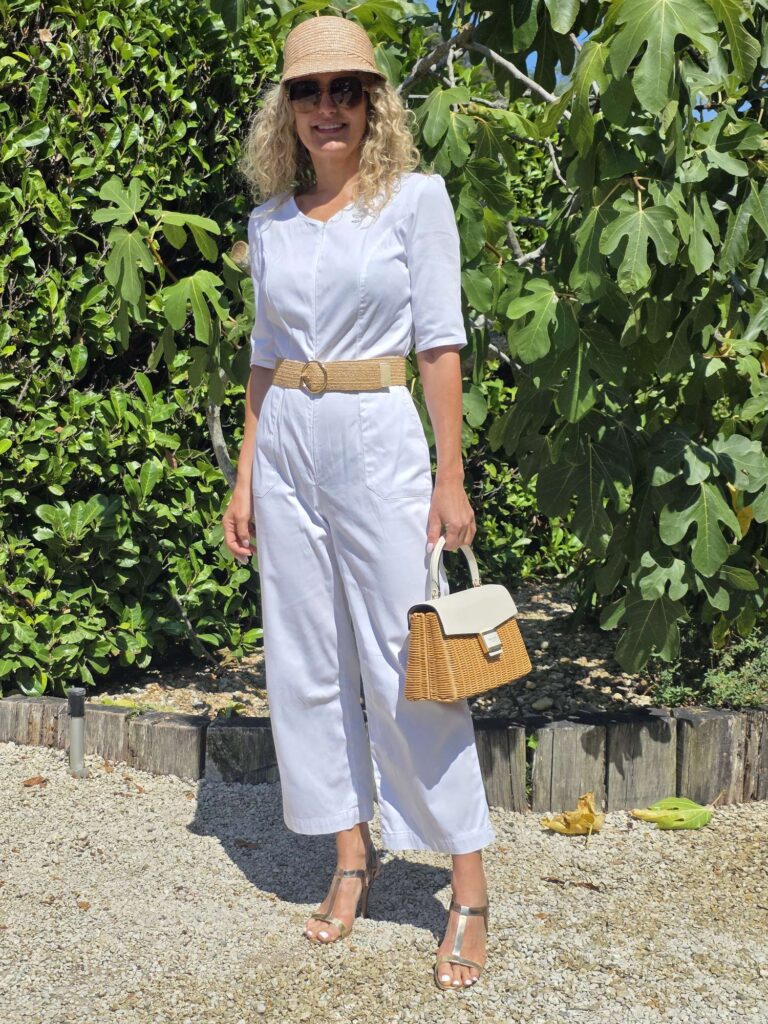
Summer sewing: the white jumpsuit
For once I didn’t sew only dresses this summer, I also ventured into their trousers equivalent: the jumpsuit. And since I am a big lover of summer whites (even more so since I discovered Vanish Oxi Action to remove sun cream stains), my summer jumpsuit had to be white.


Pattern: I used the McCall7908/ M7908 pattern, which I had already sewn (three times) and reviewed here four years ago (how time flies).
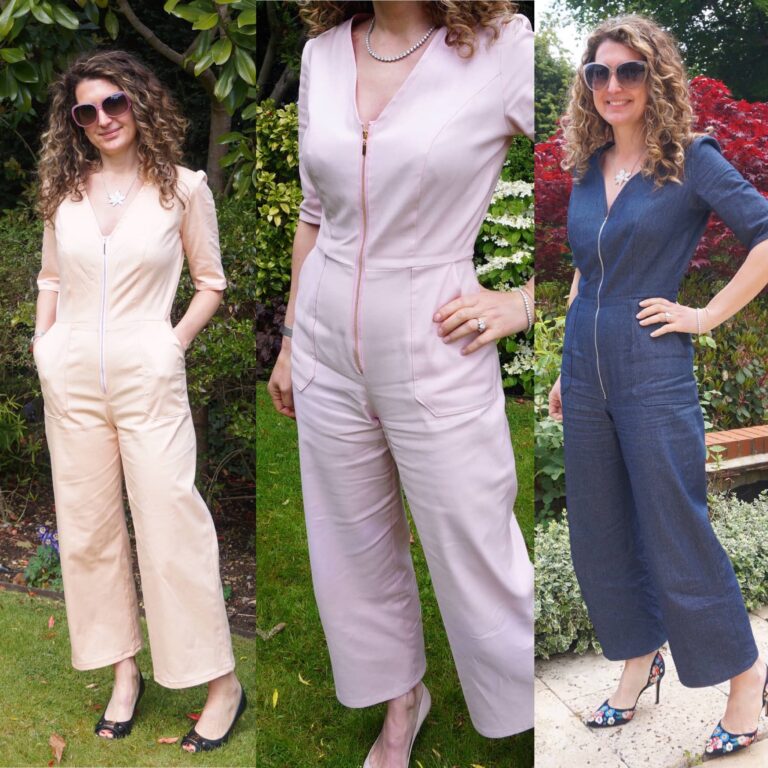
I had gone through a fitting ordeal then so I was keen to reuse this pattern ad-nauseam. But I only got the pattern out of its envelope this winter for 3 winter versions (long sleeves, long legs) – I seem to only sew this pattern in bulk! Do not hold you breath for pictures, my blogging apnoea means I took exactly none!
Sizing: size 10 for my UK 8/ FR 36/ US 2, this is my standard size for Vogue/Butterick/ McCall’s/ Simplicity patterns, despite the size chart telling me I should be a 12/14. However I made a HUGE number of adjustments to have this jumpsuit fit me properly, explained in details here. Jumpsuits are usually a minefield for me, as I have a long torso (and short legs, to my great despair), and this one was no exception.
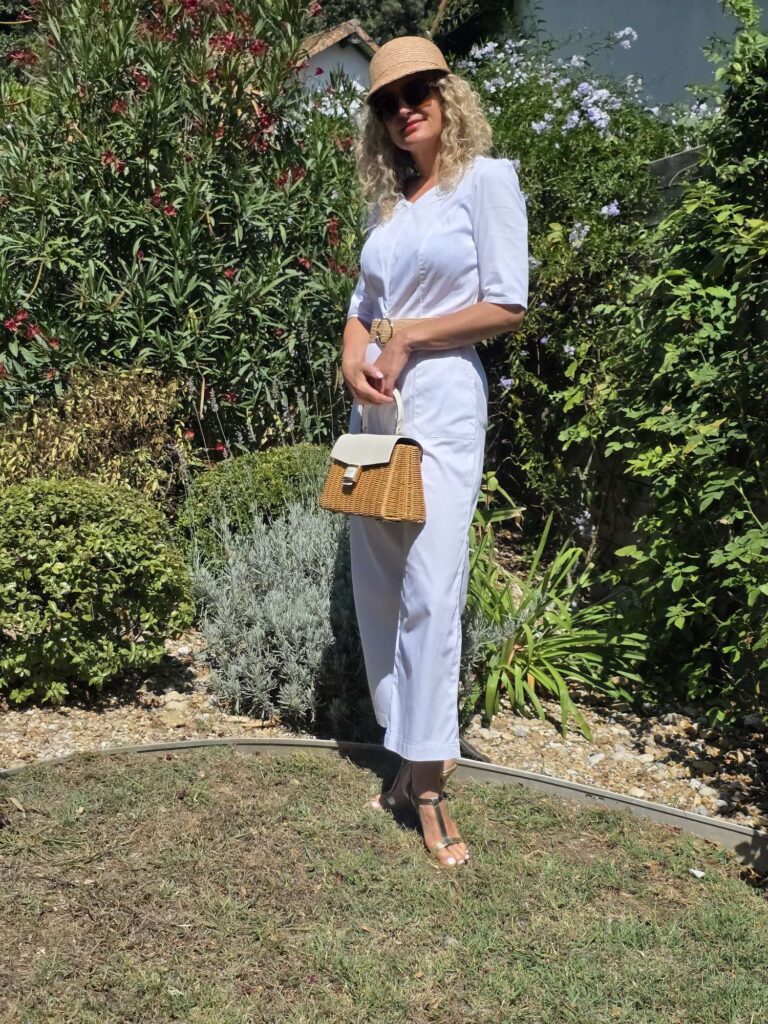
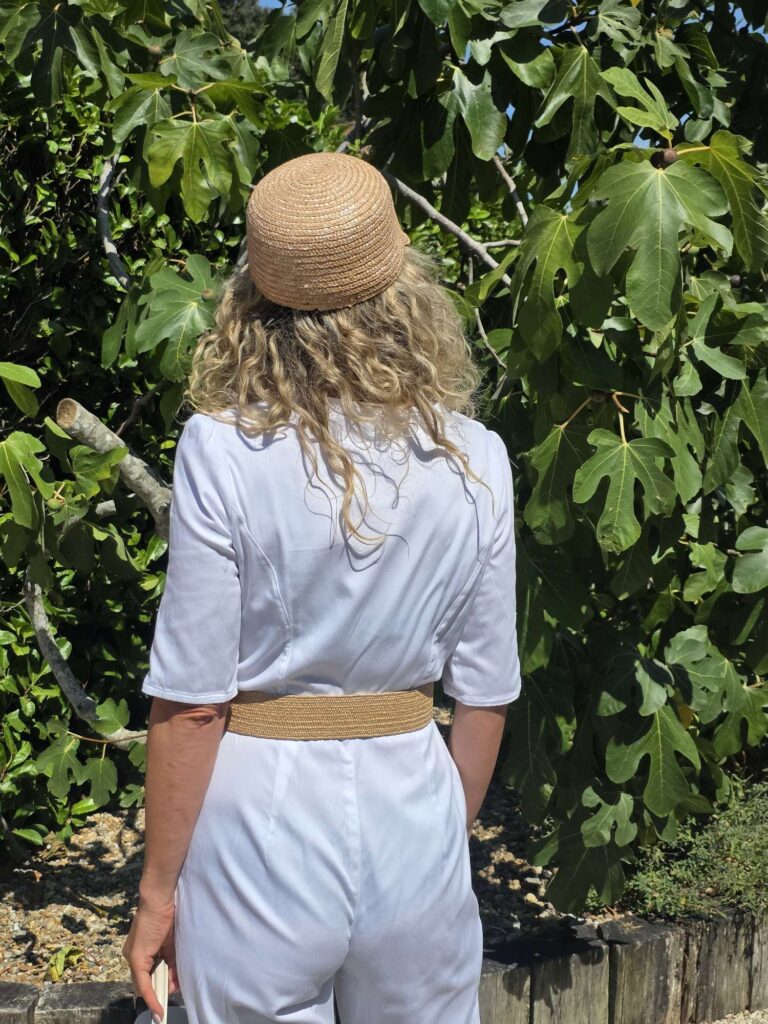
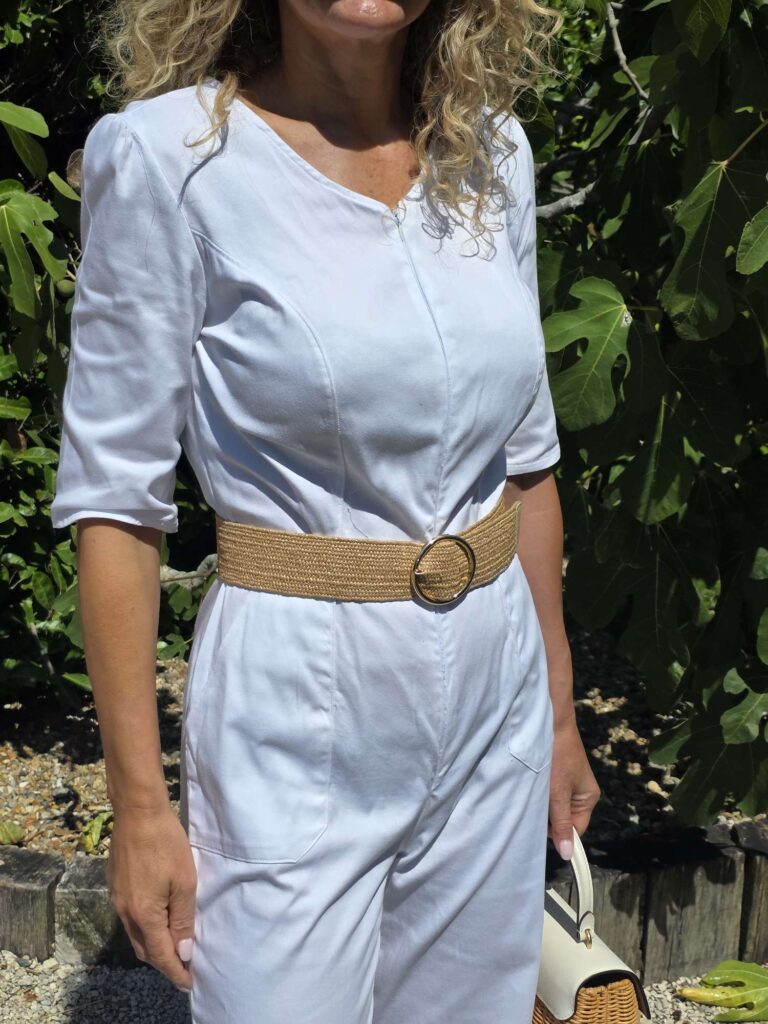
Changes to the pattern: I made a large number of fitting adjustments: lengthening the torso by 3cm/ adding 1cm width at the hips/ slightly reducing the crotch length/ taking a bit of width off the back both at the trousers top and the bodice bottom (swayback adjustment). And then I lost weight after sewing my jumpsuit and it is now a bit too loose but never mind! The other change I made was to replace the exposed font zip with a concealed one, I never quite understood how to neatly sew the exposed zip, and in any case I find a concealed one much more elegant. Lastly I changed the neckline from a V to a round shape.
Level of difficulty: I would classify this pattern as intermediate due to the fitting struggle and the obscure installation of the exposed zip.
Fabric used: I used a lightweight denim-like fabric in a glorious white cotton from Croftmill, which is still available here. It has a bit of stretch, which I would strongly advise for this jumpsuit despite the instructions advocating plain-vanilla woven fabric.
Likes: there are quite a few things I really like about this jumpsuit (which, given it is my 7th version, I am sure you had guessed):
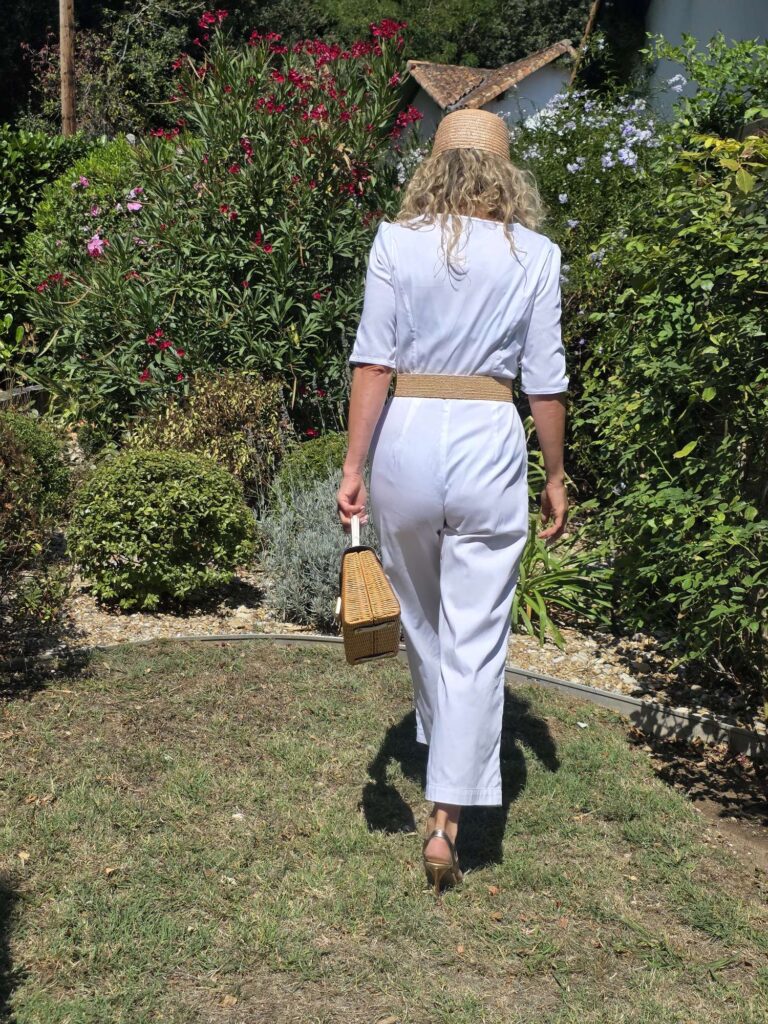
- I really like the shape, with its fitted bodice and waist and its 7/8th wide leg trouser;.
- It is super easy to put on and off, thanks to its long front zip.
- Once you have worked out all the adjustments you need to make, it is a very quick and easy make. The only technical difficulty is the zip and here I would strongly recommend replacing the exposed zip by a concealed one.
- This pattern has really nice details, such as the visible front zip (if you keep it) and the pockets.
- It offers bust cup options, which I am always a huge fan of as it prevents me from having to make a FBA.
Dislikes: unfortunately I don’t think I have had so many dislike for a pattern for a while (that said I nearly solely make dresses so they are not the same challenge):
- The fitting effort needed is a terrible hassle and the fact that the torso is so short is just really annoying.
- The instructions are completely hopeless for the insertion of the zip. If you follow them you should cut into your fabric right at the beginning of the process, risking the fabric to tear when you try on the fit before installing the zip. I still haven’t understood them…
- The pockets do not align to the bodice seams in all sizes. For my size 10 it just about worked (and I think the envelope picture much be in a similar size). However if you look at the illustrative drawings and if you read bigger size reviews, the alignment does not work – huge pity! I would definitely advise to redraw the pockets to reach alignment.
- The order of assembly in the instructions is not very helpful for a garment which requires so much fitting. You are supposed to first put the top together, then the bottom, then join them together; and you topstitch as you go. I assembled this jumpsuit (and all its previous versions) in a completely different way : 1/ join back top and bottom – check the darts alignment; 2/ join front top and bottom – check the darts alignment; 3/ join back and front together – check fit and then topstitch; 4/ install zip.
Conclusion: despite all my reservations I really like this jumpsuit. I’ve worn it loads over the past few months and it has made me really keen to expand my jumpsuit sewing skills – I just need to brace myself for a lot of fitting work…
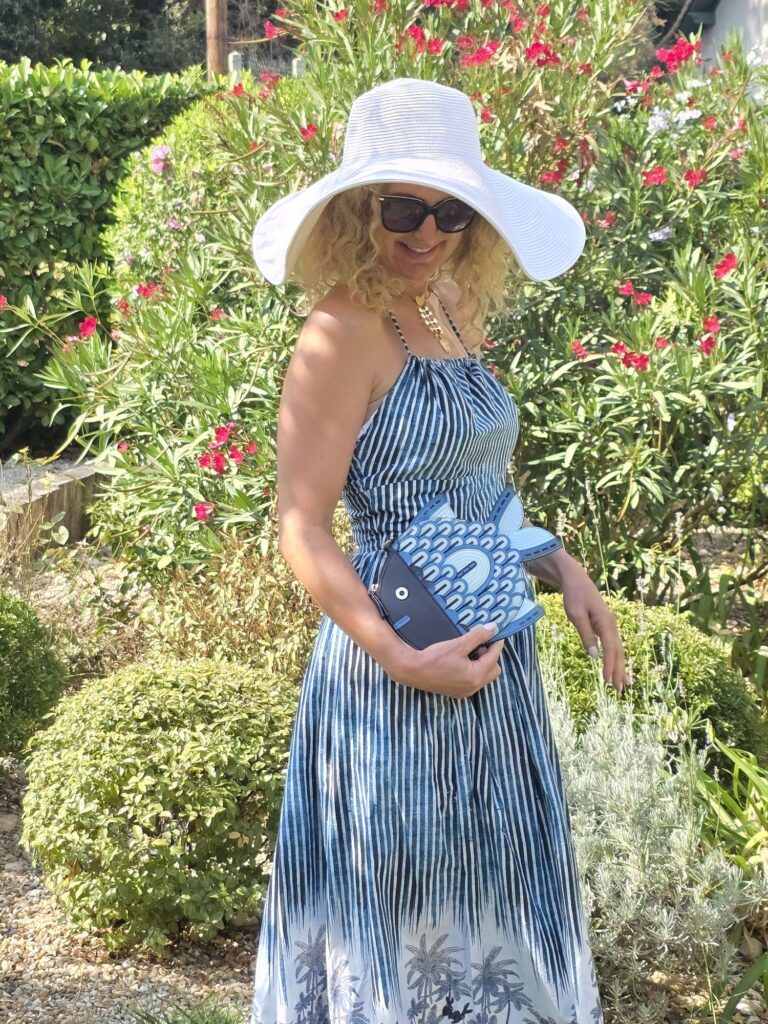
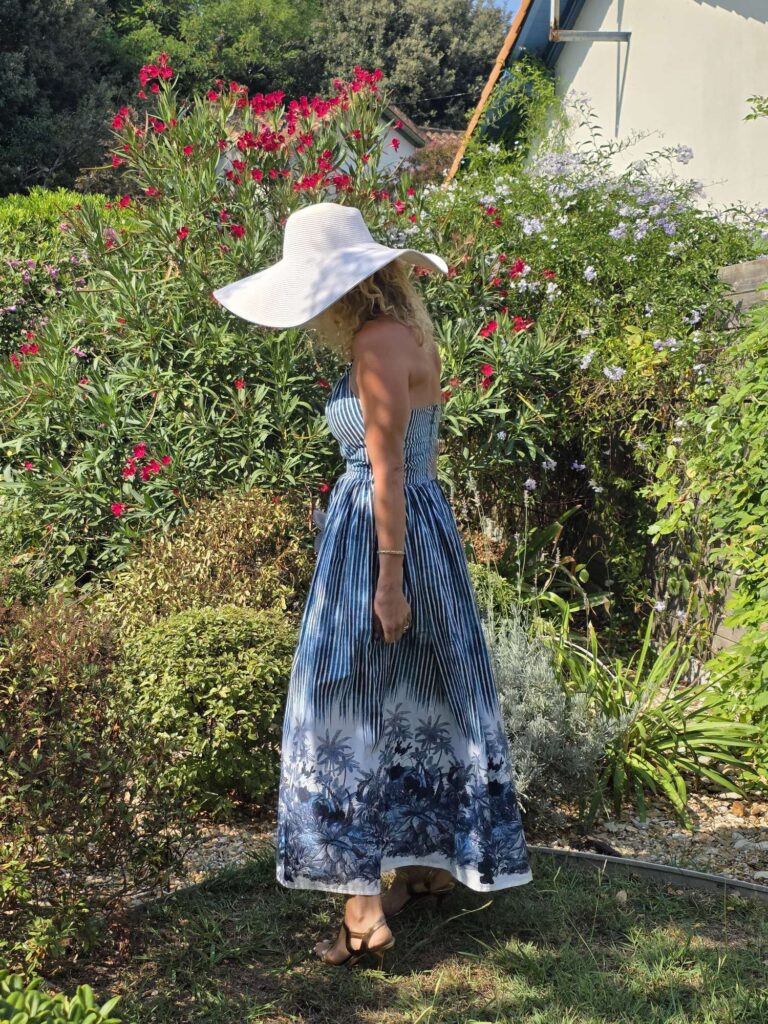
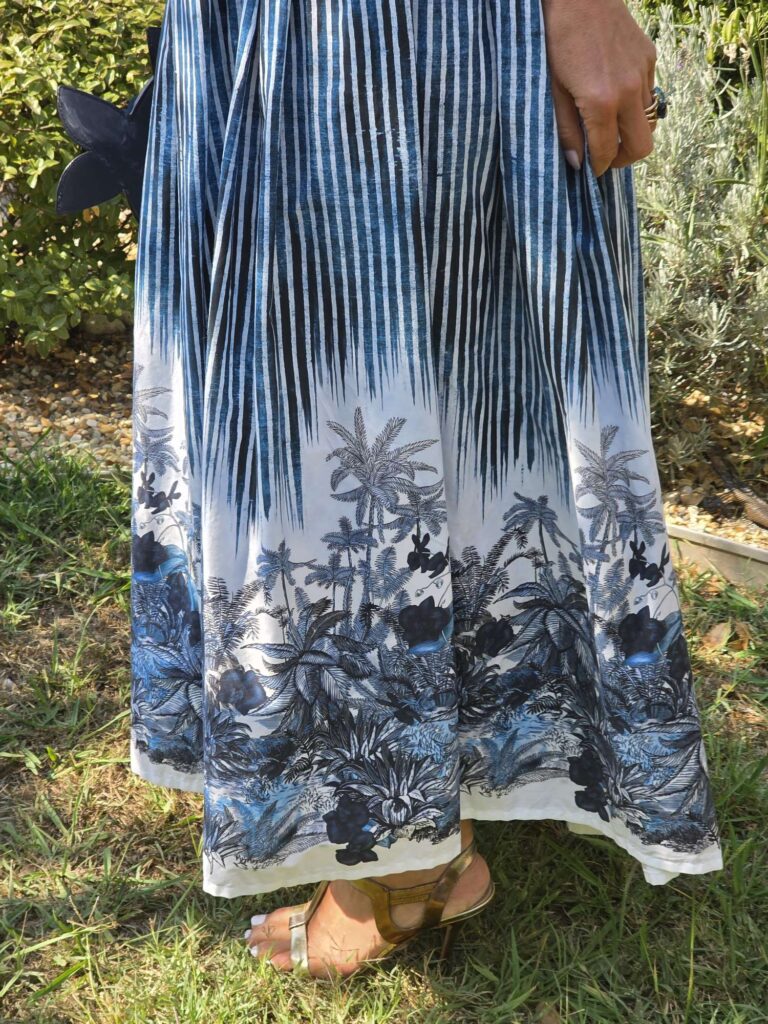
Summer sewing: another day, another palm tree dress
Let’s surf on this incredible wave of motivation and continue the presentation of my summer dresses! More border print, more palm trees, but a different pattern this time:
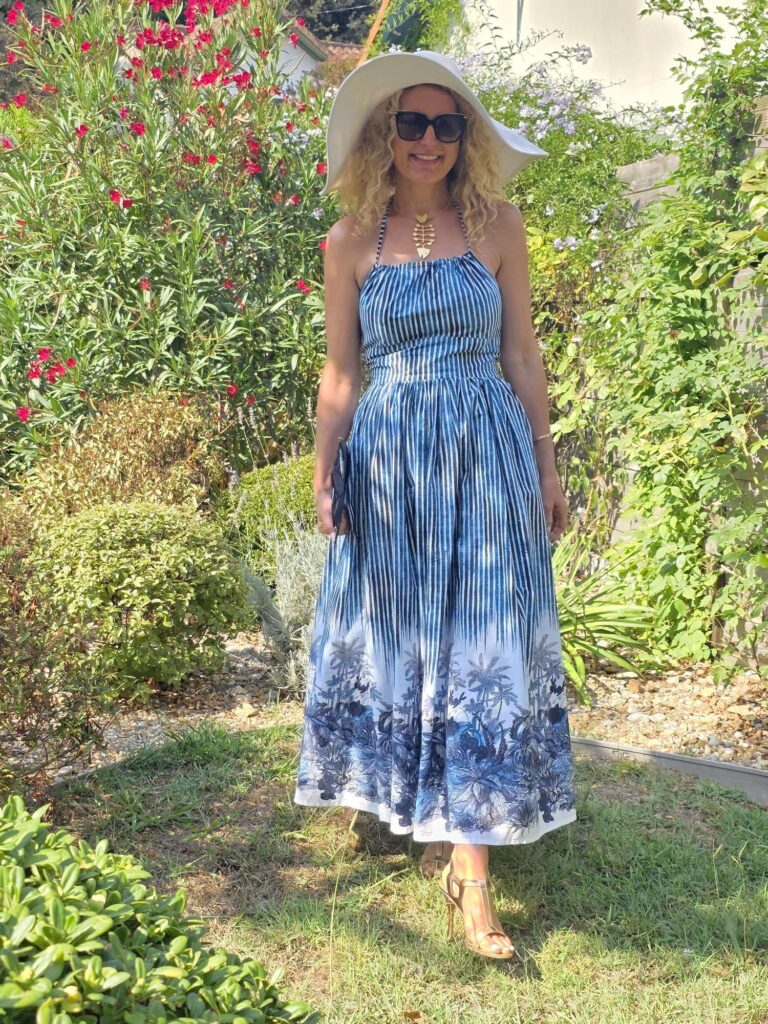


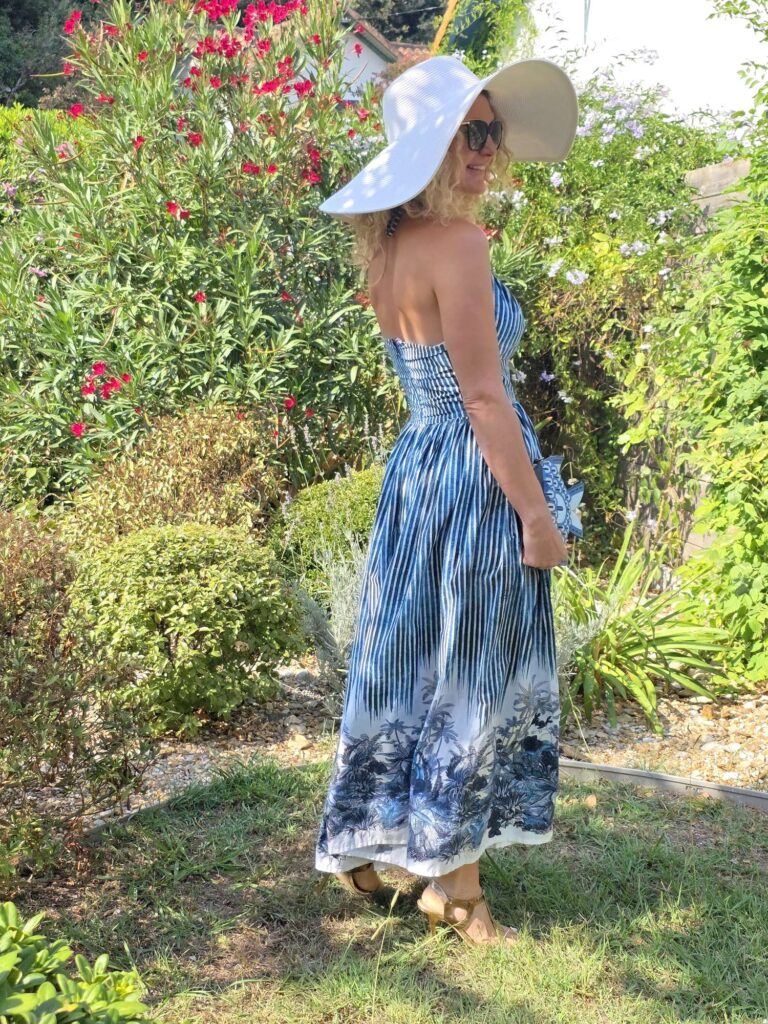
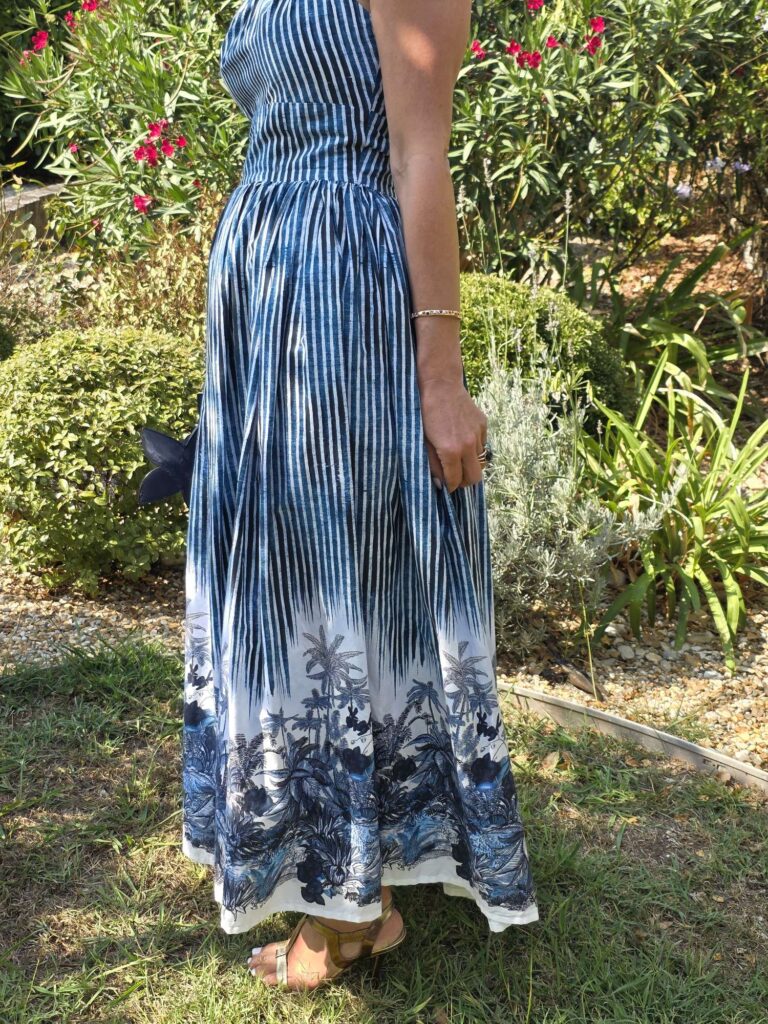
Pattern Used: I used M8211, which I had already sewn three times: twice in the sleeveless version here and here, twice in the puff sleeves version here. I had loved my first sleeveless version (with the long skirt) so much that I was very keen to reiterate – it only took my three years!

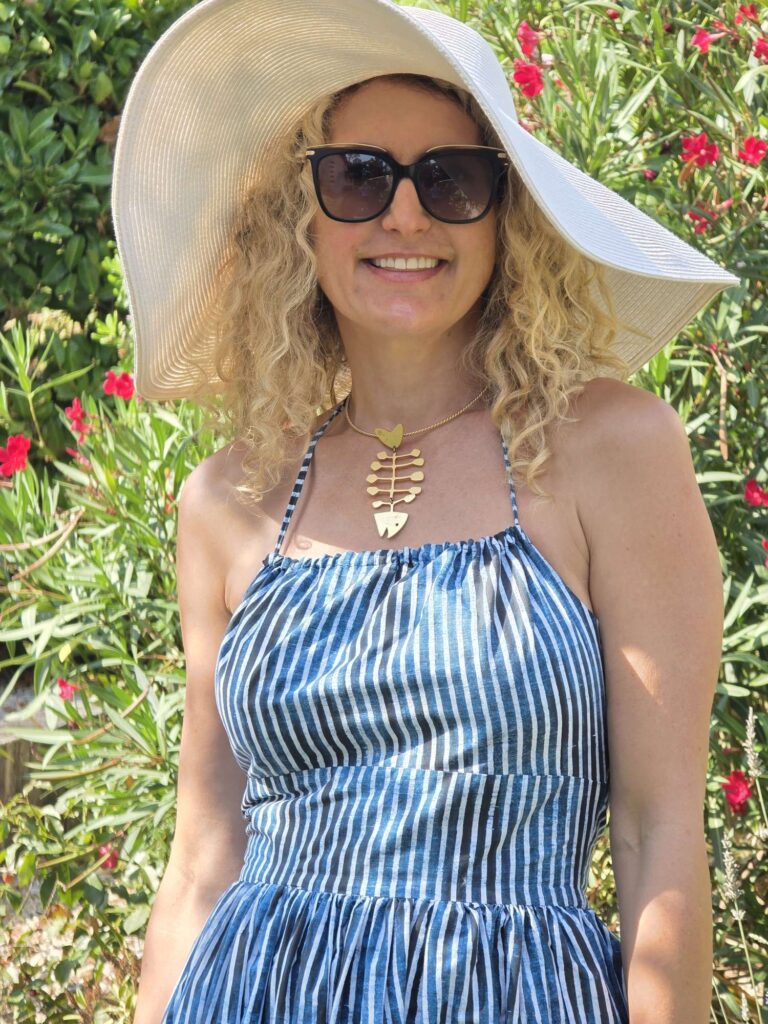
Sizing: size 10 for my UK 8/ FR 36/ US 2, this is my standard size for Vogue/Butterick/ McCall’s/ Simplicity patterns, despite the size chart telling me I should be a 12/14. I am an E cup and did not need an FBA, the bodice front offers ample room for whatever size.
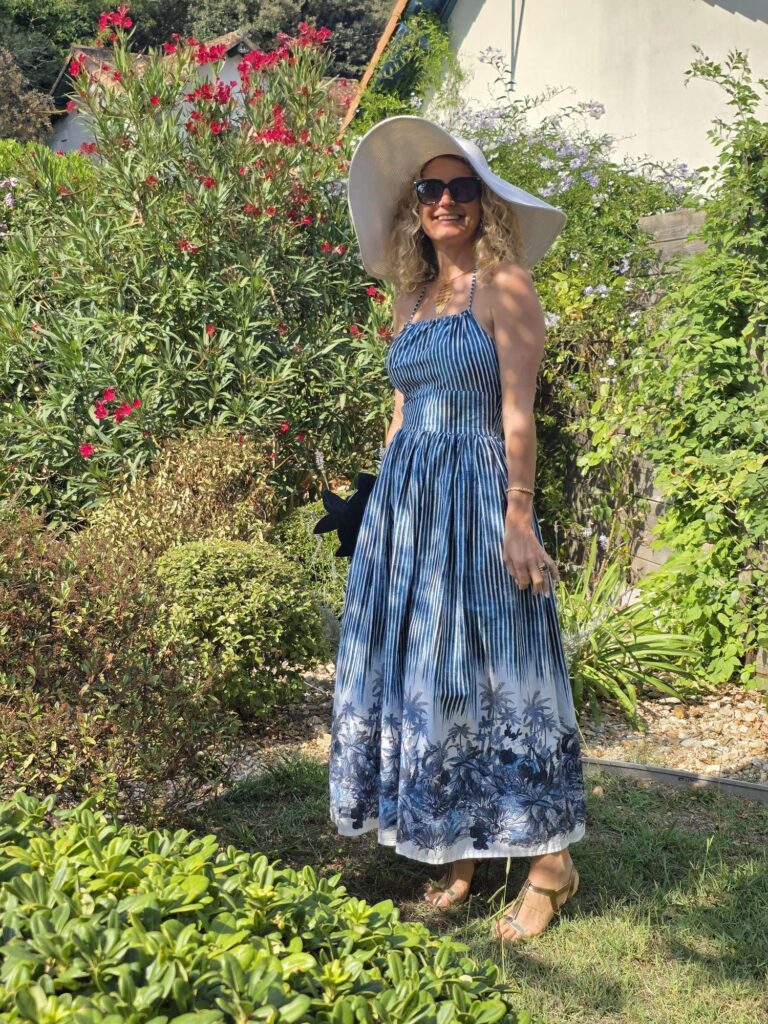
Level of difficulty: this is an extremely easy dress to sew, the bodice is really straightforward in the sleeveless version (less so in the puff sleeve version as you have to fiddle with elastic) .
Fabric used: a lightweight cotton with a gorgeous border print, purchased from Stofaholic on Instagram. Tatiania sources the most gorgeous designer fabrics, well worth the import trouble all the way from Denmark!
Changes to the pattern: for the bodice, I removed some fabric at the back as the top was slightly sagging (the waist was perfect). The skirt is self drafted, once again rectangles of fabric shirred at the waist, the keep the perfect border pattern intact.
Love rating: so pretty and comfy to wear on hot summer days! I am very pleased.