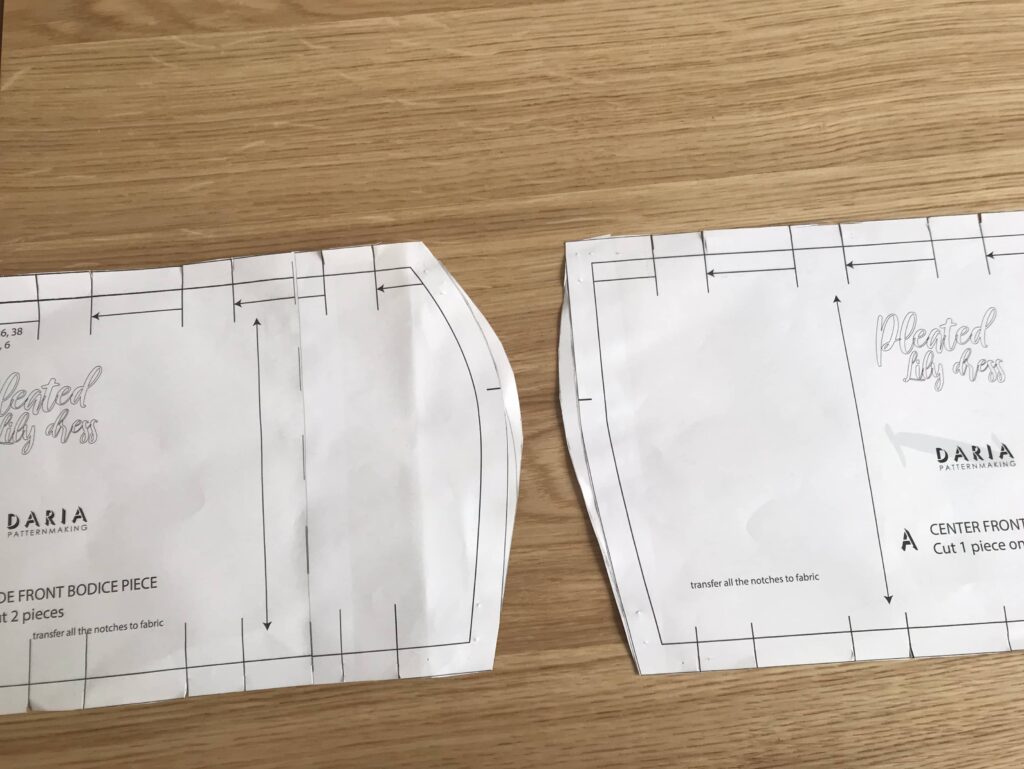
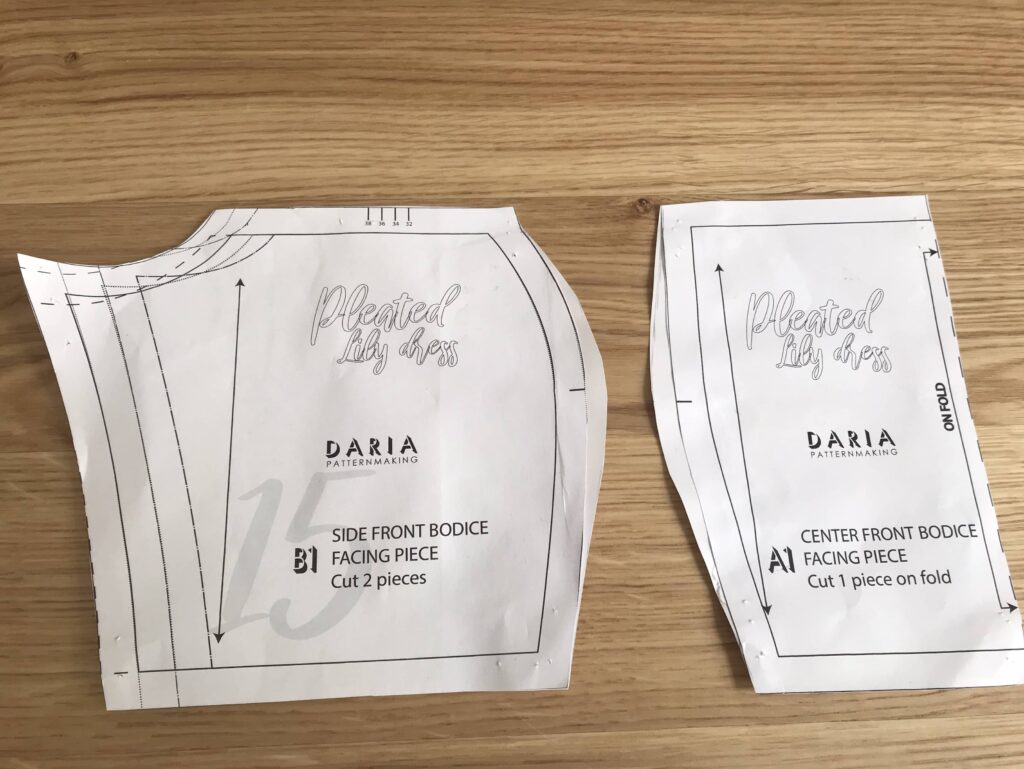
Sewing the Pleated Lily Dress
After fantasising about many of Daria Patternmaking’s beautiful patterns… And procrastinasing for ages about which one to make first…. I have finally taken the plunge! Let me introduce you to my Pleated Lily Dress.
Pattern description: so many pretty details!
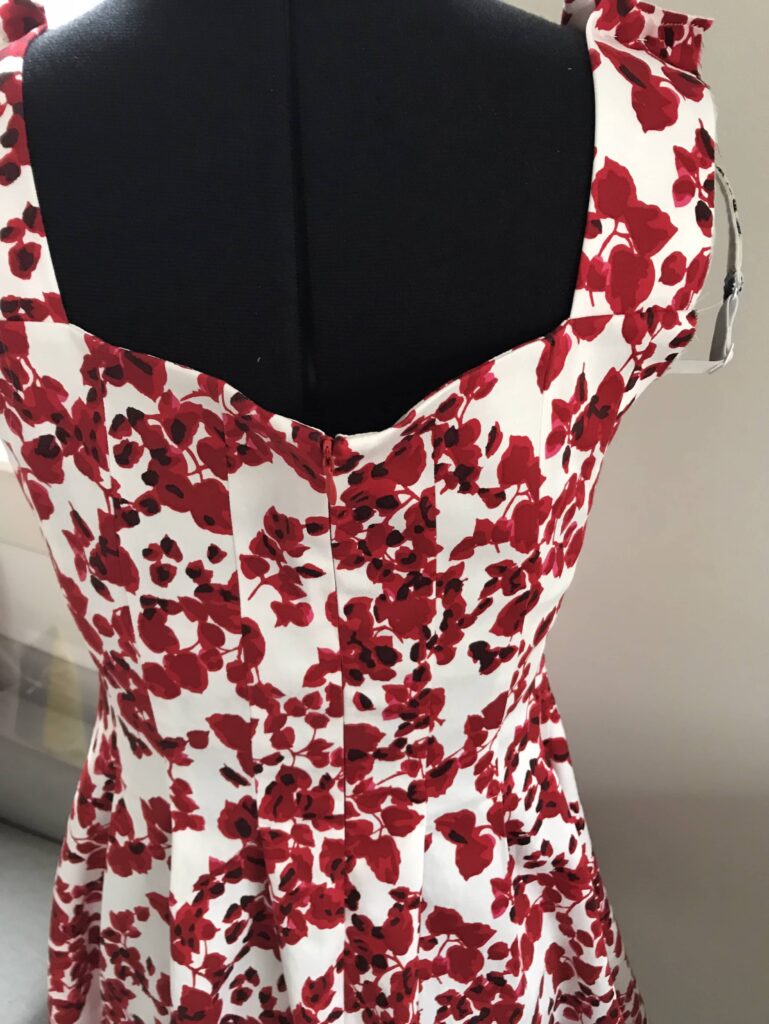
The Pleated Lily dress is a fit-and-flare dress with a square neckline at the front and at the back; pleats over the bust; and voluminous puff sleeves.
But this summary description completely understates the gorgeous details of this dress. The front bust pleats are clearly its major highlight, they are perfectly designed to fit the bust without gap and match the front square neckline to perfection.
The flare of the skirt if created by a cleverly designed arrangement of darts, both at the front and at the back, which create a very harmonious silhouette.
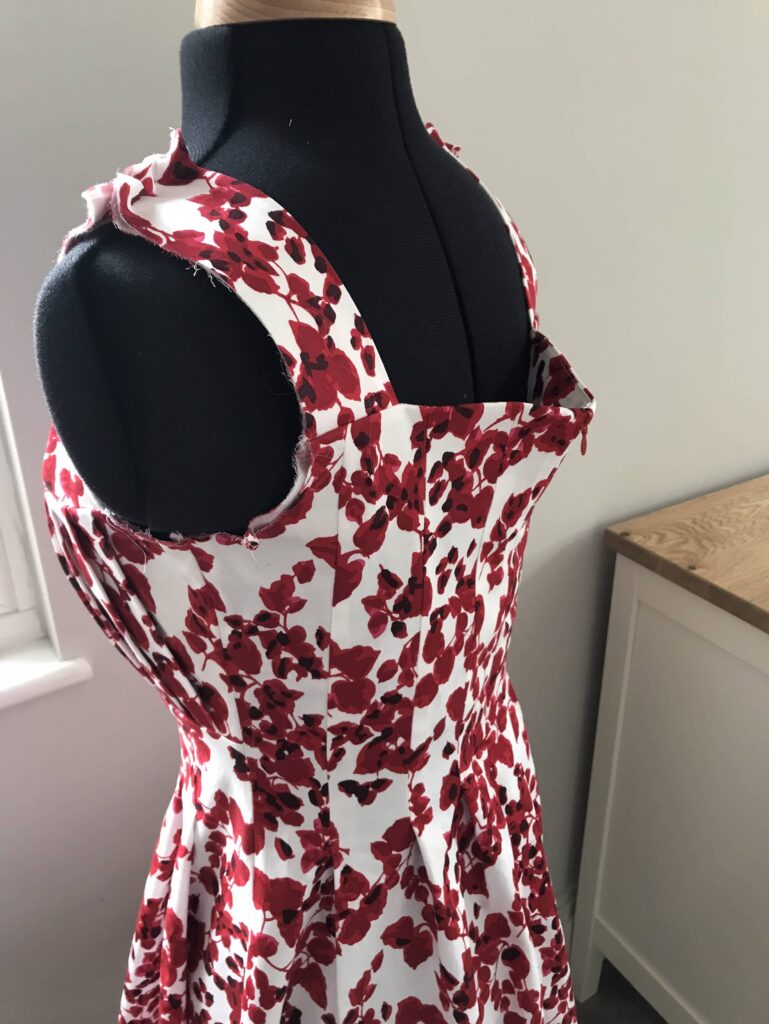
And the sleeves are puffed through another set of very clever pleats; and here again perfectly sit with the square neckline.
All these details may sound like an awful amount of work… but strangely enough they are not! The instructions are available both in video and written; and they are so clear and detailed that the all process seems actually very easy… until it comes to fitting that is!
A fitting nightmare
Sadly enough, the smoothness of putting this dress together came out of the window when, well into 2/3rd of the process, I tried it on!
« You should have made a toile » I can hear some of you say… And I did! But stupidly I only toiled the front section of the pleated bust, assuming that the rest would follow. This toile allowed me to add some ease at the bust: basically 1cm extra at the bust apex of the princess seam both for the main fabric and the facing pieces (I am an E cup so fully expected to have to do an FBA for the pleats to stay flat).
However, I completely omitted to check the back… So I ended up with the most perfectly level and invisible zip I had ever sewn…
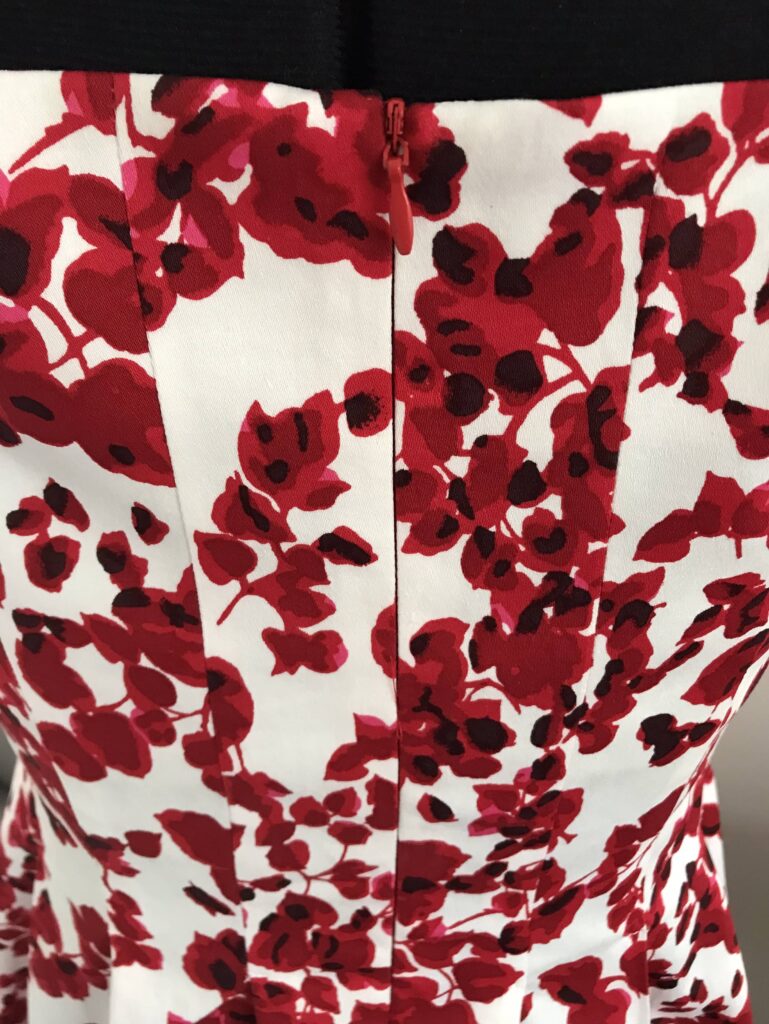
… but with 6cm of extra ease. Boohoohooooooooo….. Thank God I had not tried pattern-matching!
I could have dismantled the entire back, taken off 1cm at each dart (there are 6 darts at the back) and redone everything properly. Life if too short though! And no matter how perfectionist I am, I could not be bothered to go into so much trouble for a bit I cannot see and which is largely hidden by my hair. So I went quick and dirty and adjusted through the top 10cm of the zip. And put a hook-and-eye to compensate for the loss of zip length. Bye bye perfection and invisibility !
In any case the dress still remains slightly too large, which you can see around the waist and mostly at the back. And this despite picking size 36, completely in line with my waist and hip measurements (and actually in line with my high bust but much smaller than my full bust, as with an E cup I knew I would have to do an FBA).
I will probably take off 1cm from each side seam soon as I cannot stand a garment which is not tight fitting. This woman is mad I know… But I actually like this dress far too much to do nothing about ut!
Fabric choice
This dress is originally designed with long sleeves; and require fabric that can hold itself to keep the puff of the sleeves up. So I went for a cotton sateen, a fabric super comfortable to wear in Spring and very easy to work with. It is OK for the sleeves, but just so, so if you want to get proper puff with this type of fabric, I would follow Daria’s recommendation on how to add tulle to the sleeve head.
This fabric come from John Lewis on Oxford Street in London. I enjoy browsing there but rarely buy anything – this time I was twice lucky! Here is a little preview of the other fabric I found.
Conclusion
Despite all my fitting troubles, I love the style of this dress and I am very keen to make another sleeveless version. This may take a bit of thinking time though, as I am hesitating to go one size down… Which would mean new FBA, new adjustment at the back, new toile… Am I really ready for that?… Time will tell.
Sewing a tulle skirt: Isadora
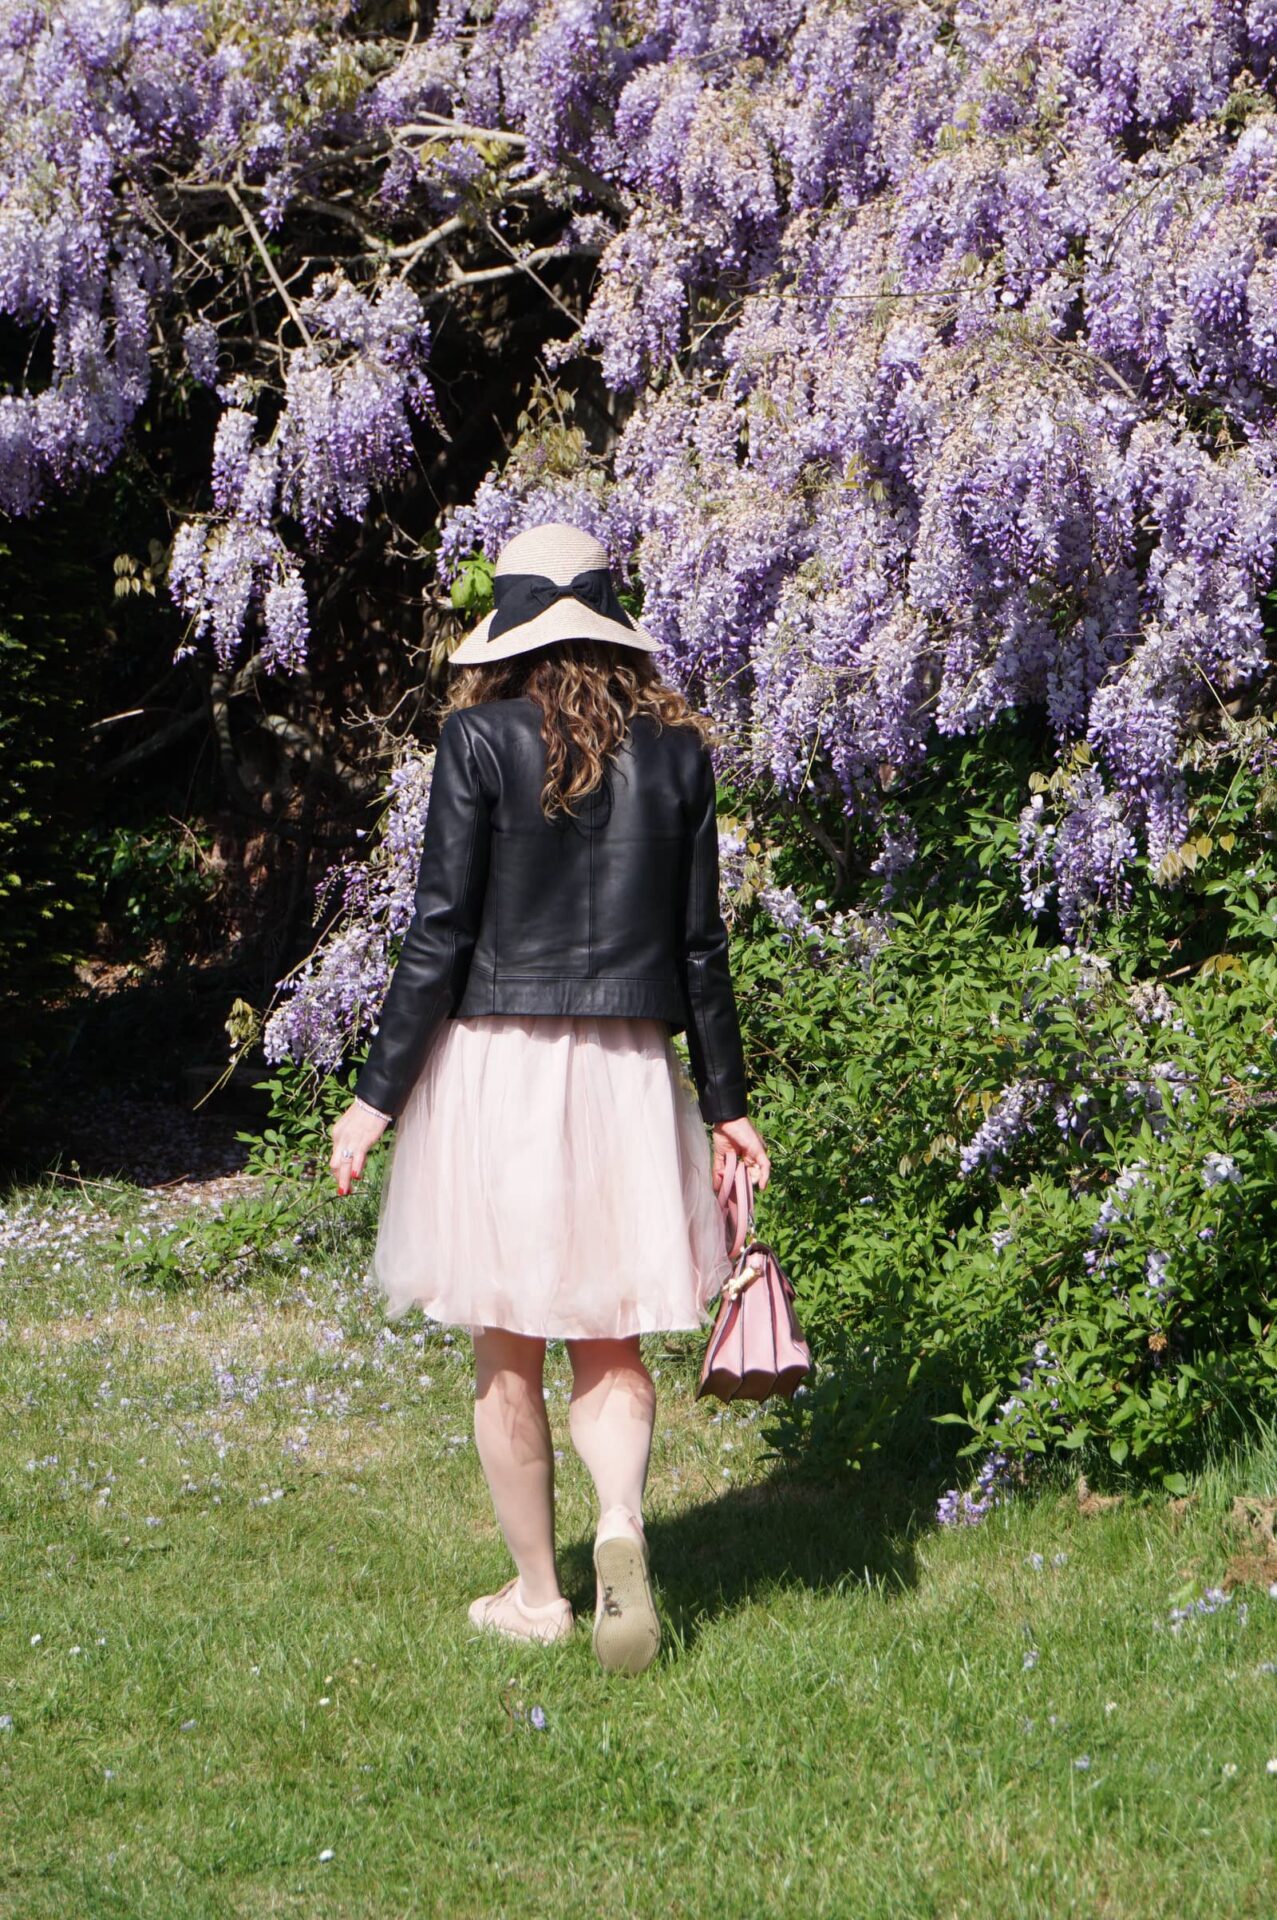
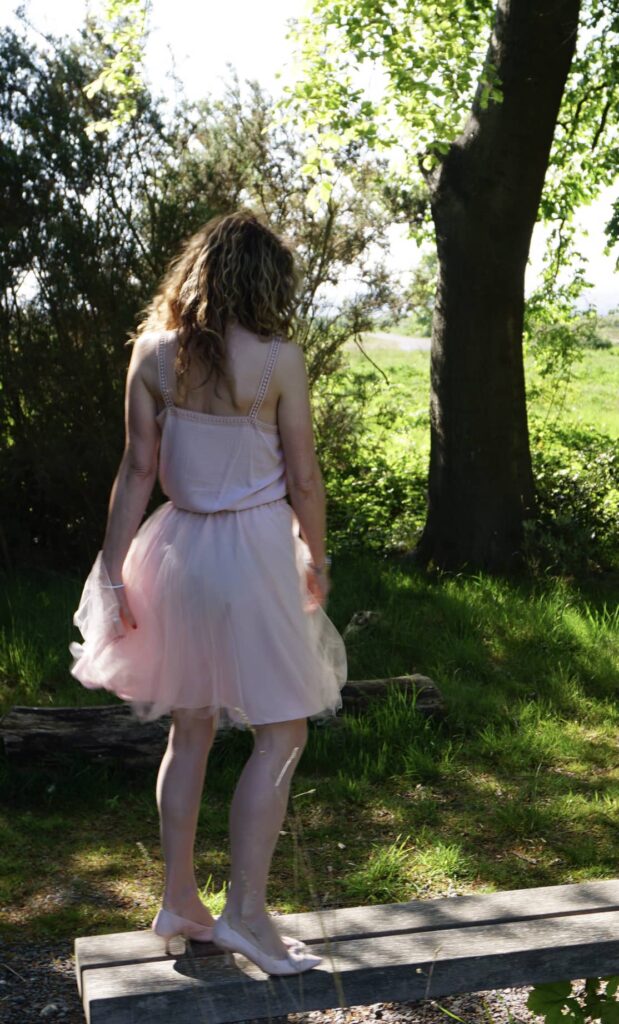
As many others, I have finally succumbed to the charm of the tulle skirt: let me introduce you to the Isadora tulle skirt by PM Patterns.

Long-winded tulle envy
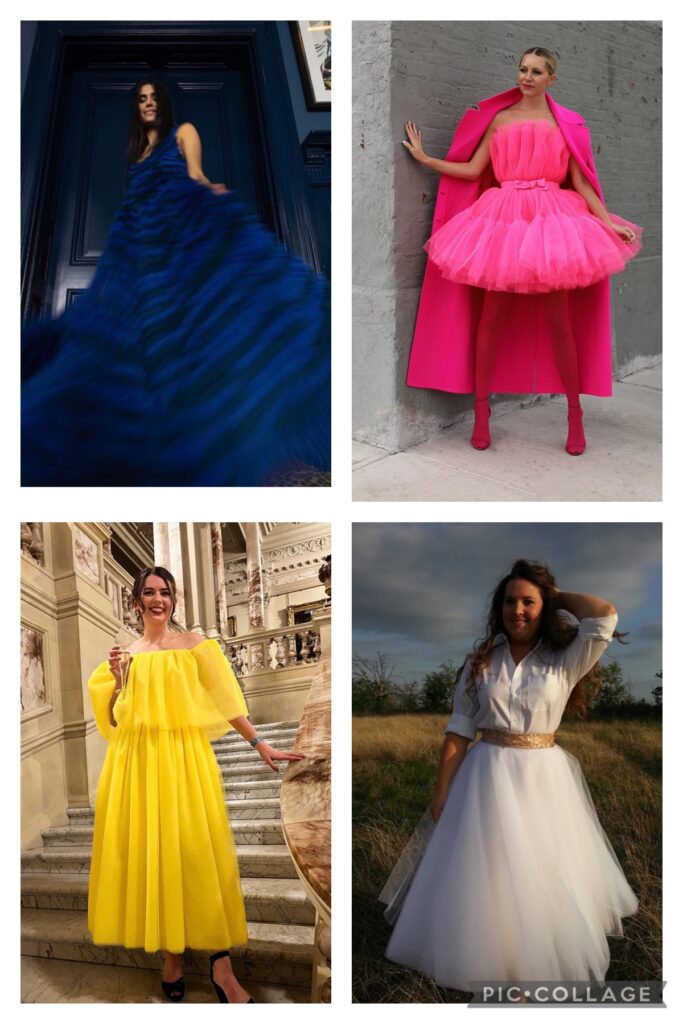
I have been wanting to sew a tulle garment for ages, inspired by so many gorgeous hand-made (and a few shop bought) garments. Below just a few of them, from top left to bottom right: a gorgeous hand-made gown by Swedish designer Nutie; beautiful Blair Adiebee wearing an H&M special collection dress; 2021 Great Sewing Bee’s winner Serena wearing her competition-winning dress; and my sewing idol Emily Hallman wearing a self-designed multi layered circle tulle skirt.
I even got around to ordering 20m of tulle online a while ago but it turned out to be the stiff one, which you would use for a petticoat rather than a floaty, romantic skirt… This pretty much killed all my ambitions in the egg…
Then P&M Patterns issued the Isadora skirt pattern, many versions started appearing on Instagram, it was free for a month… and while shopping in Paris for fabric I found the perfect tulle: my favourite dusty pink colour, 280m wide, €3 a meter. I could just not resist!!
Isadora skirt pattern review
Despite many doubts while making the skirt, I am actually very pleased with the outcome!
Pattern positives
- Isadora is a very easy skirt to sew: you cut six tulle skirt panels, join them together (ideally but not necessarily with an overlocker), attach them to a two-panelled underskirt, add a waistband and an elastic; and you’re done!
- The pattern instructions are crystal clear. P&M’s were actually the first patterns I used when I started sewing for my then little girls (they were called Papillon & Mandarine then, which I personaly preferred), they pretty much taught me all the basics of garment sewing and their quality hasn’t changed.
- The outcome is surprisingly pretty. I was initially worried that the stitching between the panels would be very visible; and that the elasticated waistband would look bulky. But I was wrong on both accounts! The skirt is lovely, romantic and floaty, and nothing distracts from this effect.
Pattern negatives
The one major negative of this pattern in my view is that the underskirt is quite substantially shorter than the tulle skirt, a look I personally utterly dislike. For my skirt, I only realised the difference once the skirt was fully sewn. Luckily my tulle was skirt too long for my liking, so I just had to trim it to make it just slightly longer than the underskirt.
A bit of advice to work with tulle
It was my first time working with tulle so here is what I learned:
- Do not mix up your tulles! There is a stiff type and a soft type, soft tulle is definitely what you want for this skirt. You can find some here if you are in the UK.
- Cut tulle with a rotary cutter, like this one. I usually am in the scissors team for cutting my fabric, but a rotary cutter will give you a much neater cut for the exposed hem. And always use your rotary cutter on a self-healing cutting mat.
- Carefully match your lining with you tulle. The Isadora skirt has only one layer of tulle, so the colour the tulle takes will be largely influenced by the colour of your underskirt.
Conclusion
I really like the look of this skirt with trainers and a leather jacket. And I am definitely ready to tackle the Emily Hallman multi-layered circle tulle skirt now – watch this space!!
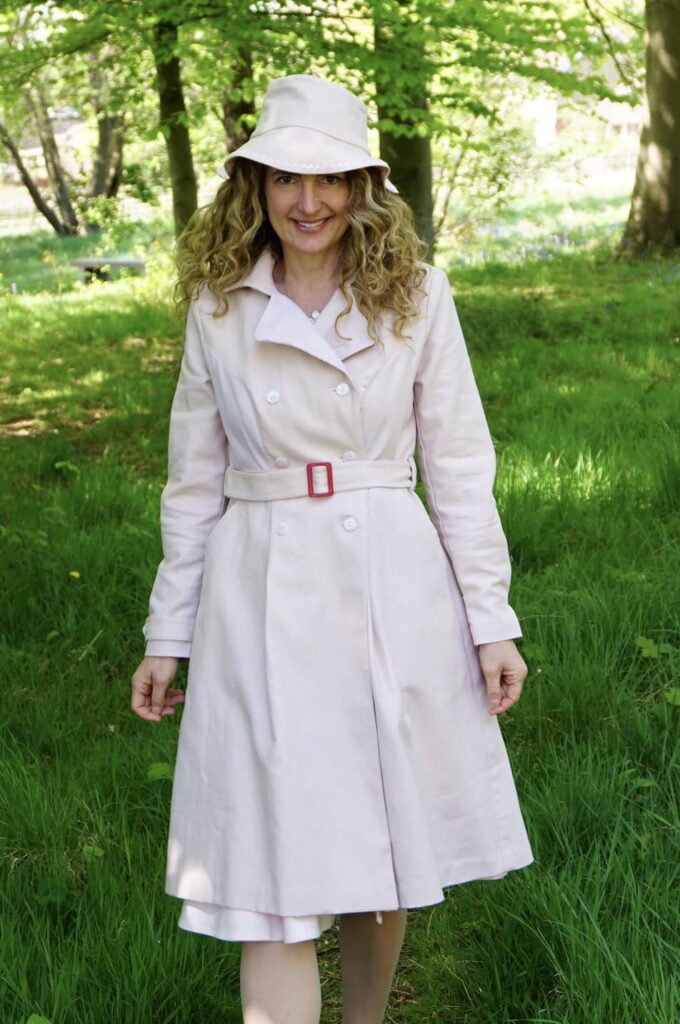
Sewing a powder pink Luzerne trench coat
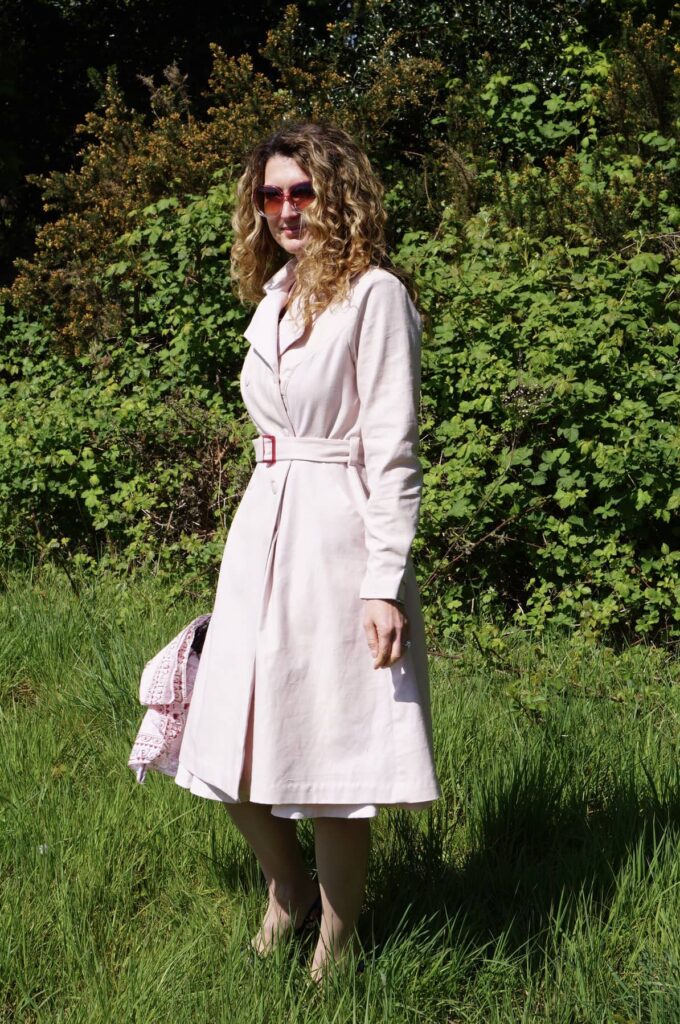
After sewing my first Luzerne trench coat nearly exactly a year ago, I have managed to make a twin! Let me introduce you to my powder pink Luzerne coat, hot off the sewing machine.

Spring coat envy
Spring seems to be the main time when I sew outwear, weirdly enough! By March, I have had enough of my winter wardrobe but there is no way I can switch to my summer one… So a new coat is a nice way to pimp my « old » clothes up!
Last year I made a deep burgundy Luzerne and a off-white cape…
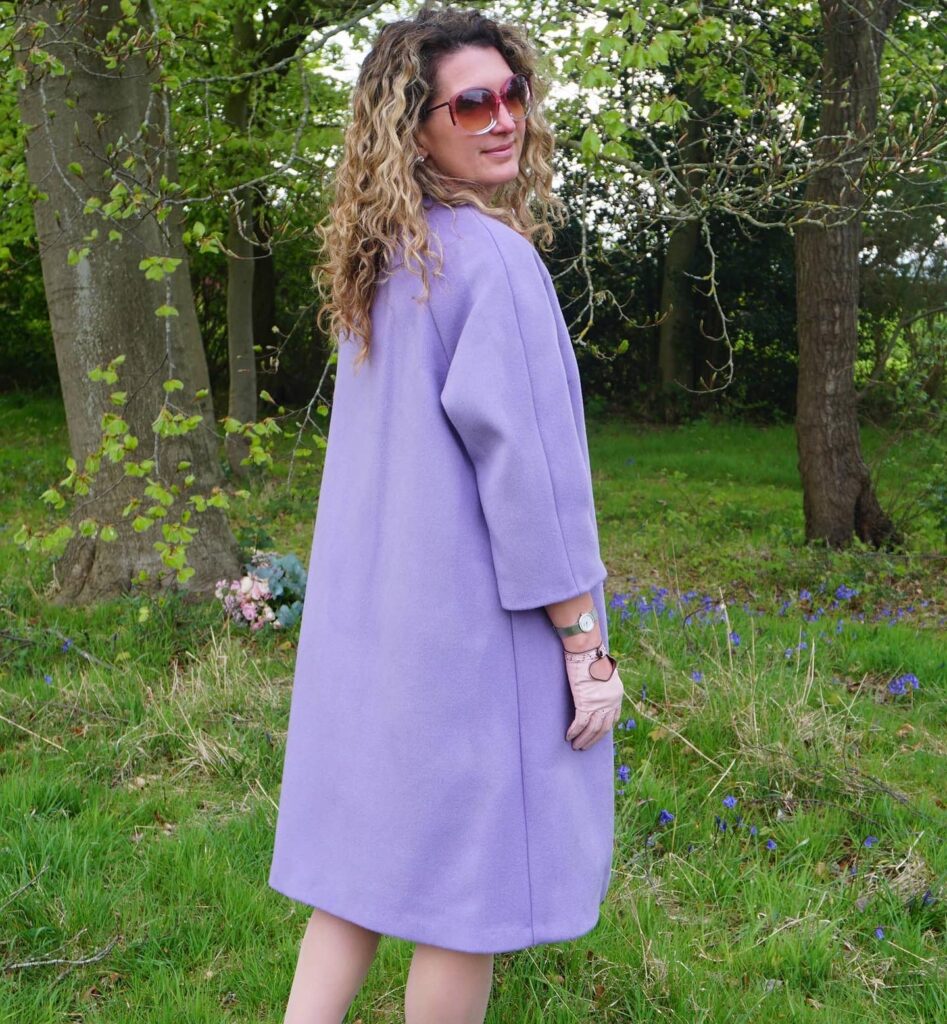
… this year a lilac woollen coat and a powder pink Luzerne…
… and all four are being worn extensively, as Spring this year has been far from warm and sunny!
Luzerne trench coat pattern review
There is now quite a few trench coat patterns available on the market. But Luzerne by Deer & Doe was one of the first to be published. I adored it as soon as I saw it. However between a long search for fabric and two years of Covid, it took a long while for me to sew it. All worth it though!!
I wrote an extensive review of the pattern in this article and nothing has changed really.
Many likes
There are many things I like about it:
- The style is my holy grail for coats. It is sufficiently fit-and-flare to work with all my dresses but not unwearable for grocery shopping or the school run.
- The instructions are so good that the coat feels actually very easy to put together. You just have to follow meticulously absolutely all the steps – something I rarely do for easier pieces I am used to sewing (did I hear someone say dresses?).
- The sizing is spot on, with enough room at the bust and perfect ease at the waist. My usual Deer & Doe size 38 works perfectly, I would really change nothing to the fit. For reference I am a UK8/ US 2/ FR 36 with an E-cup bust.
- The finished coat is impeccable, both outside thanks to a lot of topstitching and inside thanks to having all visible seams bound with bias tape. I wish there were some additional instructions to line the coat though…
Very few dislikes
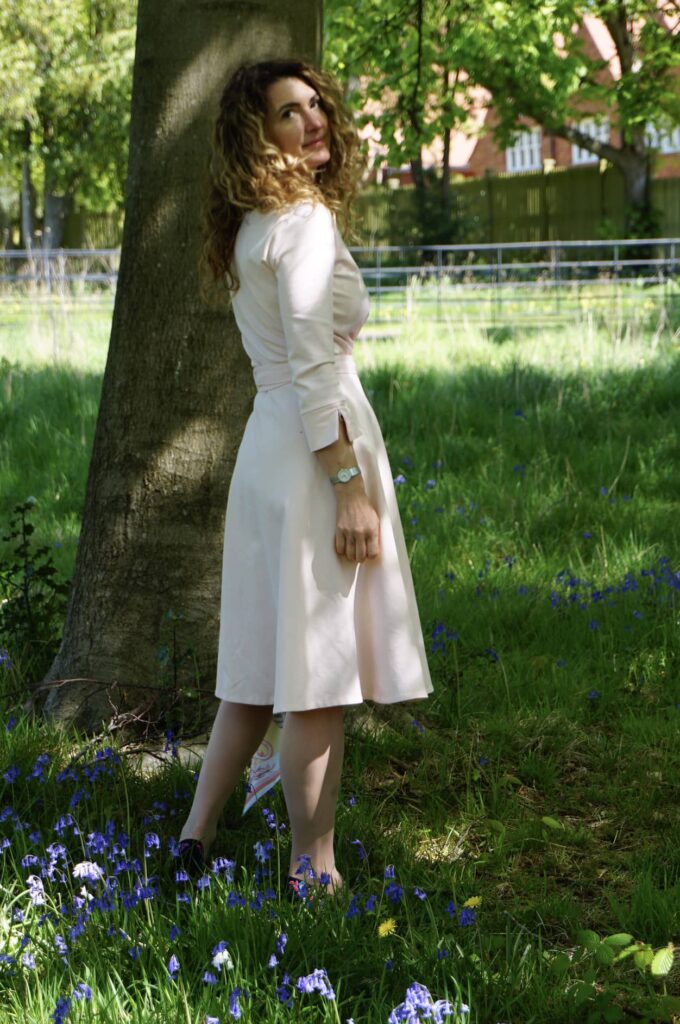
The main negative of this coat is its length: in its original version it stops at mid-tight, far far far too short if you intend to wear it with knee-length skirts! I had a massive drama with my first Luzerne coat (hence the piping, which is actually a last-minute, disaster recovery solution). This time I was fully prepared and cut all skirt pieces an extra 20cm longer (I am 1.68m).
The other thing I dislike about this pattern are the bound buttonholes: the instructions recommend to put them in first thing, a recipe for placement disaster I have learnt; and in any case I don’t think they work really well with the fabric I used (cotton twill). So this time I wisely gave-up on the bound buttonholes and went for machine-made ones instead.
Fabric used and changes to the pattern
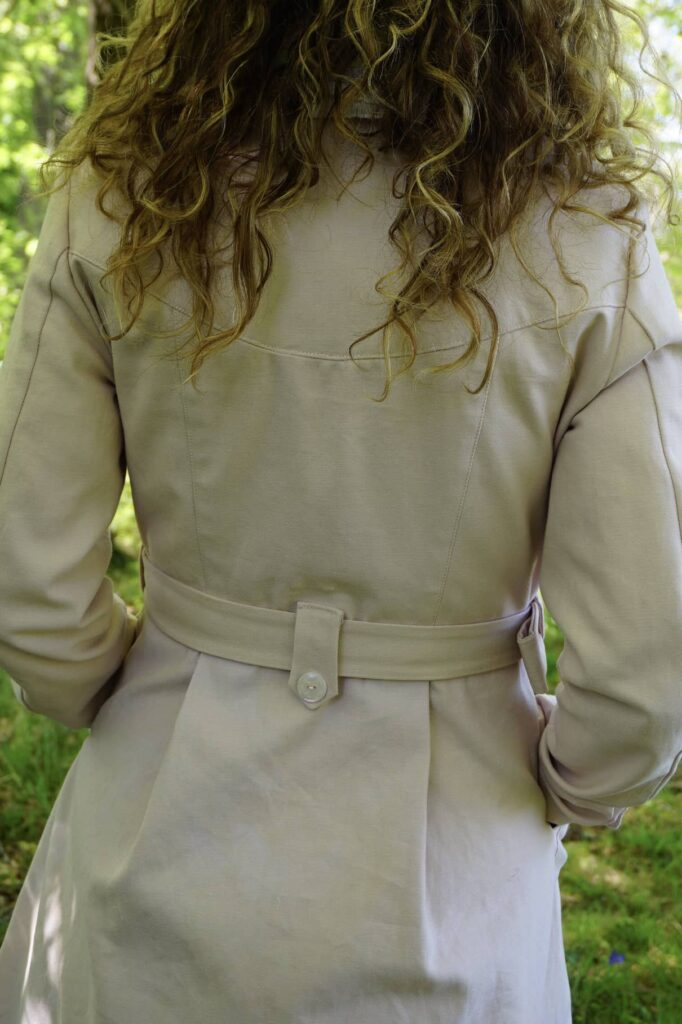
I used the exact same fabric as for my previous Luzerne: a Robert Kaufman cotton twill (“Ventana”), this time in its powder pink version. I got it a few years ago from SewMeSunshine and they still stock a wide range of colours, all here if you are interested (and my previous Luzerne was in this colour).
As for changes to the pattern, on top of lengthening the coat and giving-up on the bound buttonholes, I added a buckle to the belt. I find that it makes for a much neater finish than a knot. I found this buckle on Etsy and it is very straightforward to sew. As it is sliding, you don’t need any heavy duty equipment, hurrah!
Conclusion
I had a fantastic time sewing this coat: it is a long but very rewarding project, and ever so useful if my wardrobe. I now have to refrain myself from buying another 5m of Ventana twill for yet another version…. Purple? Periwinkle? No no no!!!
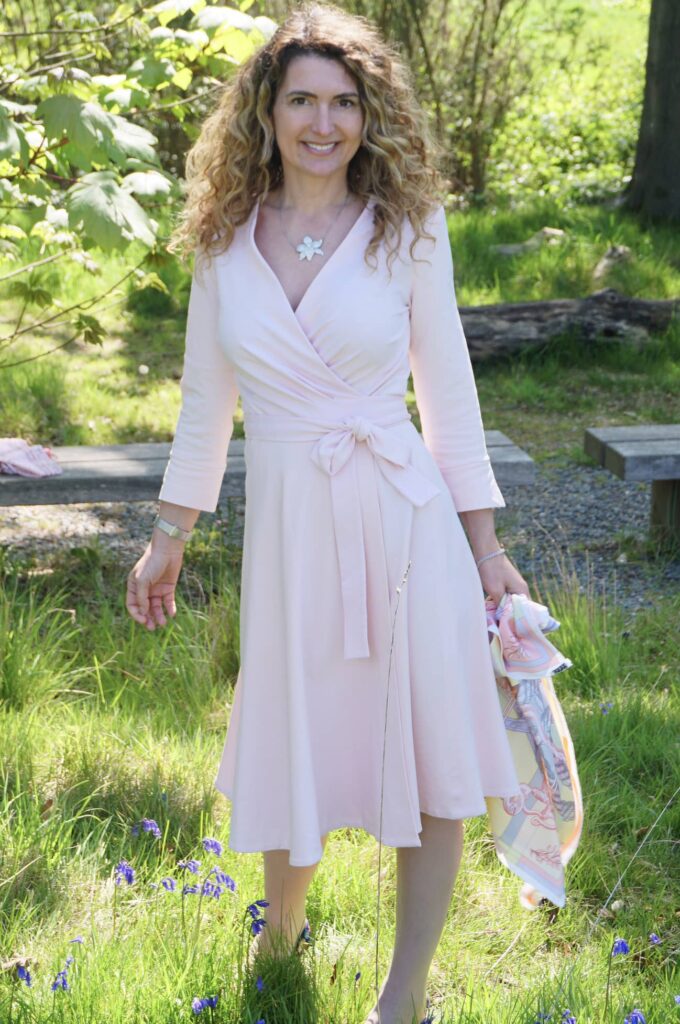
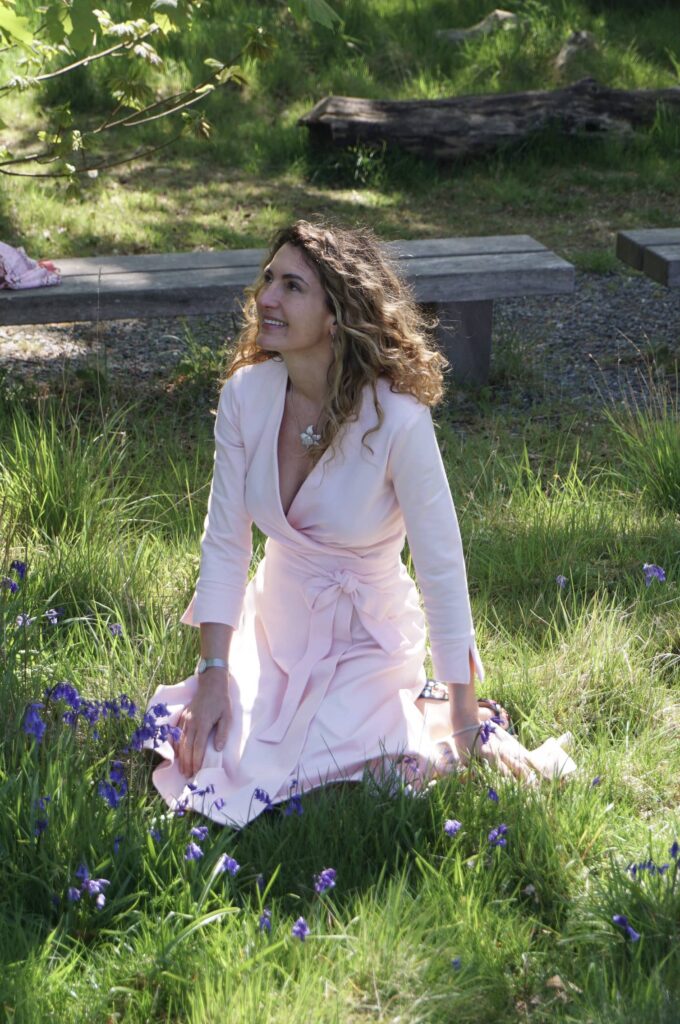
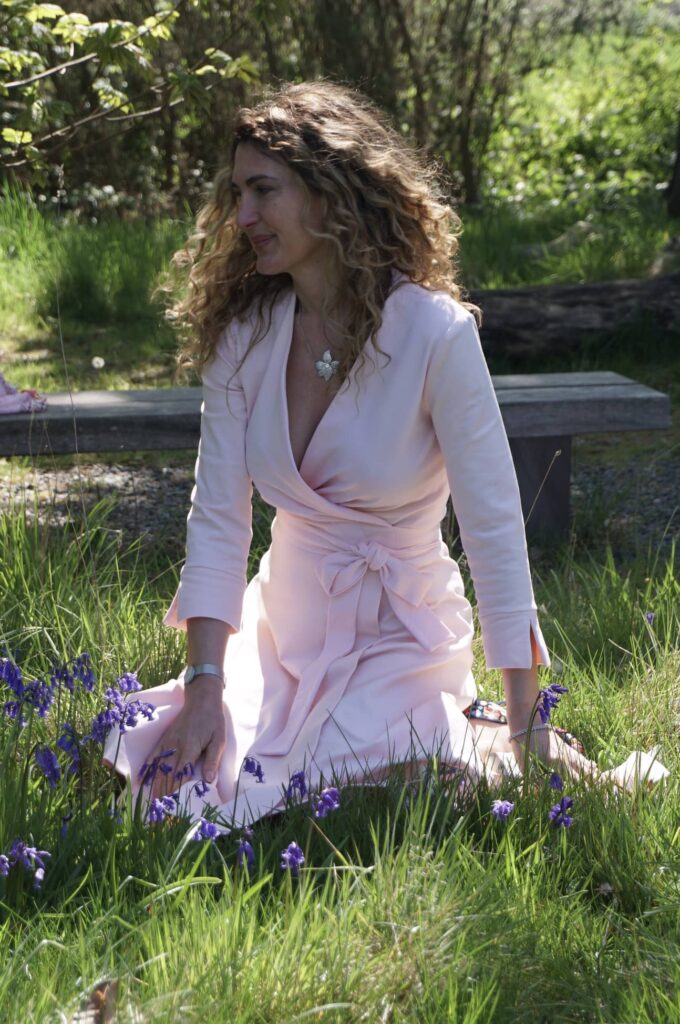
Sewing a Spring wrap dress: V8379 the Third
Last week, I felt a sudden need for Spring wrap dress… and here it is! Let me introduce you to my blush pink V8379 dress:
Far from a first….
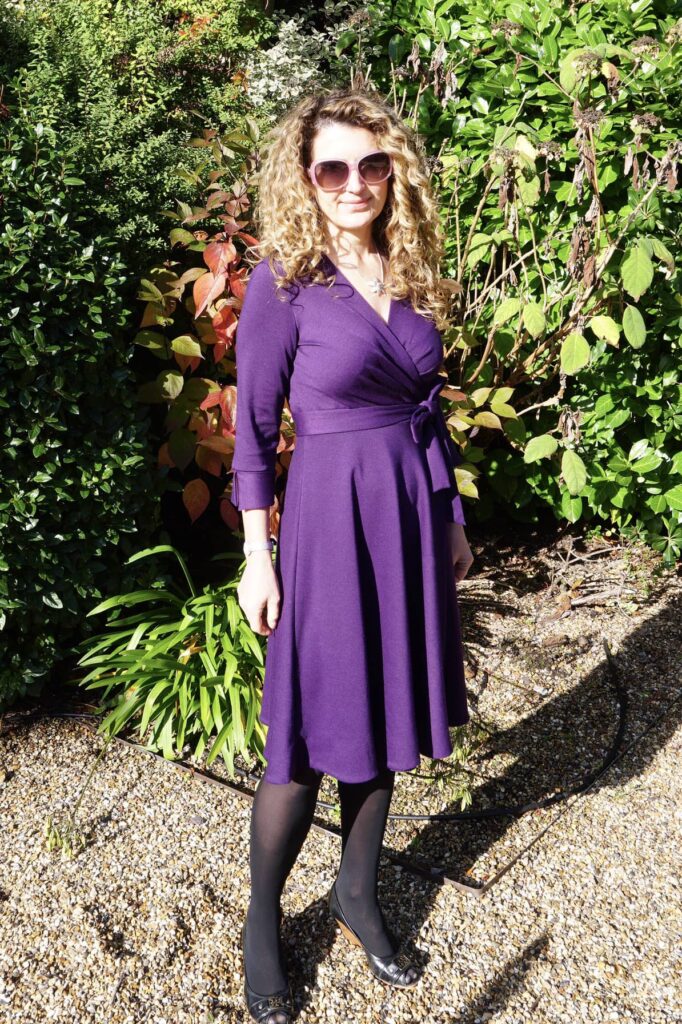
You know how much of a repeat offender I am when it comes to sewing, so it won’t come as a surprise that this is not my first version of this pattern. I actually made two other versions not that long ago, one deep purple and one burgundy, both reviewed in the blog here and here.

I have worn both dresses extensively over the winter, especially as I have matching cardigans for both and can therefore warm them up quite easily. But their colours are too dark for Spring so I definitely needed a new version!
V8397 pattern review
V8379 has become one of my favourite dress patterns, for several reasons:
- It perfectly fits my style: a fitted bodice and a flared half-circle skirt, with the bonus of being a wrap, what more to ask for?
- It is an incredibly quick and easy make: 6 pattern pieces, no technical closure, this is the perfect candidate for a relaxed afternoon sewing session.
- The fit is spot-on: as this pattern is for stretch fabric, the fit is in any case quite forgiving. The bust pleats in particular allow for no FBA even if you usually make one. As usual with Vogue (McCall’s, Butterick), I cut a size 10 (for my FR36/ UK8/ US2 and E bust cup), made absolutely no adjustment anywhere, and it fits like a glove.
- Despite it simplicity, this dress has absolutely lovely details: the bust pleats mentioned above and also the pretty sleeve bands.
The only negative I see in this pattern is that the instructions has limited details for inside finishing. Although this is not necessary for this type of fabric, I decided to overlock all my raw edges for a clean finish; and I put some iron-on interfacing around the side-opening for the belt, to strengthen it.
Fabric choice
As for my previous two dresses, I used Ponte Roma fabric , which has some stretch (as recommended by the pattern) but is also heavy enough to hold its shape. It is absolutely perfect for this pattern and I strongly recommend it. I am very tempted to try and make this dress in a much lighter fabric for summer, but also very scared it could turn out as a big disaster…
A word of warning on Ponte Roma: always go for the viscose version, not the polyester one. The later piles when washed and needed to be avoided at all cost.
Conclusion
Although I have not been very innovative for this dress, I am expecting to wear it extensively and I am delighted with it!