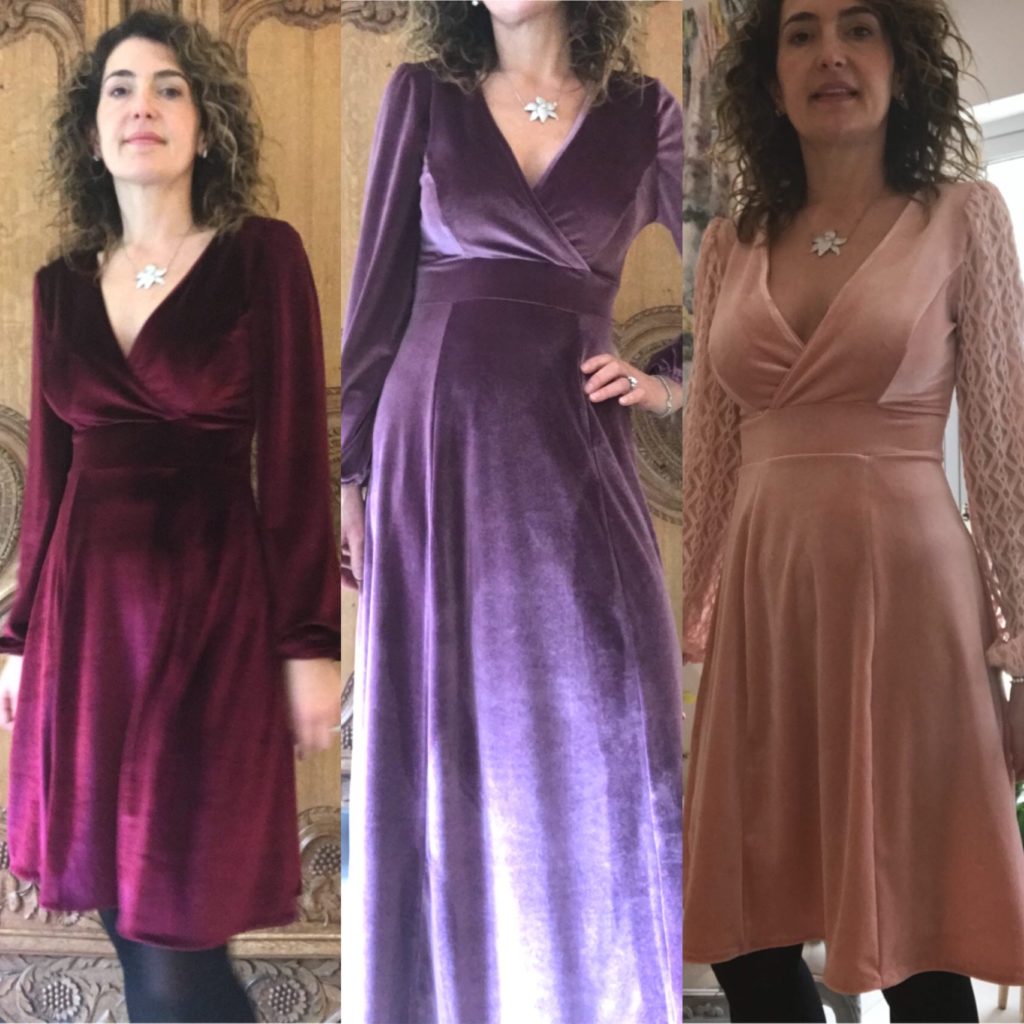
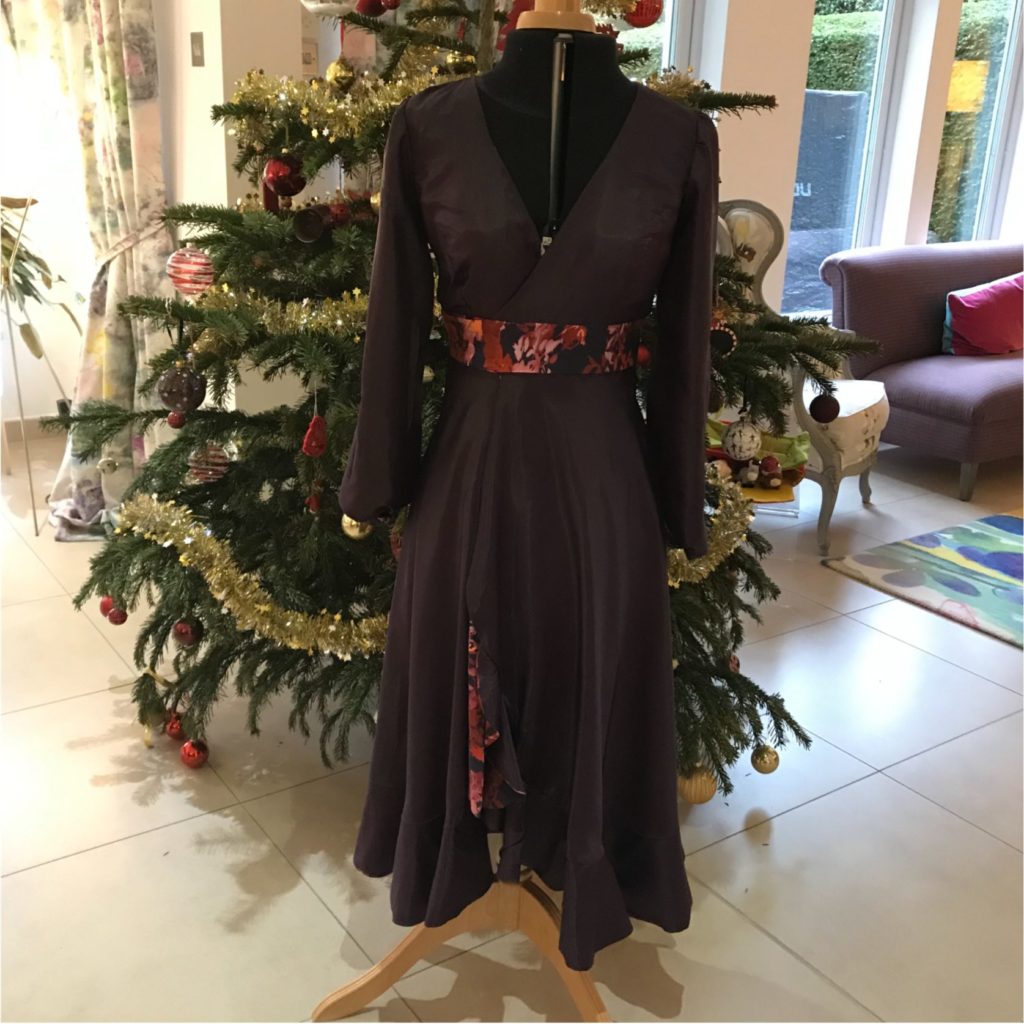
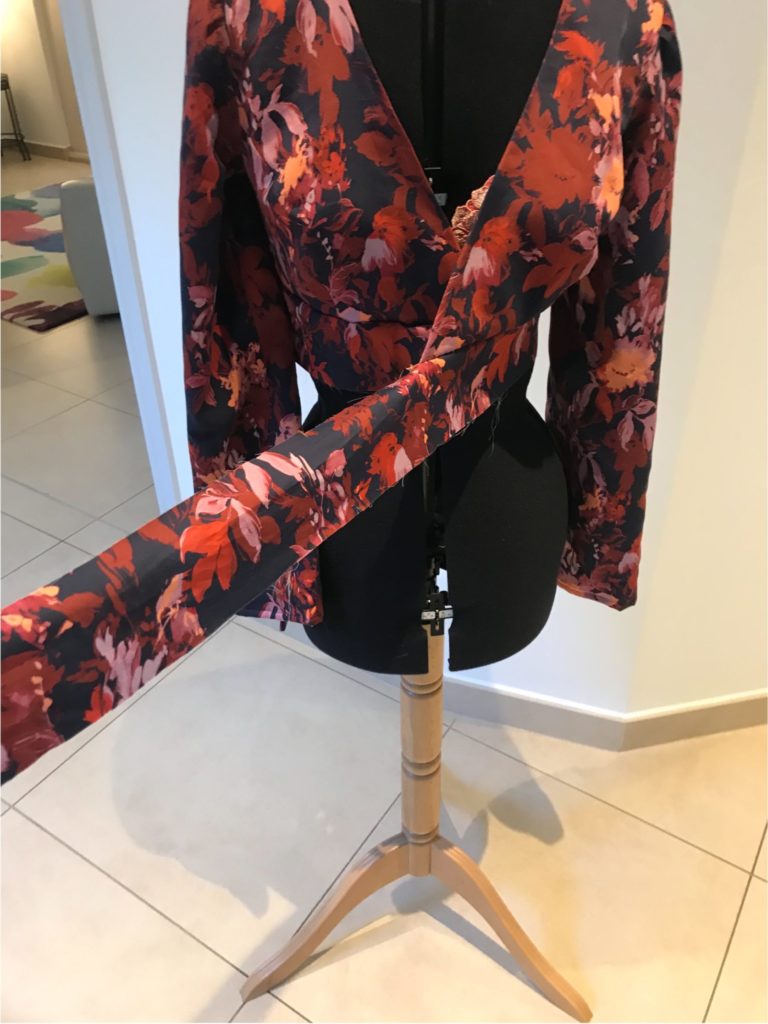
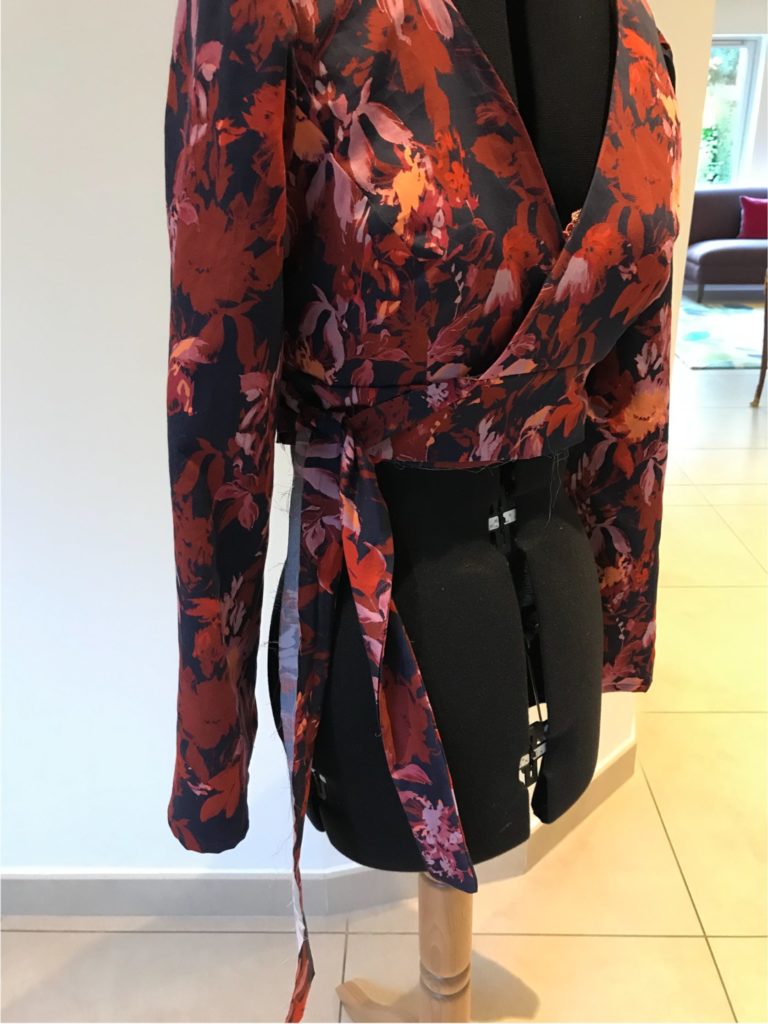
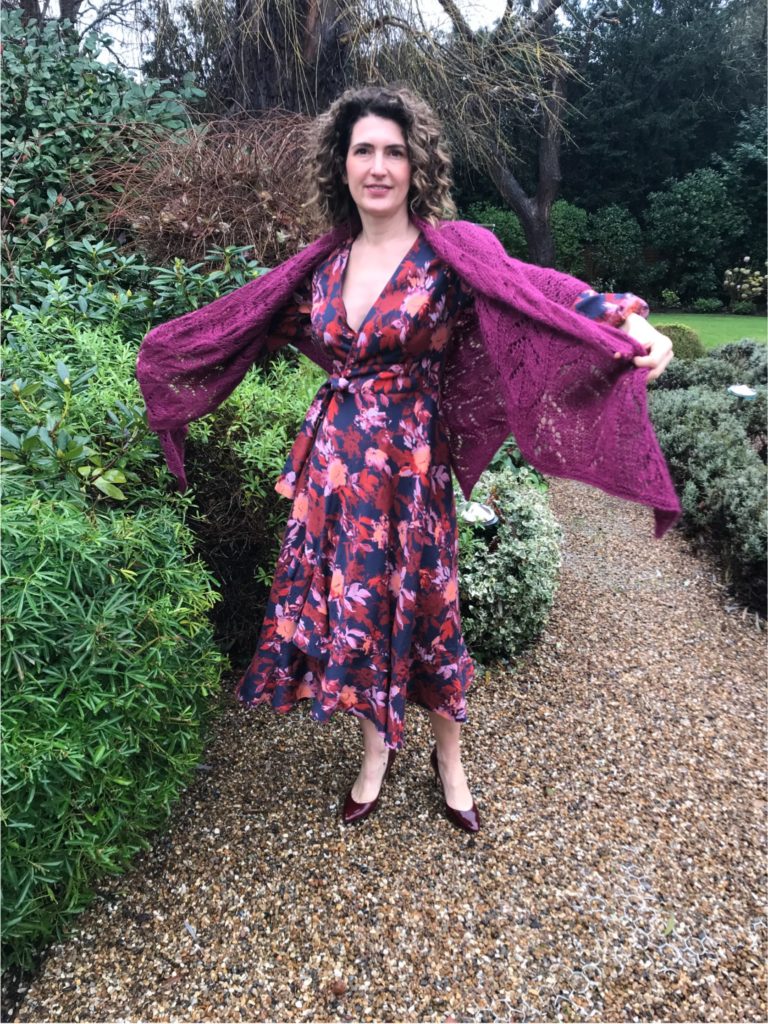
You will by now know my adoration for the Magnolia dress, after seeing my three velvet versions. My dream was to combine it with another of my beloved patterns, the La Boheme skirt, and make it a real wrap. After months of hesitation, I finally took the plunge and went ahead – let me introduce you to my pride and joy of this Autumn collection!

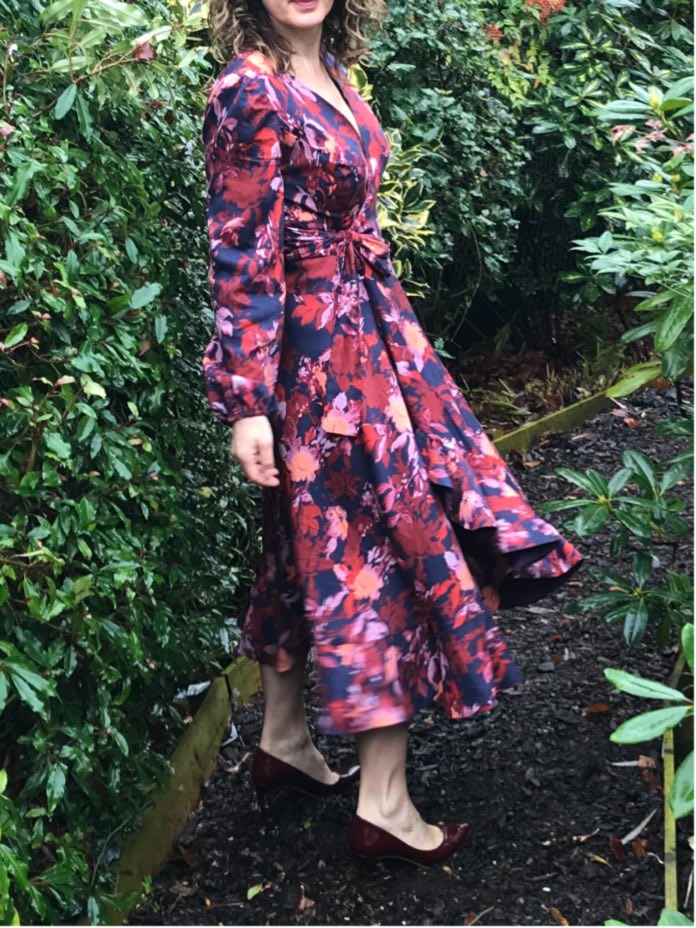

I also wanted this dress to be fully lined, because this inside of La Boheme skirt is partly visible – adding another level of complexity to the self-drafting process. It was all the more necessary that I chose a cotton fabric for this project, with beautiful colours but very much on the thin side for the season!
Here is how I managed the process – I pretty much went step by step, as I struggled initially with the overall process. So there you go!
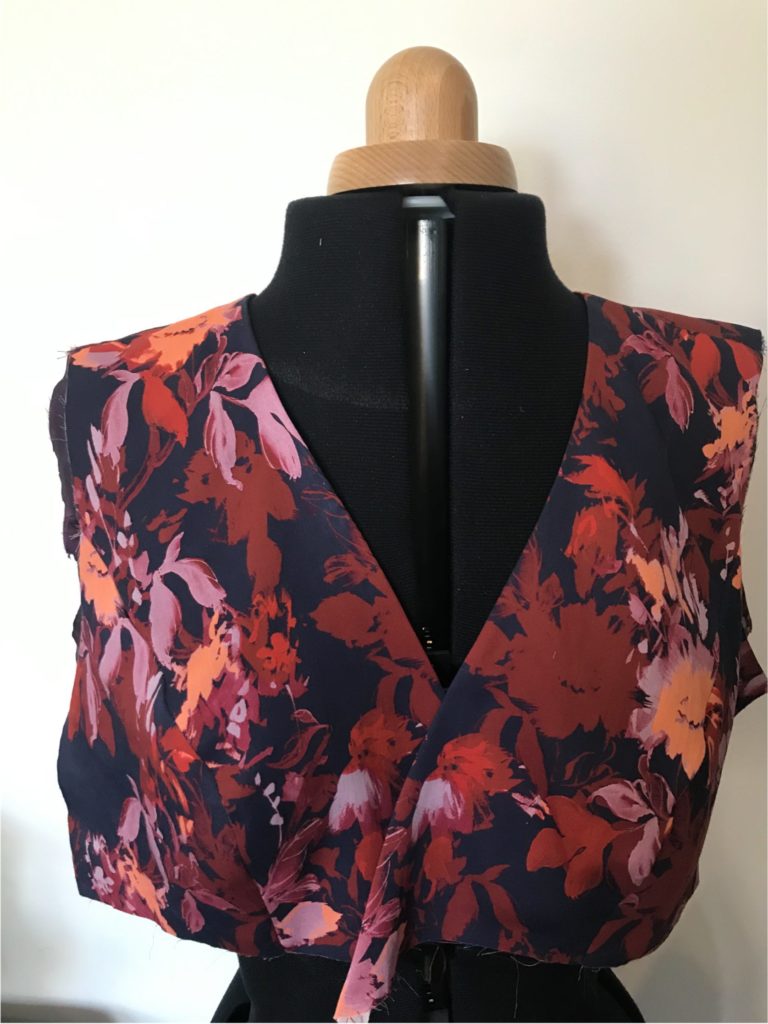
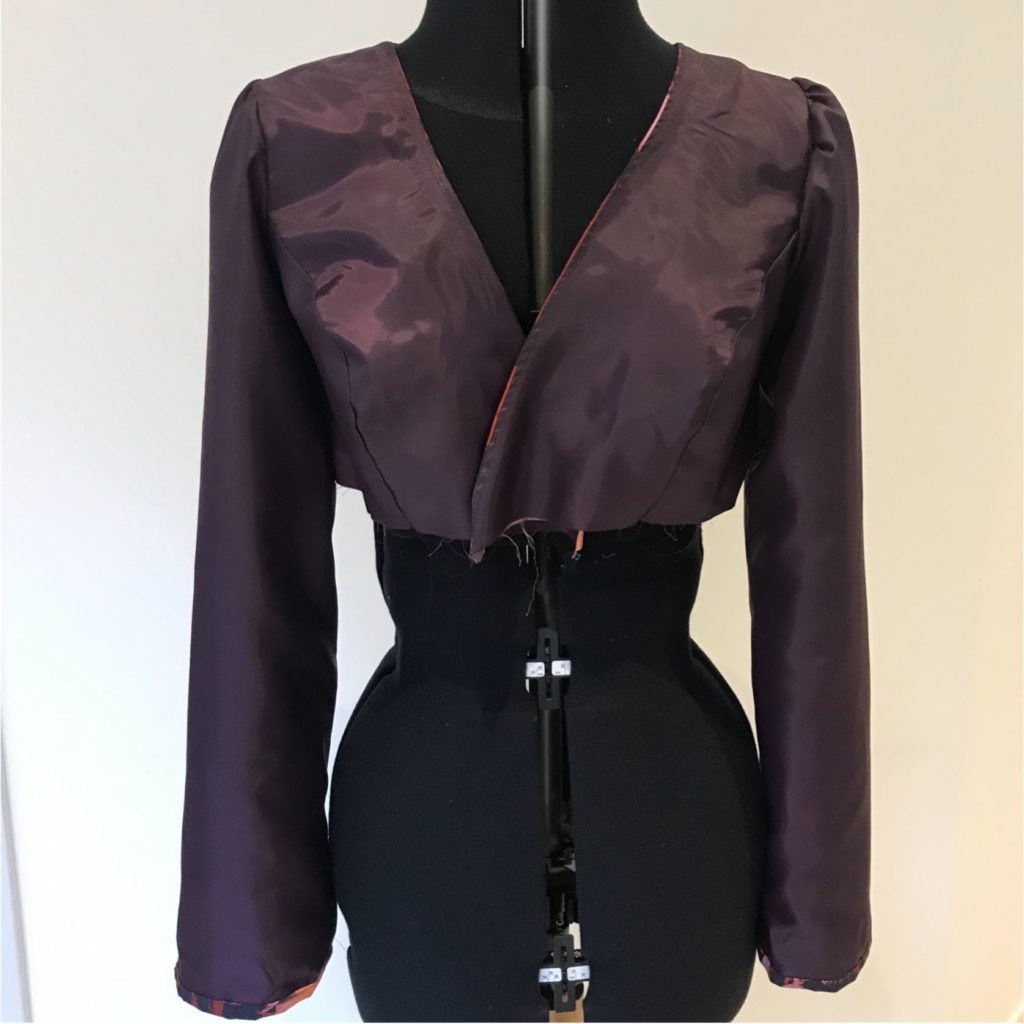
First, I made the lined bodice.
- I cut front, back and sleeve pieces both in the cotton and lining fabrics.
- I sew both bodices independently then attached them at the neckline.
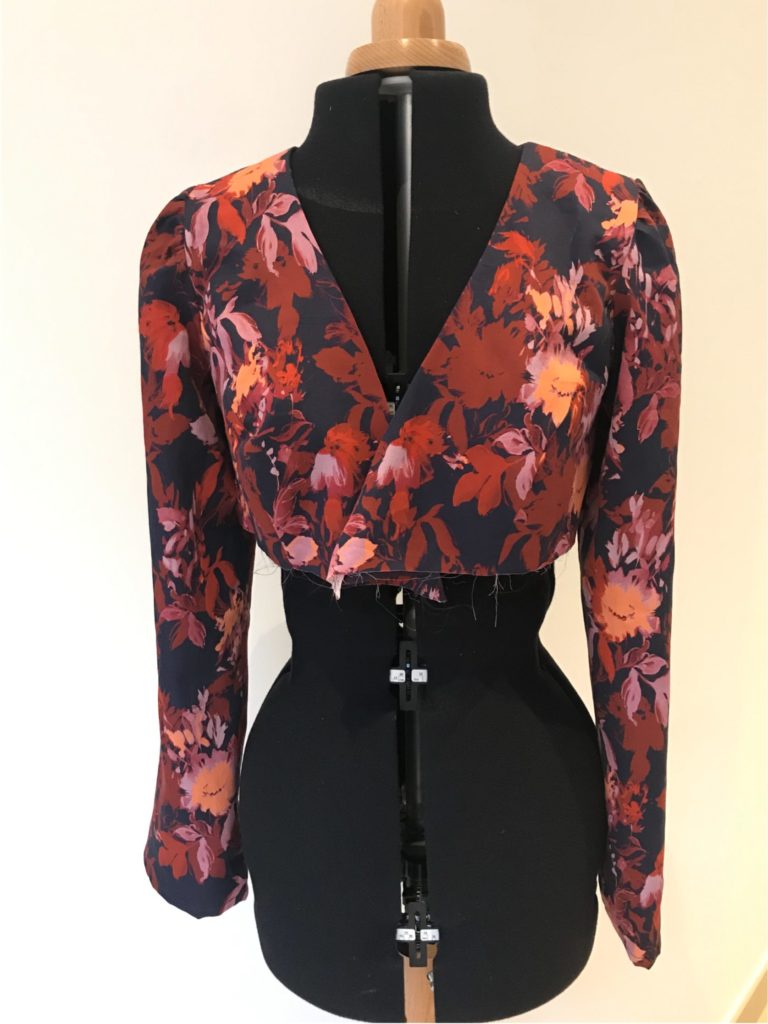
- I then added the sleeves separately to each bodice (fabric and lining) and attached them together at the wrist while making the elastic tunnel (my Magnolia sleeves are 5cm longer than the original pattern and the elastic a bit shorter (19cm), I find it prettier this way).
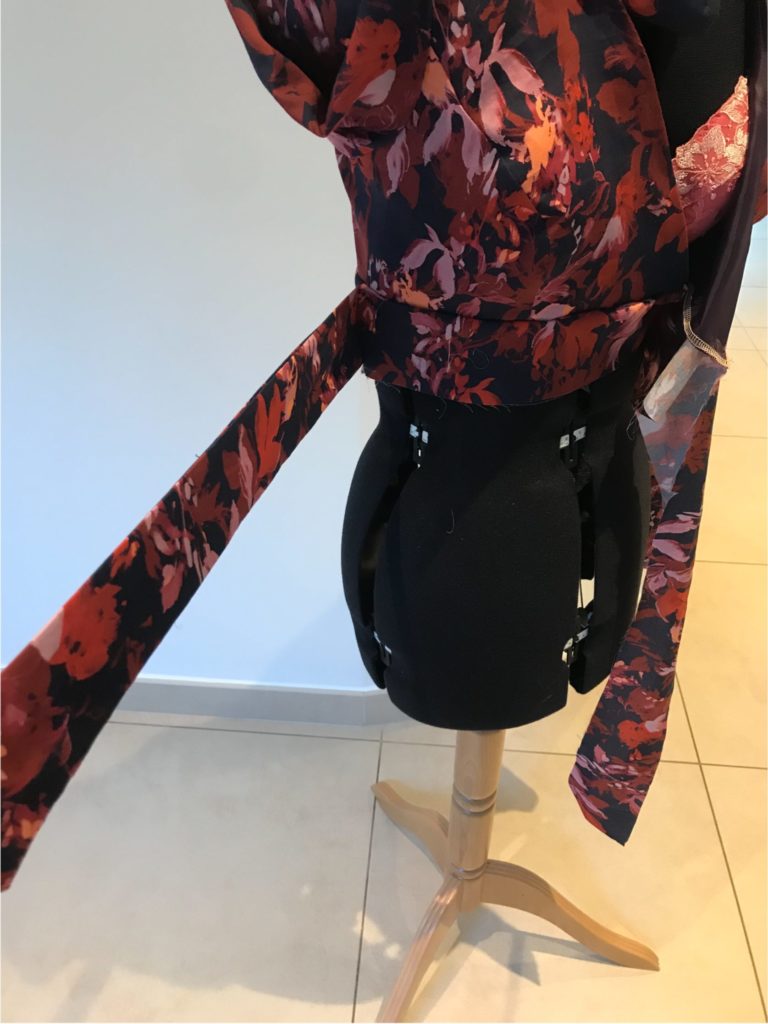
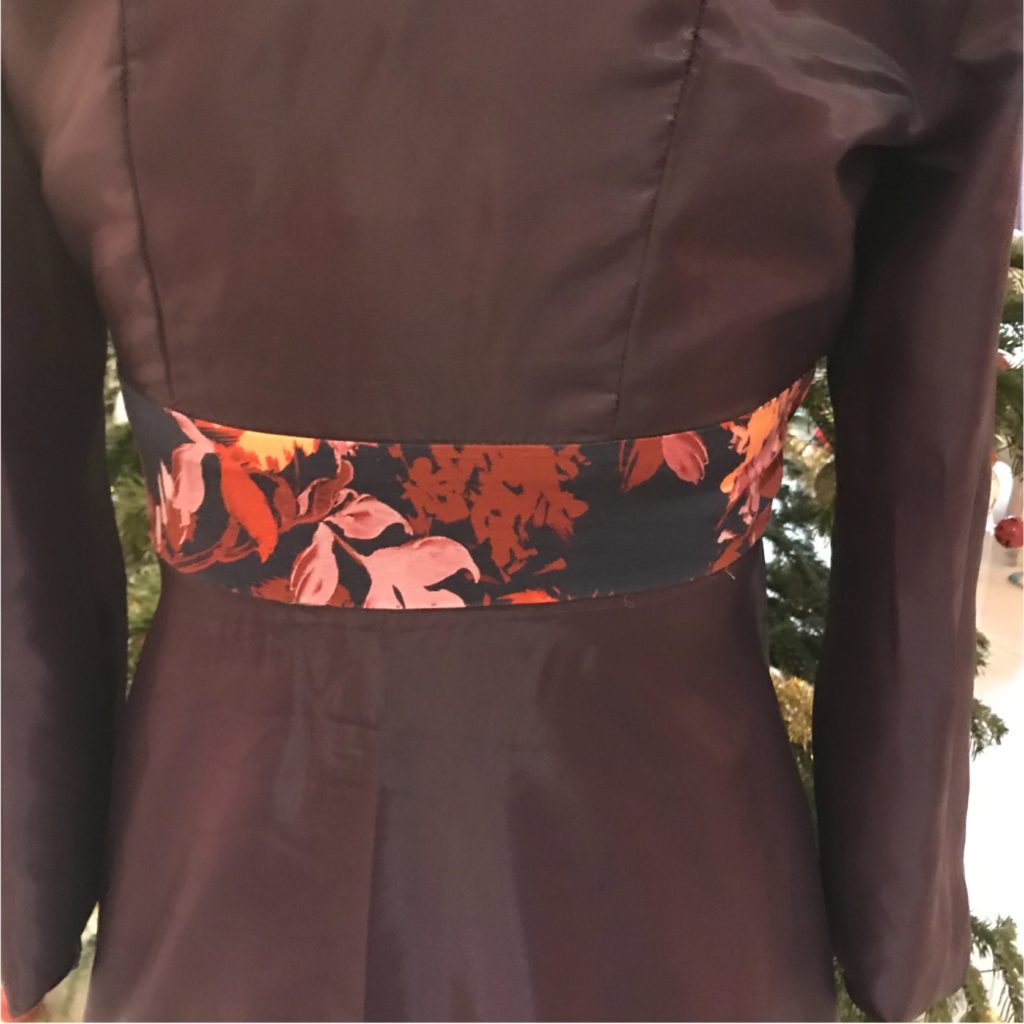
Second, I made the belt:
- My belt making was very convoluted, as I did not want to have hole on one side to pass the overlapping belt as recommended in the La Boheme Pattern. Instead, I sandwiched a piece of fabric where the hole should have been. It is neater but mind-boggling so I would advise you make the belt following the pattern instructions if you’re not that fussed about the hole.
- If you do that, you need to cut two back belt pieces of Magnolia ; and four front pieces extended by 80cm.
- Sew all three pieces of belt together twice (front + back + front); then sandwich the bottom of the bodice )fabric + lining) between the top of the belts and sew all along, leaving only bottom side of belt unsewn (this is where you will insert your skirt).
- Do not forget to make the side hole.
Third, I made the skirt:
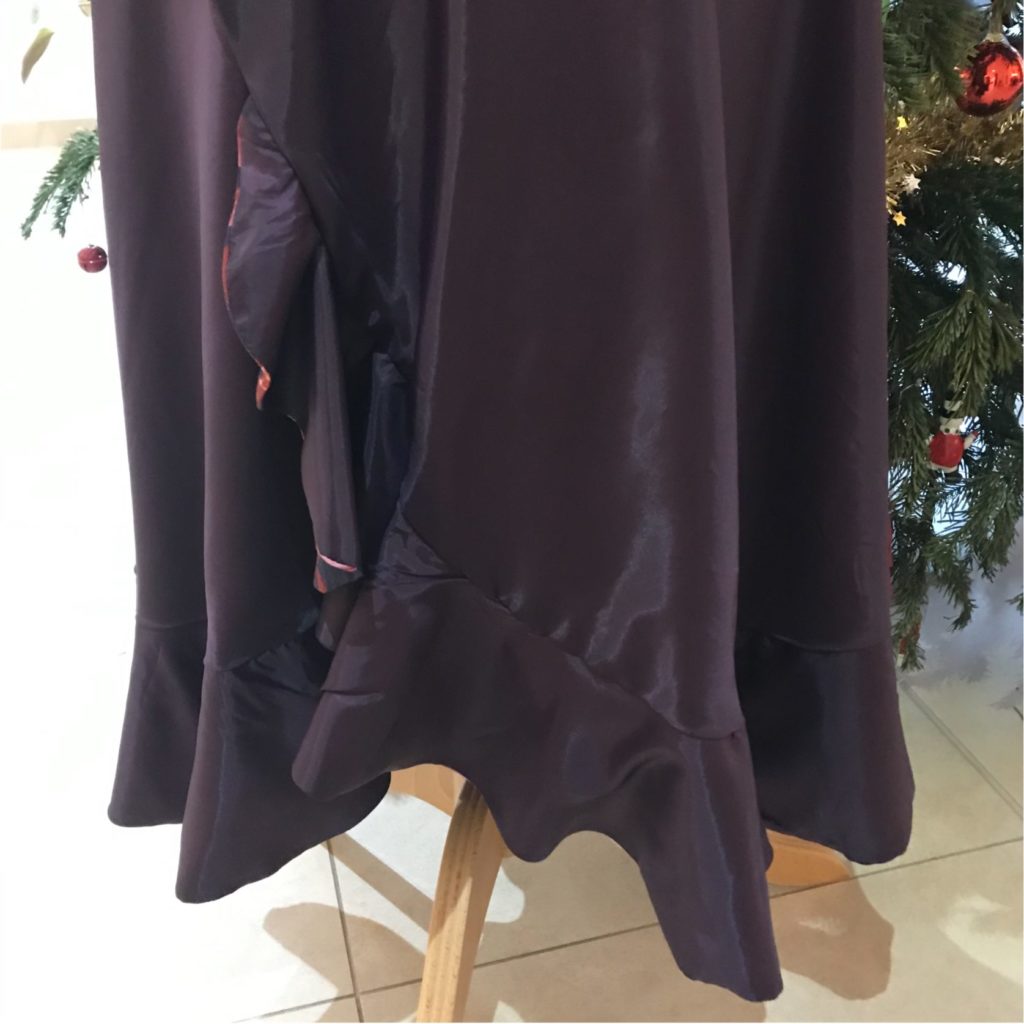
- I modified my La Boheme skirt pattern to make it shorter (because I wanted a midi skirt rather than a long one); and by making the curved front side correspond to the width of the wrap bodice (the original skirt wraps further but that would not look very coherent to leave it like that). Be careful, once you’ve done that you need to shorten the ruffle – I took about 20cm off.
- I cut the skirt and ruffle pieces (but not belt) in both the cotton and lining fabrics. Then attached each ruffle to each skirt – no need the hem the ruffle here as this will be done automatically in next step.
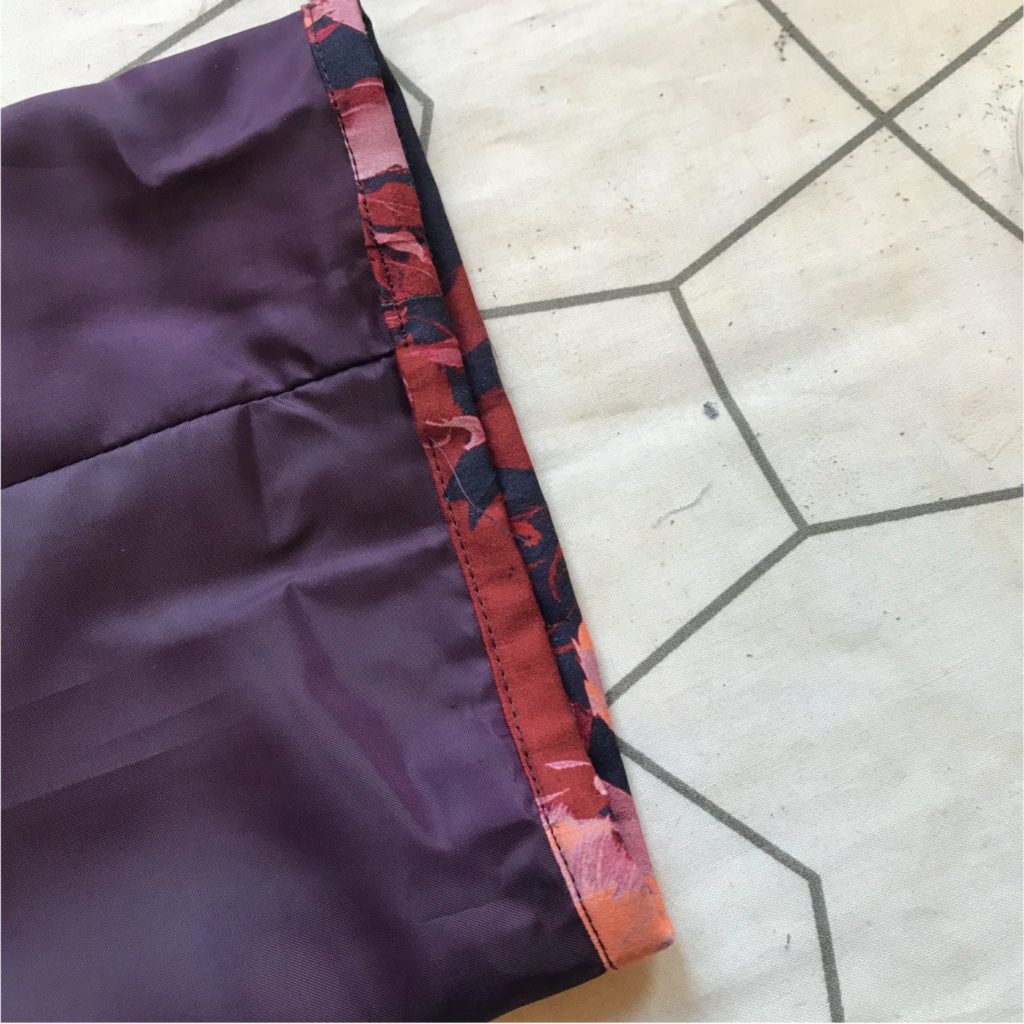
- I attached lining to skirt through the outside hedge (this way the hemming is done).
- I attached the skirt to the outside belt (the one visible) with my sewing machine.
- On the inside, I hand-stitched to get an invisible finish.
And that’s it!!! I hope the pictures help to understand the process. And here are a few more pictures of the finished dress, which I’m really pleased with! A sleeveless version is definitely on my to-do list, for when the weather agrees with it!!

YOU WILL PROBABLY LIKE THESE BLOG POSTS: