I have been obsessed with Zimmermann tiered ruffled skirts for a long time. It took me ages to figure out how to reproduce them (let’s call it snail brain); and even longer to be motivated enough for all this gathering. But here we are, finally!


Zimmermann ruffles inspiration
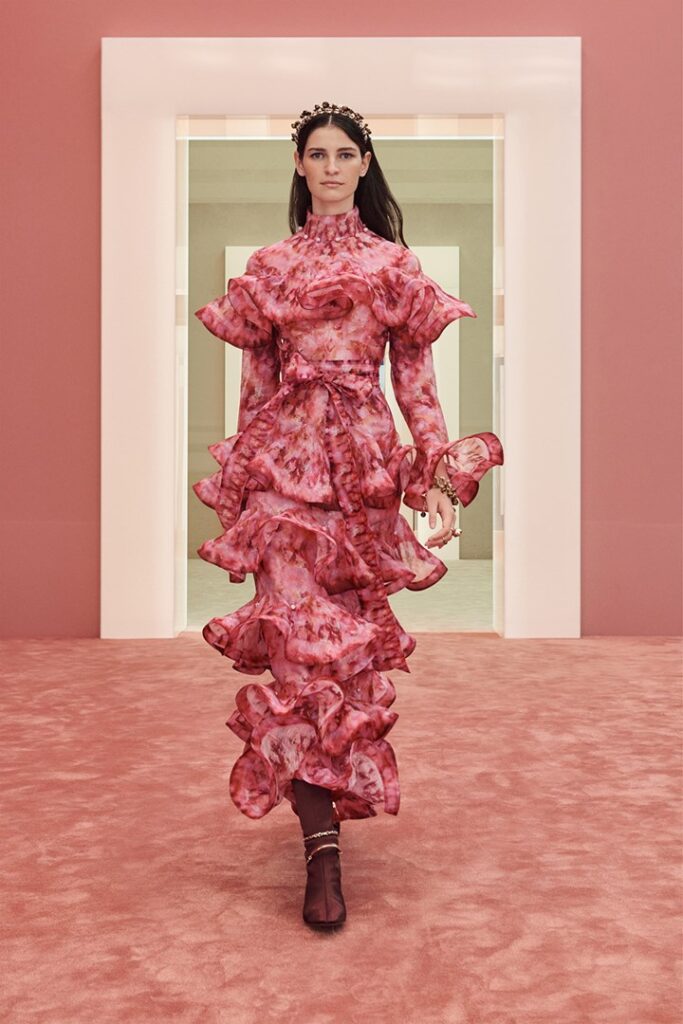
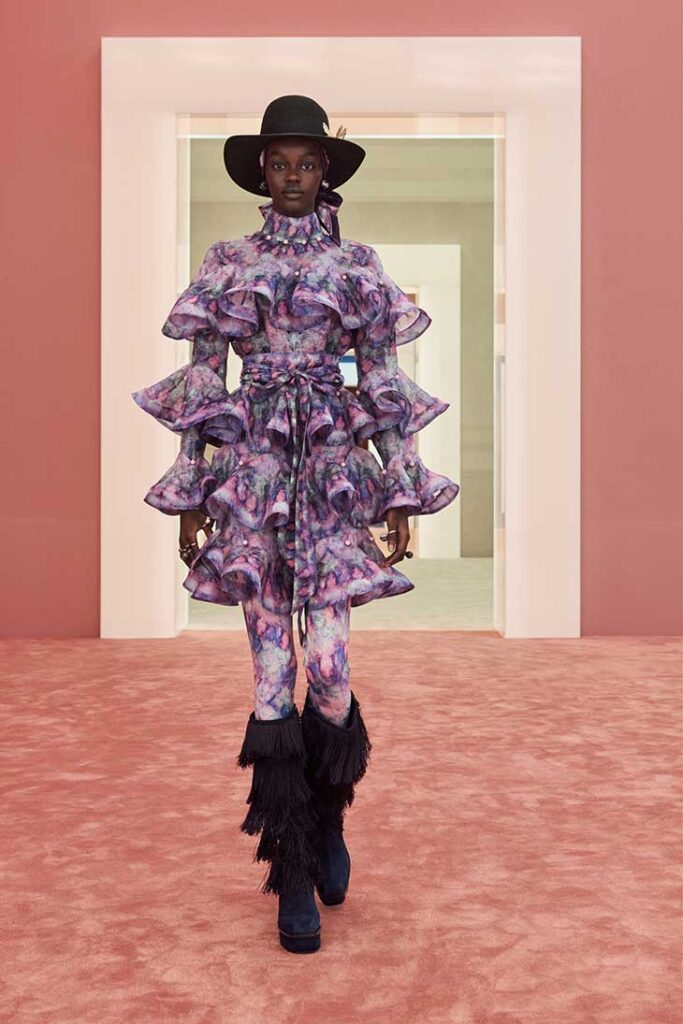
If you are anything like me and follow Zimmermann’s collections in awe, you will know that ruffles are their key signature. And what ruffles!
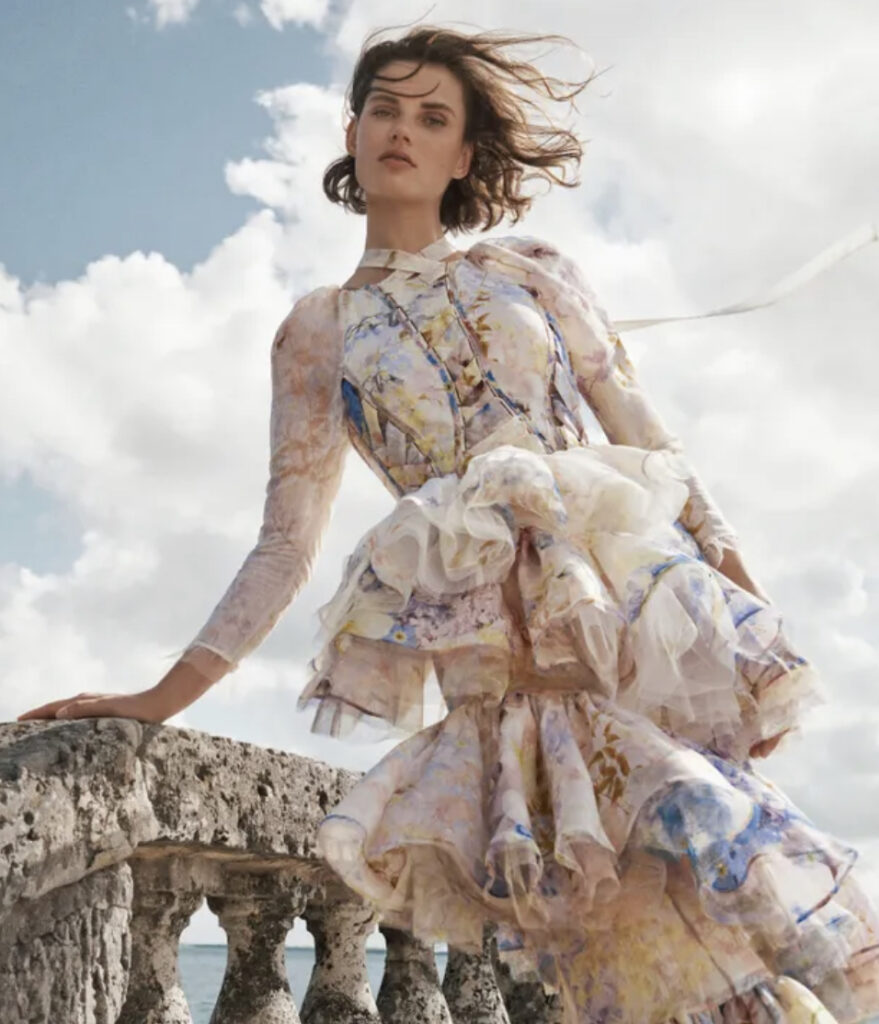
After fantasising for ages, I actually ordered a Zimmermann dress to try on… and realised two things:
- These over-the-top ruffles are DEFINITELY NOT wearable on a day-to-day basis!
- Zimmermann’s sizing is tiny for bodices – I suspect a small B cup is the most you could fit in there. No chance for me!
So I promptly returned the dress and started my long thinking process on how to self-draft my own tiered ruffle skirt.
Tiered ruffle skirt tutorial
I haven’t taken picture of the sewing process, so you will have to take my work for it… and accept off-the-enveloppe charts, sorry! The tutorial is far less detailed than my previous ones so definitely targeted at intermediate seamstresses rather than beginners, sorry.
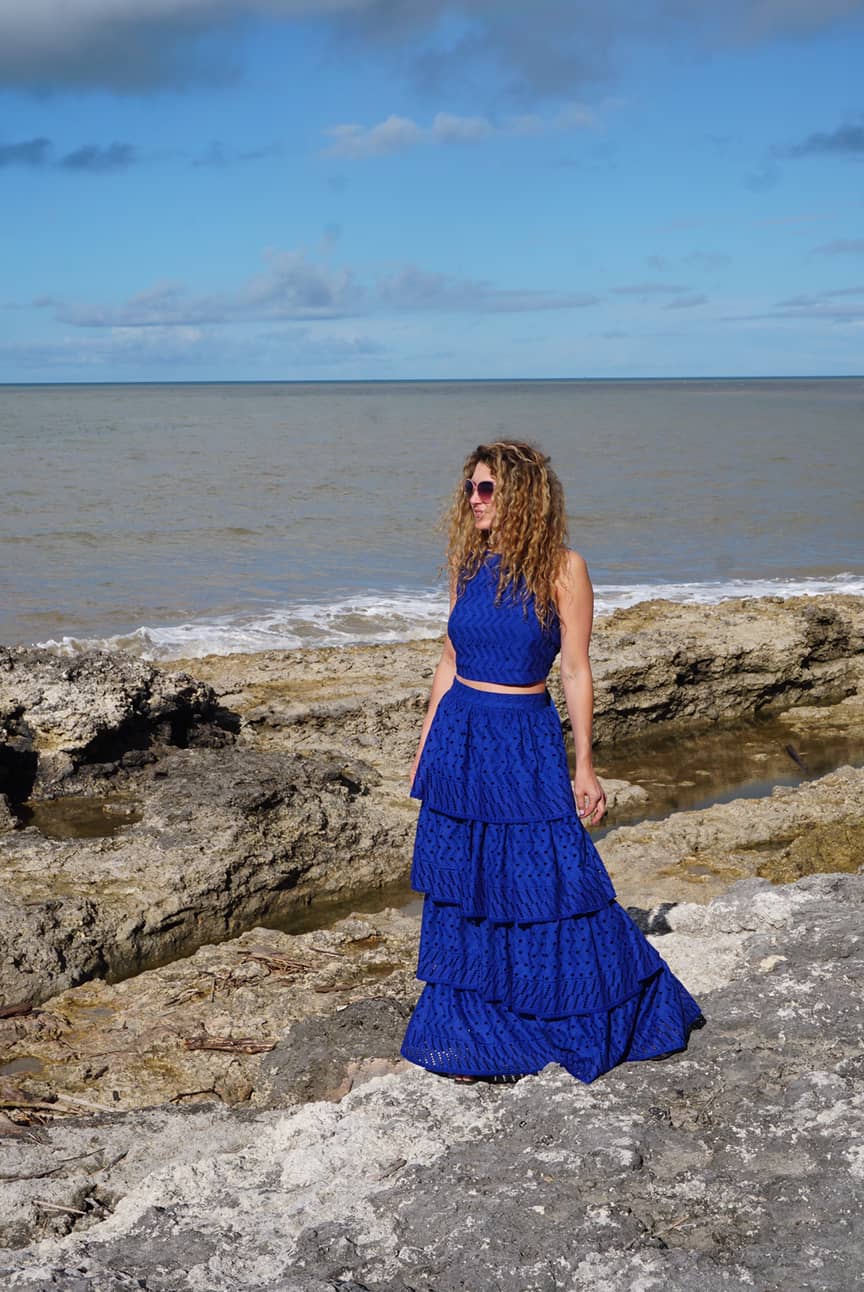
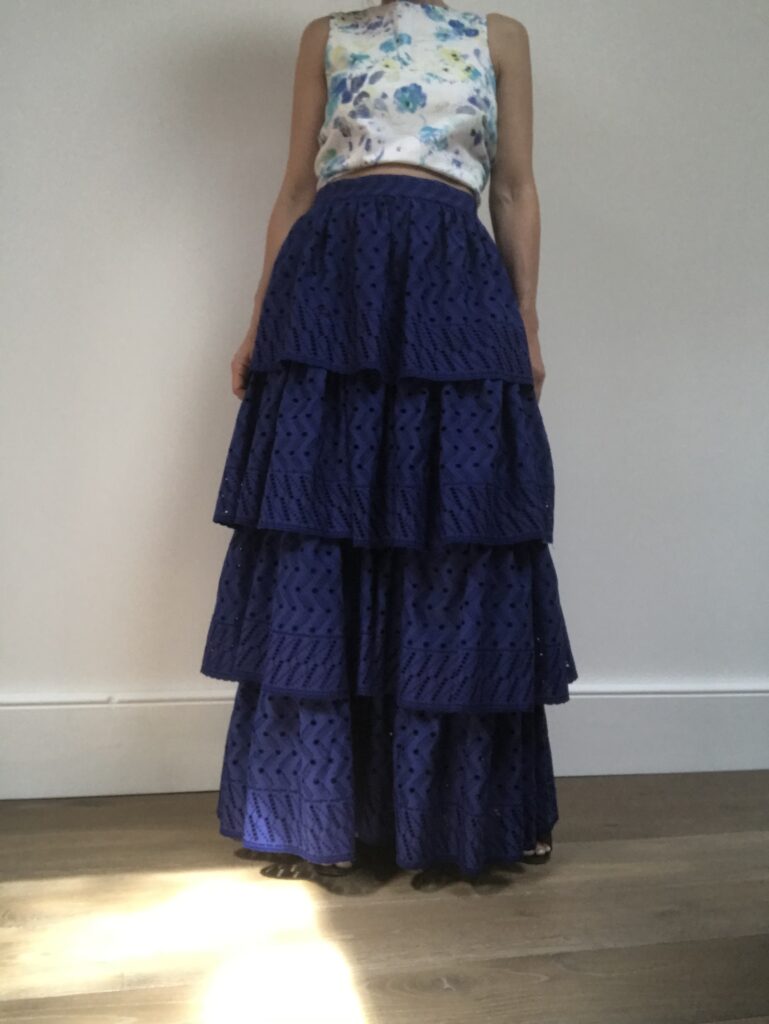
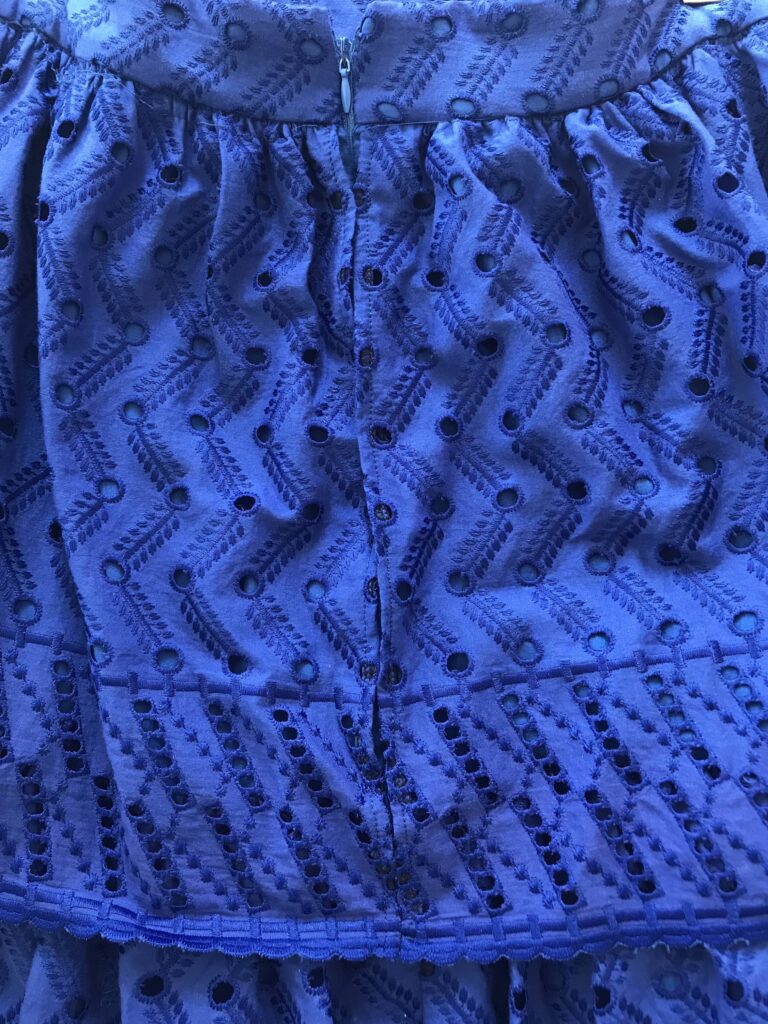
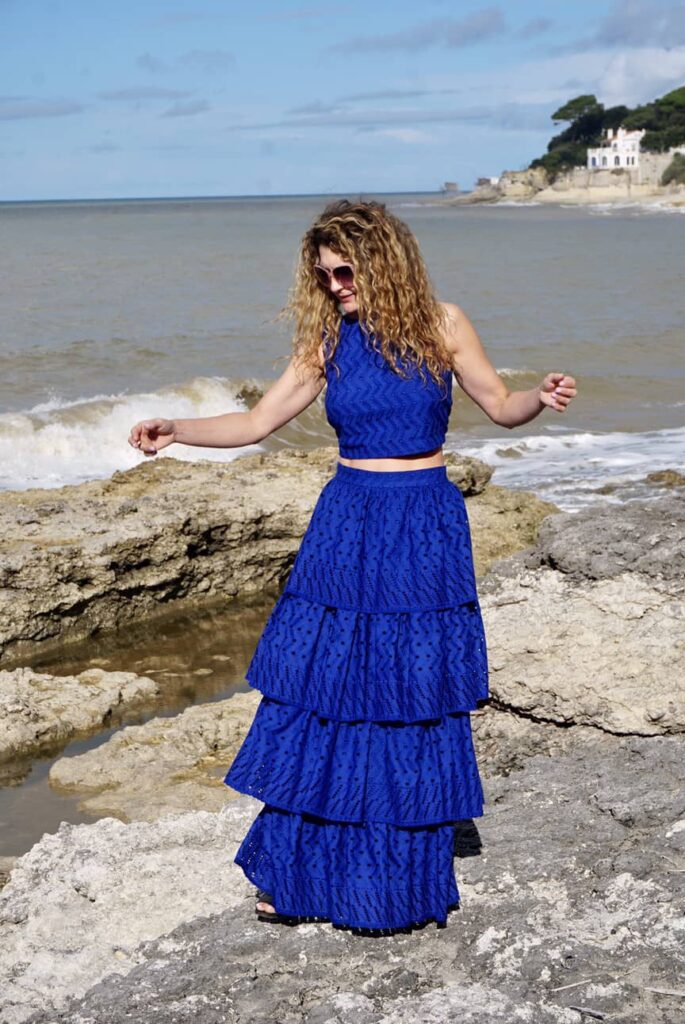
But first let’s have a closer look at the skirt.
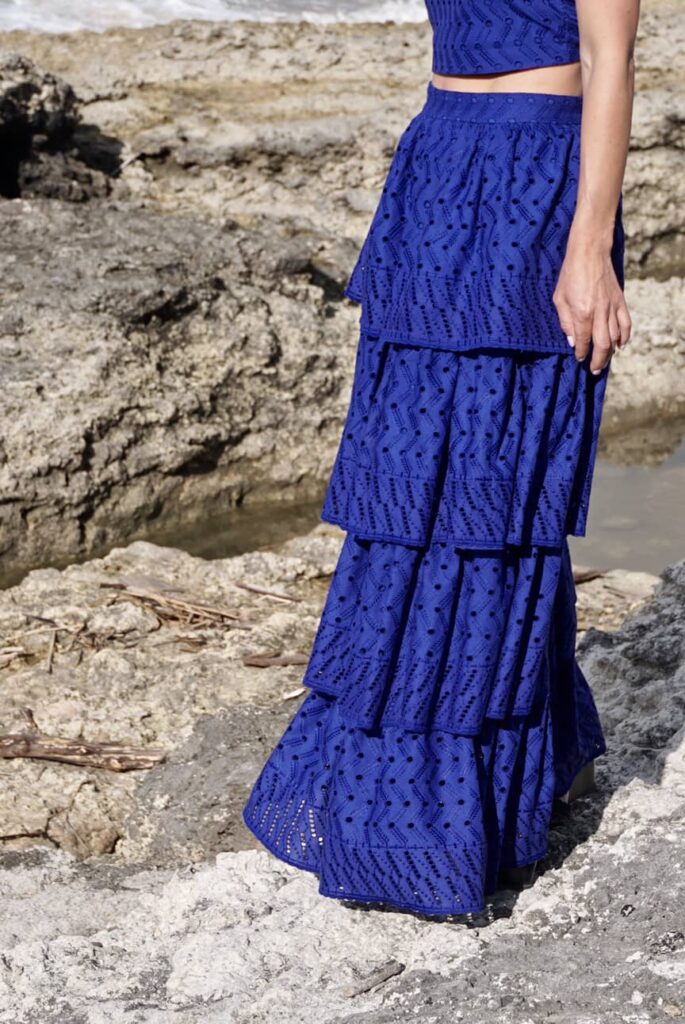
STEP 1: Choosing your skirt length and the number of ruffles
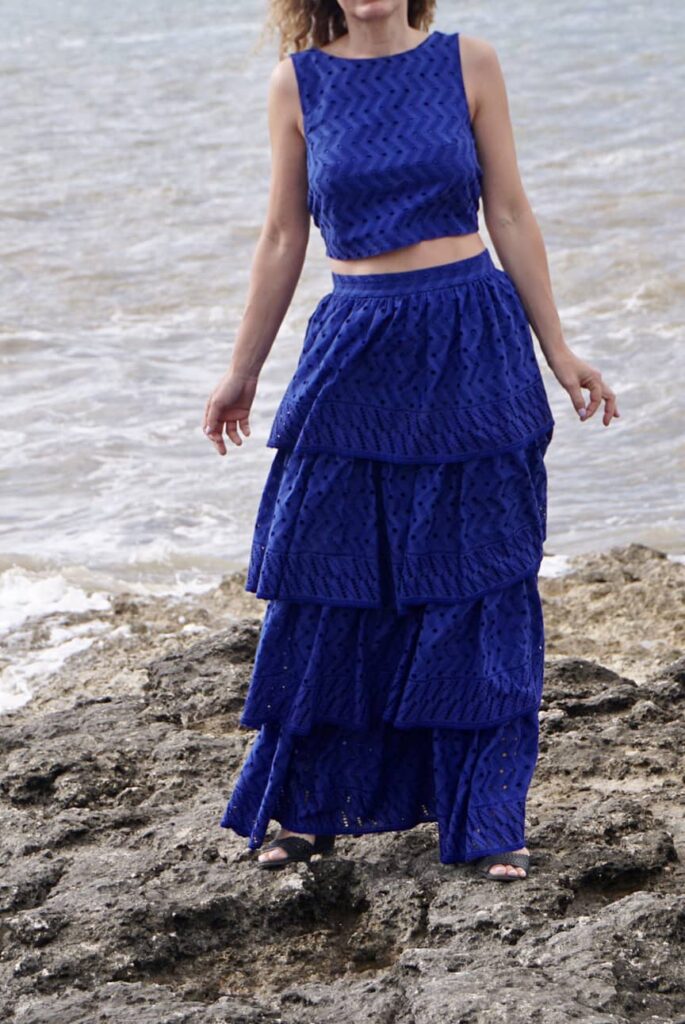
My skirt has four panels and is 1m-long, basically exact floor length for me. It means I can only wear it with hight heels but that was the plan.
To determine the length, I measured from the narrowest part of my waist to where I wanted it to reach.
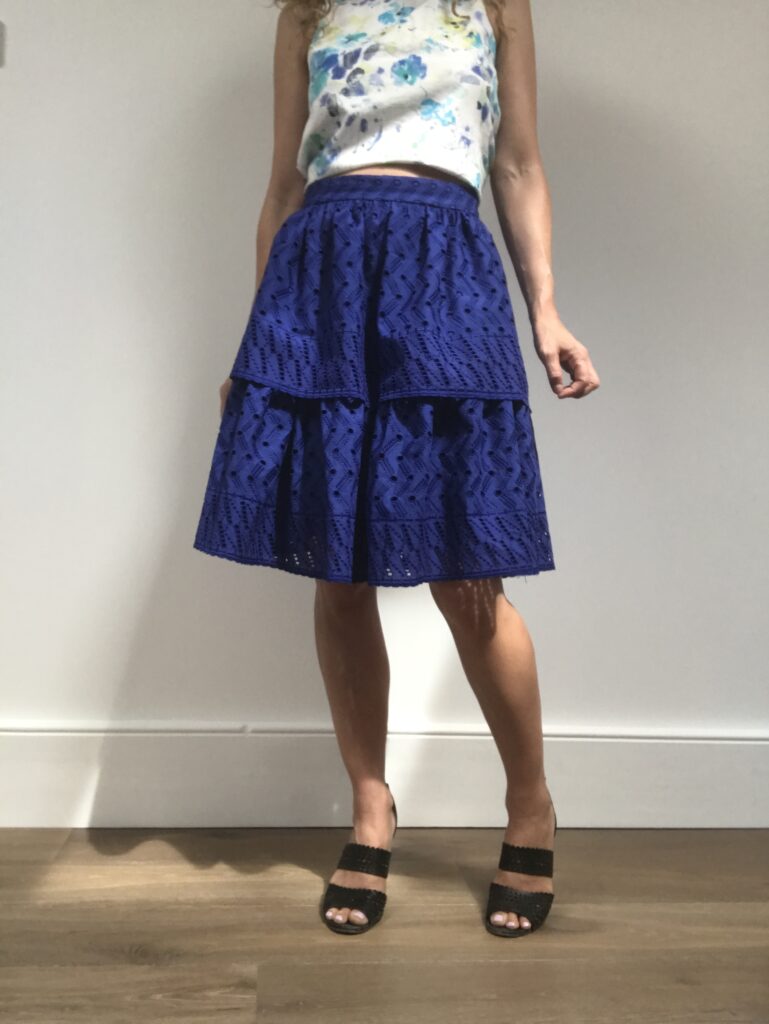
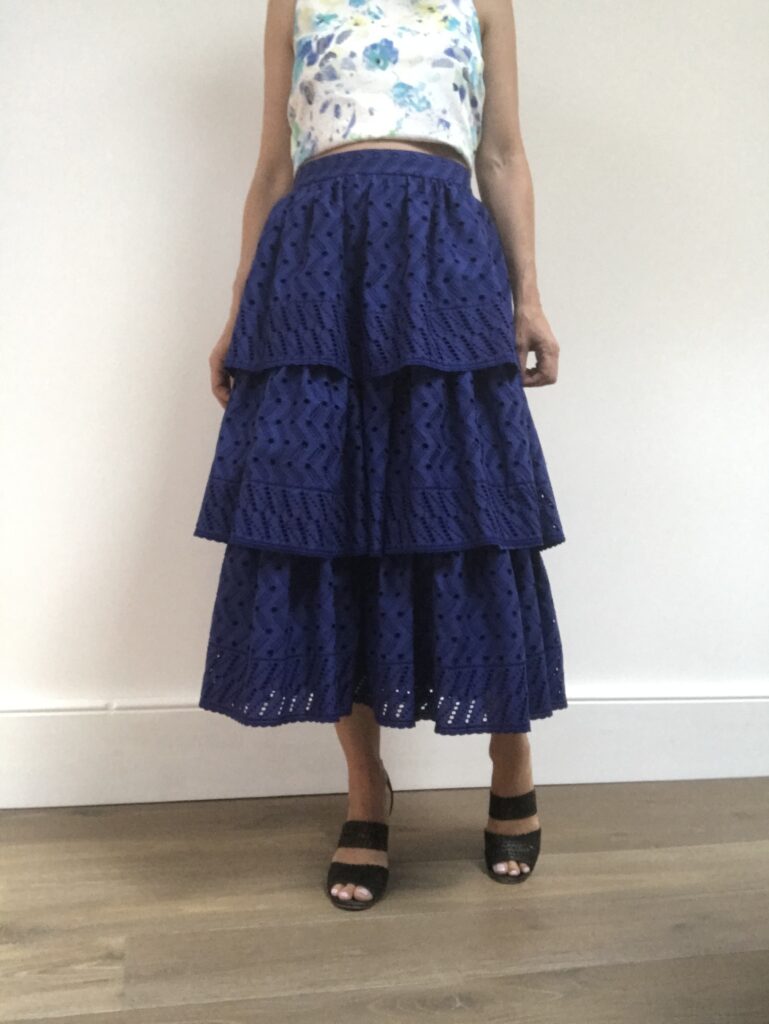
And to determine the number of ruffles, I must admit I was limited by my fabric – I would definitely have preferred 5, as I think odd numbers are always better for these things. I took progress pictures of my skirt and I admit I really liked the 3-tiered midi one.
STEP 2: Drafting the skirt
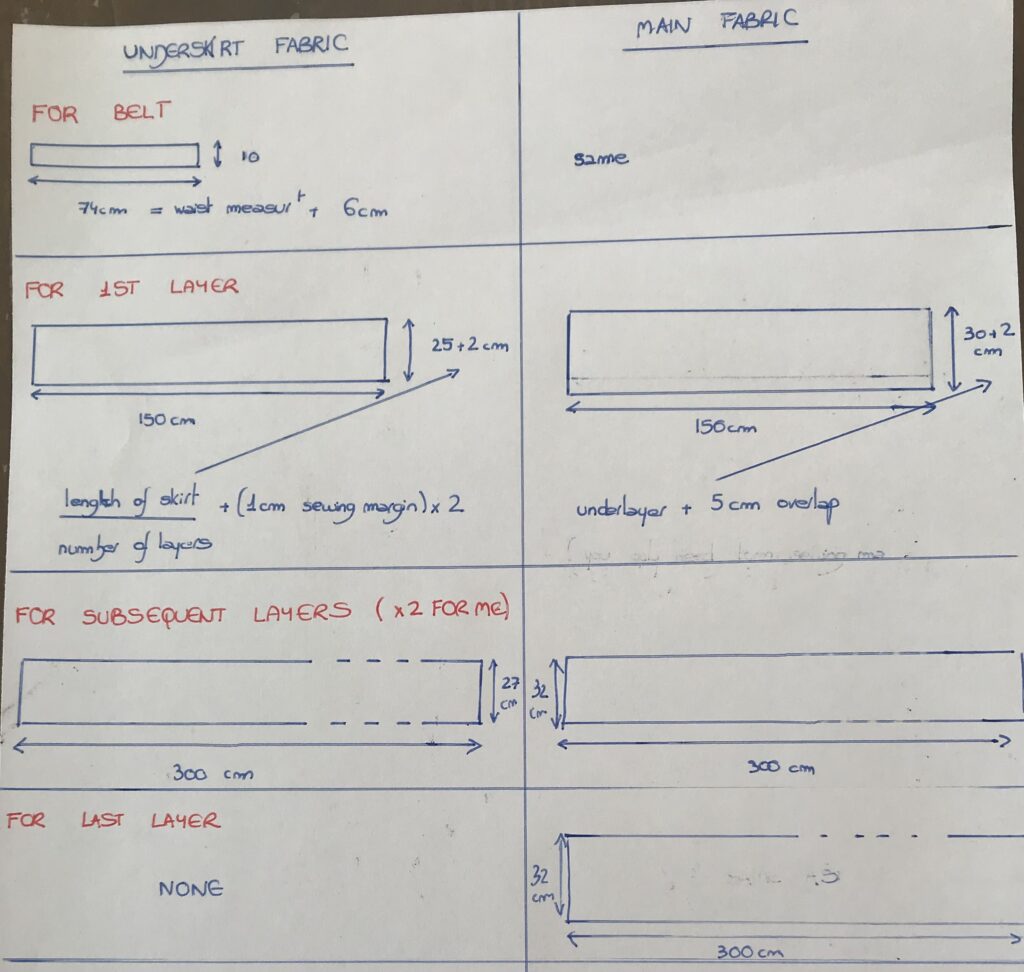
The skirt is made of:
- a top layer, which are the ruffles. I used 6m of eyelet fabric from Les Coupons de Saint Pierre with a scalloped border, but you will need closer to 3m if you are working without borders. And even less if you go for a shorter skirt.
- a bottom layer, which is the underskirt the ruffles are attached to. I used about 1 m of voile cotton in a colour matching my eyelet fabric.
And here is the beautiful, very professional looking drawing of my skirt draft – no shame!
STEP 3: Sewing the skirt
- Create your belt: interface the lining fabric, attach lining and main fabric together, fold in half with main fabric out.
- First skirt: on main fabric, hem small sides turning each 0.5cm twice; hem main fabric on large side if needed (ie no scalloped edge); attach lining and main fabric together on large top side (main fabric will need to be kept free of lining at the back so that zip if only attached to lining); gather to belt width and attach to belt.
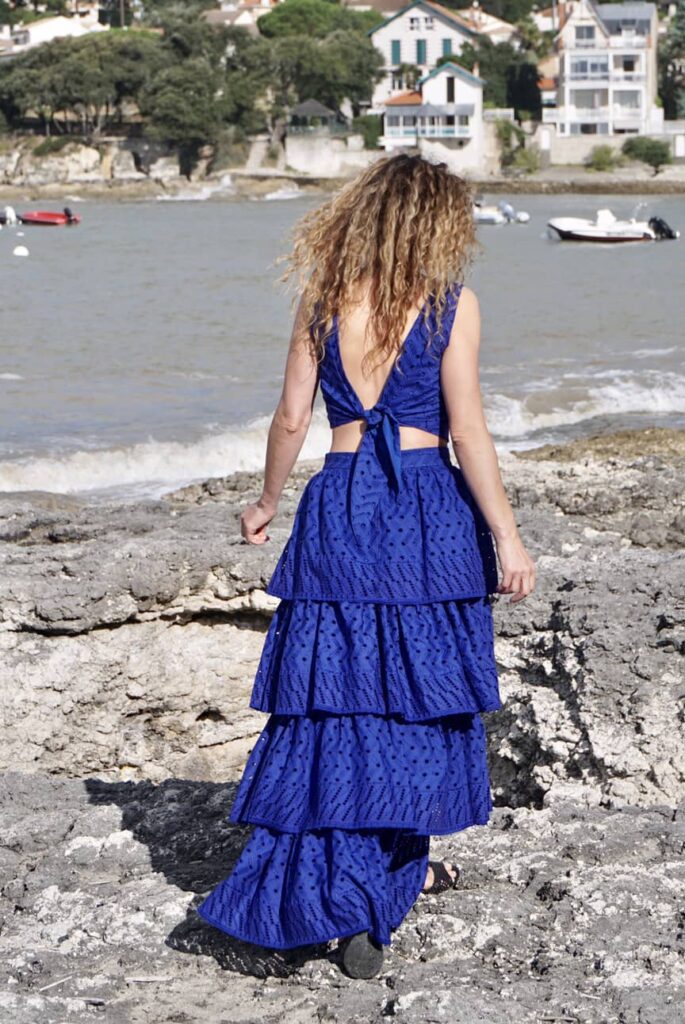
- Insert zip: from top of belt to bottom of first skirt lining, insert invisible zip. It should not catch the main fabric layer.
- Subsequent skirts: hem main fabric on one large side if needed; gather main fabric to width of its lining and join together at the top; attach to the previous layer lining.
- Last skirt: no lining here! Hem main fabric on one large side if needed; gather main fabric large top side to previous layer lining width and attach the previous layer lining.
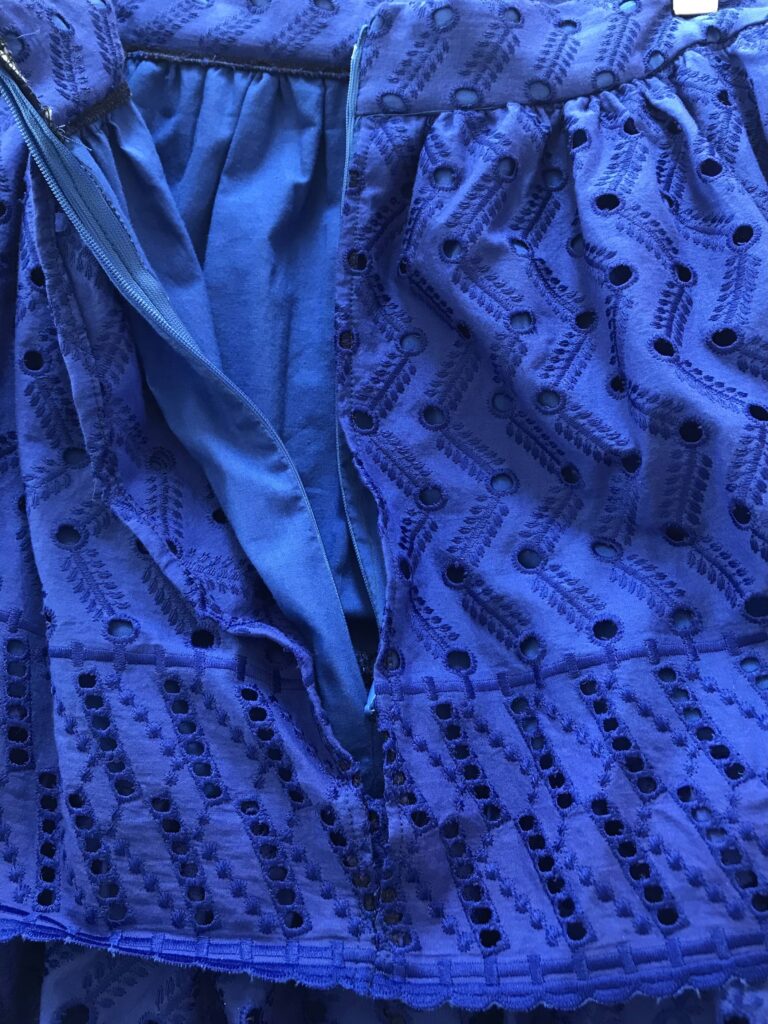
Appart from the boredom of all the gathering, the trickiest part is the zip insertion. The zip mustn’t catch the main fabric ruffle, so that it can float freely. Here is a picture at what it looks like on my skirt. You will notice I have end-sewn the end of my top ruffle where the zipper finishes, so that it stays in place.
And you’re done! Hurrah!
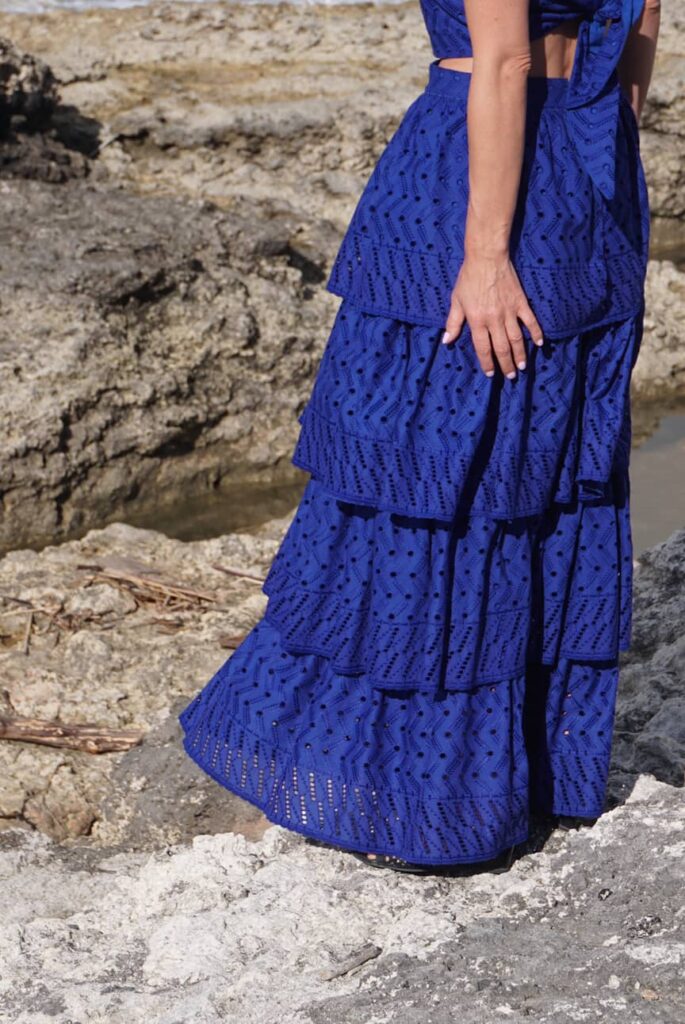
Adding a Glory Top to make it a matching set
As you know, I much prefer dresses to skirts, but here I was worried the weight of the skirt would be too much for a bodice to bear. So instead of sewing a dress, I made a matching set, using the Top Glory by Clematisse patterns

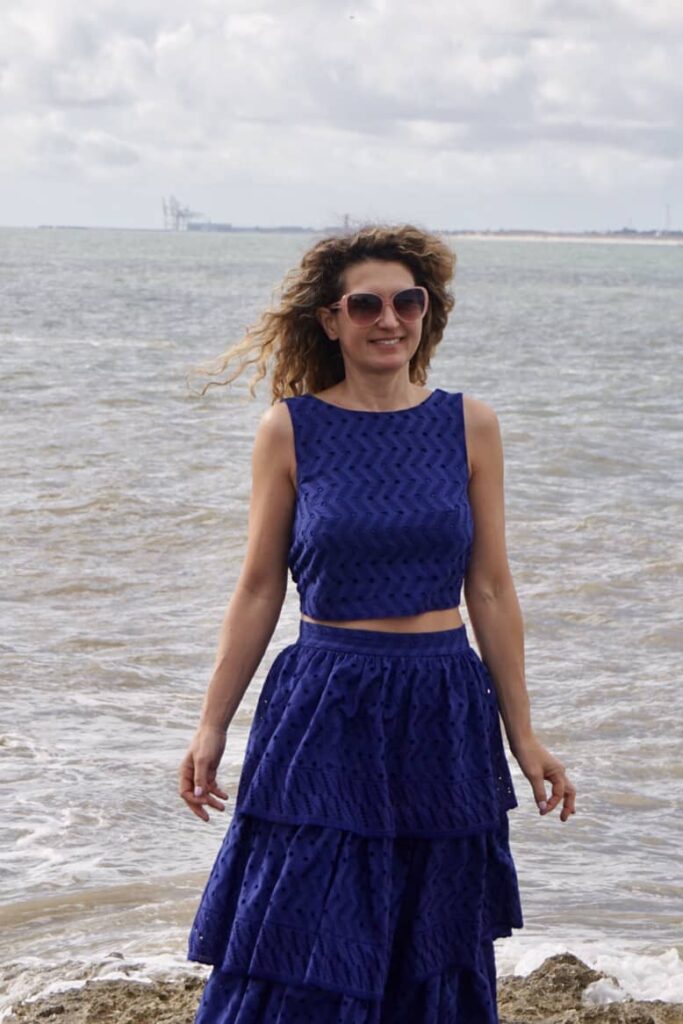
I adore this top, it is super cute and immensely easy top to sew. I made three tiny changes to the pattern: I shortened quite substantially as my skirt is high-waisted; I made an FBA; and I lined it. I think overall less than a 2-hour job, how nice is that.
Conclusion
I will not be wearing this set immensely as with such a long skirt, it is more of an evening outfit. But I am over the moon to have finally managed to draft a tiered ruffle skirt!