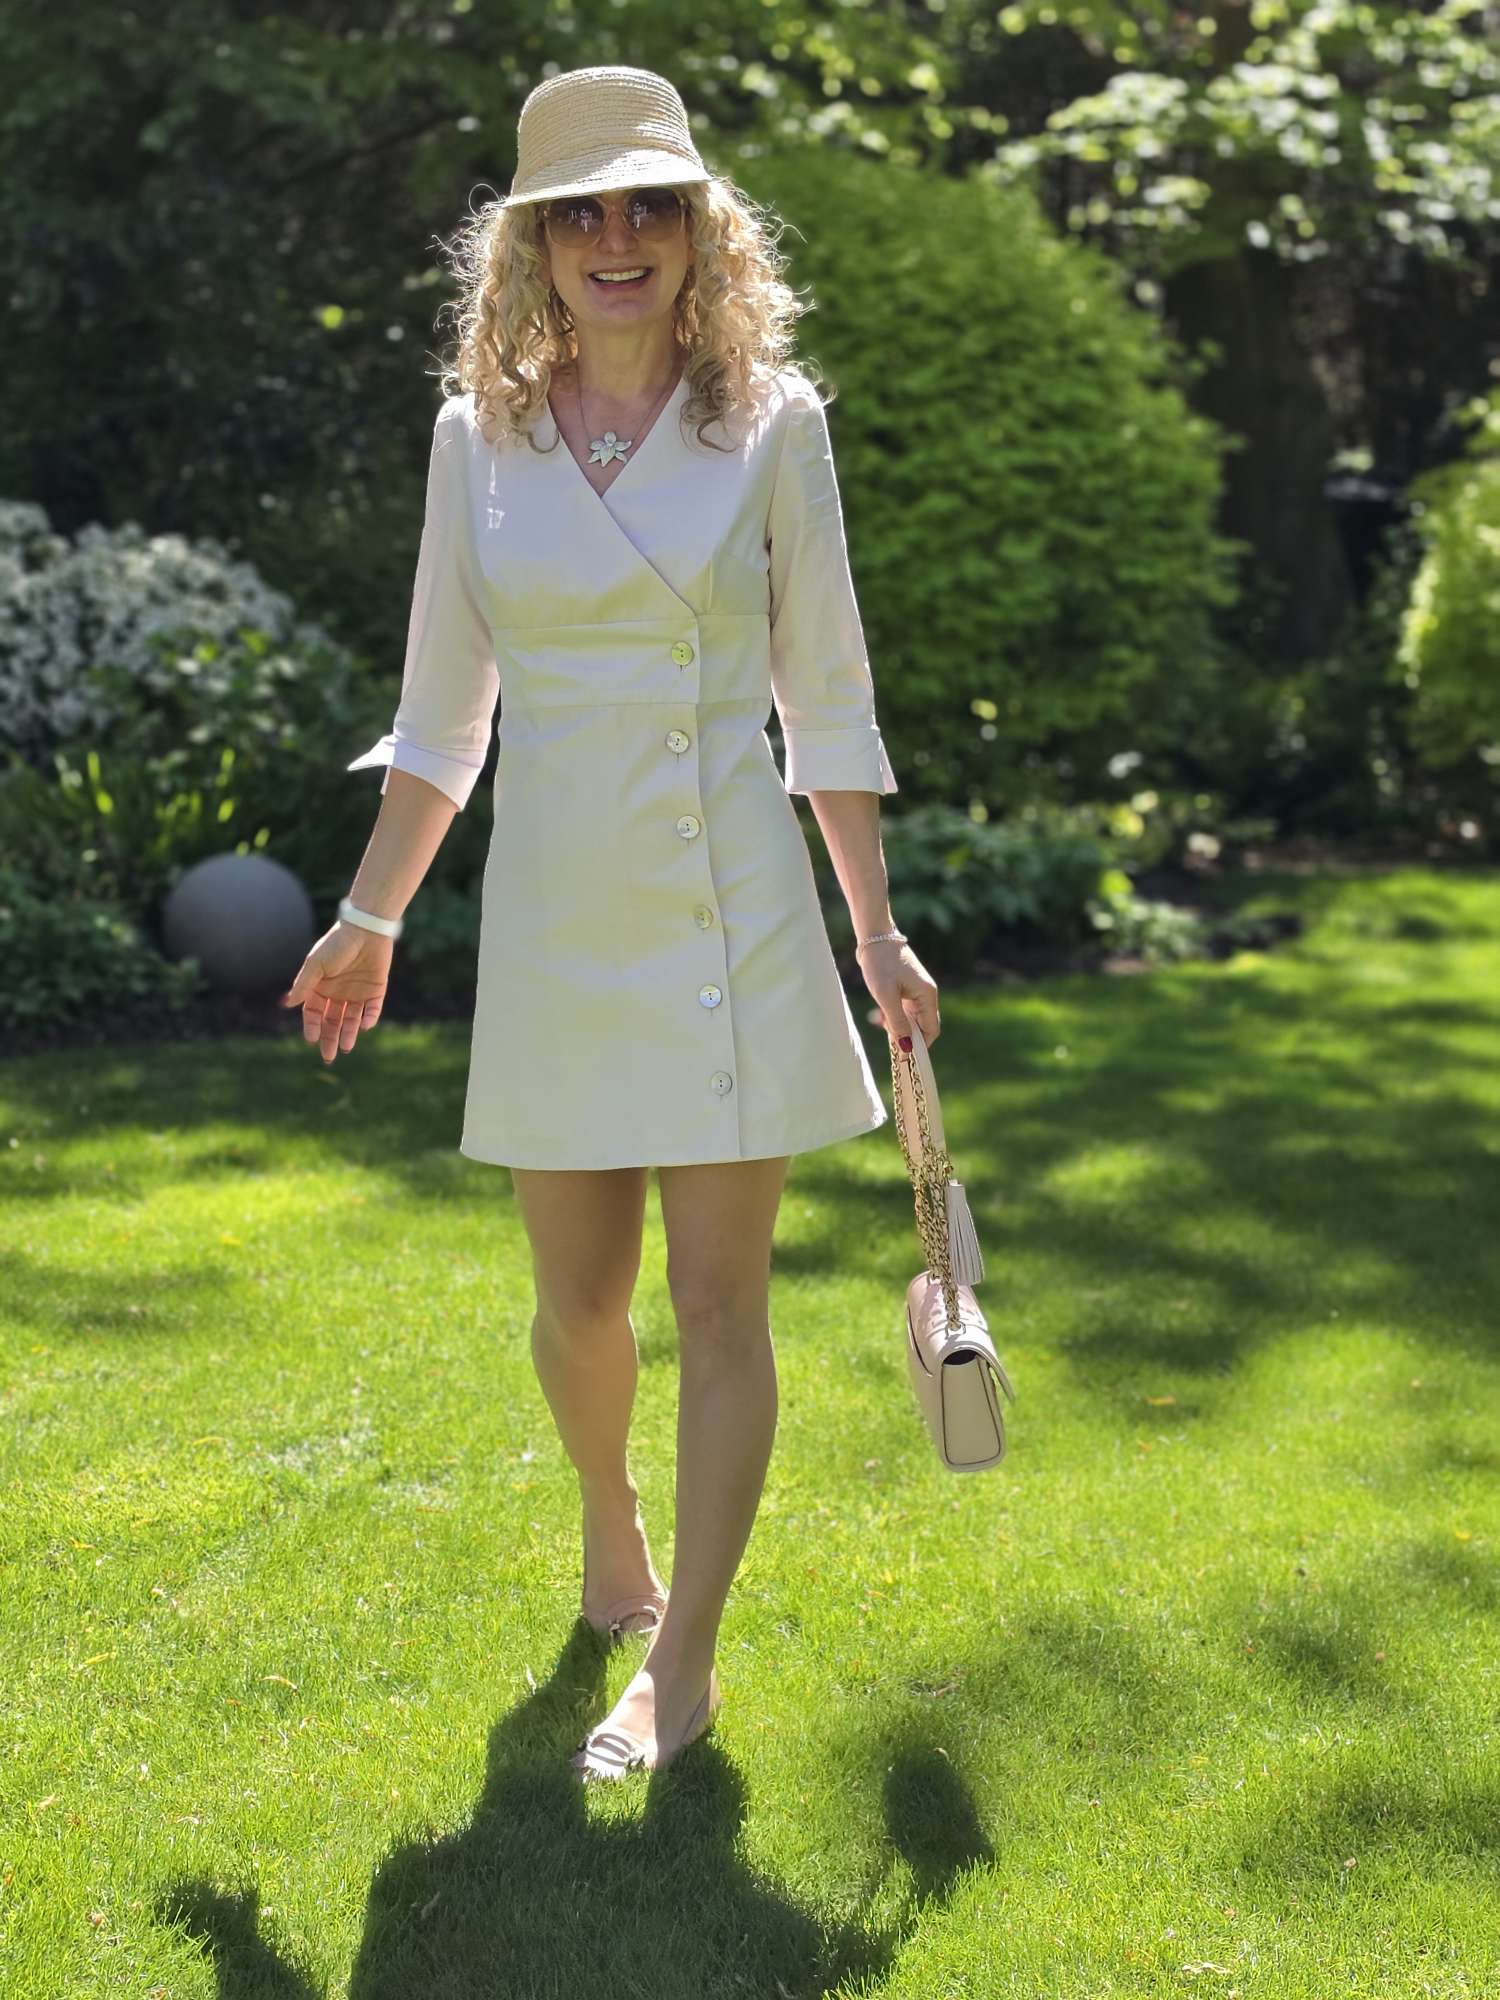
After a very long article about Miss Migonne #2’s wedding guest outfit (here), it seems only fair to devote another blog post to her sister’s. I promise it will be much shorter as the pattern – Pernette by Citronille – and the changes I made are the same. Only the fabrics differ.
Outfit negotiations lasted much longer with Miss Mignonne #1 than with Miss Mignonne #2. The choice of fabrics was very quick…

… but the choice of pattern far less so. I was very keen on using Pernette, as its understated style compensates perfectly the bling fabrics chosen by my girls (oh, I wonder where this comes from…). But Miss Mignonne #2 thought the shape of the dress was too triangular and therefore fattening. Oh well…
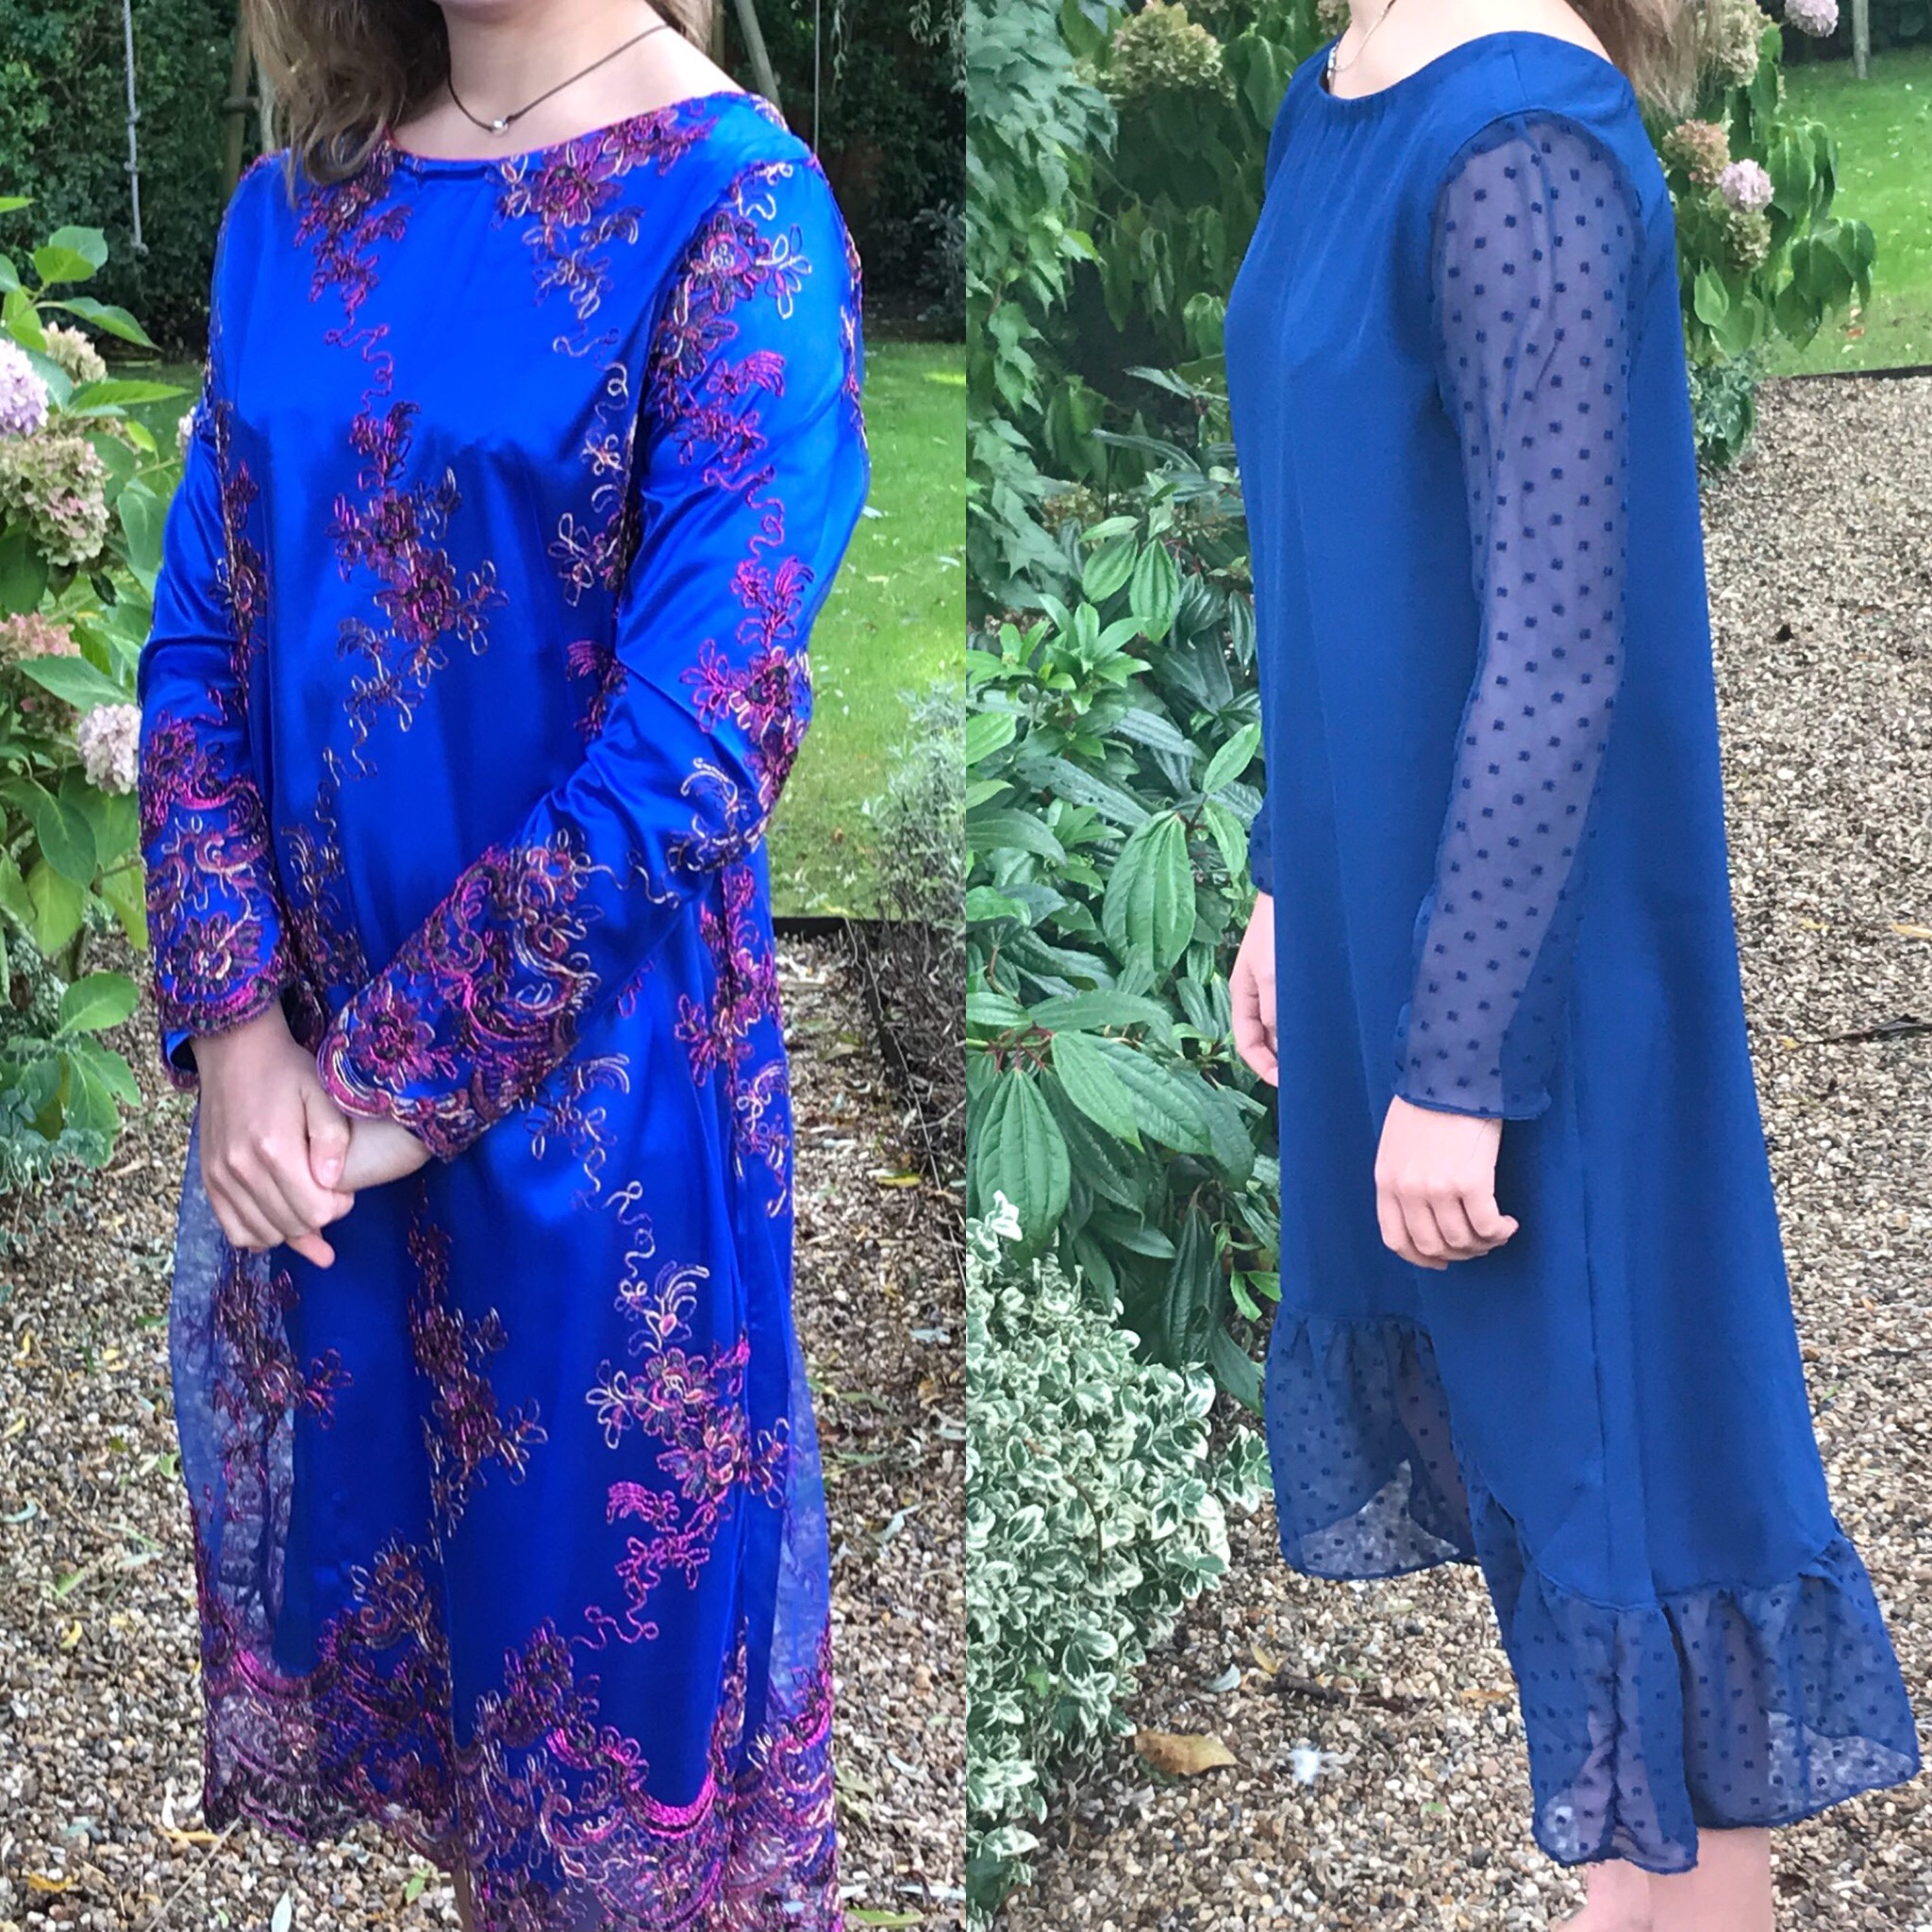
I therefore offered to make a wearable muslin with 13cm of width taken off from each side: and with all the other changed I made to the pattern for her sister’s dress, detailed here. Here is the result:

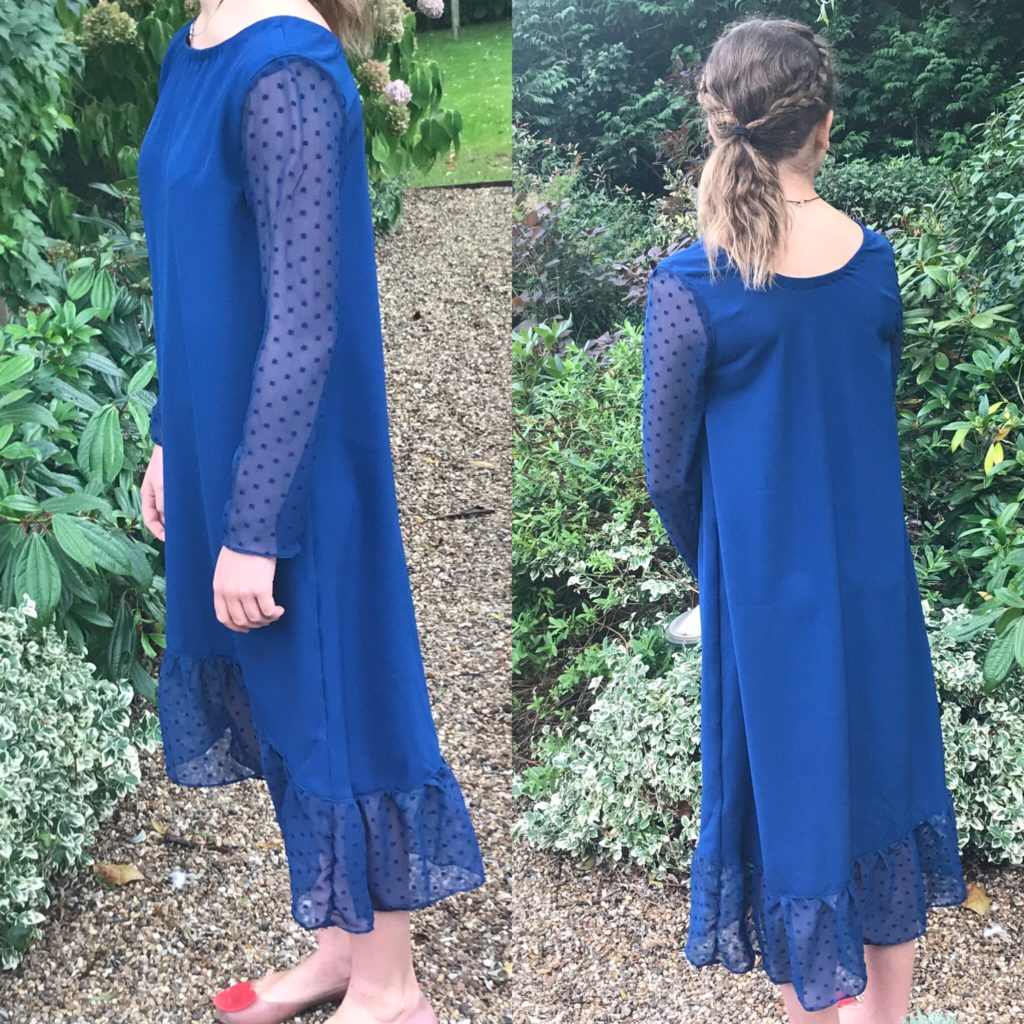
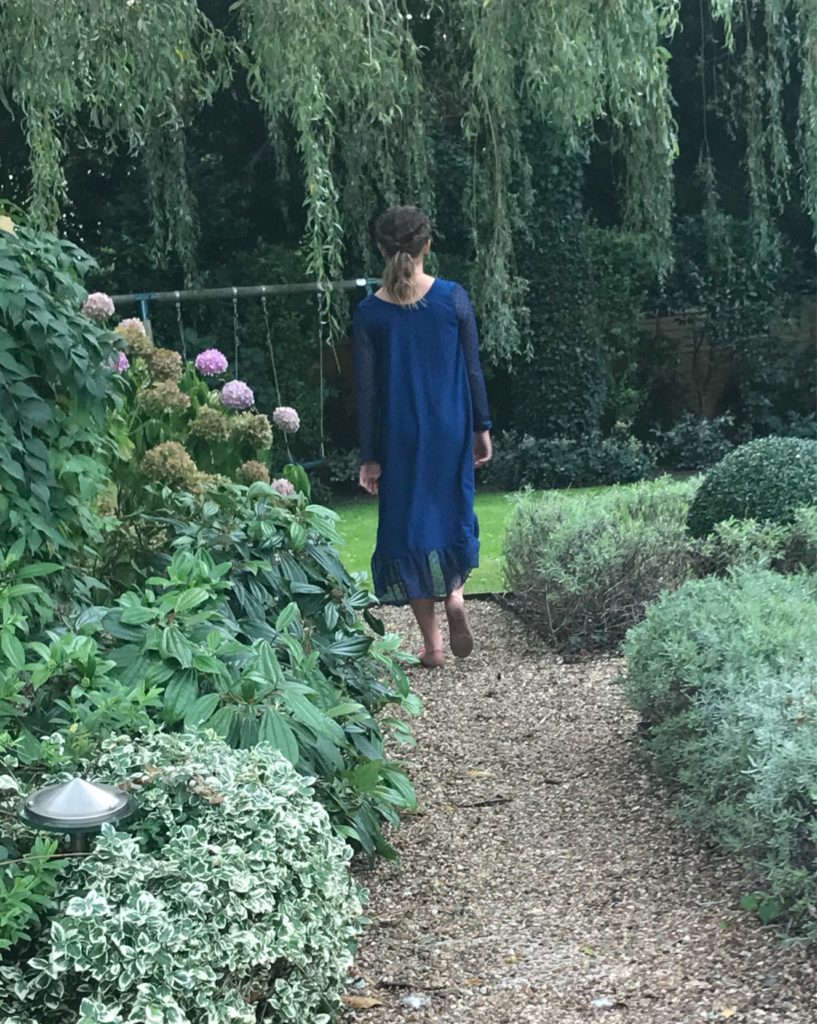
I just love this dress, I wish I could steal it from her! I used a crepe fabric and a matching swiss dotted voile, bought last year from Pretty Mercerie, initally for a dress for myself. But being a generous mum (and also being really aware of how fast my fabric stash is expanding), I passed it on…
While we were assessing the right lenght of the dress before hemming, we both agreed an asymetrical bottom ruffle would be great – does it remind you of something?

Once the (absolutely gorgeous, more than wearable) muslin was validated, I started working on the final dress. The embroidered tulle fabric chosen with enthusiasm by Miss Mignonne #1 needed to be fully lined, as it is completely see-through and very itchy. It also needed to be cut at the exact right lenght, to keep the border embroidery intact.
A bit of a technical headache when you’ve never done it to be honest… I studied in details one of my own shop-bought dress, similarly lined, and worked slowly step by step:
- first, I cut and assembled the lining dress, to validate the lenght;
- second, I cut and assembled the tulle dress, joined both dresses together throught the neckline and the shoulder seams; and I basted the top of the sleeves for letter sewing;
- third, I hemmed the bottom and the sleeves of the lining dress;
- fourth, I basted both fabrics together for each sleeve;
- and finally I assembled the sleeves to the body of the dress.
And that’s it!


To warm-up the outfit, Miss Mignonne #1 did not want a cape. I therefore sew a cute Monceau cardigan matchig her dress. The pattern was already all cut and ready to go in my size (which is now also hers, how frightening!) so it was a super quick job. I am not sure it will be warm enough for the end of October though…


So that’s it, the young ladies have their outfit, the gentlemen have their matching ties (watch out on Instagram for these), now I need to work out my own outfit.
A quick summary:
- Trial dress: Pernette dress pattern by Citronille, crepe and swiss dotted voile fabrics from The Sweet Mercerie;
- Final dress: Pernette dress pattern by Citronille, embroidered tulle from Thailand, voile brodé ramené de Thailande, polyester stain fabric from Coupons Saint Pierre
- Jacket: Monceau cardigan pattern byCozy Little World, polyester coat fabric et bias binding from Coupons Saint Pierre