Sewing the Pleated Lily Dress
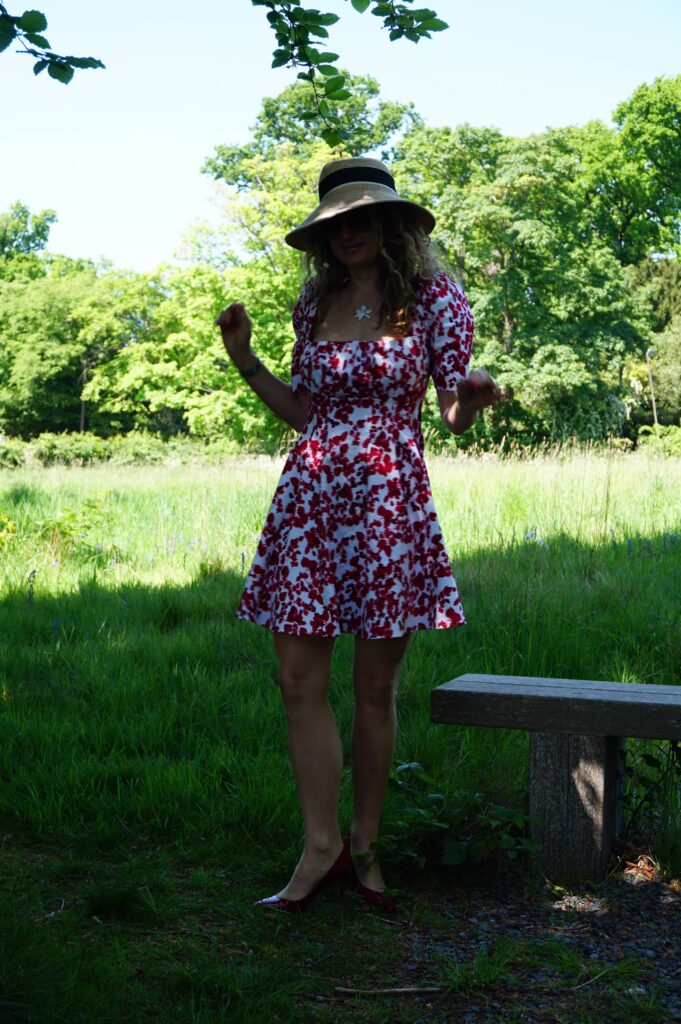
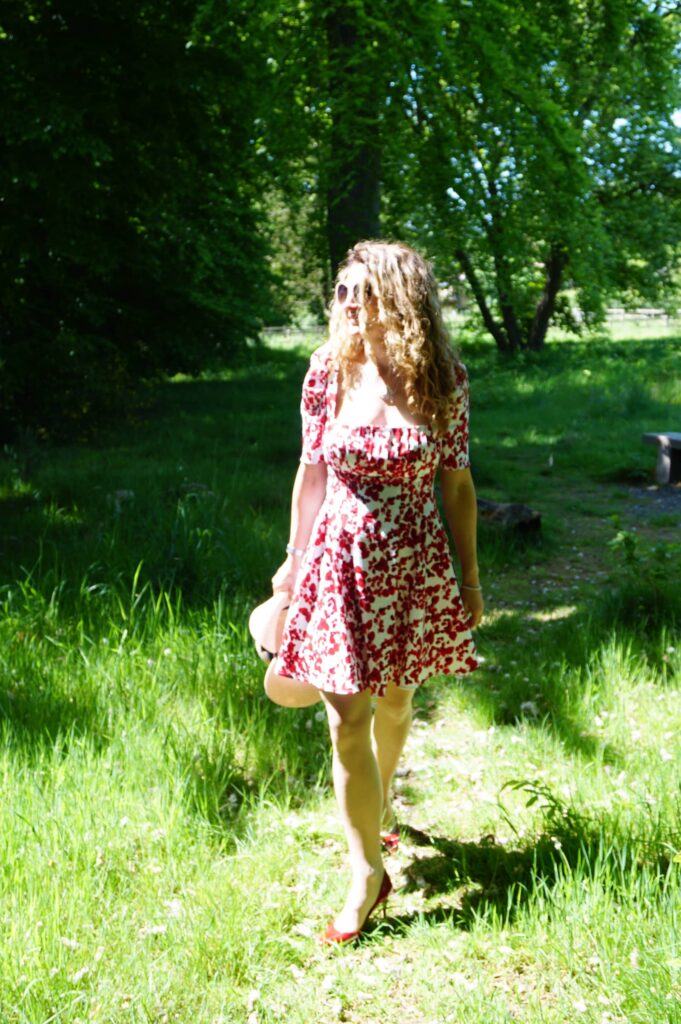
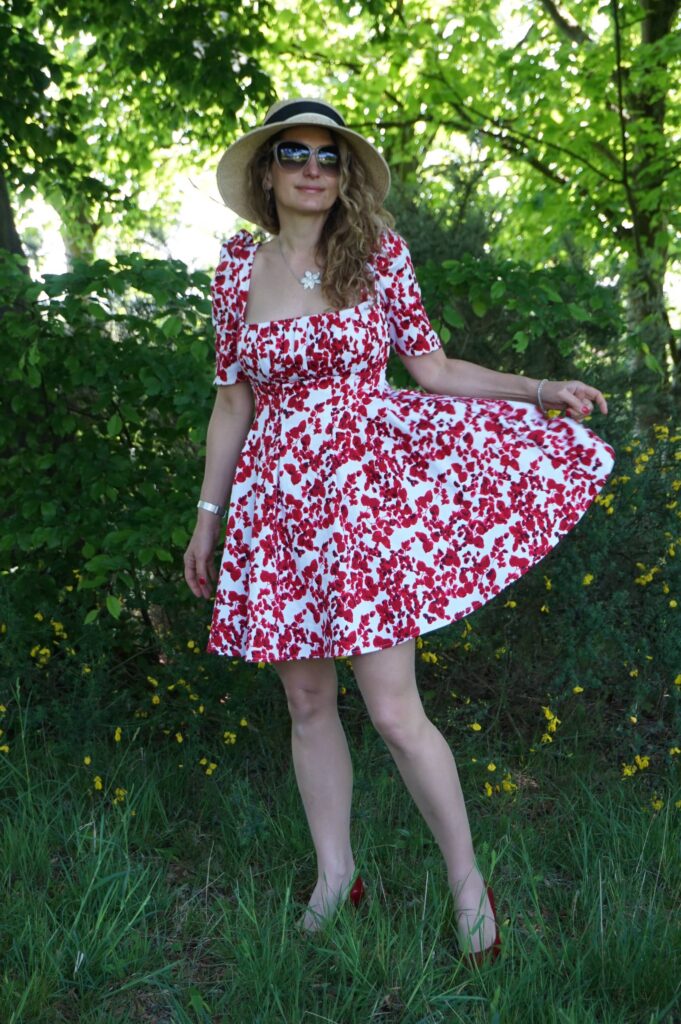
After fantasising about many of Daria Patternmaking’s beautiful patterns… And procrastinasing for ages about which one to make first…. I have finally taken the plunge! Let me introduce you to my Pleated Lily Dress.
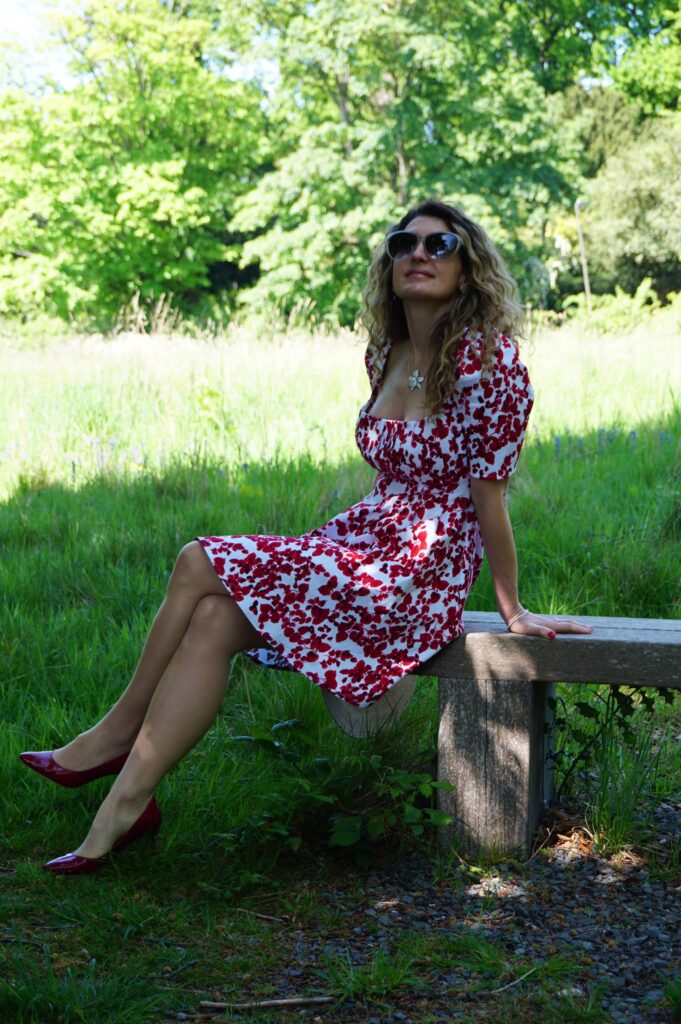

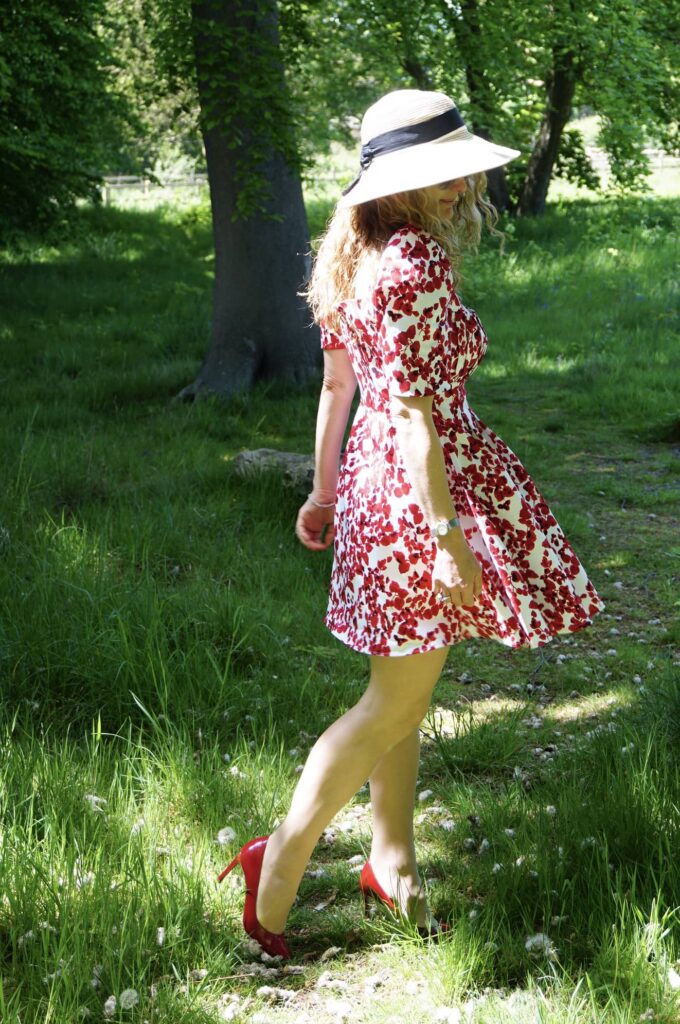
Pattern description: so many pretty details!
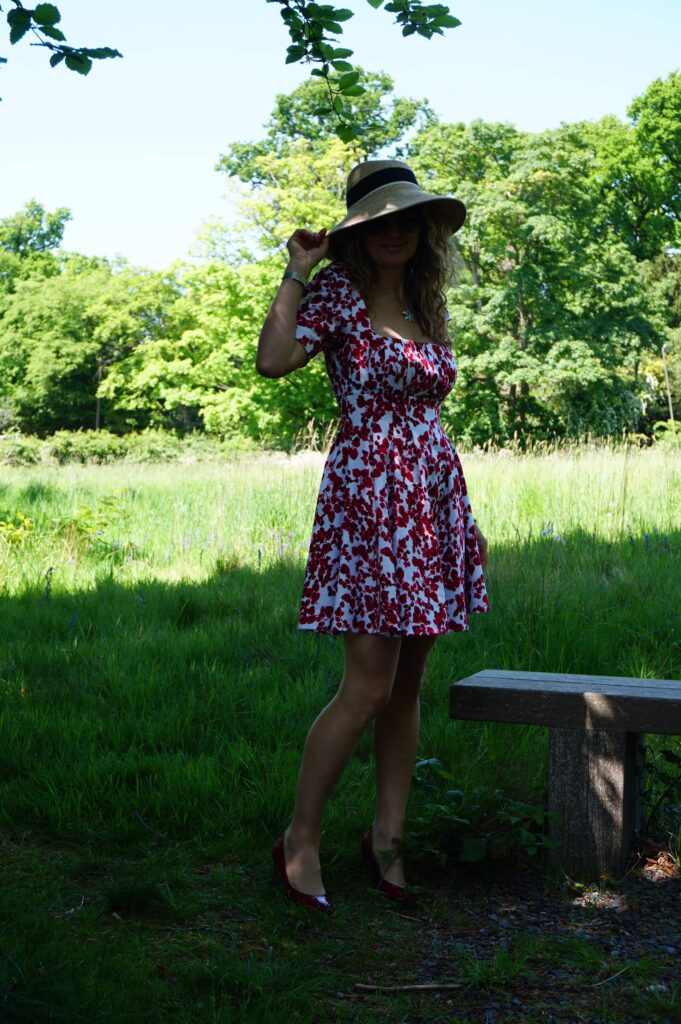
The Pleated Lily dress is a fit-and-flare dress with a square neckline at the front and at the back; pleats over the bust; and voluminous puff sleeves.
But this summary description completely understates the gorgeous details of this dress. The front bust pleats are clearly its major highlight, they are perfectly designed to fit the bust without gap and match the front square neckline to perfection.
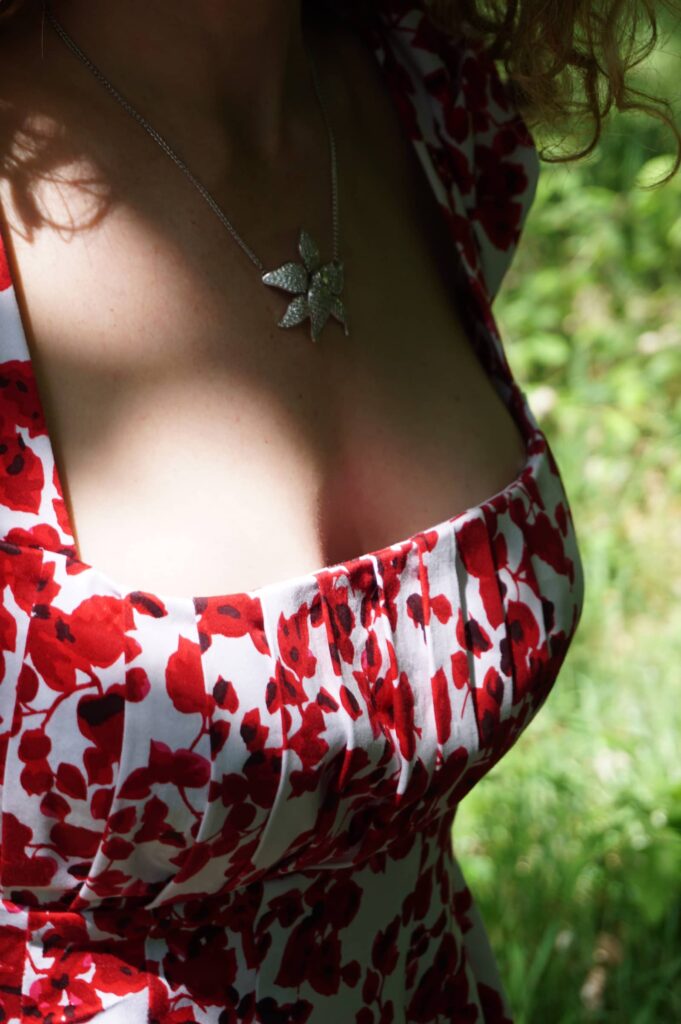
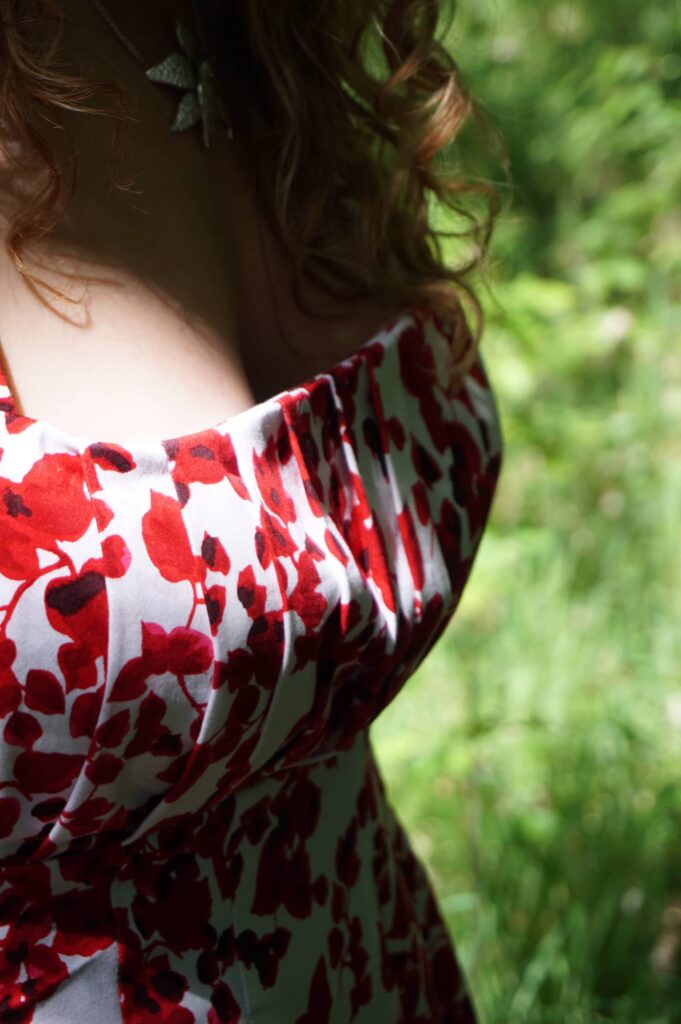
The flare of the skirt if created by a cleverly designed arrangement of darts, both at the front and at the back, which create a very harmonious silhouette.
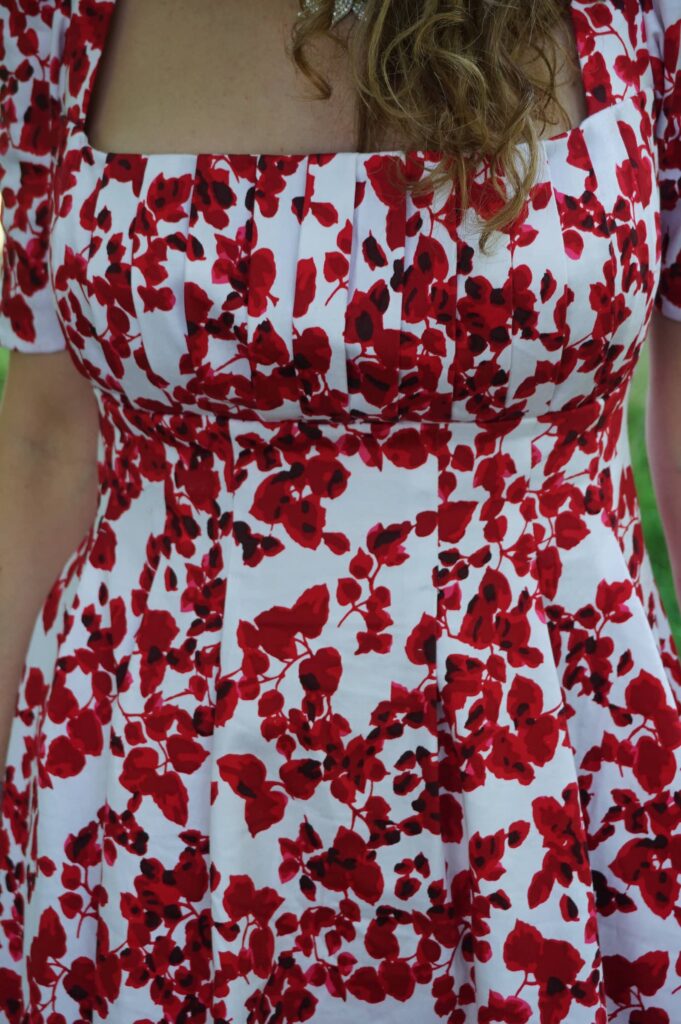
And the sleeves are puffed through another set of very clever pleats; and here again perfectly sit with the square neckline.
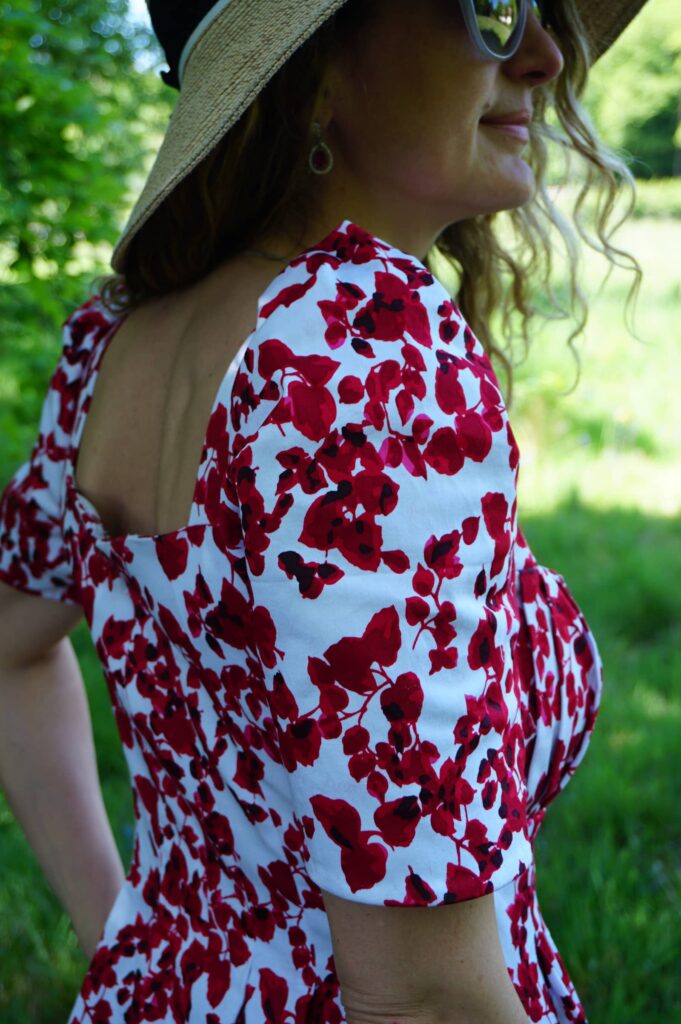
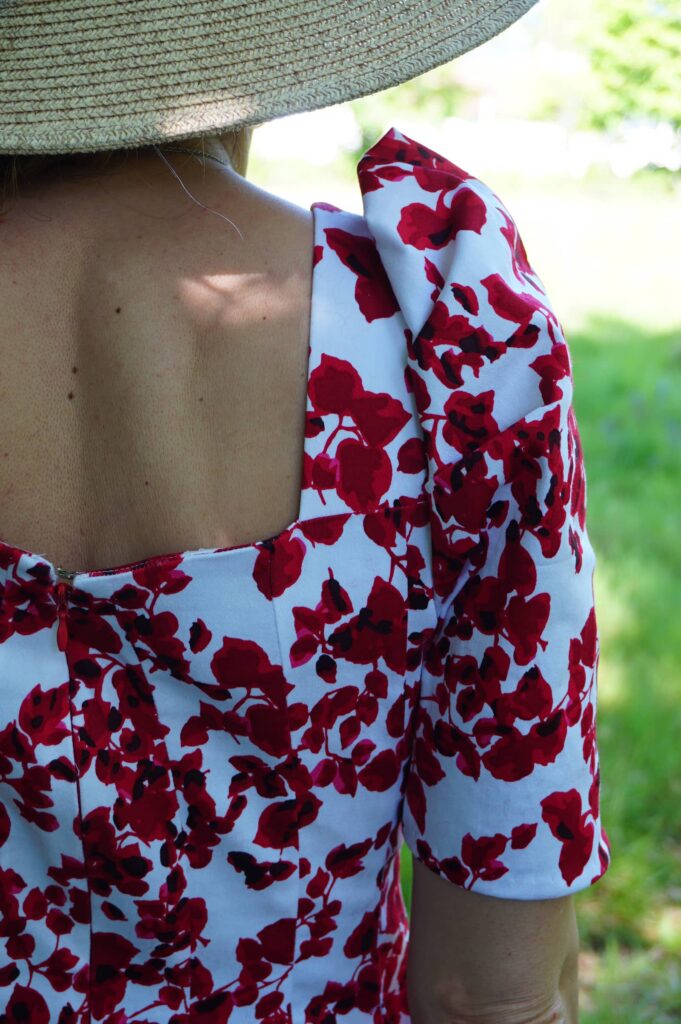
All these details may sound like an awful amount of work… but strangely enough they are not! The instructions are available both in video and written; and they are so clear and detailed that the all process seems actually very easy… until it comes to fitting that is!
A fitting nightmare
Sadly enough, the smoothness of putting this dress together came out of the window when, well into 2/3rd of the process, I tried it on!
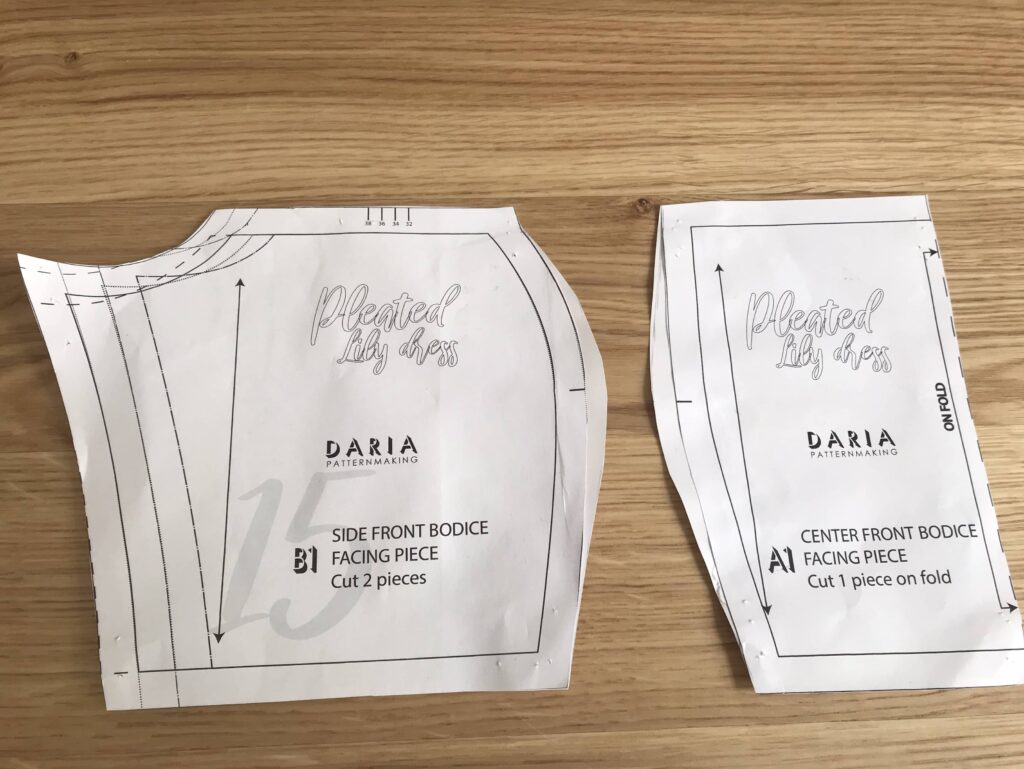
« You should have made a toile » I can hear some of you say… And I did! But stupidly I only toiled the front section of the pleated bust, assuming that the rest would follow. This toile allowed me to add some ease at the bust: basically 1cm extra at the bust apex of the princess seam both for the main fabric and the facing pieces (I am an E cup so fully expected to have to do an FBA for the pleats to stay flat).
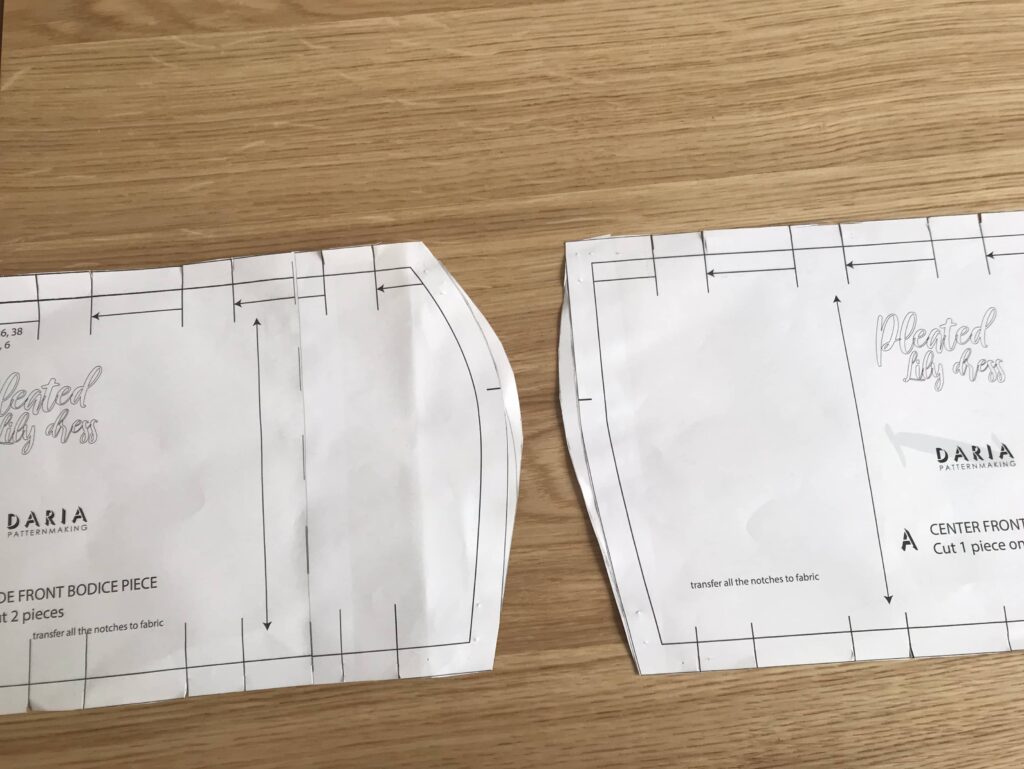
However, I completely omitted to check the back… So I ended up with the most perfectly level and invisible zip I had ever sewn…
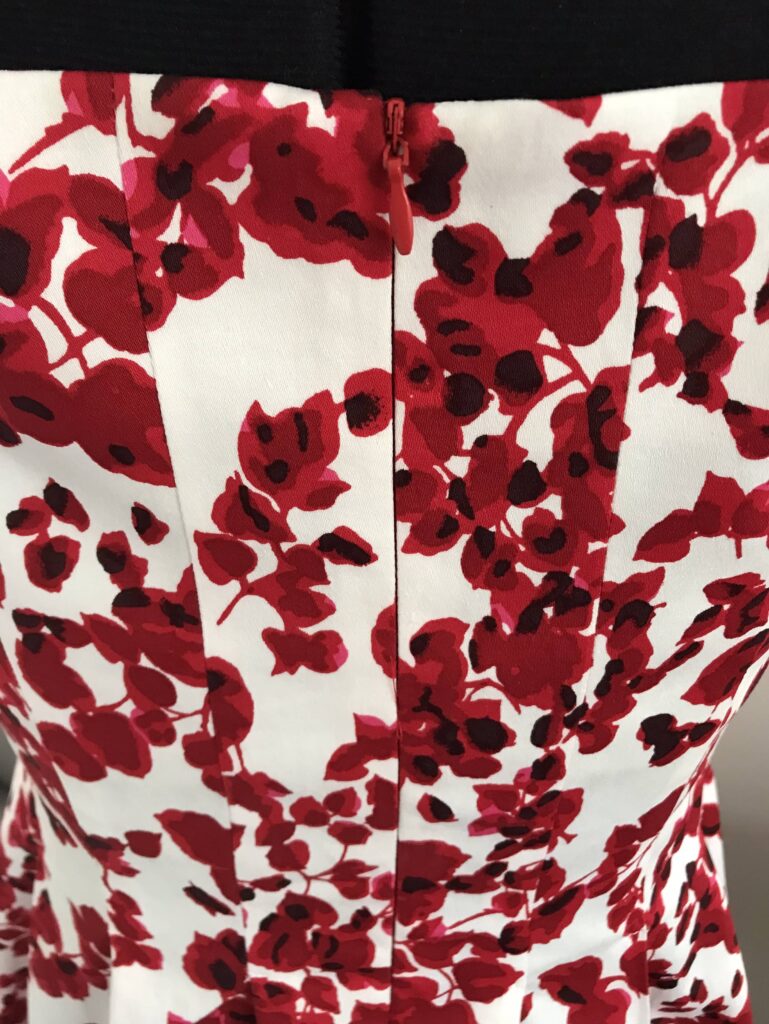
… but with 6cm of extra ease. Boohoohooooooooo….. Thank God I had not tried pattern-matching!
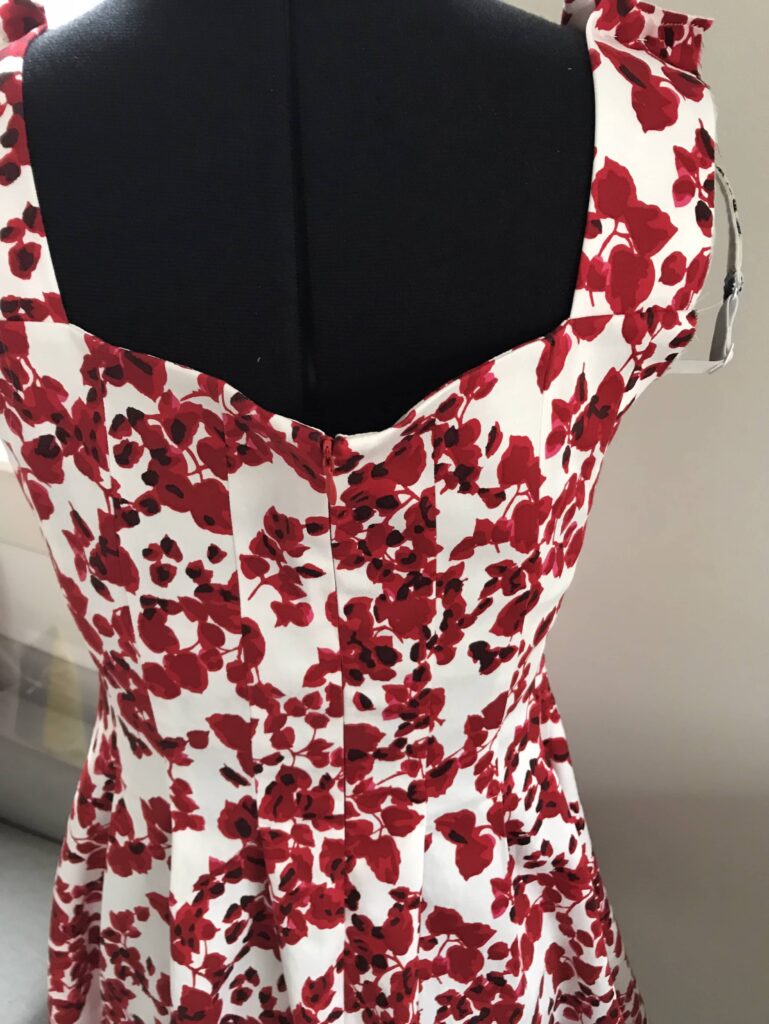
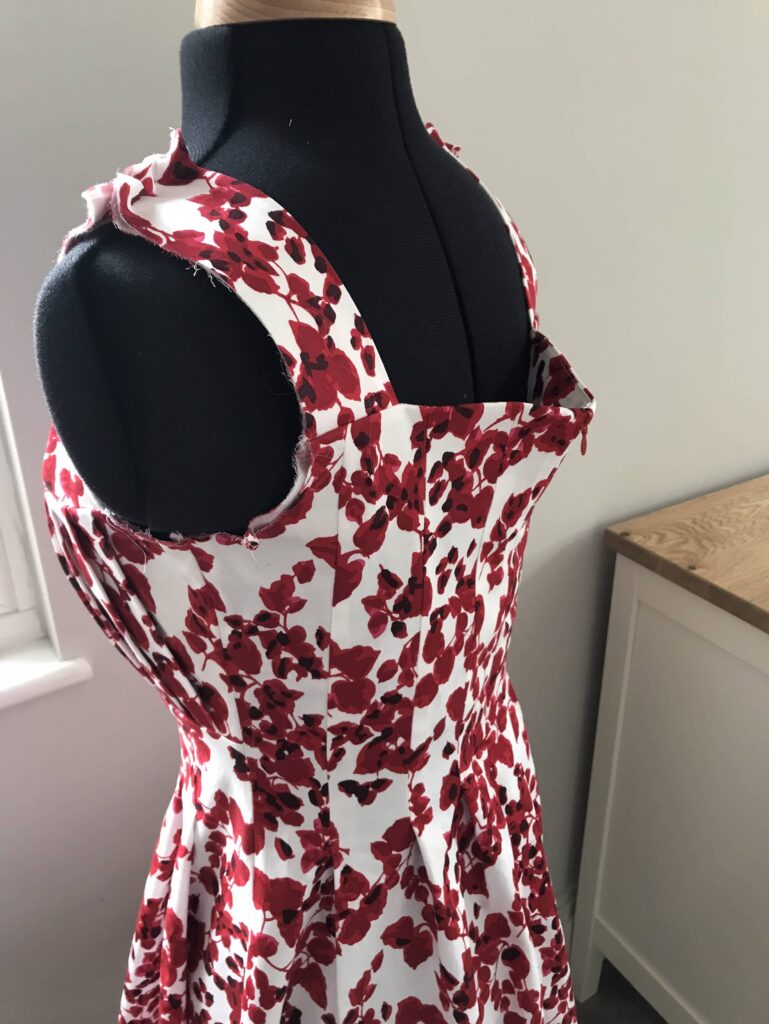
I could have dismantled the entire back, taken off 1cm at each dart (there are 6 darts at the back) and redone everything properly. Life if too short though! And no matter how perfectionist I am, I could not be bothered to go into so much trouble for a bit I cannot see and which is largely hidden by my hair. So I went quick and dirty and adjusted through the top 10cm of the zip. And put a hook-and-eye to compensate for the loss of zip length. Bye bye perfection and invisibility !
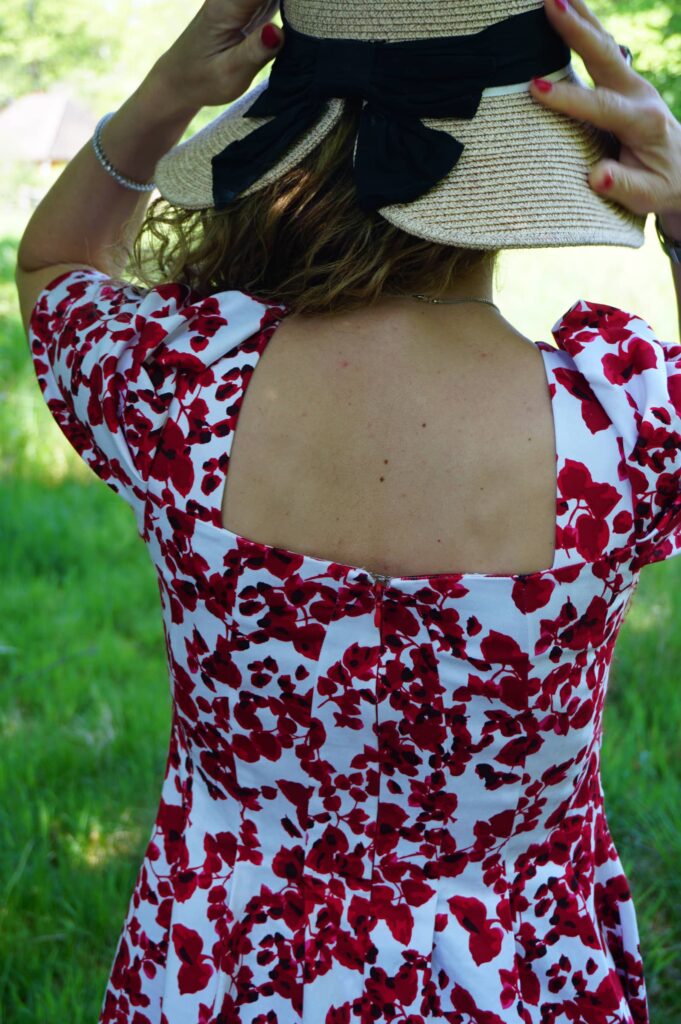
In any case the dress still remains slightly too large, which you can see around the waist and mostly at the back. And this despite picking size 36, completely in line with my waist and hip measurements (and actually in line with my high bust but much smaller than my full bust, as with an E cup I knew I would have to do an FBA).
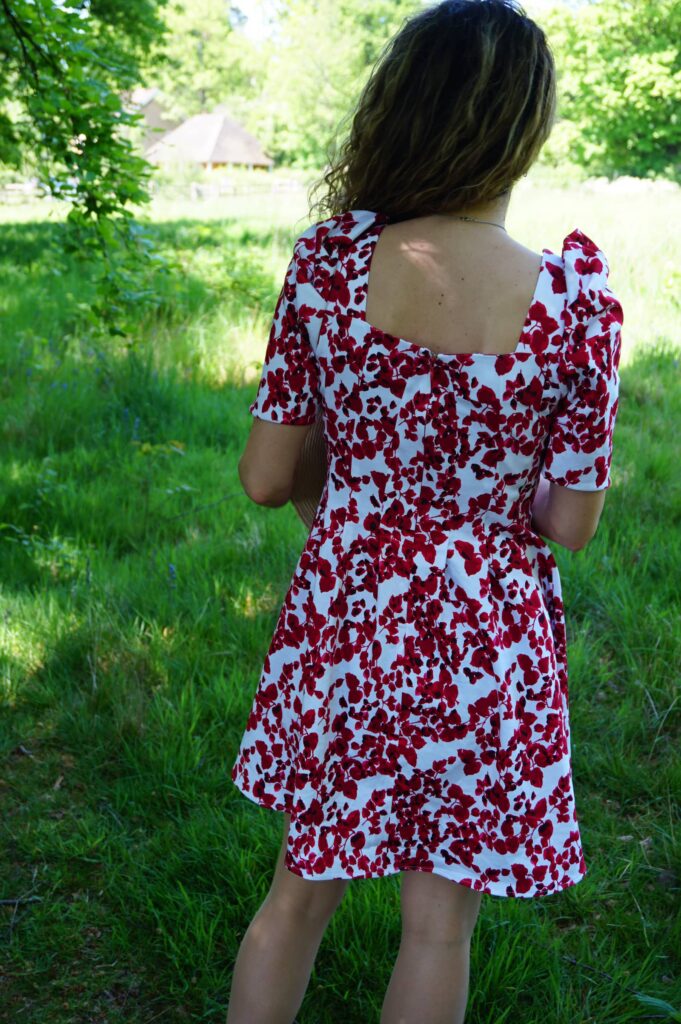
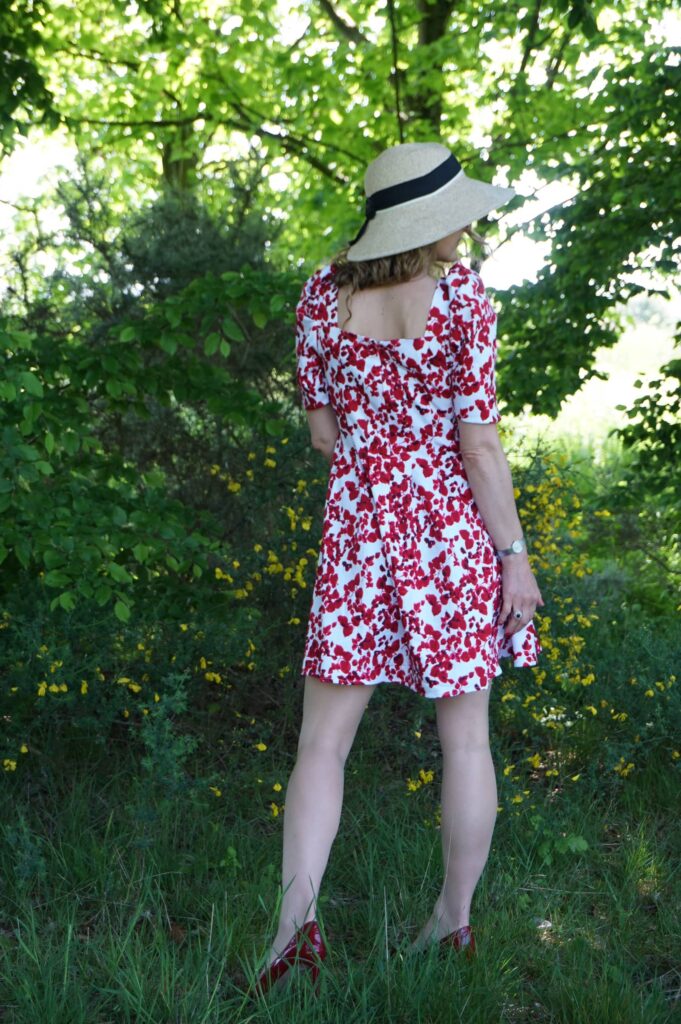
I will probably take off 1cm from each side seam soon as I cannot stand a garment which is not tight fitting. This woman is mad I know… But I actually like this dress far too much to do nothing about ut!
Fabric choice
This dress is originally designed with long sleeves; and require fabric that can hold itself to keep the puff of the sleeves up. So I went for a cotton sateen, a fabric super comfortable to wear in Spring and very easy to work with. It is OK for the sleeves, but just so, so if you want to get proper puff with this type of fabric, I would follow Daria’s recommendation on how to add tulle to the sleeve head.
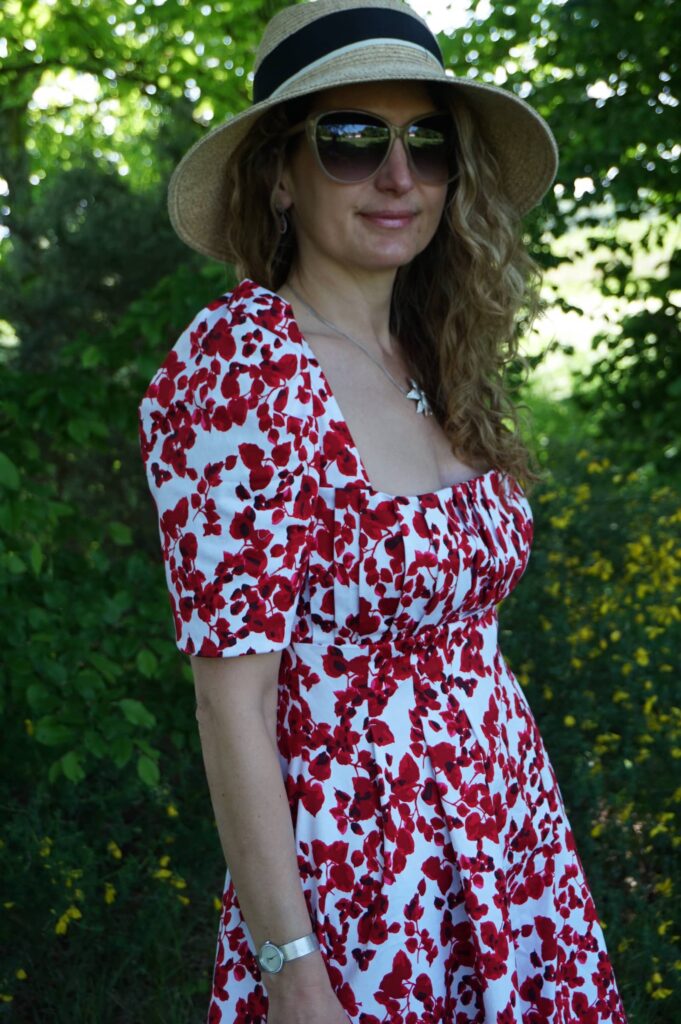
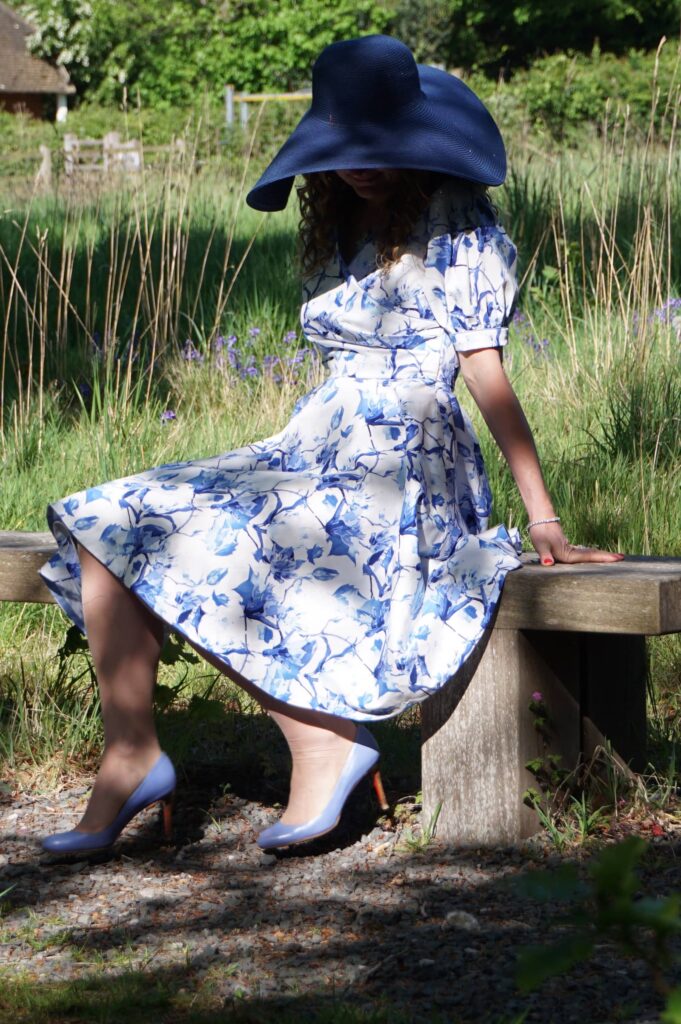
This fabric come from John Lewis on Oxford Street in London. I enjoy browsing there but rarely buy anything – this time I was twice lucky! Here is a little preview of the other fabric I found.
Conclusion
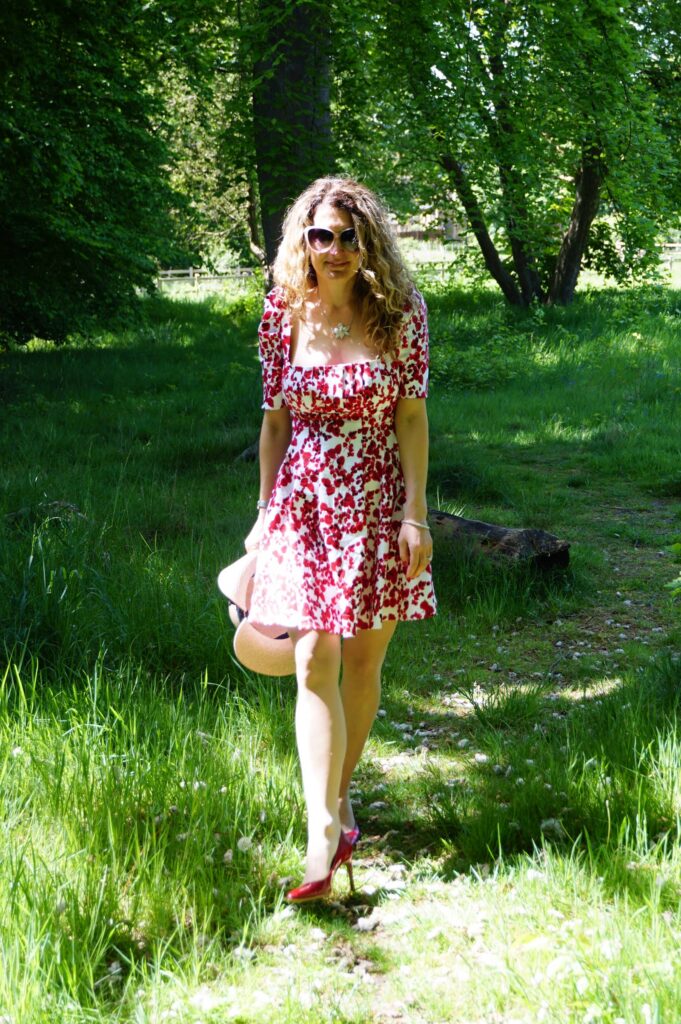
Despite all my fitting troubles, I love the style of this dress and I am very keen to make another sleeveless version. This may take a bit of thinking time though, as I am hesitating to go one size down… Which would mean new FBA, new adjustment at the back, new toile… Am I really ready for that?… Time will tell.

Leave a Reply